
As the crisp autumn air settles in, a little woodland friend is just what your home needs to capture that seasonal spirit. Meet your new crochet companion: a delightful crochet squirrel that’s not only fun to make but also a charming addition to your decor. Perfect for crocheters of all skill levels, this whimsical amigurumi project offers a wonderful blend of challenge and simplicity, making it an ideal choice for those cozy crafting afternoons. With a soft, cuddly texture and the option to customize colors, you’ll find joy in every stitch as you create this fluffy cutie, whether you plan to display it or gift it to a loved one. Get ready to dive into the world of amigurumi and let your creativity run wild!
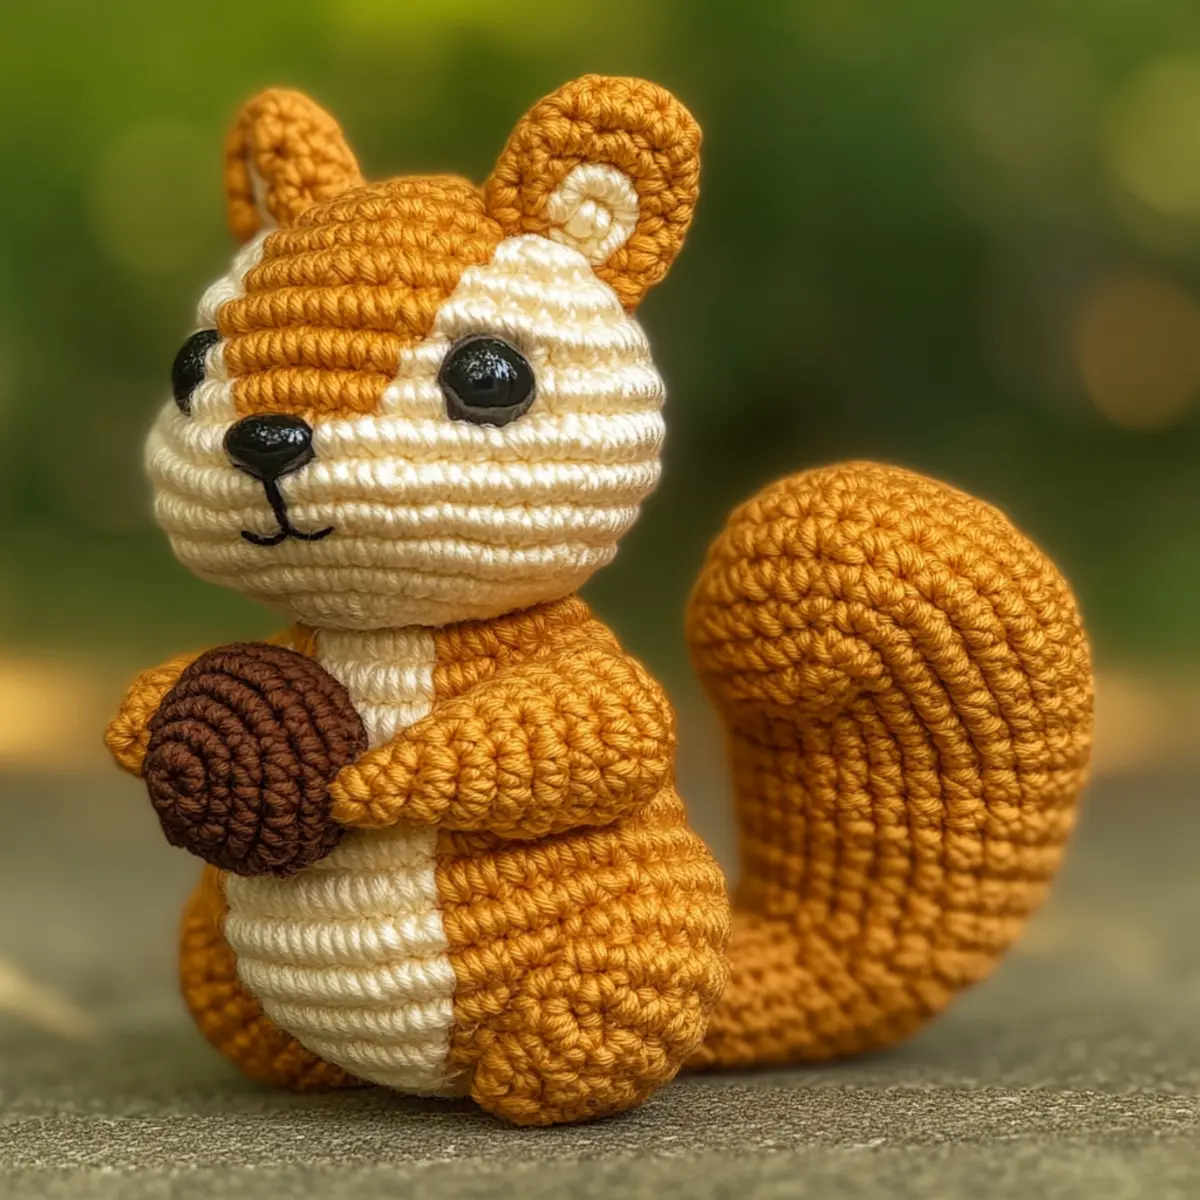
Crochet Squirrel Materials & Tools
- Worsted Weight Yarn – Opt for warm browns, beige, and any accent colors you love, using approximately 100-150 yards for the entire project.
- 3.5 mm (E/4) Crochet Hook – This size is recommended for achieving the right tension, but adjust according to your personal preference.
- Safety Eyes (10-12mm) – These give your squirrel its adorable gaze; choose accordingly to complement your yarn colors.
- Polyfill Stuffing – Create that cuddly, plush texture by filling your squirrel with this soft stuffing for a fantastic finish.
- Yarn Needle – Use this handy tool for sewing all parts together securely and weaving in those pesky loose ends.
- Stitch Markers (optional) – Handy for tracking your rounds, especially useful when working on a project like this crochet squirrel!
Why Make a Crochet Squirrel?
Unique Design: Each crochet squirrel is a one-of-a-kind creation, allowing you to personalize colors or add seasonal embellishments for extra flair.
Fun Challenge: This project blends simplicity with engaging techniques, perfect for beginner crocheters wanting to build skills or advanced crafters seeking a light-hearted diversion.
Cozy Decor: As a charming autumnal piece, the squirrel adds warmth and whimsy to your home decor or makes a lovely gift for friends and family.
Quick Project: With an estimated yardage of 100-150 yards, you can complete this amigurumi in no time—ideal for those spontaneous crafting urges!
Cuddly Texture: Made from soft yarn, your finished squirrel will be delightfully plush, perfect for snuggling or playtime with little ones.
Get started on this delightful project to embrace the beauty of the season and showcase your crochet talents!
Gauge & Sizing Notes
Don’t skip the gauge swatch! Ensuring your tension is spot on is crucial for the final dimensions of your crochet squirrel. Ideally, a 4×4 inch (10×10 cm) square should measure 14 single crochets by 15 rows. To adjust the size of your adorable squirrel, consider starting with more or fewer stitches in multiples of 2 if you want to make it larger or smaller. If your swatch turns out too tight, simply go up a hook size; conversely, if it’s too loose, you might want to switch to a smaller hook. Getting your crochet gauge right will truly help your crochet squirrel shine!
Step‑by‑Step Pattern for crochet squirrel
Row 1: Tail
Start by chaining 5 and join with a slip stitch to form a ring. In this ring, work 8 double crochet (dc), ensuring it’s tight as the tail needs to have a fluffy appearance. Your work should start to rise and curl, forming a small cup shape. At the end of this round, you will have 8 dc (8 sts).
Row 2: Tail Expansion
Continue in the same stitch pattern by working 2 dc into each stitch around, doubling the initial stitches for added volume. This round should create a soft, rounded shape; be careful not to make it too loose. You’ll finish this round with a total of 16 dc (16 sts).
Row 3: Tail Shaping
For this round, we will begin decreasing for shape. Start by working 1 dc in the first stitch, then 2 dc in the next stitch (inc). Repeat this around the tail to form a gentle taper towards the end. You should maintain a fluffy texture while keeping track of your stitches, ending with 24 sts (24 sts).
Row 4: Tail Finish
Continue by working 1 dc into each of the next 4 stitches and then 2 dc into the next (inc). This creates a nice fluff at the end of your squirrel’s tail. Your tail should start to look elongated and fluffy at this stage, finishing with 30 sts (30 sts).
Row 5: Body Foundation
Switch to the body by creating a magic ring. In this ring, work 6 single crochets (sc). Pull the yarn tail to tighten the ring. The body should now have a snug start, forming a small circle that will expand as you continue. You will have 6 sc in this round (6 sts).
Row 6: Body Increments
For the next round, work 2 sc in each stitch around to increase the body size. This will create the rounded shape of your crochet squirrel, so keep your tension consistent. After this round, you should have a total of 12 sts (12 sts).
Row 7: Body Rounding
Continue to shape the body by working 1 sc in the first stitch, then 2 sc in the next stitch (inc), and repeat this pattern around. As you work, your body will start to take on a more defined shape. At the end of this round, you will have 18 sts (18 sts).
Row 8: Body Expansion
Keep building the body shape by making 2 sc in the first stitch, followed by 1 sc in each of the next 2 stitches. Repeat this pattern around the body. You will notice the plush texture forming, perfect for your crochet squirrel, ending the round with 24 sts (24 sts).
Row 9-12: Body Height
For these rounds, simply work 1 sc in each stitch around for a total of 4 rows. This easy repetitive stitching will give the body height, making your squirrel’s shape fuller and sturdier. Each round will maintain 24 sts, keeping everything neat and tight.
Row 13: Body Decrease
To begin shaping your squirrel’s body, work 1 sc in the first stitch, followed by a decrease (dec) in the next two stitches. Repeat this pattern to gently taper the body. Your work should start to look more refined at this stage, leading to 18 sts (18 sts).
Row 14: Final Body Shaping
Continue decreasing by stitching 1 sc, then dec in the next two stitches. This will snugly finish up the body, ensuring a rounded top. Your crochet squirrel structure should be taking form, now finishing this round with a total of 12 sts (12 sts).
Step 1: Assembly of Body Parts
To assemble the pieces, first, stuff the body with polyfill to ensure its cuddliness. Attach the tail to the back of the body securely using a yarn needle. When finished, your squirrel should have an adorable stance, cuddly and fluffy.
Step 2: Adding Limbs
Next, work on the limbs, starting with a magic ring and creating 6 sc. Follow similar instructions to progress through rounds, eventually attaching them to the sides of the body. Your squirrel should start to look complete, with limbs that give it character.
Step 3: Eyes and Acorn
Finally, sew on the safety eyes for that expressive look, followed by crafting the acorn using brown and green yarn for added cuteness. Securely attach it to the front paws. When added together, this final touch will complete your charming crochet squirrel beautifully.
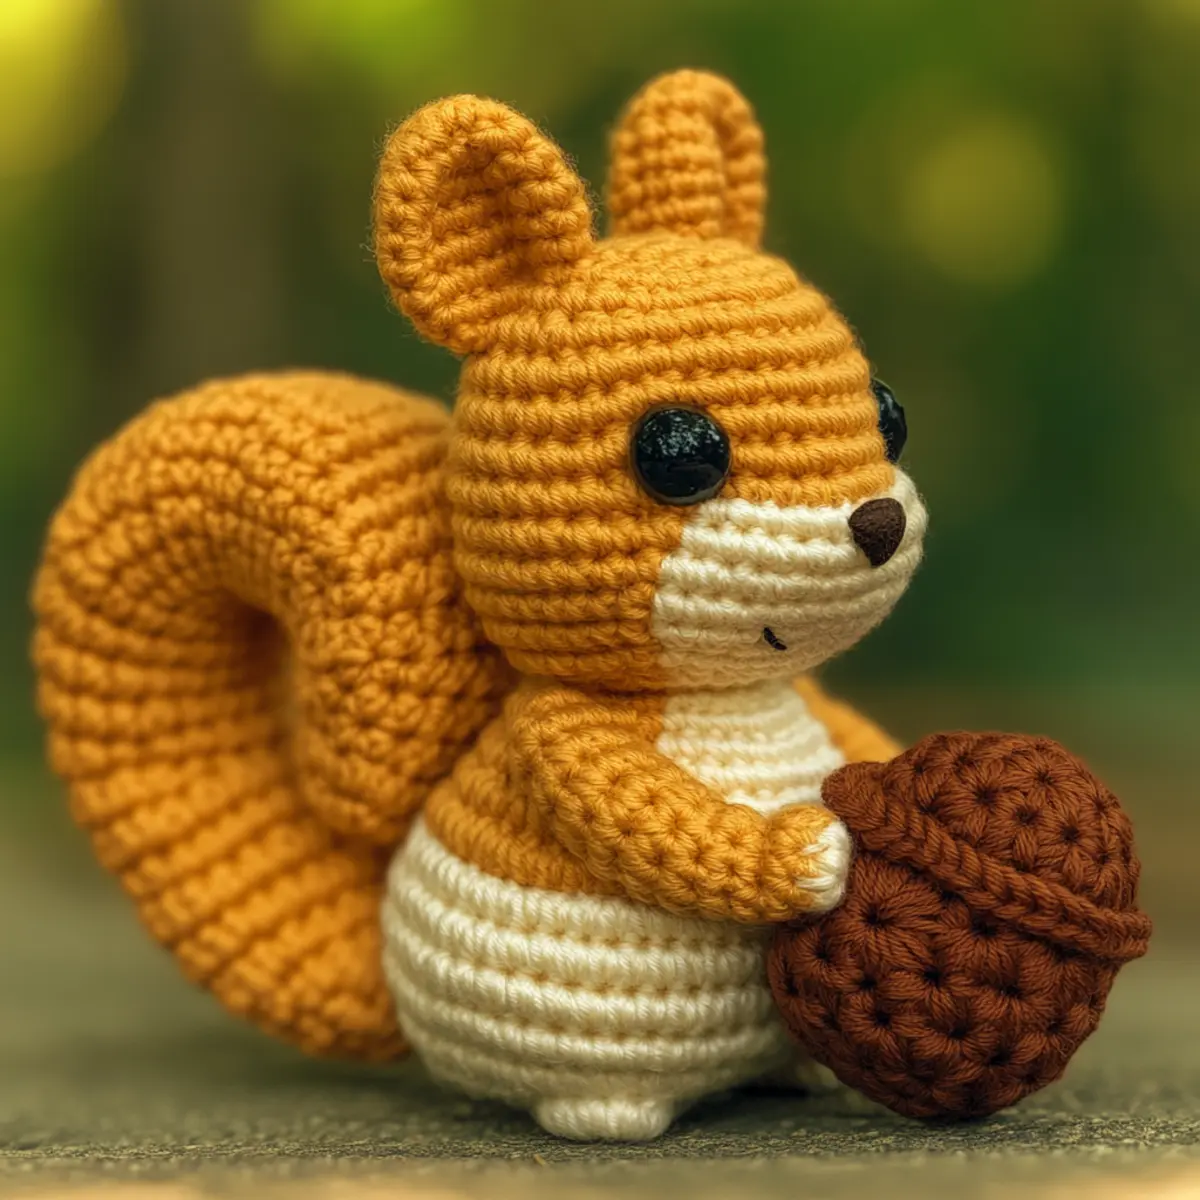
Crochet Squirrel: Customize with Variations
Embrace your creativity and make this lovely squirrel uniquely yours with these fun customization ideas!
- Yarn Weight Swap: Use bulky or super bulky yarn for a plush, larger squirrel to delight everyone.
- Fiber Alternatives: Swap acrylic with cotton for a softer texture. The cotton offers a lovely, breathable finish, especially in warm colors.
- Color Block Design: Get playful with colors! Try a bright theme featuring bold oranges and yellows for a cheerful accent piece.
- Seasonal Touches: Embellish your squirrel with leaves or miniature pumpkins to capture the essence of fall, making it even more delightful!
- Go Big or Go Home: Adjust the size using larger crochet hooks and finer yarn for a mini version perfect for keychains or ornaments.
- Adorable Accessories: Add personality by crafting fun accessories like a tiny scarf or a trendy hat for your squirrel to wear.
- Fluffy Tail Finish: Make the tail extra fluffy by incorporating some fun fur or fringed yarn for a whimsical touch.
- Creative Embellishments: Consider using pompoms or decorative borders to elevate your crochet squirrel’s charm even further!
With these variations, the possibilities are endless! Each twist will not only personalize your creation but also offer a new dimension to your crochet journey. Enjoy crafting!
Expert Tips for Your Crochet Squirrel
Tension Matters: Maintaining consistent tension is crucial for your crochet squirrel, as loose stitches can create gaps—use a smaller hook if needed.
Count Your Stitches: Regularly counting your stitches while crocheting prevents errors. Pay special attention during increases and decreases for a well-formed amigurumi.
Secure Eyes: When attaching safety eyes, ensure they’re tightly fitted to avoid them becoming loose over time, which could be unsafe for young children.
Block if Necessary: Lightly shaping pieces while working helps define the form, especially for rounded areas like the tail or body; blocking isn’t mandatory, but it aids finishing.
Focus on Finishing: When assembling, take your time and weave in all ends securely. Proper finishing techniques will elevate the look of your crochet squirrel from charming to polished!
Care Instructions for Crochet Squirrel
Machine Washing: Use cold water on a gentle cycle to wash your crochet squirrel. Avoid agitation to prevent any felting or pilling, keeping your handmade treasure intact.
Hand Washing: If you prefer, hand wash your crochet squirrel in cool water with mild detergent, gently squeezing out dirt without twisting. Rinse thoroughly to remove all soap.
Drying: Lay your crochet squirrel flat on a clean, dry towel to reshape and dry. Avoid hanging or direct sunlight, as this can distort the shape or fade colors over time.
Storage: Store your crochet squirrel in a cool, dry place away from direct sunlight. This will help maintain its plush texture and vibrant colors for years to come!
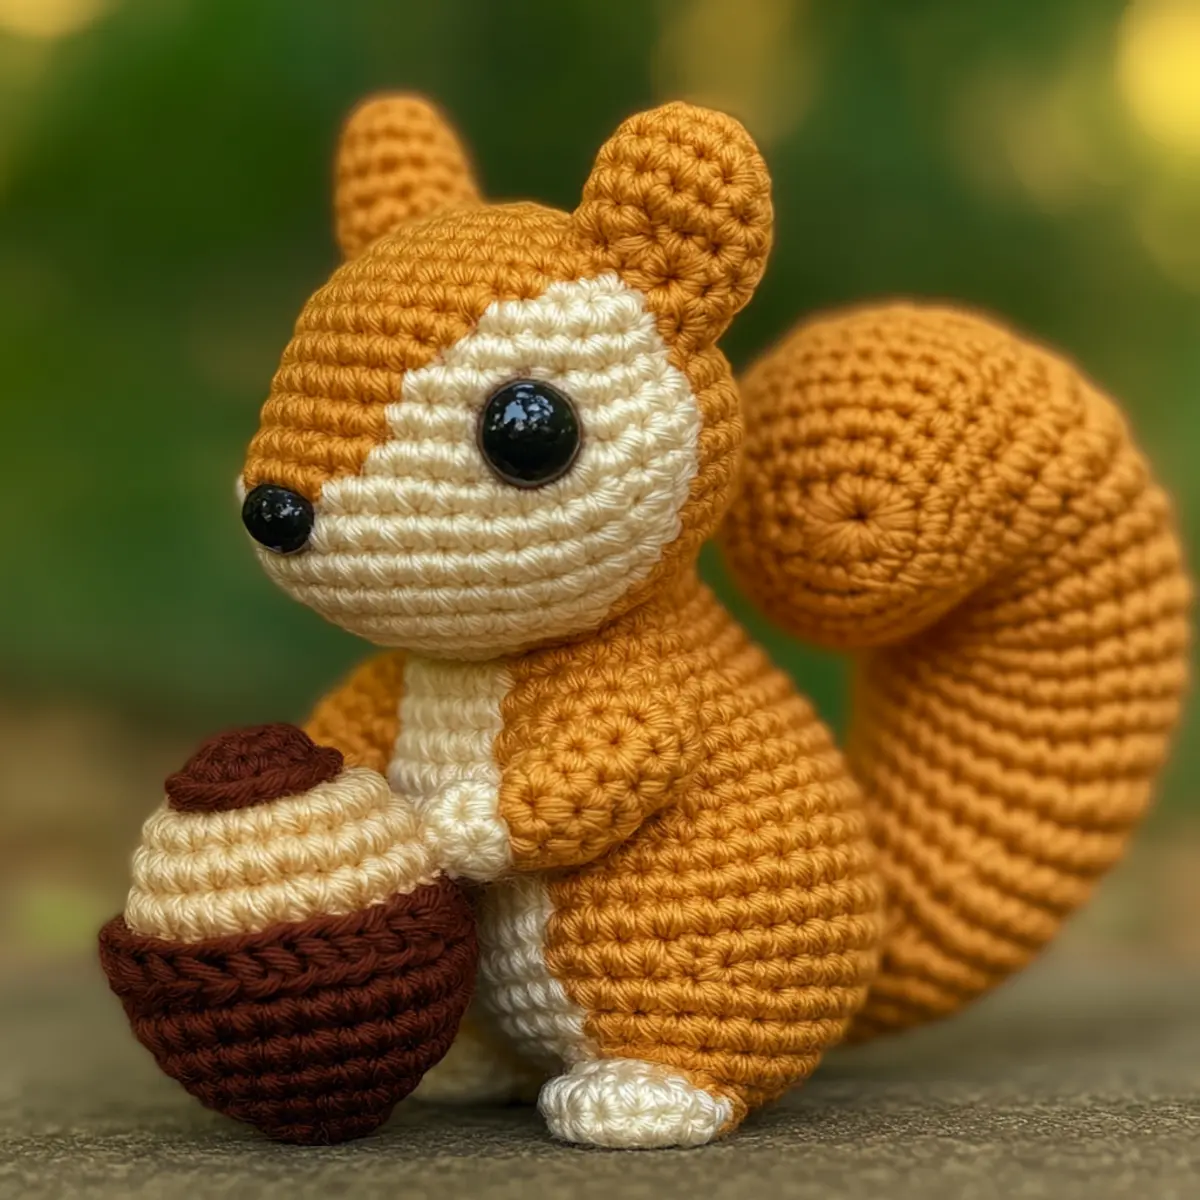
Charming Crochet Squirrel FAQs
Can I substitute a different type of yarn for this project?
Absolutely! While a medium worsted weight yarn is recommended, you can swap for different fibers like cotton or bamboo. Just keep in mind that this may alter the texture and final appearance of your crochet squirrel, so adjust your hook size accordingly to maintain the stitch definition you desire.
How can I adjust the size of my crochet squirrel?
If you want a larger or smaller squirrel, simply change your yarn weight. For instance, using bulky yarn will create a plushier, larger version, while a sport weight could result in a smaller squirrel. Remember to adjust your hook size to match the yarn weight for proper tension; a good rule of thumb is to always check your gauge first!
Why is my work curling?
Don’t panic! Curling can often occur due to uneven tension or using a hook that’s too large. Make sure your stitches are consistent and if your circle is buckling like a bowl, try switching to a smaller hook. It may help to work with your project a bit more tightly to ensure everything lays flat.
How do I fix dropped stitches in my amigurumi?
It’s an easy fix! If you notice a dropped stitch, simply use your yarn needle to thread the working yarn back through the last stitch made. Make sure your next stitch is secure, and don’t hesitate to go back and double-check your previous rounds to ensure no additional stitches are missing.
What hook size should I use for a crochet squirrel?
For this project, I recommend using a 3.5 mm (E/4) crochet hook. However, if you find that your stitches are looser than you’d like, consider switching to a smaller hook. A tighter tension will help give your amigurumi that plush, compact look.
Can I add additional features to my squirrel, like a scarf or hat?
Yes, definitely! Personalizing your crochet squirrel with different embellishments like little scarves or hats can bring an extra touch of whimsy. Just remember to keep these additions light, so they don’t overwhelm your adorable creation!
Leave a Reply