
Have you ever felt that spark of excitement when you complete a project that just radiates joy? This adorable amigurumi monkey doll is designed to do just that—its friendly smile and charming features will surely bring a smile to your face! In this crochet monkey pattern, you’ll not only create a huggable toy but also refine your amigurumi skills along the way. With just a moderate skill level, this delightful piece makes for a wonderful gift or playful addition to any nursery décor. Imagine the joy of giving a handmade treasure that exudes creativity and love. So grab your favorite worsted weight yarn and let’s dive into crafting this cheerful companion that promises to brighten anyone’s day!
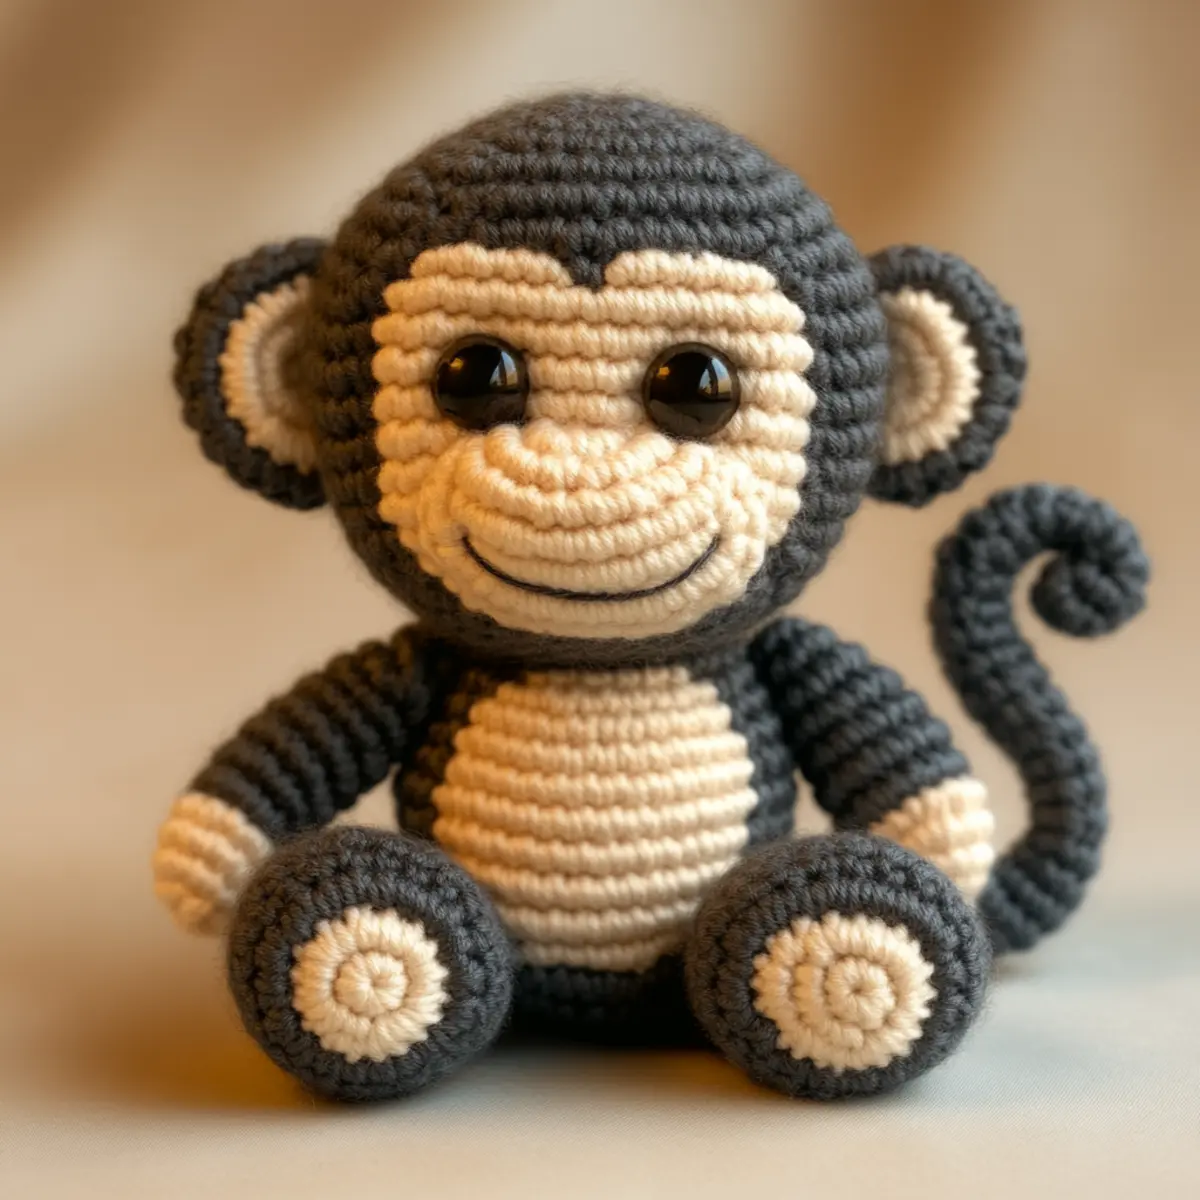
Crochet Monkey Pattern Materials & Tools
Note: Gather your materials to create this adorable amigurumi monkey doll!
Yarn
- Worsted Weight Yarn – You’ll need approximately 150-200 yards; cream and dark gray create a delightful monkey.
- Small Amount of Dark Red Yarn – Perfect for adding fun embroidered details to your monkey’s design.
Tools & Notions
- 3.5 mm (E) Hook – A great size for achieving tidy stitches and good definition in your amigurumi.
- Safety Eyes (10 mm) – Enhance your monkey’s expressiveness with these adorable eyes.
- Stitch Markers – Useful for keeping track of your rounds while working through this crochet monkey pattern.
- Yarn Needle – Essential for stitching pieces together and weaving in ends.
Embrace your creativity as you crochet this charming monkey doll!
Why is this monkey pattern a must-try?
Whimsical design: The crochet monkey pattern captivates with its adorable features, including a friendly smile and playful eyes that add character to your creation.
Skill enhancement: Dive into the world of amigurumi, sharpening your skills as you craft different parts like the arms, legs, and charmingly curled tail!
Perfect gift: Delight friends and family with a unique handmade treasure perfectly suited for baby showers or nursery décor—who wouldn’t love a cozy monkey doll?
Expressive customization: Experiment with colors and accessories, allowing your creativity to shine through and create a distinctive monkey that reflects your style!
Quick satisfaction: With an estimated 150-200 yards of yarn needed, this project is time-efficient yet rewarding, making it an ideal choice for a joyful fiber arts escape.
Experience the fun and fulfillment of crafting your very own playful companion! If you’re interested in enhancing your crochet skills, check out more patterns for intermediate crocheters.
Gauge & Sizing Notes
Don’t skip the gauge swatch! For this crochet monkey pattern, ensuring your tension (gauge) is correct is vital to achieving the perfect size and shape for your adorable amigurumi. Aim for a standard gauge of 4×4 inches (10×10 cm), which should equal 14 single crochets by 16 rows. If you desire a larger or smaller monkey, simply adjust your starting chain in multiples of 4 for the body parts accordingly; for instance, to expand the size, increase that chain count. If your swatch is smaller than expected, consider going up a hook size to loosen your tension. Happy crocheting!
Step‑by‑Step Pattern for Crochet Monkey Pattern
Row 1: Head Formation
Using cream yarn, create a magic circle and work 6 sc into the circle. Pull the circle tight to close (6 sts). This forms the base of the head. Your work should start to cup slightly as you begin shaping the head.
Row 2: Increase for Round Shape
Continue working in the round by making 2 sc in each stitch around. This will create an even, round shape for the monkey’s head (12 sts). You’ll notice the circle expands, giving it a fuller look.
Row 3: Building the Head Volume
For this round, make 1 sc in the first stitch and 2 sc in the next, repeating around (18 sts). Your head should be noticeably larger and rounder.
Row 4: Further Increasing Head Size
Repeat the previous increase pattern: 2 sc in the next stitch, then 1 sc in the following two stitches (24 sts). The head will take on charming form as it enlarges.
Row 5: Head Stabilization
For this round, work 1 sc in each stitch around (24 sts). This establishes a solid base for the monkey’s features while flattening the head slightly.
Row 6-10: Shaping the Head
Continue with 1 sc in each stitch for 5 rounds (24 sts each round). This forms the majority of the head’s body, keeping your stitches tight to maintain a clean look.
Row 11: Start Decreasing
To begin shaping the top of the head, work 1 sc in the first 2 stitches, then 1 dec (decrease) (18 sts). Your project should start to taper towards the top.
Row 12: Forming the Crown
Continue decreasing with 1 sc in the next stitch, then 1 dec around (12 sts). The head should start to close more prominently as you decrease.
Row 13: Final Decreasing
Waterfall down to 1 dec in each stitch (6 sts). At this point, you should see a definitive shape forming at the top of the monkey’s head.
Step 2: Body Construction
In a new round, switch to dark gray and create a magic circle with 6 sc (6 sts). This becomes the basis for the monkey’s body, which should appear wider and cylindrical.
Step 3: Body Expansion
Increase to 12 stitches by making 2 sc in each stitch around (12 sts). You will see the body beginning to take on a richer form.
Step 4: More Body Rounds
Work 1 sc in each stitch for the next 6 rounds (12 sts each round). The body will extend vertically as you crochet around without increasing.
Step 5: Finishing Body Shape
To create a snug bottom, work a single round of sc while introducing 1 dec to shape the base (6 sts). This ensures a proper filling spot for stability.
Step 6: Arm Creation
Switch back to cream and create a magic circle with 6 sc for the arms. This will be similar to the head’s foundation (6 sts), ensuring continuity in color.
Step 7: Arm Expansion
Increase to 12 stitches by working 2 sc in each stitch around (12 sts). The arms should feel ready to hug your finished doll momentarily.
Step 8: Final Arm Size
Continue with 1 sc in each stitch for 6 more rows (12 sts). Your arms should be approximately 8 sts wide and characteristic of cute, chubby monkey arms.
Step 9: Leg Construction
Using dark gray, start a similar process for the legs with 6 sc in a magic circle (6 sts). The legs should feel sturdy yet proportionate to the arms.
Step 10: Setting Legs Up
Increase these stitches to 12 by following the same increase pattern (12 sts), ensuring they maintain a robust shape for standing.
Step 11: Leg Length
Next, work in sc for 7 rounds (12 sts). As you complete this step, your legs should emerge as wider parts at the base.
Step 12: Tail Design
Centre some yarn into a foundation with 6 sc using dark gray. This will create the playful curling tail (6 sts).
Step 13: Tail Shaping
Increase for 3 rounds (6-12-18). Continue on for 6 rounds, creating a swirling, playful tail that showcases the monkey’s fun character.
Step 14: Final Assembly
With all parts complete, use the yarn needle to sew the head onto the body, placing arms on either side, followed by the legs, ensuring everything aligns. The adorable crochet monkey pattern should come to life as you assemble your joyful creation!
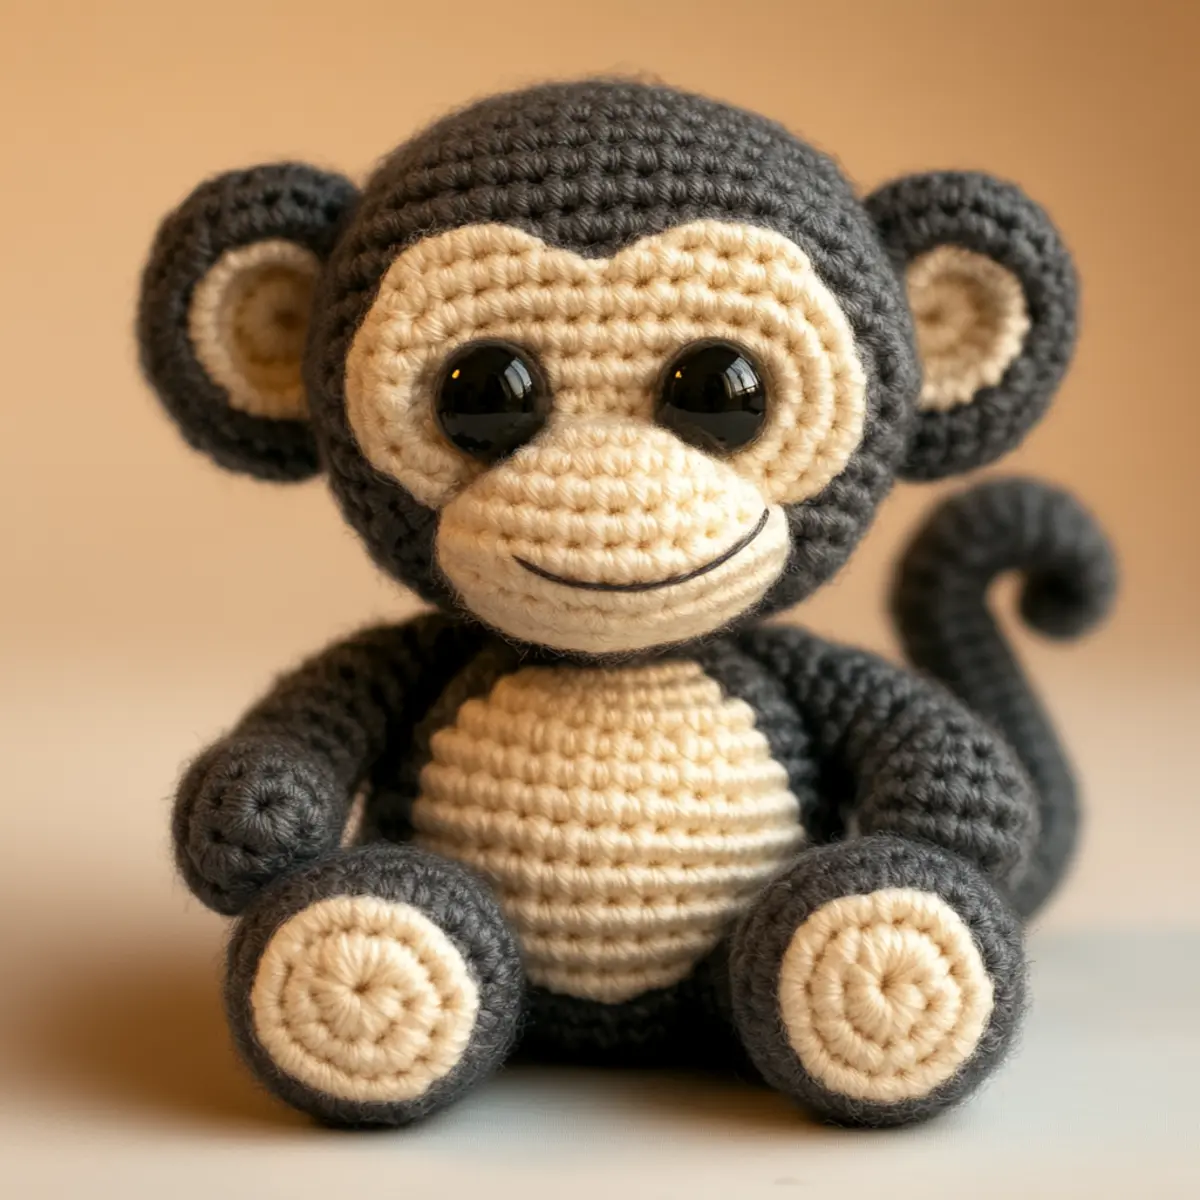
Crochet Monkey Pattern Variations
Feel free to let your creativity shine by customizing this charming crochet monkey pattern with these delightful variations!
-
Color Play: Swap the traditional gray and cream for vibrant colors like sunny yellow or ocean blue for a truly joyful vibe. Think of how fun it would be to create a tiger-striped monkey or a rainbow-fur friend!
-
Yarn Alternatives: Use cotton yarn instead of acrylic for a more breathable and summertime-friendly option. This change adds a different texture, making your monkey even more huggable!
-
Bulkier Version: Opt for a bulky yarn and a larger hook to create a statement piece that’s both cuddly and substantial. Imagine giving a giant monkey that becomes the centerpiece of a nursery or playful living room!
-
Accessorize: Get creative by adding a crocheted hat, scarf, or even little shoes to your monkey doll. These tiny details can turn an already adorable friend into a fashionable companion!
-
Facial Expressions: Embroider distinct facial expressions to give each monkey a personality of its own. One could sport a cheerful grin while another has a quirky smirk, making them each unique!
-
Textured Enhancements: Introduce fun textures by adding fringe to the tail or pompoms on the ears. These elements can elevate the charm and invite tactile exploration for little ones.
-
Size Adjustments: If you’re up for a challenge, you can modify the pattern to create a mini monkey keychain or an oversized plushie. The versatility of this design offers endless possibilities!
Crafting each variation allows you to explore your creative potential—why not start with a fun twist and surprise someone with a personalized handmade gift? Happy crocheting!
Helpful Tricks for Crochet Monkey Pattern
-
Maintain Tension: Consistently hold your yarn and hook to avoid uneven tension. This ensures your stitches are regular and help the doll maintain its shape.
-
Count Stitches: Regularly check your stitch count; it’s easy to drop stitches or add extras in the excitement! Use stitch markers after each round for accuracy.
-
Secure Stuffing: Stuff the monkey firmly but avoid over-stuffing, as this can distort proportions. A well-stuffed monkey stands tall and cuddly!
-
Pin Components: Before sewing parts together, pin them in place. This helps keep everything aligned and makes for a neat finish—no more wonky limbs!
-
Smooth Assembly: Use a running stitch for sewing parts together to maintain a clean look. This technique helps prevent any gaps and gives your crochet monkey a polished appearance.
-
Check Alignment: After assembling, double-check that the facial features and limbs are symmetric. This attention to detail will enhance the charm of your finished crochet monkey pattern!
How to Wash and Care for Your Crochet Monkey Doll
-
Machine Washing: Use a gentle cycle with cold water to preserve your crochet monkey doll’s vibrant colors and shape. Avoid high agitation to prevent any felting or pilling.
-
Hand Washing: For best results, gently hand wash the doll in cool water with mild soap. Swirl lightly to clean without risking damage to the delicate yarn.
-
Drying/Blocking: Lay your crochet monkey doll flat on a clean, dry towel to maintain its shape while air-drying. Avoid hanging to prevent stretching and distortion.
-
Storage: Store in a cool, dry place, and if needed, keep in a breathable cotton bag. This helps prevent dust and keeps your cheerful crochet monkey pattern looking fresh and inviting.
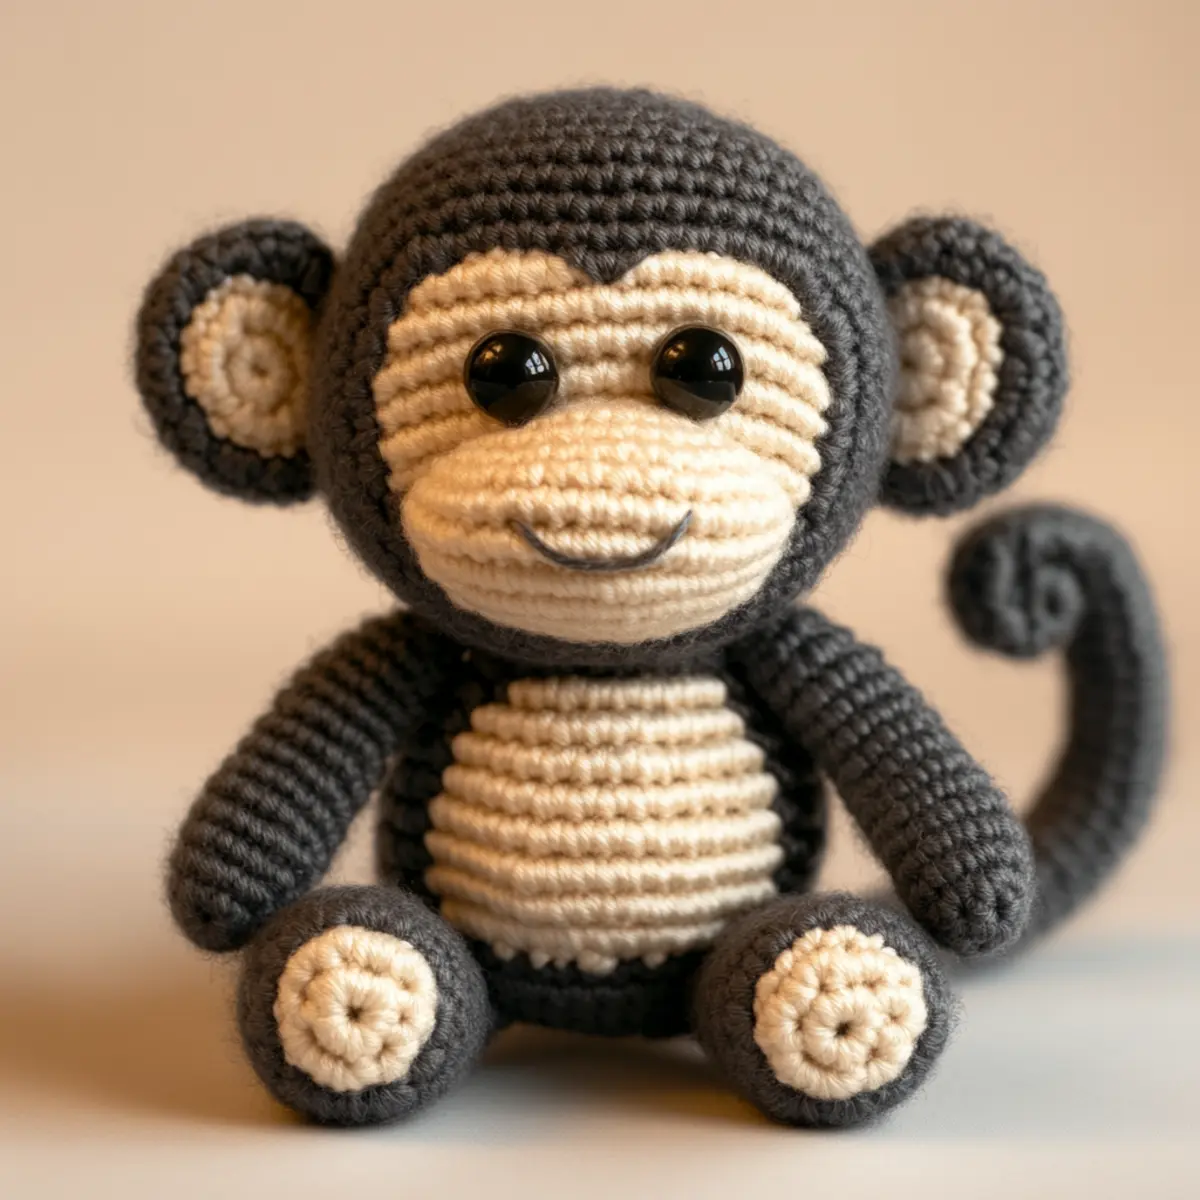
Adorable Amigurumi Monkey Doll FAQs
Can I use a different type of yarn for this crochet monkey pattern?
Absolutely! While worsted weight yarn (size 4) is recommended for the best results, you can definitely opt for different fibers like cotton or bamboo. Just keep in mind that the final texture and drape might vary, so it’s a good idea to check your gauge to ensure the final size and shape match your vision!
How can I adjust the size of the monkey doll?
To create a larger or smaller monkey, use a bulkier yarn with a larger hook for a plus-size version, or a lighter weight yarn with a smaller hook for a delicate doll. Remember to adjust your stitch count accordingly; for example, if you’re increasing size, you may want to chain in multiples of 3 + 1 for any added sections!
Why is my work curling while I crochet?
Don’t panic! Curling can be a common occurrence, especially if the tension is too tight. Try loosening your grip, and ensure your stitches are uniform. If you’re still having trouble, using a larger hook can help ease the curl. Make sure to regularly check your tension as you go!
What hook size should I use for this crochet monkey doll?
The recommended hook size for this adorable amigurumi monkey pattern is a 3.5 mm (E) crochet hook. This size allows for ideal stitch definition, helping the textures and shapes stand out beautifully!
How do I fix dropped stitches in my amigurumi work?
It’s an easy fix! Just grab a yarn needle or your hook and carefully pull the live stitch back up to the nearest row. If the stitch has unraveled, you can reverse the row until you reach the drop or even crochet little chains before continuing from there. Keep a stitch marker on hand to prevent future mishaps!
How do I make sure my monkey doll’s features are symmetrical?
Great question! After stuffing your pieces, use pins to secure them in place before sewing. This helps you visually align everything and maintain symmetry. Additionally, take the time to check and adjust the placement of facial features to enhance the charm of your finished monkey!
Leave a Reply