
As the sun peeks through the window, I find myself reaching for my favorite skeins of yarn to create something special—a charming crochet cat toy that’s sure to delight both the young and the young-at-heart. This whimsical plush not only offers a fun, cozy addition to any home but also provides the perfect opportunity for personalization. One of the best things about this project is that it works up quickly, making it a delightful stash-buster for all those colorful remnants. Plus, you’ll be crafting an heirloom-quality piece that’s meant to be treasured for years to come. So, whether you’re a seasoned crocheter or a beginner looking to take the next step, let’s dive into the world of soft stitches and plush textures—your new favorite cuddle buddy awaits!
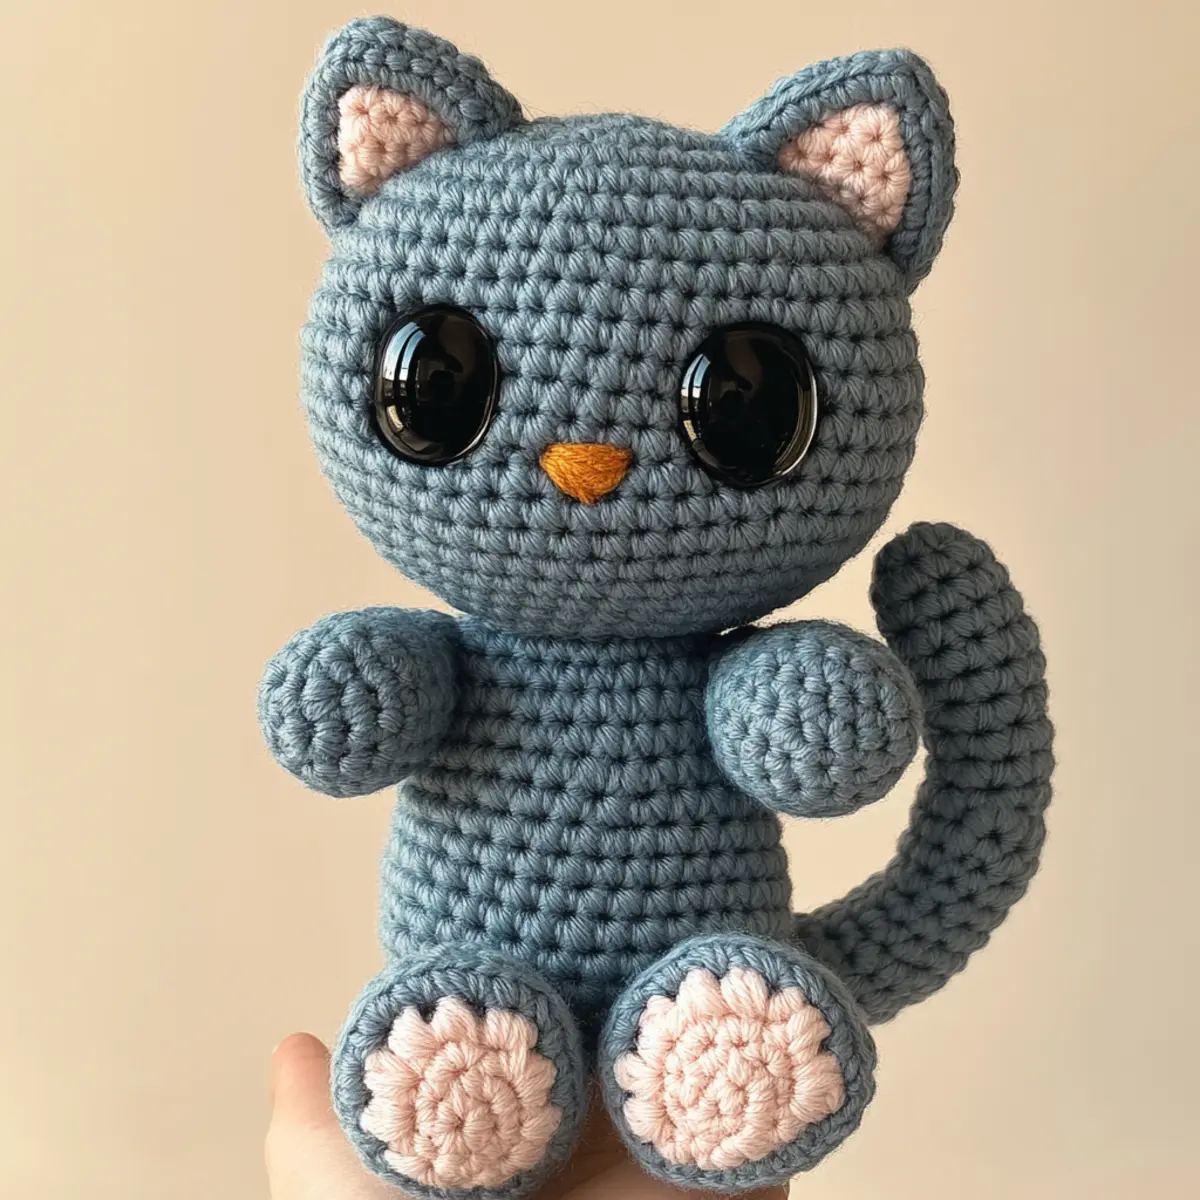
Crochet Cat Toy Materials & Tools
Get ready to craft a delightful plush toy that’s perfect for cuddles and decor!
Yarn
• Worsted or Bulky Weight Yarn – Approximately 200-300 yards in soft acrylic or plush for that cozy texture.
• Pink Yarn – A small amount needed for detailing the paws to add that cute touch.
Tools & Notions
• 5.0mm (H) or 6.0mm (J) Hook – Choose to create a firm fabric without any stuffing showing through.
• Safety Eyes (12mm) – The perfect size for giving your crochet cat toy a friendly face!
• Yarn Needle – Essential for sewing parts together and weaving in ends for a neat finish.
• Stitch Markers – Helpful for marking the beginning of rounds, especially in textured sections.
• Scissors – A must-have for trimming yarn and finishing your project with finesse.
Dive into this project with all the right tools and let your creativity run wild!
Why Will You Adore This Cat Toy?
Endearing Design: This crochet cat toy features a whimsical look, making it not only a fun plaything but also a charming decor piece for any space.
Customizable & Personal: Create your own unique version by varying colors and textures to match your aesthetic.
Heirloom Quality: Handcrafted with love, this plush cat can be cherished for generations, adding sentimental value to your creation.
Mindful Crafting: Enjoy the calming process of crocheting, which promotes relaxation and creativity—perfect for unwinding after a busy day.
Quick Creation: With an intermediate skill level, you’ll be amazed at how quickly this cuddly companion takes shape, allowing you to enjoy your handiwork in no time! For more satisfying makes, check out our guide on easy crochet patterns.
Gauge & Sizing Notes
Don’t skip the gauge swatch! Ensuring you have the right tension is crucial for your crochet cat toy, as it determines the final dimensions and overall durability. For this project, a standard gauge measurement is 4×4 inches (10×10 cm) which should equal 14 double crochets by 8 rows. If you want to make your plush cat larger, simply increase your starting chain in multiples of 6. Conversely, if your swatch is too small, consider going up a hook size or adjusting your yarn tension to achieve that cozy look you’re aiming for in your crochet cat toy. Happy stitching!
Step‑by‑Step Pattern for crochet cat toy
Round 1: Start the Head
Begin by making a magic ring and ch 1. Work 6 sc into the ring (6 sts). Pull the ring tight to close the hole. Your work should start to form a small circle.
Round 2: Increase for Volume
Ch 1, then 2 sc in each stitch around (12 sts). Make sure the circle is expanding evenly. Your work should begin to rise, creating the foundation for the cat’s head.
Round 3: Continue Increasing
Ch 1, 1 sc in the first stitch, then 2 sc in the next stitch. Repeat around (18 sts). Check that your circle is growing without curling at the edges, keeping it flat.
Round 4: Shape the Head
Ch 1, 1 sc in the first two stitches, then 2 sc in the next. Repeat around (24 sts). The head should now have a fuller shape, and you may start to notice some gentle curves.
Rounds 5-6: Create the Head Height
Ch 1, work 1 sc in each stitch around for 2 rounds (24 sts each round). This will give your crochet cat toy some necessary height for a rounded head. Your work should feel sturdy and plush.
Round 7: Adding Safety Eyes
Ch 1, work 1 sc in the first 12 sts, then place safety eyes in the next stitches (12 sts). Ensure the eyes are symmetrically placed. Your head is taking shape, with personality starting to emerge!
Round 8: Decrease for the Top
Ch 1, work 1 sc in the first 2 sts, then dec. Repeat around (18 sts). You’ll start to feel the head tapering, preparing for the cute, rounded top.
Round 9: Final Shaping
Ch 1, work 1 sc in the next stitch and dec. Repeat around (12 sts). The head shape should be prominent now, rounding off nicely.
Round 10: Finishing Up the Head
Ch 1, dec around (6 sts). Pull the yarn tightly to close the hole, and fasten off. Your crochet cat toy head should be soft and snuggly, ready to be attached to the body.
Round 1: Begin the Body
Using the same yarn, make a magic ring and ch 1. Work 6 sc into the ring (6 sts). This will lay the foundation for the adorable body of your crochet cat toy.
Round 2: Expand the Body
Ch 1, 2 sc in each stitch around (12 sts). Feel the body starting to form, giving your plush toy a base to sit firmly.
Round 3: Continue to Increase
Ch 1, 1 sc in the first stitch, then 2 sc in the next. Repeat around (18 sts). You will see the body growing, creating the perfect plump shape.
Round 4: Shape the Body
Ch 1, 1 sc in the first 2 stitches and 2 sc in the next. Repeat around (24 sts). Make sure to keep your stitches even, ensuring the body retains its form.
Rounds 5-8: Body Height
Ch 1, work 1 sc in each stitch around for 4 rounds (24 sts each round). Your work should take on a cozy, sturdy feel, forming the iconic plush body of your crochet cat toy.
Round 9: Base Flattening
Ch 1, dec around (12 sts). The body should start to flatten slightly, allowing your plush to sit stably.
Round 10: Close the Body
Ch 1, dec around (6 sts). Pull your yarn tight. The body is complete, transitioning to the limbs, making your crochet cat toy come to life.
Step 1: Create the Legs
To make the legs, start as before with a magic ring. Ch 1, and work 6 sc into the ring (6 sts). These legs will give your cat stability and charm.
Step 2: Leg Thickness
Ch 1, then 2 sc in each stitch around (12 sts). The legs should be slightly thicker, allowing for a sturdy base for the adorable body.
Step 3: Leg Length
Ch 1, work 1 sc in each stitch around for 3 rounds (12 sts each round). Your legs should feel plush and will eventually support your cat toy without wobbling.
Step 4: Close the Legs
Ch 1, dec around (6 sts). Pull your yarn tight and fasten off, leaving an extra long tail for sewing. The legs are now ready to attach!
Repeat Steps for Second Leg
Follow the same steps for the second leg. Once both legs are complete, it’s time to sew them onto the body for added whimsy to your crochet cat toy.
Step 1: Crafting the Arms
Start with a magic ring; ch 1 and work 6 sc into the ring (6 sts). The arms will be smaller but equally lovable to complete your plush cat toy.
Step 2: Arm Increasing
Ch 1, then 2 sc in each stitch around (12 sts). The arms will now be slightly wider, complementing the overall shape of your crochet cat toy.
Step 3: Shortening the Arms
Ch 1, work 1 sc in each stitch around for 2 rounds (12 sts each round). These arms are forming nicely and will make your cat toy even more lovable.
Step 4: Closing the Arms
Ch 1, dec around (6 sts) and fasten off, leaving a long tail for sewing. Your arms will add heartwarming detail to your adorable plush feline.
Step 1: Form the Ears
Using a magic ring, ch 1 and crochet 5 sc into the ring (5 sts). The ears will add character to your crochet cat toy, giving it a whimsical touch.
Step 2: Increase for Ears
Ch 1, then 2 sc in each stitch around (10 sts). Your ears are taking shape, creating the sweet look that will enhance your cat’s charm.
Step 3: Create Ear Height
Ch 1, work 1 sc in each stitch around for 2 rounds (10 sts each round). These will be triangular, and you’ll start to see the character of the ears emerging.
Step 4: Tapering the Ears
Ch 1, dec around (5 sts). Your ears are nearly done and should look slightly pointy. Fasten off, leaving a long tail to attach to the head.
Step 1: Crochet the Tail
Make a chain about 20 inches long, then work 1 sc in each chain back to the starting point. Your tail should look long and playful, ready to offset the design of your crochet cat toy.
Step 2: Finishing the Tail
Fasten off, leaving a long tail for attachment. This tail will bring everything together, adding the final touch to your whimsical plush cat toy.
Step 1: Assembly of Your Cat
Begin with the head by sewing it securely onto the body. Use the tail left from previous steps to stitch carefully, ensuring stability and a snug fit. Your crochet cat toy should start looking incredibly cute at this stage.
Step 2: Attach the Legs
Position and sew each leg to the bottom of the body, making sure they are evenly spaced for balance. Your creation will now stand proudly, ready for cuddles.
Step 3: Adding the Arms
Sew the arms symmetrically onto the body, about halfway up each side. This adds an adorable touch and makes your plush cat toy even more lifelike.
Step 4: Securing the Ears
Position the ears at the top of the head and sew securely. Ensure they are even, giving your creation that signature whimsical look.
Step 5: Tail Attachment
Finally, sew the tail to the back of the body, ensuring it is placed securely. This cute tail will complete your crochet cat toy beautifully, ready for lots of love!
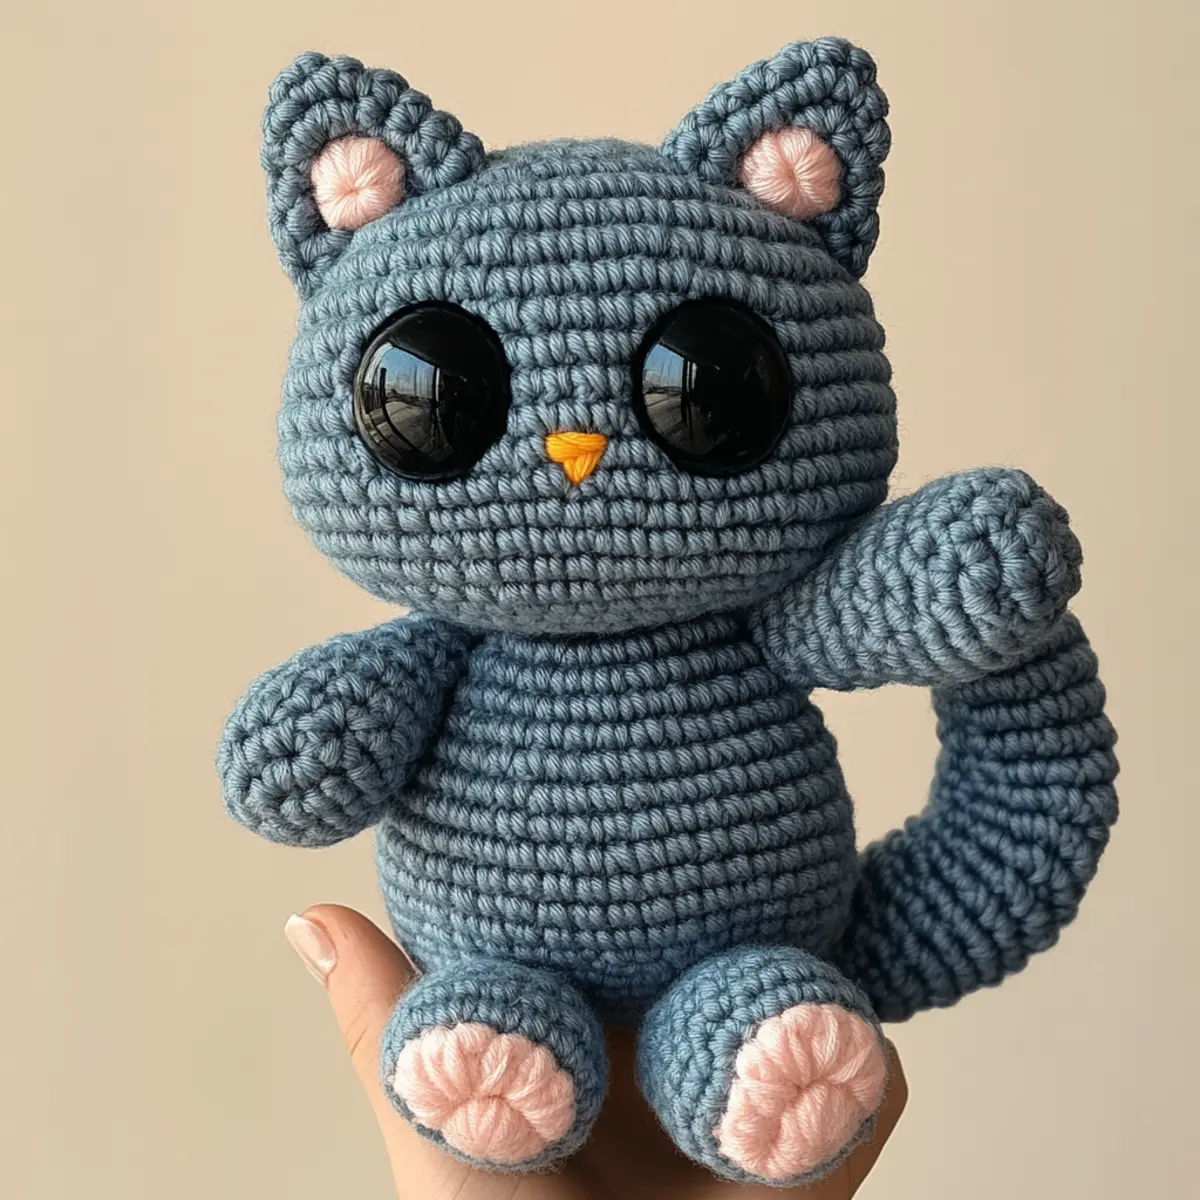
Helpful Tricks for Your Crochet Cat Toy
-
Count Carefully: Always mark the first stitch of each round to avoid losing track, especially when increases are involved in your crochet cat toy.
-
Watch Your Tension: Maintaining consistent tension while crocheting ensures a sturdier body and prevents stuffing from peeking through, making your plush toy last longer.
-
Block for a Finish: Lightly blocking your finished pieces can create a uniform shape, enhancing the overall appearance of your crochet cat toy.
-
Use Safety Eyes Early: Incorporate safety eyes into the head as you increase rounds, ensuring they stay securely in place and add character to your creation.
-
Stitch Marker Helper: Use stitch markers to pinpoint key locations, like where to change stitch textures; this also helps avoid confusion during assembly.
How to Wash and Care for Your Crochet Cat Toy
-
Machine Washing: If you need to clean your crochet cat toy, place it in a mesh laundry bag and wash it on a gentle cycle with cold water. This helps prevent felting or pilling.
-
Hand Washing: For a more delicate approach, hand wash your toy in cold water with mild detergent, gently squeezing without agitating to maintain its plush texture.
-
Drying/Blocking: Lay your crochet cat toy flat on a clean towel to dry, reshaping it as needed. This will ensure it retains its charming shape and softness.
-
Storage: Store your plush toy in a cool, dry place, away from direct sunlight to avoid color fading, helping to keep your cherished crochet cat toy looking fresh for years.
Crochet Cat Toy Variations
Feel inspired to make this crochet cat toy your own with exciting variations that unleash your creativity!
-
Yarn Weight Swaps: Utilize lighter or heavier yarns to adjust the size of your plush. Experimenting with different weights can yield unique results.
-
Fiber Alternatives: Swap acrylic for cotton for a structured finish or use chenille for extra fluffiness. Each fiber adds its own charm!
-
Color Blocking: Create a multicolored cat by using different shades for each section, such as a contrasting body and head. It’s a fun way to showcase your favorite colors.
-
Size Adjustments: Change your hook size to modify the dimensions. A larger hook can create a much bigger cuddle buddy, perfect for snuggling!
-
Textured Stitches: Incorporate different stitches, like bobbles or shells, to create delightful textures throughout your plush. This will make your cat toy even more eye-catching.
-
Creative Embellishments: Add quirky details, such as a bowtie or collar. Personal touches can reflect your style, transforming the toy into a true masterpiece.
-
Add a Pom-Pom Tail: Attach a fluffy pom-pom instead of a traditional tail for a playful twist that adds character and fun to your cat toy.
-
Fringe or Border: Finish your plush with a trendy fringe or a decorative border along the edges for an extra cozy feel. This little detail elevates the overall design.
As you explore these variations, don’t forget to check out our handy guide on adjusting crochet patterns for even more customization tips! Happy crocheting!
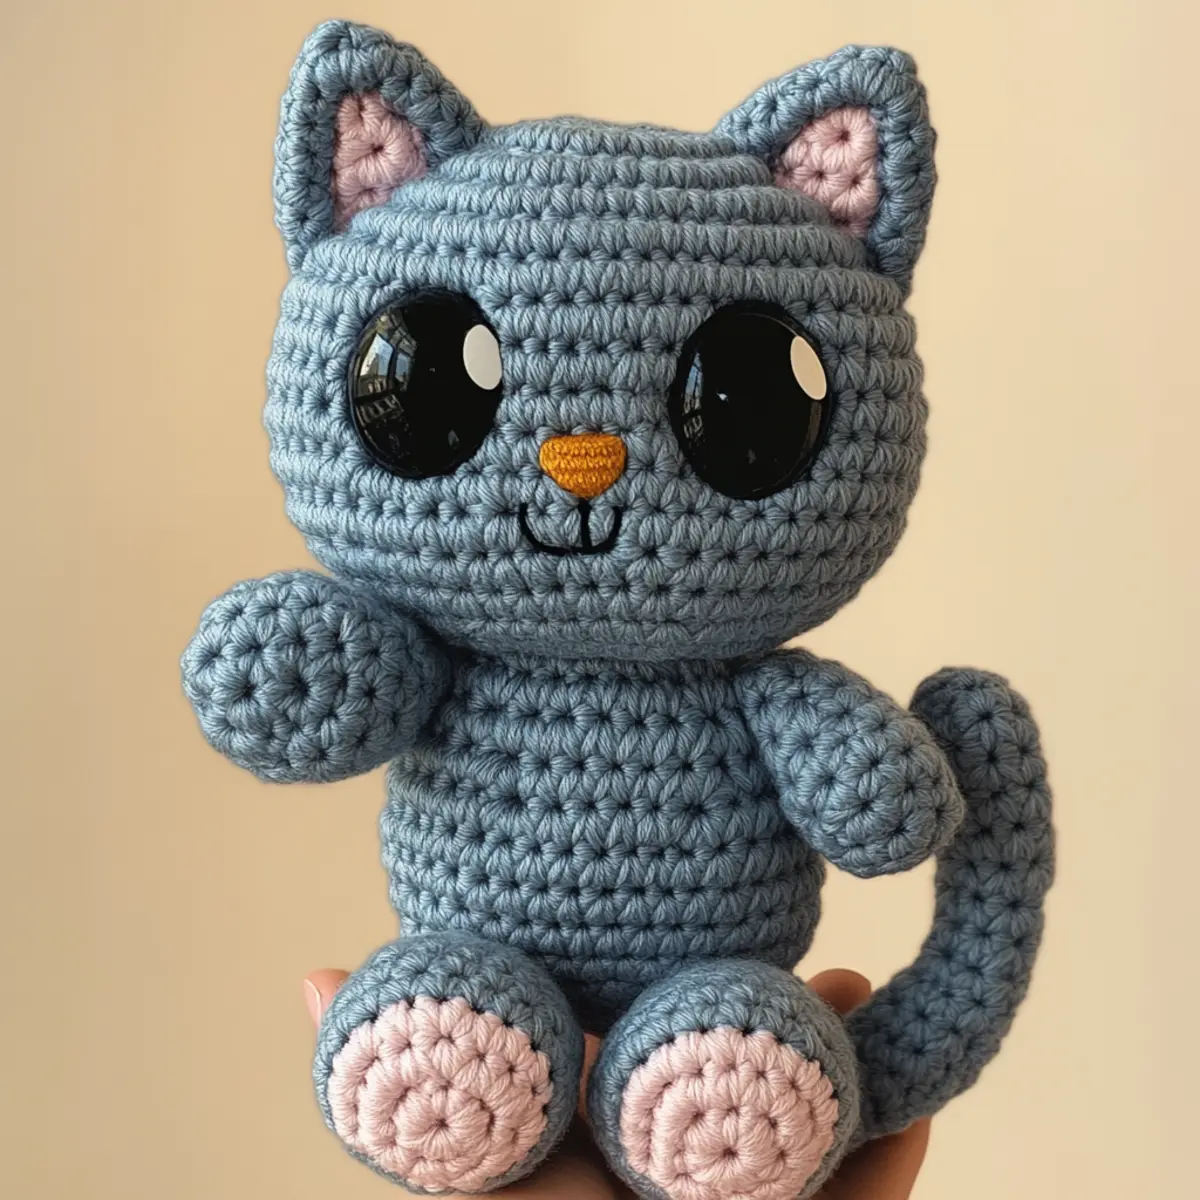
Charming Crochet Cat Plush FAQs
Can I use a different type of yarn for my crochet cat toy?
Absolutely! While a worsted or bulky weight yarn (size 4 or 5) is recommended, feel free to experiment. Cotton will give your plush a firmer structure, while bulky chenille will add extra fluffiness and coziness. Just ensure that the yarn maintains a similar gauge when you’re working to keep your cat’s shape consistent.
How can I adjust the size of my crochet cat toy?
It’s quite simple! You can tweak the size by using a larger hook or a thicker yarn for a plusher toy. Alternatively, if you want a smaller plush, opt for a lighter yarn and a smaller hook. Remember to adjust your stitch counts accordingly, focusing on maintaining proportions for the sections.
Why is my crochet cat toy curling at the edges?
Don’t panic! If your edges are curling like a bowl, it often means your tension is too tight. Try loosening your grip a bit or going up a hook size. Alternatively, if you’re using a yarn that’s too lightweight for your chosen hook, switching to a heavier yarn can also help flatten those edges.
What’s the best hook size for my crochet cat toy?
A hook size between 5.0 mm (H) and 6.0 mm (J) is ideal for achieving the plush and cozy texture that this project needs. However, feel free to adjust based on your yarn choice and personal preference—just remember to check your gauge to ensure everything fits nicely together!
How do I fix dropped stitches in my project?
It’s an easy fix! Simply use a yarn needle to weave the dropped stitch back into its correct position. If the dropped stitch is far below, you can also use a crochet hook to pull it back up through the previous rows. Just be gentle to avoid creating holes in your plush toy!
Should I block my crochet cat toy before assembling?
Yes, lightly blocking your pieces can make a huge difference! It helps to even out your stitches and gives your plush a more professional finish. Once blocked, your crochet cat toy will hold its shape beautifully and be ready for assembly.
Leave a Reply