
One chilly afternoon, I found myself reminiscing about childhood comforts and favorite toys. This cozy nostalgia sparked an inspired moment where I decided to create a delightful Hello Kitty crochet doll. The project is charming and beginner-friendly, making it an ideal choice for all yarn enthusiasts looking to enhance their skills. The Hello Kitty crochet is not only a stash-buster, allowing you to dive into your yarn collection, but it also serves as a heartfelt gift perfect for any occasion. Whether you’re looking to create a decorative piece or a cute companion, this pattern brings warmth and joy to any crochet session. What’s truly special about crafting this doll is the medley of techniques you’ll practice, helping you grow more confident with your hook. Plus, the instant gratification of completing such an adorable project is undeniably rewarding. So, as you envision your own lovely doll, ask yourself: how will you put your unique twist on this timeless character?
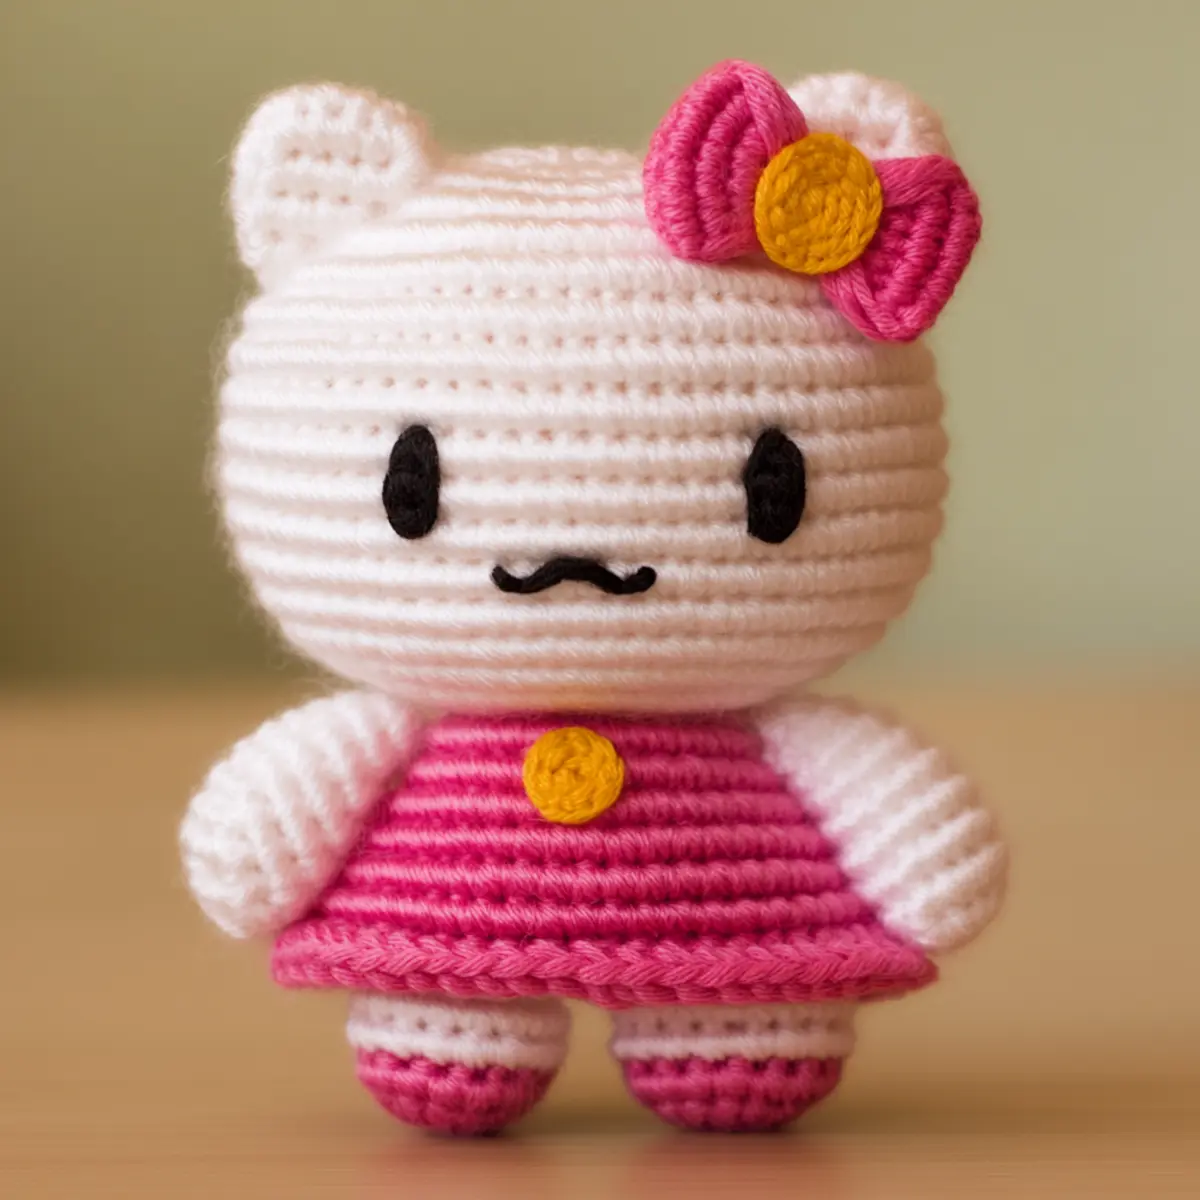
Hello Kitty Crochet Materials & Tools
Yarn
DK weight yarn – Approximately 100-150 yards in white, pink/red, and black for creating your Hello Kitty crochet.
Tools & Notions
Crochet hook (2-3 mm) – Use a B-1 to C-2 hook for ideal stitch definitions on your Hello Kitty crochet.
Scissors – Keep a sturdy pair handy to cut your yarn cleanly.
Fibrefill stuffing – Fill your Hello Kitty doll with stuffing for a cuddly feel.
Keychain ring – Optional, great for attaching your doll as a keychain.
Stitch markers – Helpful in keeping track of rounds. Maintain consistent tension throughout to enhance your craft!
What Makes This Hello Kitty Pattern a Must-Try?
Crafting this Hello Kitty doll offers a variety of delightful benefits! First, it’s a beginner-friendly project that introduces basic crochet techniques in a fun, engaging way. You’ll enjoy the quaint aesthetic appeal of the finished product, perfect for decorating a child’s room or simply displaying in your own space. Additionally, it’s a stash-friendly pattern; using up leftover yarn not only saves costs but also gives you a chance to be creatively resourceful. With its customizable options, from the dress to the bow, you have the power to make this doll uniquely yours. For those looking to practice more advanced skills, this project can incorporate techniques from Crochet Granny Square patterns, adding a new texture or detail that amplifies the cuteness. Lastly, completing this pattern fast is a great way to whip up quick gifts that will undoubtedly bring smiles!
Gauge & Sizing Notes for Hello Kitty Crochet
For the Hello Kitty crochet doll, checking your tension is crucial to ensure an even and symmetrical finish. A standard gauge swatch of 4×4 inches (10×10 cm) should yield approximately 16 stitches and 18 rows in double crochet. This gauge provides a consistent texture, preventing stuffing from being visible and ensuring the doll’s features hold their shape. If your swatch doesn’t meet these dimensions, adjust your hook size; a smaller hook tightens the stitches, while a larger hook loosens them. To resize your Hello Kitty crochet project, modify the starting round by using multiples of 6 for the head and 12 for the body. Personalize your doll’s dimensions while maintaining proportionality by adjusting the total stitch count in each round as necessary. Achieving your desired size adds a lovely, customized touch to this iconic character!
Step-by-Step Pattern for Hello Kitty Crochet
Row 1: Start with the Head Begin by creating a magic ring. Ch 2, then work 6 sc into the ring to form the base of Hello Kitty’s head (6).
Row 2: Increase the Head In the next round, crochet (inc) 2 sc in each stitch around to shape the head (12).
Row 3: Continue Shaping For this round, work (sc, inc) in each round, repeating until you reach a total of 18 stitches (18).
Row 4: More Texture Continue with a round of (2 sc, inc) over the stitches to build up the head shape to 24 (24).
Row 5: Form the Face Work 24 sc around without any increases. This will create a solid base for the facial features (24).
Row 6: Start the Body Switch to the body by chaining 2 and working into the previous round’s head. Start with (12 sc, inc) until you reach 30 total stitches (30).
Row 7: Dress Detailing Now, work a straight round of 30 sc to establish the body shape. This forms the bottom of Hello Kitty’s dress (30).
Row 8: Shaping the Dress Transition to (2 sc, dec) around the body, pulling everything in for a tighter fit at the waist (24).
Row 9: Crafting the Ears To create the ears, start 2 magic rings, work 6 sc in each, and seam them into place on the head (6 each).
Row 10: Ears Assembly Flatten each ear and attach them securely to the top of Hello Kitty’s head to give her character (2 ears).
Row 11: Craft the Bow Create a small bow using pink yarn, working 4 hdc in a magic ring, join, weave in ends, and attach to one ear (1 bow).
Row 12: Final Assembly Assemble all parts: stitch the arms and legs with 10 sc each, secure them onto the body, and add a keychain if desired for functionality. You’re now finished with your Hello Kitty crochet doll! (10 each for arms and legs).
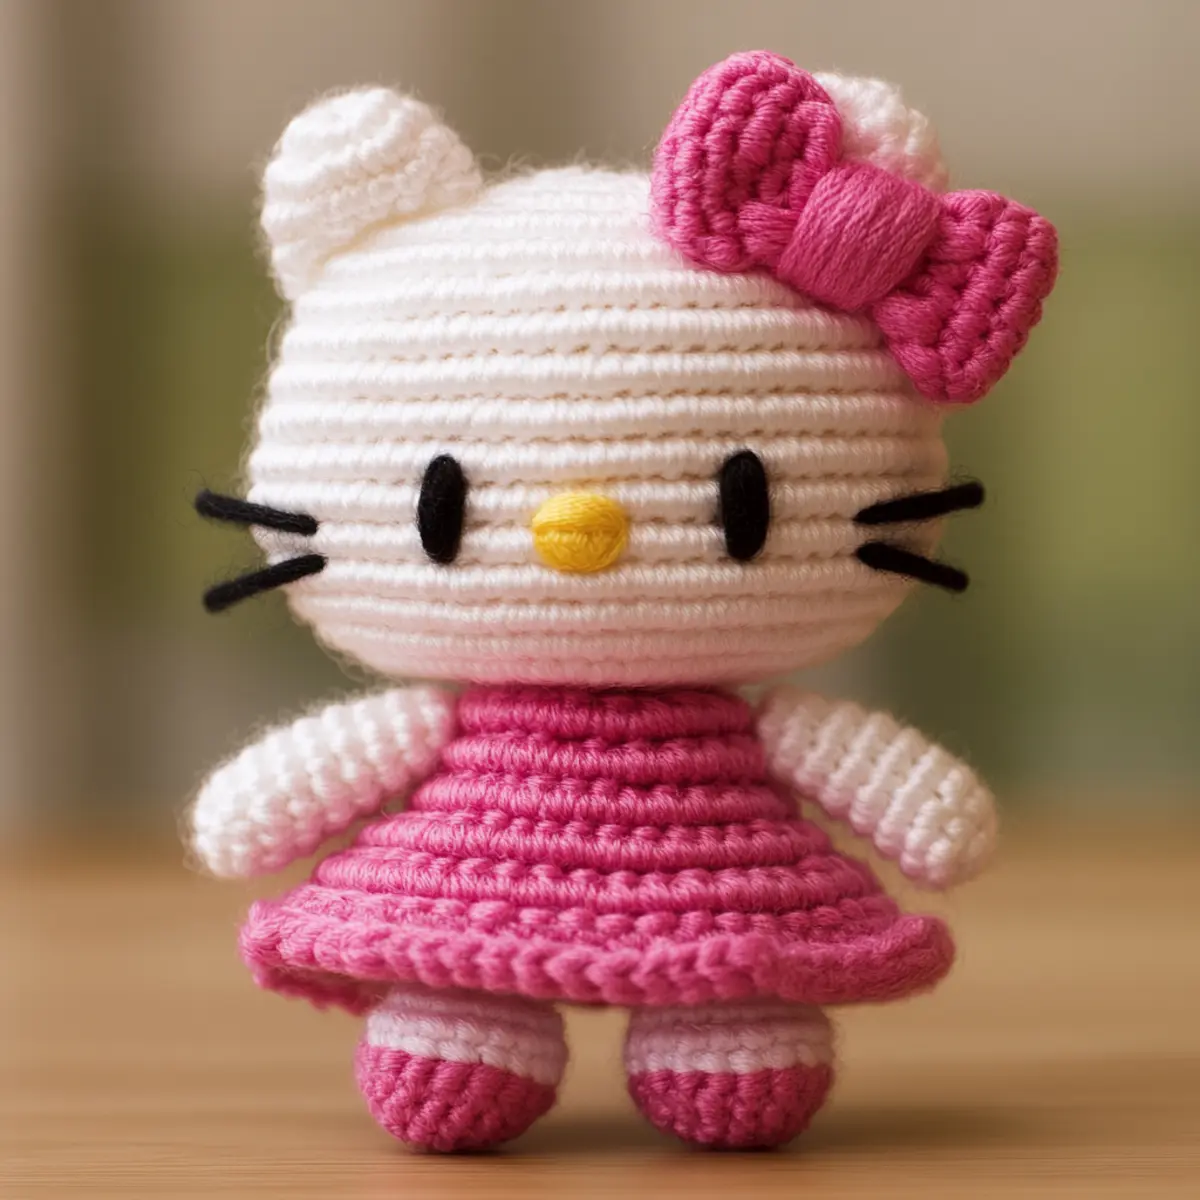
How to Wash and Care for Your Hello Kitty Crochet
Machine Washing: If using acrylic yarn, a gentle machine wash in cold water is safe. Use a laundry bag to protect the doll.
Hand Washing: For best results, hand wash your Hello Kitty crochet in lukewarm water with mild detergent. Avoid vigorous scrubbing.
Drying: Always lay your toy flat to dry away from direct sunlight to maintain its shape and color.
Storage: Store in a cool, dry place. Avoid damp areas to keep the doll looking fresh and delightful for years to come.
hello kitty crochet Variations and Substitutions
Feel free to get creative with your Hello Kitty doll! Customization can add a personal touch to this cherished project.
-
Thicker Yarn: Use a bulky weight yarn for a larger version. This will make an adorable, huggable doll perfect for cuddling.
-
Sparkling Yarn: Opt for a glittery yarn to create a whimsical version of Hello Kitty, adding an eye-catching shimmer to her dress.
-
Cotton Yarn: Swap acrylic for cotton for a more breathable and eco-friendly option. This choice will give your doll a softer feel and environmental edge.
-
Color Variations: Experiment with the color of Hello Kitty’s dress and bow! Vary shades to reflect the seasons or for a unique gift.
-
Textured Stitching: Incorporate different crochet stitches, such as bobbles or shells, to create visual interest and texture on her dress.
-
Accessories: Add props like a tiny purse or accessories featuring her friends for extra charm. These small touches will bring your Hello Kitty to life in a delightful way!
For a fun little surprise, try crafting a tiny cat companion to accompany your Hello Kitty. It will add another layer of cute to your crochet endeavors! Dive into the world of crochet with patterns such as the Crochet Granny Square for more creatively engaging projects.
Expert Tips for Hello Kitty Crochet
Keep Track: Always count your stitches after each row to avoid mistakes. This helps maintain the symmetry of your Hello Kitty crochet doll.
Stitch Consistency: Use a consistent tension throughout to ensure even stitches and avoid any gaps or visible stuffing.
Use Markers: Utilize stitch markers at the beginning of each round to help keep track of your progress in this charming crochet project.
Ears Placement: When attaching the ears, ensure they are level for a cute look; it’s easy to misplace them if you’re not careful!
Avoid Twists: When creating the foundation chain for the body, ensure it is not twisted. This will save you from unnecessary unraveling later.
Experiment Colorfully: Don’t hesitate to personalize your Hello Kitty crochet with different colors for the dress or accessories for a unique touch!
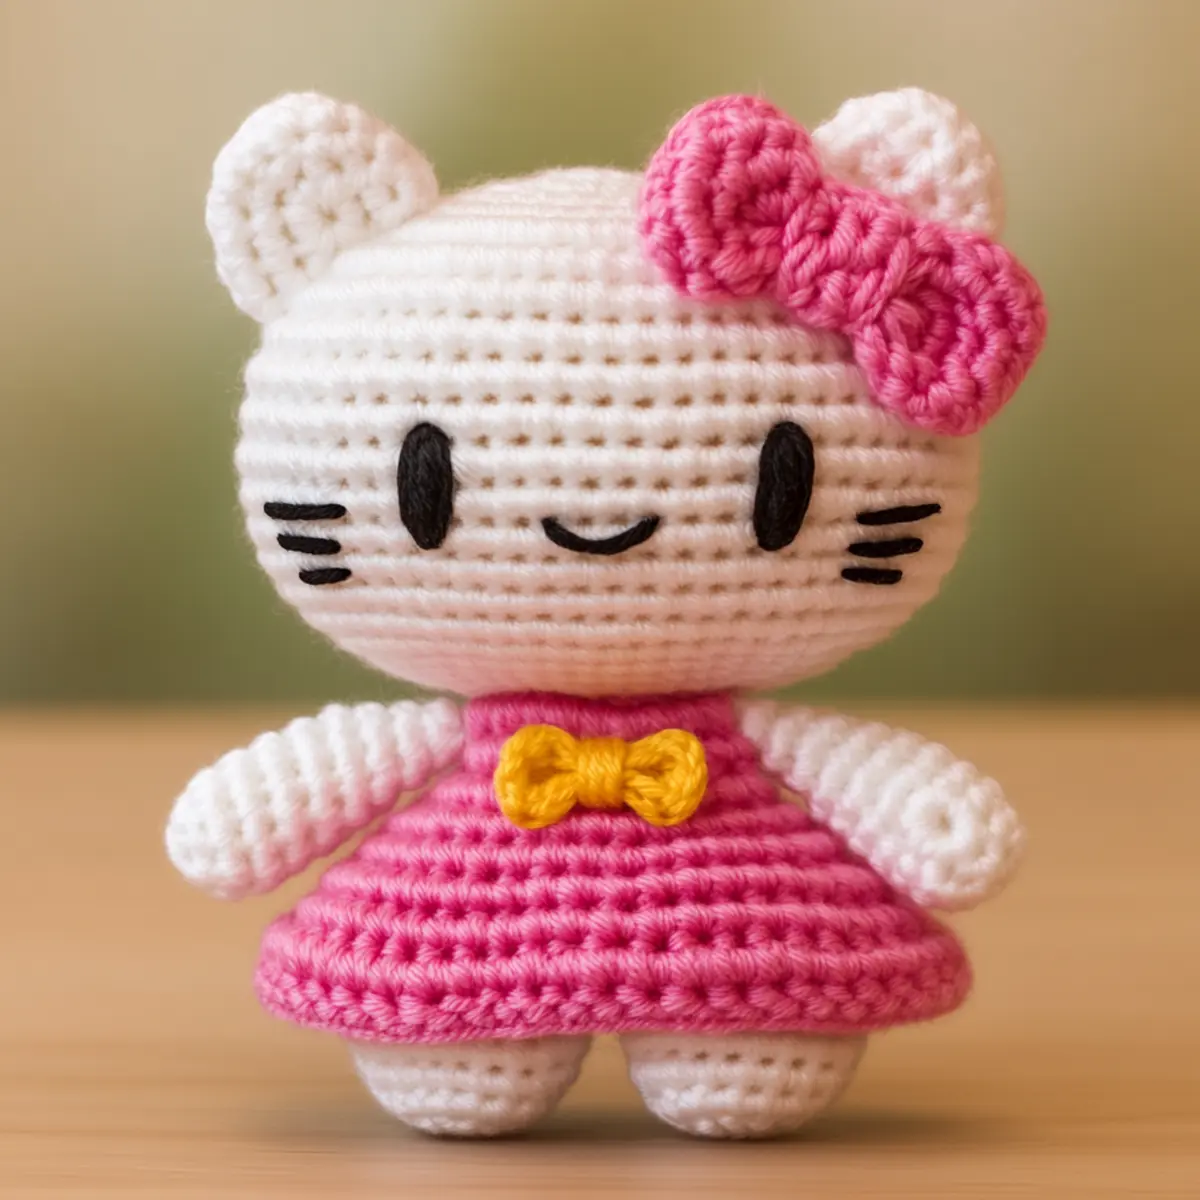
Hello Kitty Crochet FAQs
Can I use different yarn types for this pattern?
Absolutely! While DK weight acrylic or cotton is recommended for durability and texture, feel free to experiment with other yarn types that meet the weight.
How can I adjust this doll’s size?
To adjust the size of your Hello Kitty crochet, change your hook size or modify the starting round, using multiples of 6 for the head and 12 for the body.
What should I do if my stitches are curling?
Don’t panic! Curling stitches often happen if your tension is too tight. Consider using a larger hook or crocheting more loosely on your next project.
What hook size should I use?
For the Hello Kitty crochet doll, a crochet hook in the range of 2-3 mm (B-1 to C-2) will create the best results with clean stitching.
I dropped a stitch; how do I fix it?
Don’t worry! Simply find the dropped stitch and carefully pull your working yarn through to correct it. You can then continue as normal!
Is this pattern suitable for beginners?
Yes, this Hello Kitty crochet pattern is beginner-friendly! It introduces basic techniques while being simple and enjoyable to create.
Leave a Reply