
Cozy Snapshot: There’s something utterly heartwarming about cradling a soft, crocheted lovey in your hands. The moment I completed my Baby Dino Lovey, I was overwhelmed with joy, knowing it would become a cherished companion for a little one. This project is all about combining coziness with creativity, offering a delightful way to introduce babies to the comfort of crochet. As you embark on creating your very own Baby Dino Lovey, you’ll find that it’s not only a quick stash-buster but also a beginner-friendly project that invites you to explore simple stitches. The whimsical dinosaur motif captures a playful spirit that engages infants while serving a functional purpose. Plus, the process of crafting it offers a wonderful sense of fulfillment. What’s more exciting is the endless potential for customization, making each lovey unique and special. Are you ready to dive into this exciting crochet journey and discover the joy of stitching a cuddly friend for baby snuggles?
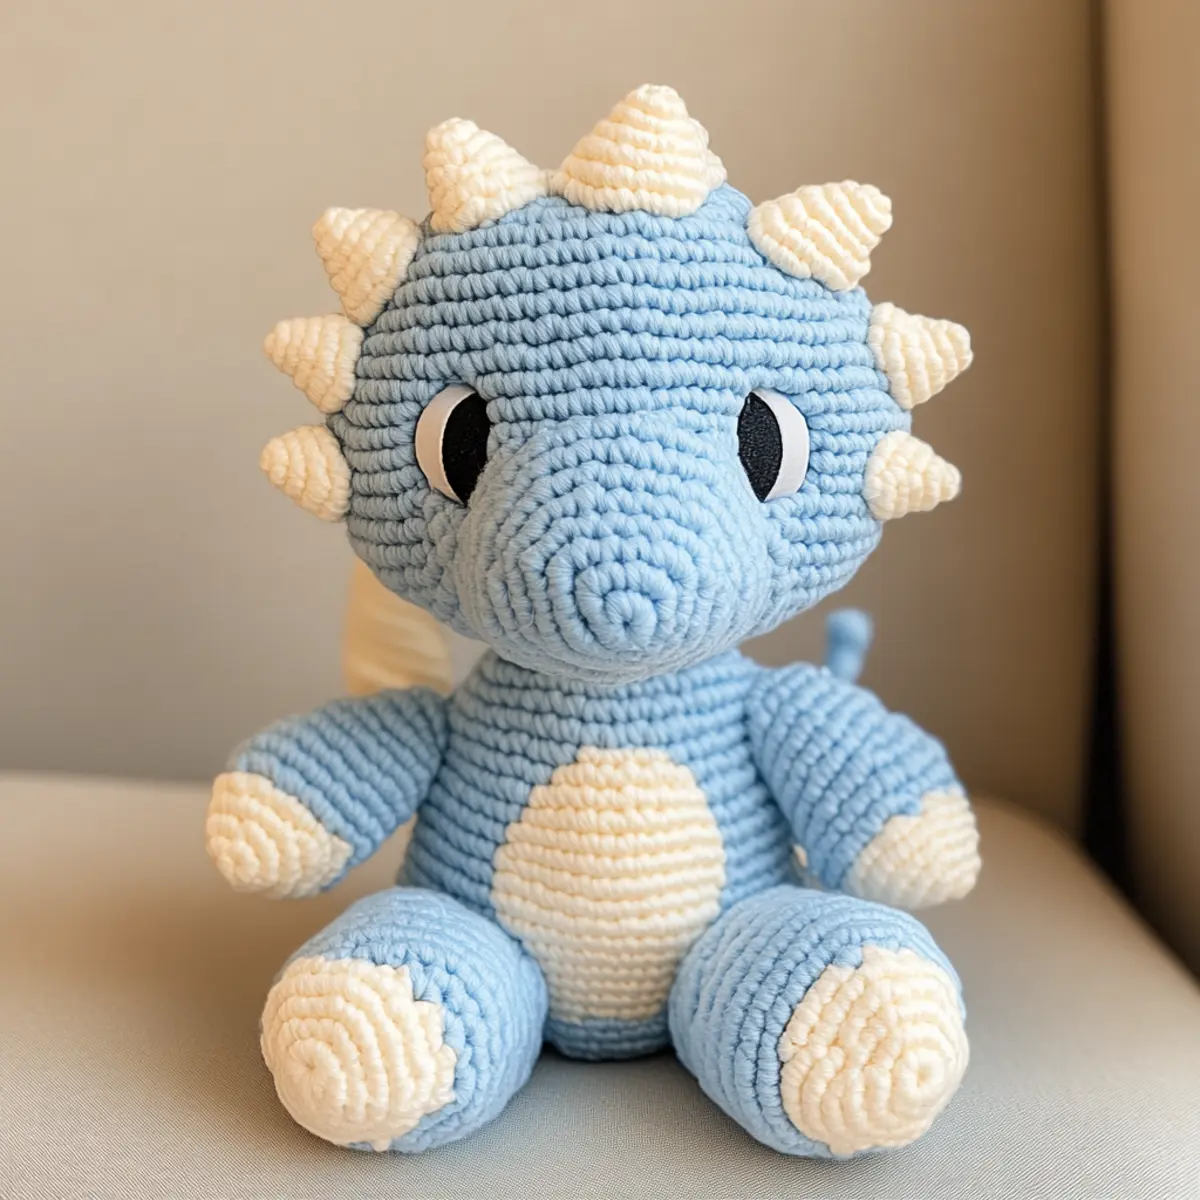
Baby Dino Lovey Materials & Tools
Yarn
Medium weight (Worsted) yarn – Approximately 200-250 yards in blue, and 50-100 yards in cream for a delightful Baby Dino Lovey. Consider acrylic for durability and softness.
Tools & Notions
5 mm (H-8) crochet hook – Ideal for achieving the right tension and fabric density.
Safety eyes – These ensure your dino has a cute face while being safe for babies.
Needle – Use a yarn needle to sew pieces together securely, reinforcing your Baby Dino Lovey’s durability.
Hypoallergenic stuffing – To fill the lovey while keeping it safe and cuddly for infants.
Stitch markers – Helpful in keeping track of rounds as you crochet the dino.
Why You’ll Love This Pattern
Simplicity is a standout feature of the Baby Dino Lovey pattern, making it accessible even for novice crocheters. Quick to make, this project is perfect for last-minute baby gifts. You’ll enjoy experimenting with different colors and textures, as it’s incredibly stash-friendly; utilize your leftover yarn to create charming variations! Each cute dino is customizable, allowing for personalized touches that make it truly special. The lovey also boasts aesthetic appeal, catching the eye with its vibrant hues and playful shape, making it a delightful addition to any nursery. Not to mention, if you’re interested in other cozy creations, check out our guide on crochet baby blankets or explore how to make your own amigurumi toys for even more crafting inspiration!
Gauge & Sizing Notes for Baby Dino Lovey
Checking your gauge is vital for the Baby Dino Lovey to ensure your project turns out both cute and appropriately sized for infant use. Aim for a standard gauge of 4×4 inches (10×10 cm) to maintain consistency in your crochet work. If you’re using medium weight (Worsted) yarn, ensure your stitching tension is uniform. If your swatch does not match the required gauge, adjust your hook size for looser stitches or switch to a smaller hook for tighter ones. To resize your lovey, you can alter the initial chain or rounds, remembering that you may need to make slight adjustments in your increases to maintain a proportional dino shape. Customizing your Baby Dino Lovey can enhance its charm, making it a perfect snuggle companion.
Step-by-Step Pattern for Baby Dino Lovey
Row 1: Magic Circle Start by creating a magic circle. Into the circle, crochet 6 single crochet (sc) stitches. This initial round will form the base of your dino head and help shape its round silhouette. (6 sc)
Row 2: Increase Round In this round, you’ll increase your stitch count. Work 2 sc in each stitch around to create added volume. This forms the round head of the Baby Dino Lovey. Count your stitches as you go to ensure accuracy. (12 sc)
Row 3: Building the Head Continue working in rounds. For this round, crochet 1 sc in the first stitch, followed by 2 sc in the next stitch. Repeat this pattern around to establish a dome shape for the head. (18 sc)
Row 4: Shaping Up This time, start with 2 sc in the first two stitches, then 1 sc in the next stitch. Continue this pattern around to ensure your dino’s head is proportional and well-rounded. (24 sc)
Row 5: Adjusting Height For this row, keep it simple and crochet 1 sc in each stitch around. This will begin to elongate the head further, working towards a pleasing dinosaur shape while maintaining structure. (24 sc)
Row 6: Creating Features Start making room for the eyes. In this round, crochet 1 sc in the first 3 stitches, then ch 1 and skip the next stitch. Resume with 1 sc in the following stitches. This will give detail for attaching the safety eyes later. (24 sc)
Row 7: Complete the Head In this round, continue with 1 sc in each stitch to finish off the head of the Baby Dino Lovey. Ensure the round remains even and tidy for aesthetic appeal. (24 sc)
Row 8: Begin Body Transition to constructing the body by crocheting 1 sc in every stitch around. Note that the body will have a bit more volume than the head, so maintain an even tension for consistency. (30 sc)
Row 9: Continue Increasing For a slightly bulkier body, increase more stitches this round. Work 2 sc in the first stitch, and then 1 sc in the next 4 stitches. Repeat this pattern around to maintain smooth proportions. (36 sc)
Row 10: Forming the Lumbar Region Continue with 1 sc in each stitch around again to maintain shape. Focus on keeping it snug while crafting the Baby Dino Lovey, emphasizing even spacing to reduce gaps. (36 sc)
Row 11: Adding Limbs Start the limbs by crocheting 6 sc separately for each arm and leg. This will create 4 pieces that attach later to the body, ensuring your dinosaur is cute and cuddly. (6 sc per limb)
Row 12: Assembling the Lovey Begin assembling your Baby Dino Lovey. Attach the head securely to the body using slip stitching (sl st) to keep it steady. Be sure to stuff the body with hypoallergenic filling. This step is essential to ensure your lovey is plush and safe for little ones. (As needed)
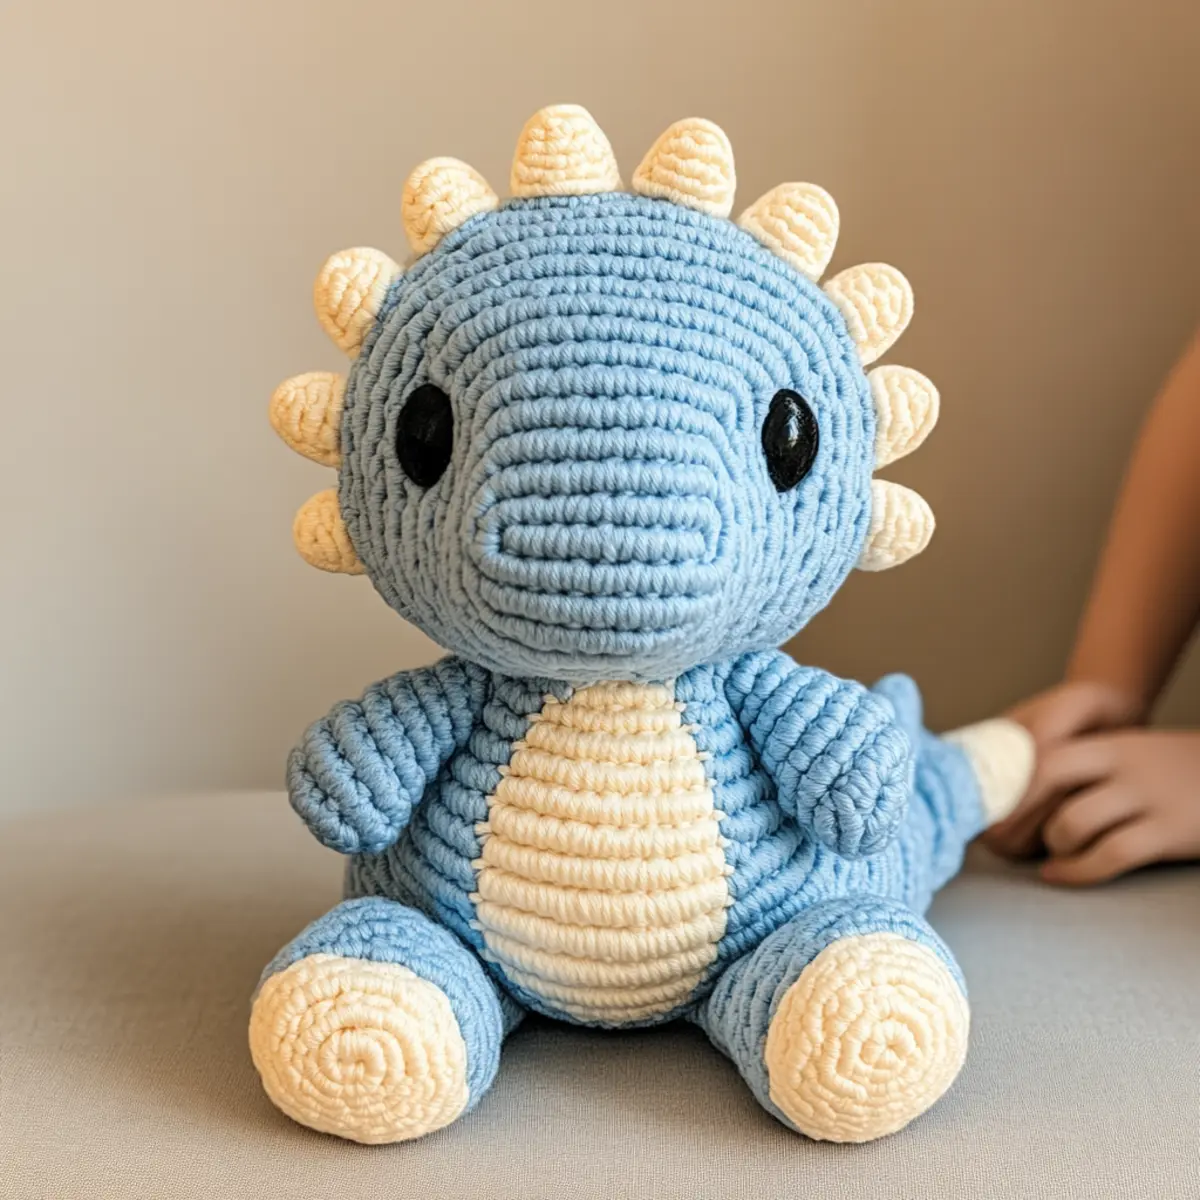
Expert Tips for the Best Baby Dino Lovey
Count Carefully: Keep track of your stitches to avoid losing count, as this can affect the lovey’s shape and size. Mistakes here can lead to an uneven appearance.
Foundation Chain: Ensure your foundation chain isn’t twisted to give the lovey a clean start that maintains its integrity throughout the project.
Consistent Tension: Maintaining even tension while crocheting is essential to avoid gaps in the fabric, ensuring your Baby Dino Lovey is both sturdy and adorable.
Check Gauge: It’s crucial to check your gauge before starting to ensure the dimensions of your lovey will be suitable for infants. Adjust your hook size if necessary.
Secure Assembly: Ensure each piece of the lovey is securely attached, especially around the head and limbs, using slip stitches to reinforce durability, preventing any accidental disassembly during play.
Block Pieces: Blocking the finished lovey enhances its shape. Lay flat and shape to ensure it looks polished and uniform, making it even more appealing for little ones.
How to Wash and Care for Your Baby Dino Lovey
Machine Washing: If using a machine, place the lovey in a delicate cycle with cold water. Avoid agitation to maintain its shape and texture.
Hand Washing: The safest approach is hand washing with mild detergent in cold water. Gently press water through without twisting to protect its softness.
Drying: Lay your Baby Dino Lovey flat to dry. Avoid hanging, which may distort its shape. Ensure it’s completely dry to maintain its cuddly feel.
Storage: Keep the lovey in a cool, dry place when not in use. Avoid direct sunlight to preserve the yarn’s color and softness over time.
Baby Dino Lovey
Feel free to customize this project to make it truly yours!
- Color Variations: Opt for soft yellows or lavender instead for a fresh, unique dinosaur look.
- Yarn Choices: Swap Worsted yarn for lighter sport weight for a smaller lovey that’s ideal for travel.
- Fabric Texture: Using a fuzzy yarn can create a cuddly, plush texture that feels amazing against a baby’s skin.
- Larger Lovey: Consider using a bulky yarn to create an oversized dino that’s perfect for cuddling.
- Unique Patterns: Add personalized stitches like initials or patterns to the dino’s body, making it a cherished keepsake.
Embellish it! Add whimsical details like a patterned belly or colorful spikes along the back for extra flair. You could even incorporate textures using different crochet stitches such as popcorn or puff stitches, enhancing the sensory play aspect. Look at our guides on color choices and crochet stitches for inspiration.
- Seasonal Themes: Introducing seasonal colors (like red and green for Christmas) can make this lovey a fantastic holiday gift.
- Safety Eyes: Choose fun, oversized safety eyes for a cheerful personality. You can even paint them for a personal touch!
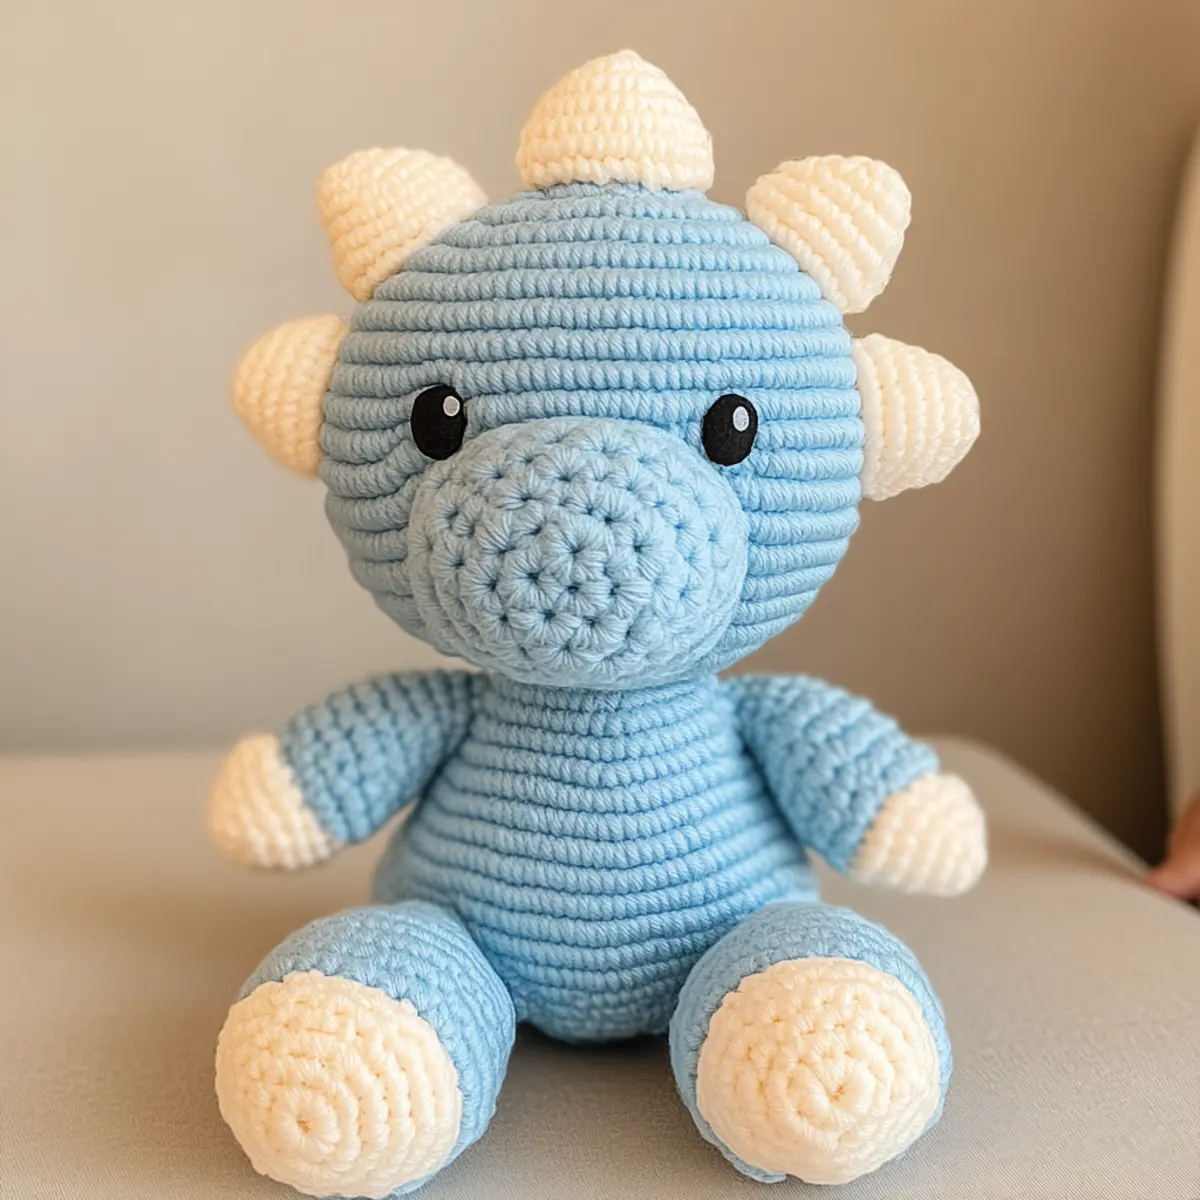
Baby Dino Lovey FAQs
Can I substitute yarn for my Baby Dino Lovey?
Absolutely! You can use any medium weight (Worsted) yarn, but opt for soft acrylic or cotton blends to keep it baby-friendly and durable.
What if I want to resize the lovey?
Don’t panic! You can adjust the size by changing the initial chain or rounds. Just keep an eye on your increases to maintain the proportions of your dino.
What should I do about dropped stitches?
If you notice a dropped stitch, simply use your crochet hook to pick it up gently. Fix it immediately to avoid affecting the final look of your Baby Dino Lovey.
What hook size is best?
For the Baby Dino Lovey, a 5 mm (H-8) crochet hook is recommended, ensuring that you achieve the right tension and density for a plush finish.
Why is blocking necessary?
Blocking helps define the shape and lay flat, reducing curling edges. This step ensures that your lovey looks polished and maintains its intended shape after finishing.
Can I personalize my Baby Dino Lovey?
Of course! Adding features like a unique pattern or initials can make your lovey a treasured keepsake. Feel free to experiment with color choices to suit your personal style.
Leave a Reply