
The Moonlit Crescent Bag emerged from a desire to blend practicality with whimsical charm. As I started working on this crochet crossbody bag, I quickly fell for its balance of lightweight elegance and striking beauty. Perfect for casual outings or as a standout gift, this project is a celebration of both stylish design and handmade craftsmanship. Not only is it a fantastic stash-buster, but it’s also beginner-friendly once you’ve mastered the basics of crocheting. Imagine carrying this chic accessory with a unique twist, making every moment feel special and curated. After creating this bag, I can’t help but wonder how you might personalize yours to reflect your own journey through crochet.
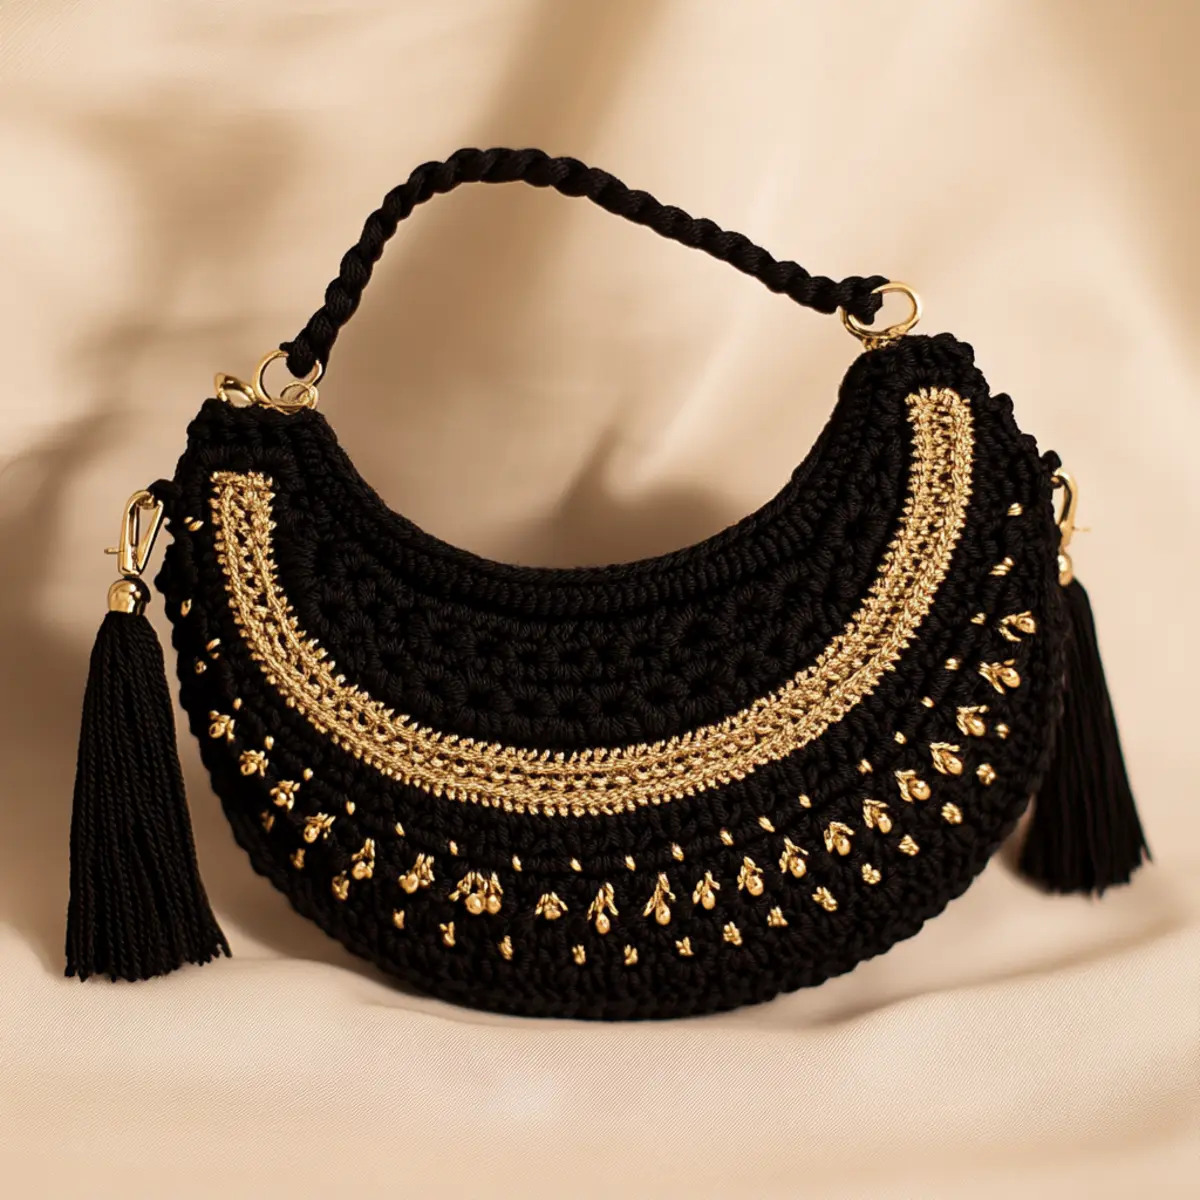
Crochet Crossbody Bag Materials & Tools
Yarn
- Sport weight yarn (black) – about 150-200 yards is needed to construct the main body of the crochet crossbody bag.
- Sport weight yarn (gold) – also about 150-200 yards, this yarn will provide the beautiful accents that set your bag apart.
Tools & Notions
- Crochet hook (size D) – select a hook that fits your yarn choice for the best results and tension.
- Yarn needle – essential for weaving in ends once your crochet crossbody bag is finished.
- Scissors – a quality pair will help cut your yarn cleanly without fraying.
- Stitch markers – these are invaluable for helping you keep track of rounds when working in the round.
- D-Rings – used for attaching the straps to the bag, making it easy to carry.
- Lobster clasps – ensure your strap can be securely attached and detached as desired.
- Tassel and charm (optional) – adding these elements can personalize your crochet crossbody bag and make it uniquely yours.
What Makes This Crochet Crossbody Bag Special?
Versatility is a key element of the Moonlit Crescent Bag, making it suitable for various occasions, whether you’re heading out for brunch or an evening stroll. Texture plays an important role as well; the combination of soft cotton and gleaming gold accents creates a tactile experience that invites touch. This bag is also a stash-friendly project, allowing you to explore color variations while reducing your yarn collection. With simple yet effective techniques, you can easily customize this bag to match any wardrobe, bringing out your unique sense of style. Plus, it saves time without sacrificing beauty—check out our guide on stitch markers to keep your project organized and efficient. You’ll find yourself whipping up the Moonlit Crescent Bag in no time, enjoying the sense of accomplishment that comes with creating a fashionable accessory.
Gauge & Sizing Notes for Crochet Crossbody Bag
Checking your tension is vital when creating the Moonlit Crescent Bag. Consistent tension ensures your bag maintains its shape and fit throughout the crafting process. For this project, be sure to achieve a standard gauge of 4×4 inches (10×10 cm) with 18 sc and 22 rows. If your swatch does not match, adjust your hook size or the way you work your yarn to achieve the desired tension. You can increase or decrease the starting chain to resize the bag according to your preference. For a more spacious bag, you may wish to start with a longer initial chain than the 24 stitches recommended. Remember that increasing your width will require adjusting your row counts and stitch numbers as well, allowing you to keep the design and appearance harmonious. Personalizing this crochet crossbody bag further with diverse colors or embellishments will make your piece uniquely yours.
Step-by-Step Pattern for Crochet Crossbody Bag
Row 1: Establish the Base Begin by chaining 24 with your sport weight black yarn. Work single crochet (sc) stitches in the back loops only for the first three rows, creating a solid base that is both sturdy and functional. (24 sc)
Row 2: Continue Base Continue with sc in the back loops for the second row to ensure a consistent density. Each stitch creates a firm edge, important for the structure of the crochet crossbody bag. (24 sc)
Row 3: Finalize Base Rows Repeat the single crochet stitches in the back loops on the third row. After finishing these base rows, your foundation will lie flat and ready for the next step. (24 sc)
Row 4: Start the Crescent Shape Transition to working in the round by joining with a slip stitch (sl st) to the first stitch. Chain 1 and sc in the same stitch, then increase (inc) in the next stitch to begin shaping your bag into that lovely crescent silhouette. (25 sc)
Row 5: Further Shaping Continue to increase by working one sc and then an inc in the following stitches for this round. This will help create the characteristic shape of the Moonlit Crescent Bag you’re crafting. (32 sc)
Row 6: Adding Volume As you progress, increase your stitch count by one more in each round when you feel the crescent shape needing more volume. This maintains the proportional aesthetics of your crochet crossbody bag. (40 sc)
Row 7: Establishing Height After several rounds of increasing, continue working sc in each stitch. This will elevate your bag to the desired height, keeping it closely resembling the chic form of the Moonlit Crescent. (40 sc)
Row 8: Decorative Details Introduce a row of double crochet (dc) stitches to give your bag a decorative touch. This accent not only adds texture but catches the eye with its visual interest, a perfect feature for any crochet crossbody bag. (40 dc)
Row 9: Creating the Back To mirror the front, repeat the earlier steps, ensuring that the back piece matches the aesthetic and measurements of the front. Pay attention to stitch counts to maintain consistency between both pieces. (40 sc)
Row 10: Joining Pieces With both front and back pieces complete, place them together with the right sides facing each other. Begin at one end, using sc to join them along the edge. This final seam is crucial for closing the bag into a functional accessory. (40 sc)
Row 11: Attaching D-Rings After securing the pieces together, use a yarn needle to attach D-rings to the corners of the bag. They will serve as connectors for the strap, providing a practical functionality while enhancing the overall look. (2 D-rings)
Row 12: Finishing Touches Weave in all ends with your yarn needle and block your finished bag with a damp cloth. This will help shape and define your crochet crossbody bag while evening out your stitches for a polished finish. (Blocked & Finished)
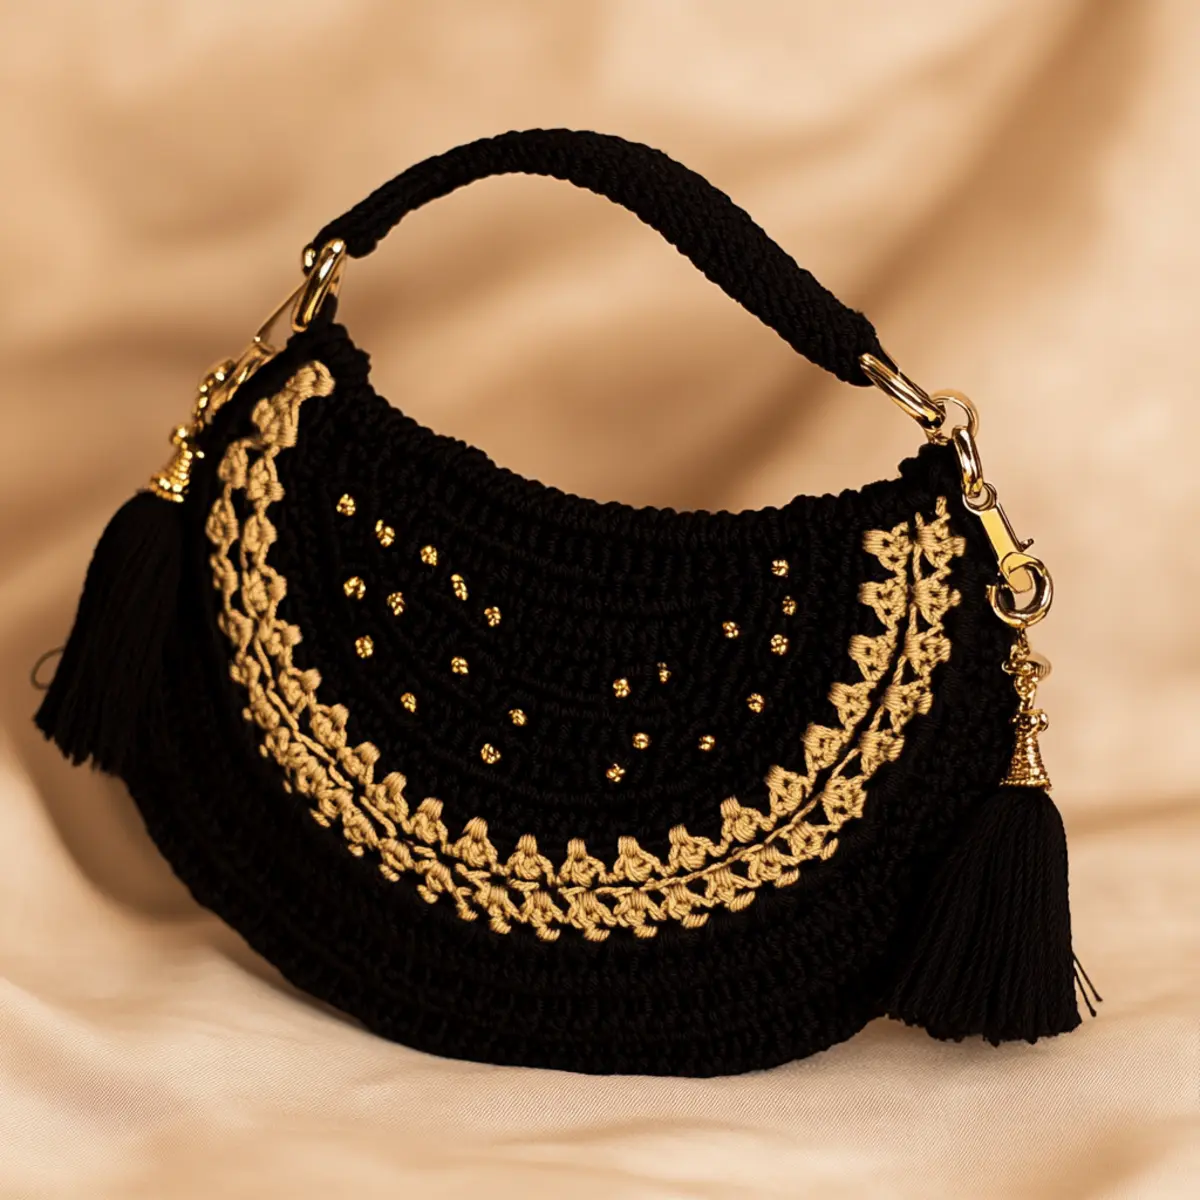
How to Wash and Care for Your Crochet Crossbody Bag
Hand Washing: Gently hand wash in cold water with mild detergent. Avoid agitating the fabric, as this can cause stretching or distortion.
Drying: Lay your crochet crossbody bag flat on a clean towel to dry. Avoid hanging it, which may stretch the fibers due to weight.
Storage: Store your bag in a cool, dry place. Avoid hanging for long periods, as this can affect the shape and structure of the bag.
Expert Tips for the Best Crochet Crossbody Bag
Stay Counted: Always count your stitches at the end of each round to avoid mistakes that could affect the overall shape of your crochet crossbody bag.
Check Tension: Maintain consistent tension to prevent gaps between stitches. Check your gauge before starting on the main piece for best results.
Use Stitch Markers: Place stitch markers at the beginning of each round. This helps you track where rounds begin and prevents dropped stitches.
Secure Foundation: Make sure your initial chain is not twisted before starting your single crochet stitches. A twisted foundation can lead to complications later.
Don’t Skip Blocking: After finishing, block your bag with a damp cloth. This final step is crucial to shape and smooth out any uneven stitches, ensuring your crochet crossbody bag looks polished.
Crochet Crossbody Bag Variations
Feel free to customize your crochet crossbody bag to showcase your unique style!
- Metallic Accents: Swap the gold yarn for metallic silver for a modern, trendy look. This adds an eye-catching sparkle to your bag.
- Bold Colors: Try a vibrant red or deep blue for the main body. Bright colors can enhance the bag’s whimsical charm and make it stand out.
- Bigger Dimensions: Increase the starting chain for those who prefer a larger bag, allowing you to carry more essentials comfortably.
- Textured Stitches: Incorporate post stitches or shell stitches for added depth and texture, transforming the bag’s overall aesthetic beautifully.
- Unique Detailing: Use vibrant beads or hand-made charms on the tassel for a personal touch, reflecting your own crafting story.
- Gradient Effect: Create a color-blocked gradient effect by fading from black to gold or another bold color, adding unique visual interest.
- Different Fibers: Consider using cotton blends for a softer feel or acrylic yarn for added durability. Each fiber has its unique texture and handling quality.
Making these small tweaks allows your crochet crossbody bag to tell a story uniquely yours while embracing the beautiful art of crochet. Feel free to check out more ideas in our color combination guide or explore advanced crochet techniques.
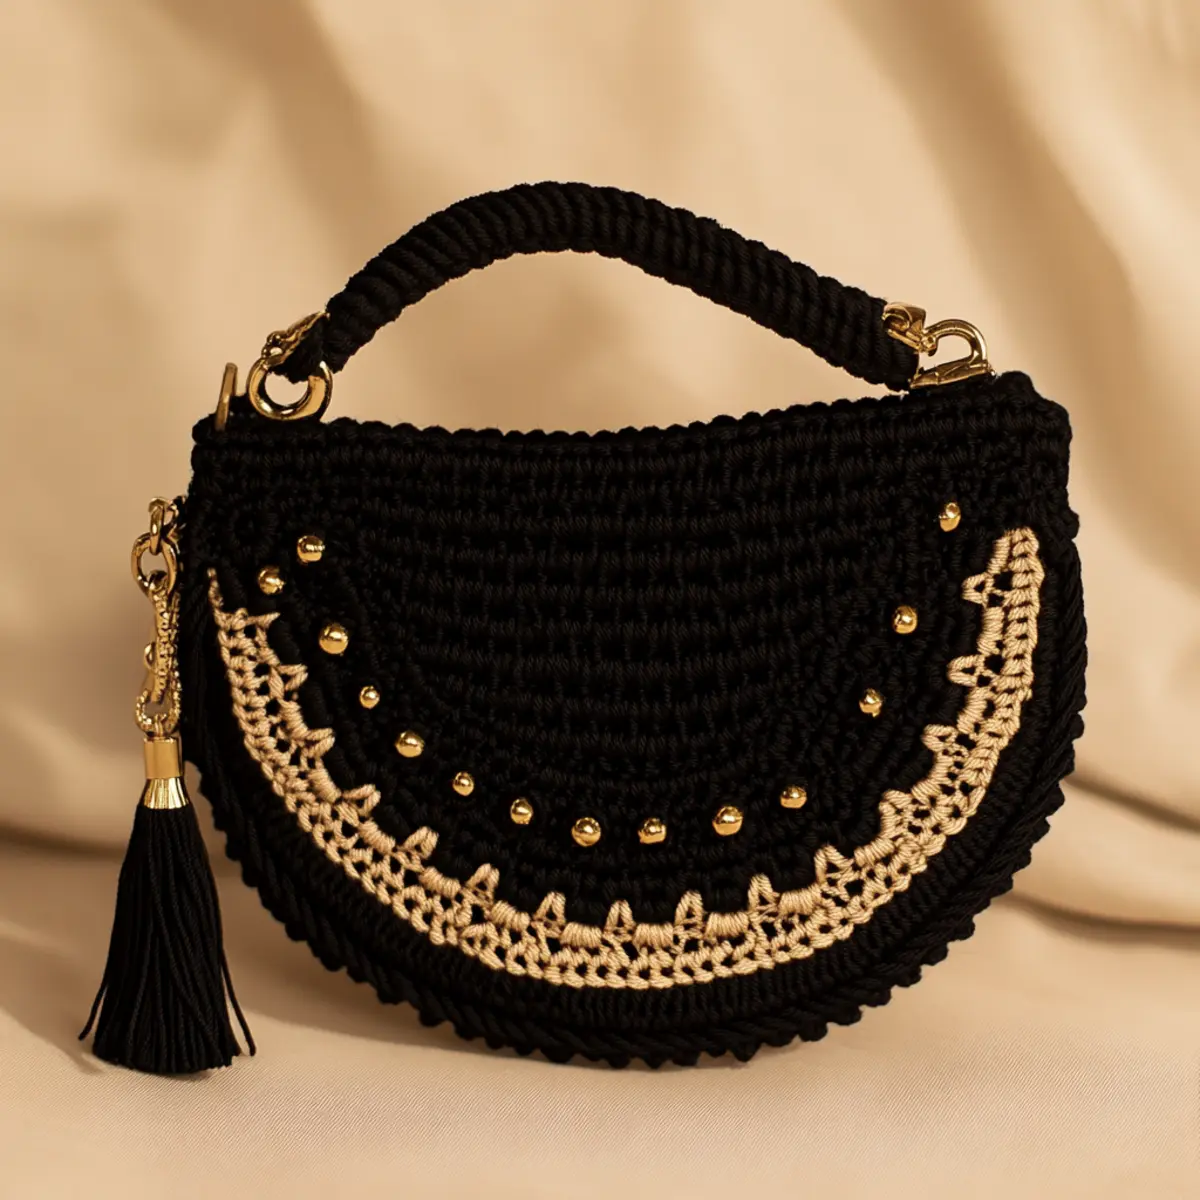
Moonlit Crescent Bag FAQs
What yarn substitution can I use for this project?
Absolutely! You can substitute sport weight yarn with any lightweight material. Just ensure it maintains a similar gauge for the best results.
How can I adjust the bag size?
To resize the crochet crossbody bag, increase or decrease the chain length at the start. Adjust your row count accordingly to maintain its shape and aesthetics.
What should I do if my bag curls at the edges?
Don’t panic! Curling can occur due to tight stitches or incorrect gauge. Check your tension and consider blocking it to help flatten the edges.
What hook size should I use?
A size D crochet hook is recommended for this project. However, if your gauge is off, don’t hesitate to try different sizes to achieve the correct tension.
How do I fix dropped stitches while crocheting?
If you’ve noticed a dropped stitch, carefully pull back to the last complete row and reinsert your hook into the stitch. You can use a yarn needle to weave it back in if needed.
Can I add more embellishments to my bag?
Absolutely! Adding tassels, charms, or beads can personalize your crochet crossbody bag and make it uniquely yours, enhancing its charm and character.
Leave a Reply