
As I sat down with my favorite yarns, I couldn’t help but feel that spark of excitement when starting a new project. This time, I was set on creating an adorable crochet gnome, a whimsical addition that not only enhances the cozy vibe of my home but also becomes a treasured keepsake. The crochet gnome pattern I’m sharing today is utterly delightful, offering a quick and easy way to brighten up any corner while allowing for endless color variations. One of the best benefits of this project is that it serves as an incredible stash-buster, transforming leftover yarn into something magical. Besides, it’s beginner-friendly—perfect for those just starting their crochet journey. The combination of vibrant hues and soft textures invites both seasoned crafters and newbies to unleash their creativity. Have you ever wanted a project that fits perfectly for seasonal themes or simply makes you smile? Let’s delve into this enchanting crochet journey together!
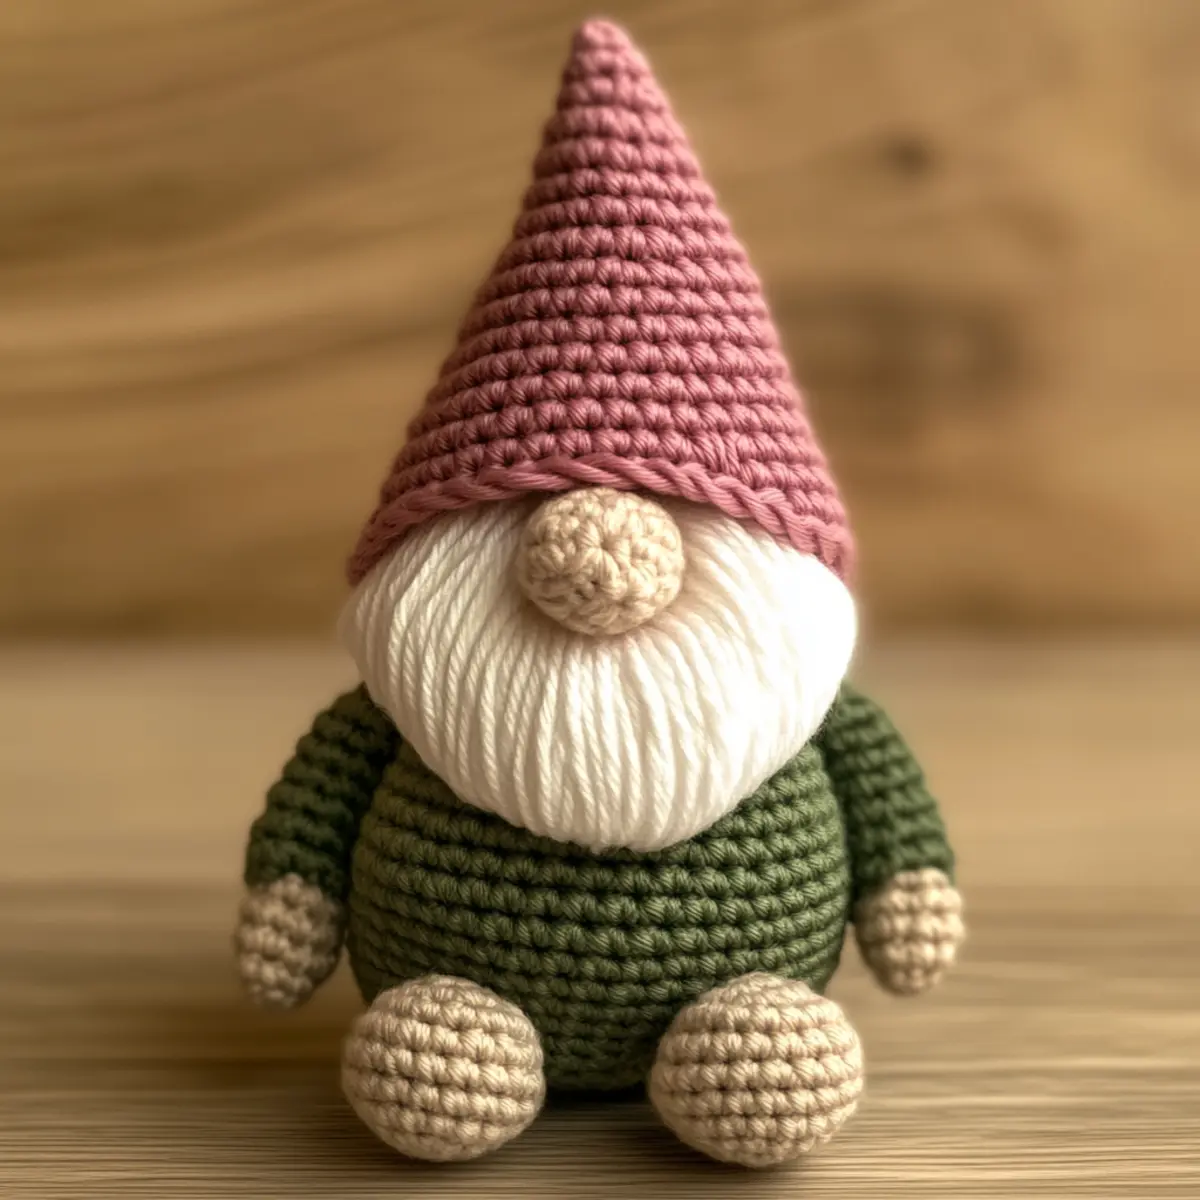
Crochet Gnome Materials & Tools
Yarn
- Worsted weight yarn (various colors) – Approximately 50 yards in green for the body, 30 yards in pink for the hat, 15 yards in beige for the nose and hands, and 20 yards in white for the beard.
Tools & Notions
- 4.0 mm crochet hook (G-6) – Ideal size for working on this crochet gnome, ensuring the stitches are tight and well-formed.
- Yarn needle – Essential for weaving in ends and securing pieces during assembly.
- Scissors – For cutting yarn with precision. A good pair makes all the difference!
- Stuffing – To give your gnome a plush shape; polyester stuffing works beautifully.
- Optional stitch markers – Handy for tracking rounds as you shape the gnome, maintaining symmetry and precision.
Why You’ll Love This Pattern
Crafting your own charming gnome is not only rewarding but also adds a fun twist to your crochet routine. With its simplicity, even beginners will find joy in the straightforward stitches, making the experience stress-free. The textured design invites personalization; you can tailor your gnome to complement your seasonal decor by experimenting with different yarns. This pattern is wonderfully stash-friendly—you can use scraps for vibrant hats and cozy beards. Plus, with its quick construction, you can easily whip up several gnomes for festive gifting or home decoration. You might even want to learn more about stashing tips to maximize your yarn’s potential! Lastly, the aesthetic appeal of this gnome, adorned with a whimsical hat and soft beard, makes it a delightful centerpiece on any shelf. Let your fingers dance across those stitches and enjoy the cozy triumph of this adorable project!
Gauge & Sizing Notes for Crochet Gnome
Checking your tension is essential for this crochet gnome project to ensure each part fits well together. Achieve consistent results by measuring your gauge over a standard 4×4 inch (10×10 cm) swatch, aiming for 6 sc = 1 inch. If your gauge differs, consider adjusting your starting chain or rounds to resize accordingly. For instance, to make a larger gnome, opting for a heavier yarn or a bigger hook can yield a plushier result. Conversely, if your swatch is too loose, try a firmer tension or a small hook. A perfect fit guarantees the delightful dimensions of the knitted piece, helping maintain its whimsical spirit. Remember, personalizing your crochet gnome is part of the joy, and adjustments can enhance the playful nature of each creation.
Step-by-Step Pattern for Crochet Gnome
Row 1: Create the Body Start with a magic ring, ch 1. 6 sc into the ring (6).
Row 2: Increase the Body 2 sc in each stitch around for a total of 12. Don’t lose track of stitch count to keep your gnome’s body neat (12).
Row 3: Shape the Body Sc in the next stitch, inc in the next. Repeat this pattern around for a total of 18 stitches for a round, evenly spreading out the increases for the gnome’s figure (18).
Row 4: Continue Building the Body Sc in the next 2 stitches, inc in the next. This step helps create a wider base for your crochet gnome (24).
Row 5-8: Straight Body Rounds For the next four rows, sc in each stitch around, keeping the total at 24 stitches per row. This provides a solid height for the gnome’s body and helps in establishing a smooth silhouette that looks great on display (24).
Row 9: Start to Decrease Sc in the next 2 stitches, dec over the next two stitches. This will shape the gnome’s upper body as it narrows toward the neck (18).
Row 10: Finish the Body Shape Sc in the next stitch, dec over the next two stitches. Continue this pattern to reach a total of 12 stitches, preparing to define the neck area (12).
Row 11: Secure the Top of the Body Sc in each stitch around to keep it firm and well-defined. Pull the stitches tightly to maintain the shape as you work on other parts of your crochet gnome (12).
Row 12: Begin the Hat Change to pink yarn; start a new magic ring and ch 1. Add 6 sc to the ring to begin the delightful conical shape of the gnome’s hat (6).
Row 13: Hat Increases 2 sc in each stitch around. This increases the hat size swiftly, establishing the playful aspect of your gnome’s design (12).
Row 14: Continue Increasing Sc in the next stitch, inc in the next. Repeat for a total of 18 stitches, and the hat begins to take its whimsical flair against the body (18).
Row 15: Define the Hat’s Shape Sc in the next 2 stitches, inc in the next. Reach a total of 24 stitches; this rounds out the gnome’s fluffy hat, creating character and fun (24).
Row 16: Complete the Hat Sc in each stitch around for a total of 24 stitches, ensuring a defined conical point that gives the gnome its adorable top (24).
Row 17: Make the Nose Switch to beige yarn. Ch 2, 6 sc in the second chain from the hook, and finish with 6 stitches to make a small, rounded nose for your gnome (6).
Row 18: Form the Hands Still using beige yarn, create two small rounds with 6 sc each, securing them tight enough to stay nicely shaped. Position them laterally to adorn your crochet gnome (6 each).
Row 19: Create the Beard Use white yarn. Cut several strands of yarn and knot them to the lower section of the face to craft a fluffy and delightful beard, enhancing the gnome’s charm with depth and texture.
Assembly Assemble your crochet gnome by attaching the hat, nose, and hands securely. Use a yarn needle to weave in any loose ends. Position the hat at a jaunty angle to give your gnome attitude and character!
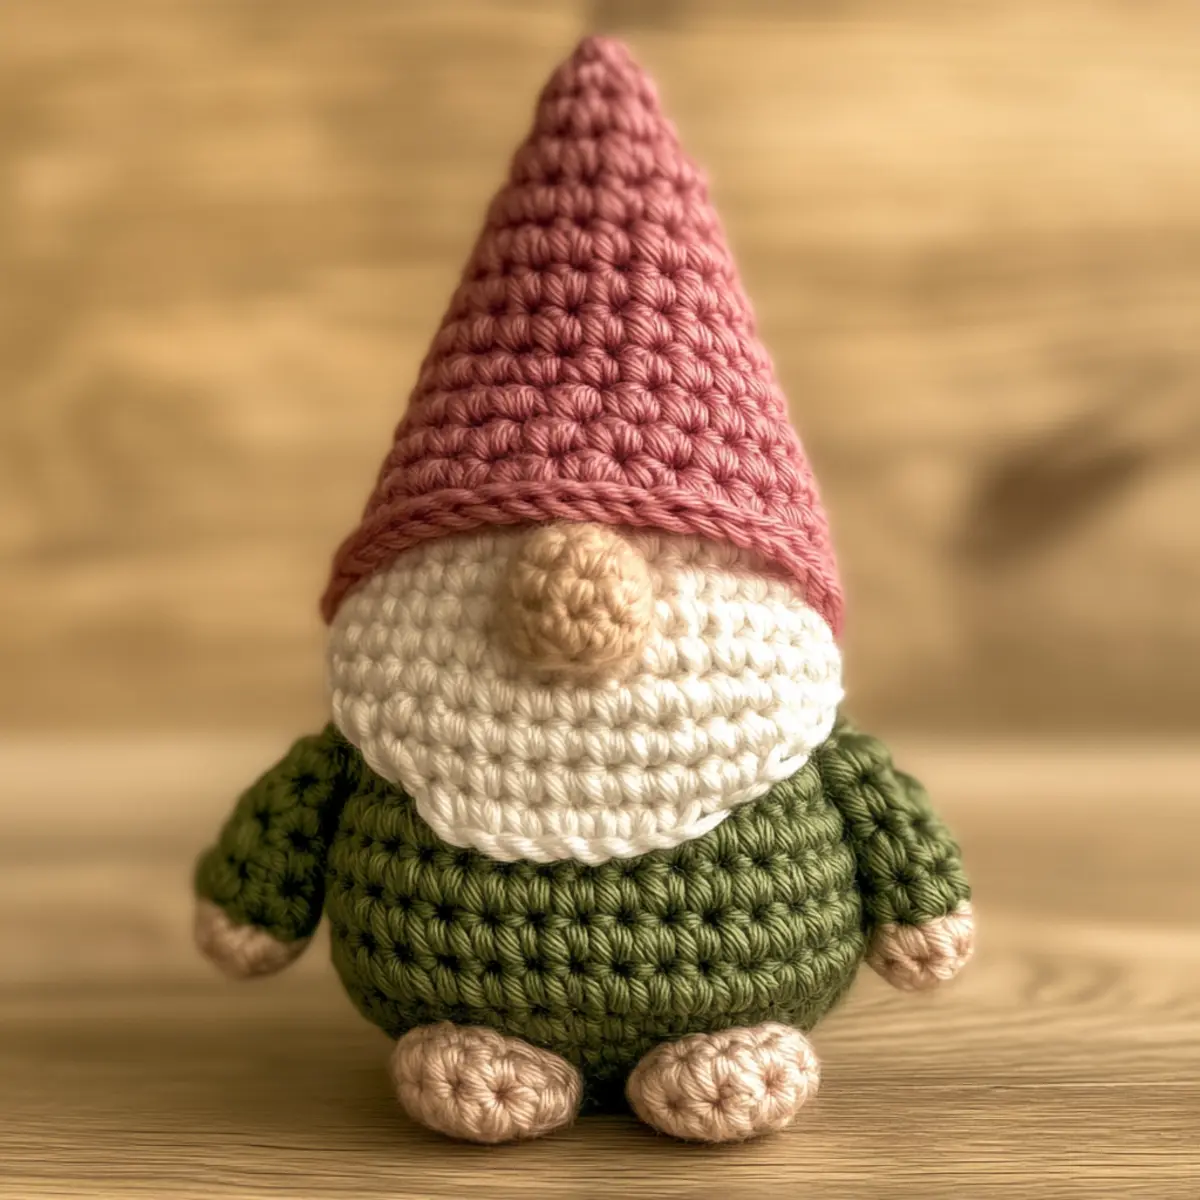
How to Wash and Care for Your Crochet Gnome
-
Machine Washing: Use a gentle cycle with cold water, and place your gnome in a mesh laundry bag to prevent snagging, keeping the fibers safe.
-
Hand Washing: For best results, wash your gnome by hand in cold water with mild detergent. Avoid wringing it out, which can alter its shape.
-
Drying: Lay your gnome flat on a clean towel to dry. This maintains its structure and prevents stretching or damage to the fibers.
-
Storage: Keep your gnome in a cool, dry place away from direct sunlight to preserve the vibrant colors and texture of your worsted weight yarn.
crochet gnome variations and substitutions
Feel free to explore these fun options to make your crochet gnome truly unique!
- Seasonal Colors: Transform your gnome with vibrant pastels for spring or deep earth tones for autumn, perfect for any decor theme.
- Yarn Swaps: Experiment with cotton or bamboo yarns for a different texture and weight, providing a lighter feel suitable for summer displays.
- Size Variations: Alter the size by using a larger crochet hook or bulky yarn; this can create charming larger gnome figures for bigger spaces.
- Embellishments: Add tiny buttons, a mini scarf, or even a flower crown to personalize your gnome further, making it a unique gift.
- Texture Modifications: Try using a textured yarn like chenille for a plush and cuddly gnome, delightful for children or as a whimsical toy.
- Multiple Gnomes: Crochet a family of gnomes in various sizes and colors to create a delightful display, each representing member of your family or friends.
Creating each variation presents a new challenge, enhancing your skills while ensuring your gnome stands out. Allow your creativity to flourish as you craft this enchanting piece, evolving it into something that reflects your personal style.
Expert Tips for Crochet Gnome
-
Track Your Stitches: Always keep a consistent stitch count throughout the project to avoid any misalignment or imbalance in your gnome.
-
Tension Control: Maintain even tension while crocheting; inconsistent tension can lead to a warped body shape, affecting the gnome’s cuteness.
-
Avoid Twisting: Make sure your foundation chain isn’t twisted when starting; a twisted chain can create uneven height and lead to a crooked project.
-
Use Stitch Markers: Consider using stitch markers to identify important rounds and increases, especially during the body and hat construction phases.
-
Check Gauge: Always measure your gauge before diving in, and adjust hook size or yarn as necessary to ensure the gnome’s proportions will be just right.
-
Plan Colors Ahead: If you plan on personalizing your crochet gnome, have a color scheme in mind. This keeps your creative juices flowing while stitching away.
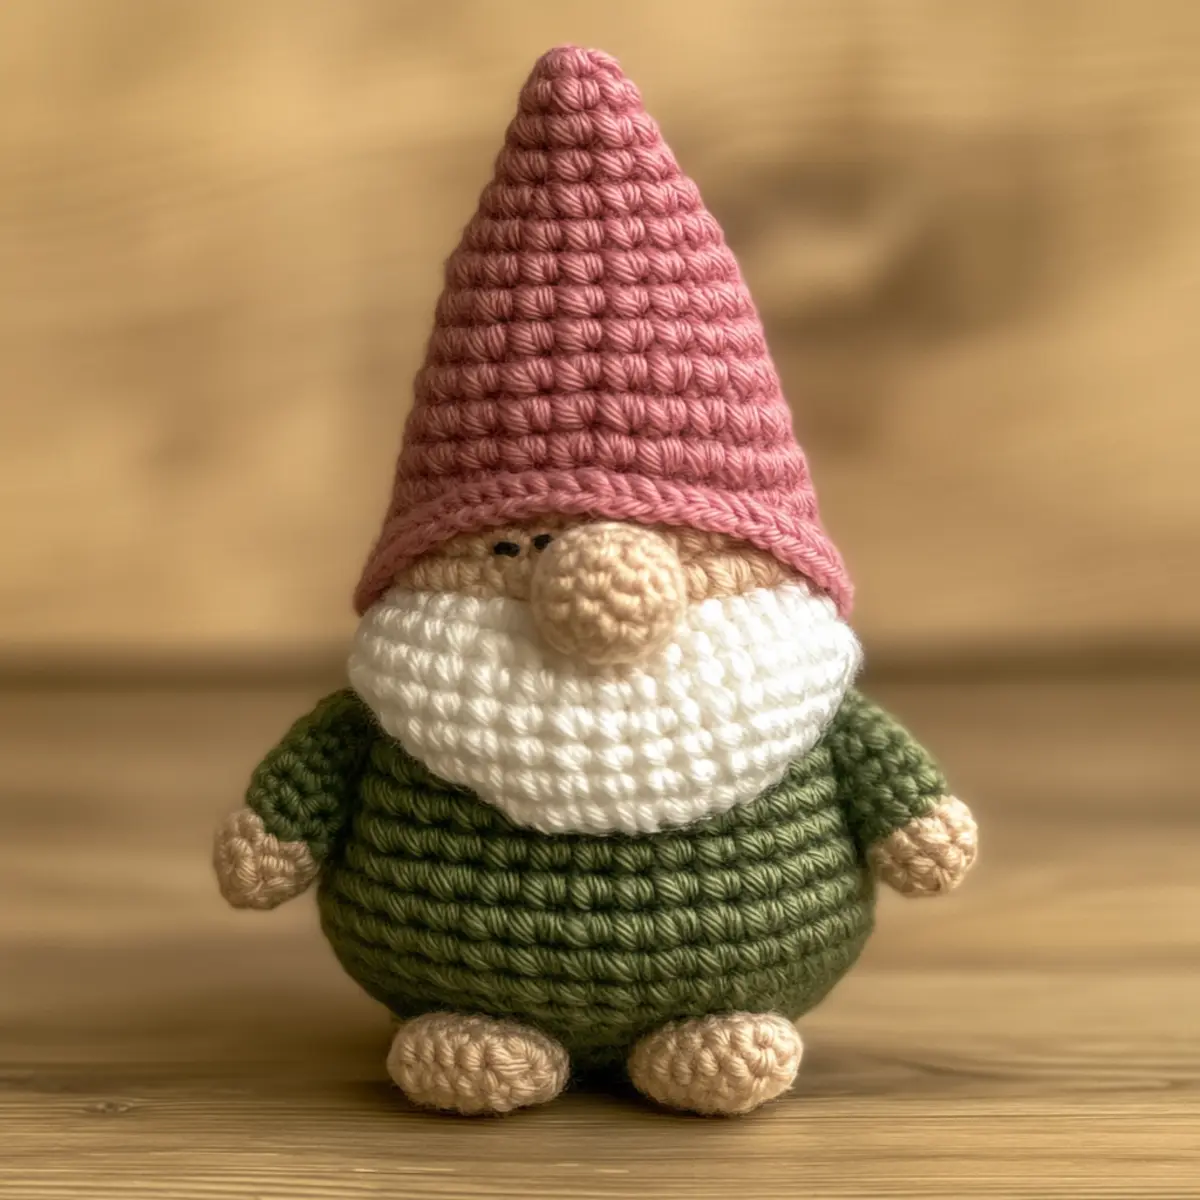
Crochet Gnome FAQs
Can I use different yarn for my gnome?
Absolutely! You can substitute worsted weight yarn with similar thickness. Just be mindful of color changes and textures, which can create unique effects.
How do I adjust the size of my crochet gnome?
If you’d like a bigger gnome, you can use a larger hook size or heavier yarn. If the gnome is too big, a smaller hook or lighter yarn will work. Consistent tension is essential, so calculate your gauge accordingly.
What can I do about dropped stitches?
Don’t panic! If you drop a stitch, simply pull back to where it was lost and re-crochet that stitch. You can also stitch it back up using a yarn needle once you’re finished.
How do I stop curling at the edges of the gnome?
Curling can happen during the construction of your gnome, especially at the base. Ensure you’re using the right tension, and consider blocking your project after completion for a smooth finish.
What size hook should I use for this project?
A 4.0 mm crochet hook, or G-6 in the U.S. size, is recommended for this pattern. This ensures your stitches are tight and well-formed, giving your gnome the desired shape.
Can I add accessories to my crochet gnome?
Definitely! Adding tiny accessories, such as buttons, mini scarves, or hats, can personalize your gnome and enhance its charm. Get creative and have fun with it!
Leave a Reply