
There’s something wonderfully whimsical about crafting your own spooky decor, especially when it comes to amigurumi ghosts! As the autumn chill sets in and Halloween approaches, these adorable cutie ghost patterns are just the ticket to delight your friends and family. With their soft, squishy texture and customizable accessories like witch hats and bows, these beginner-friendly projects work up in no time, making them ideal for quick gifts or festive decorations. Plus, you can easily adjust their sizes and colors to match your unique style. So, grab your yarn and get ready to stitch up some ghostly charm that will bring smiles all year round!
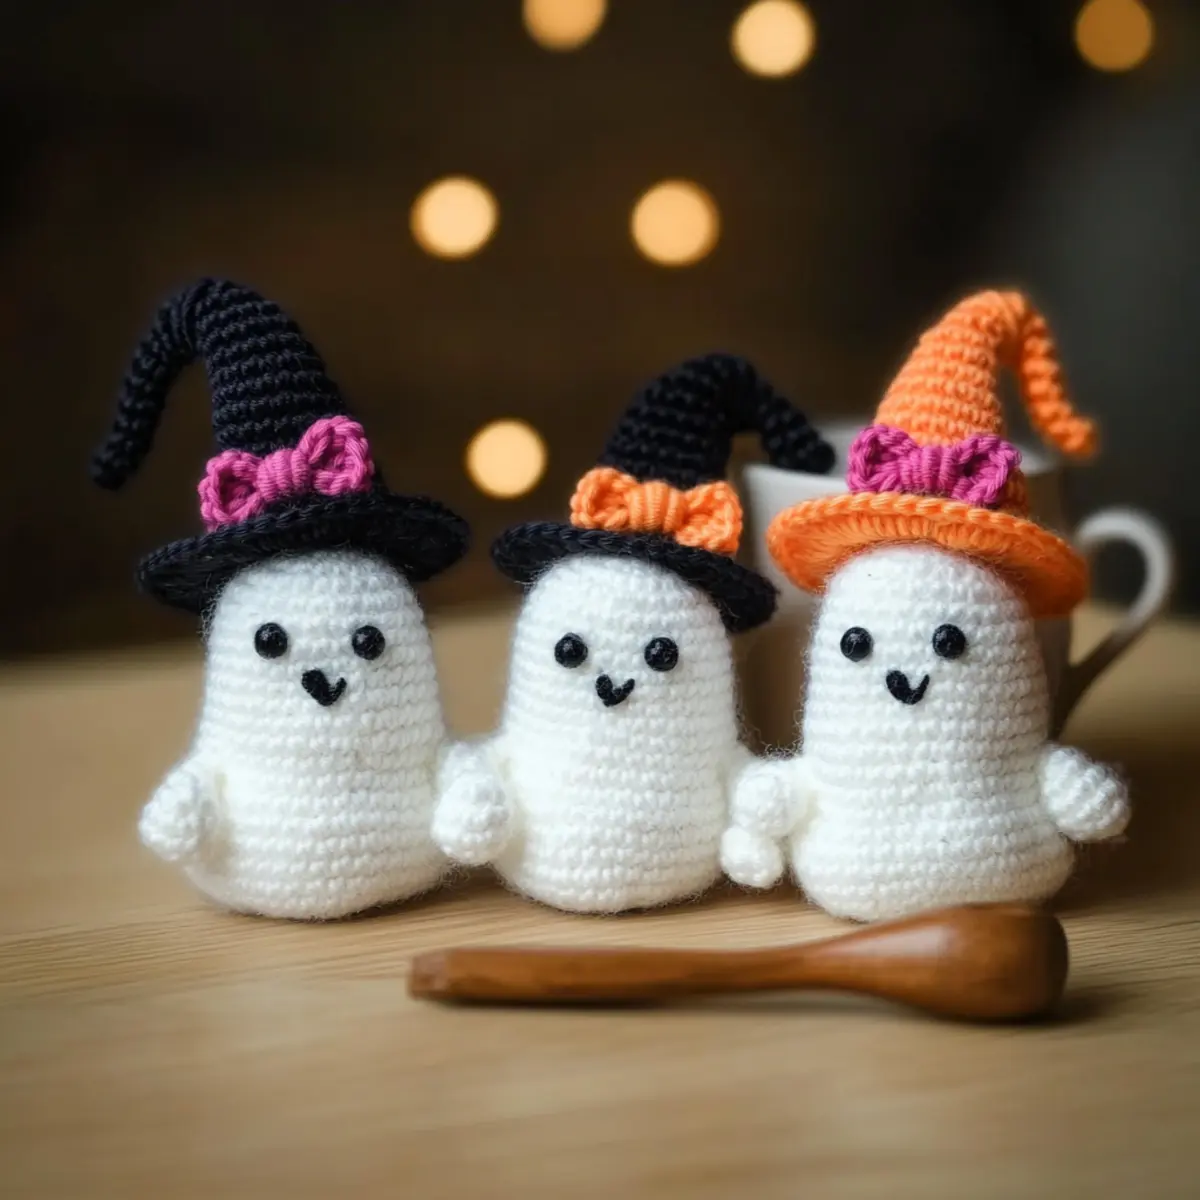
Amigurumi Ghosts Materials & Tools
Get ready to bring some spooky charm to life with these adorable amigurumi ghosts!
Yarn
• Worsted Weight Yarn (4) – Use 100% acrylic or cotton yarn for a soft and squishy texture; you’ll need approximately 50-100 yards depending on the size of your ghosts.
Hook
• 3.5 mm (E/4) Hook – This size is perfect for creating tight stitches that hold the ghost shape beautifully.
Notions
• Safety Eyes – Optional, but they add a cute factor; consider using embroidery if safety eyes aren’t suitable.
• Tapestry Needle – Essential for weaving in any ends and giving your ghosts a polished look.
• Stitch Markers – Helpful for keeping track of your rounds, making your project smoother.
• Optional Cleaning Weights – Use small pebbles or fabric scraps to add weight for stability and a delightful droop!
These materials will have you well-equipped to create your very own spooky decor with lots of personality. Happy crocheting!
Why Are These Amigurumi Ghosts So Special?
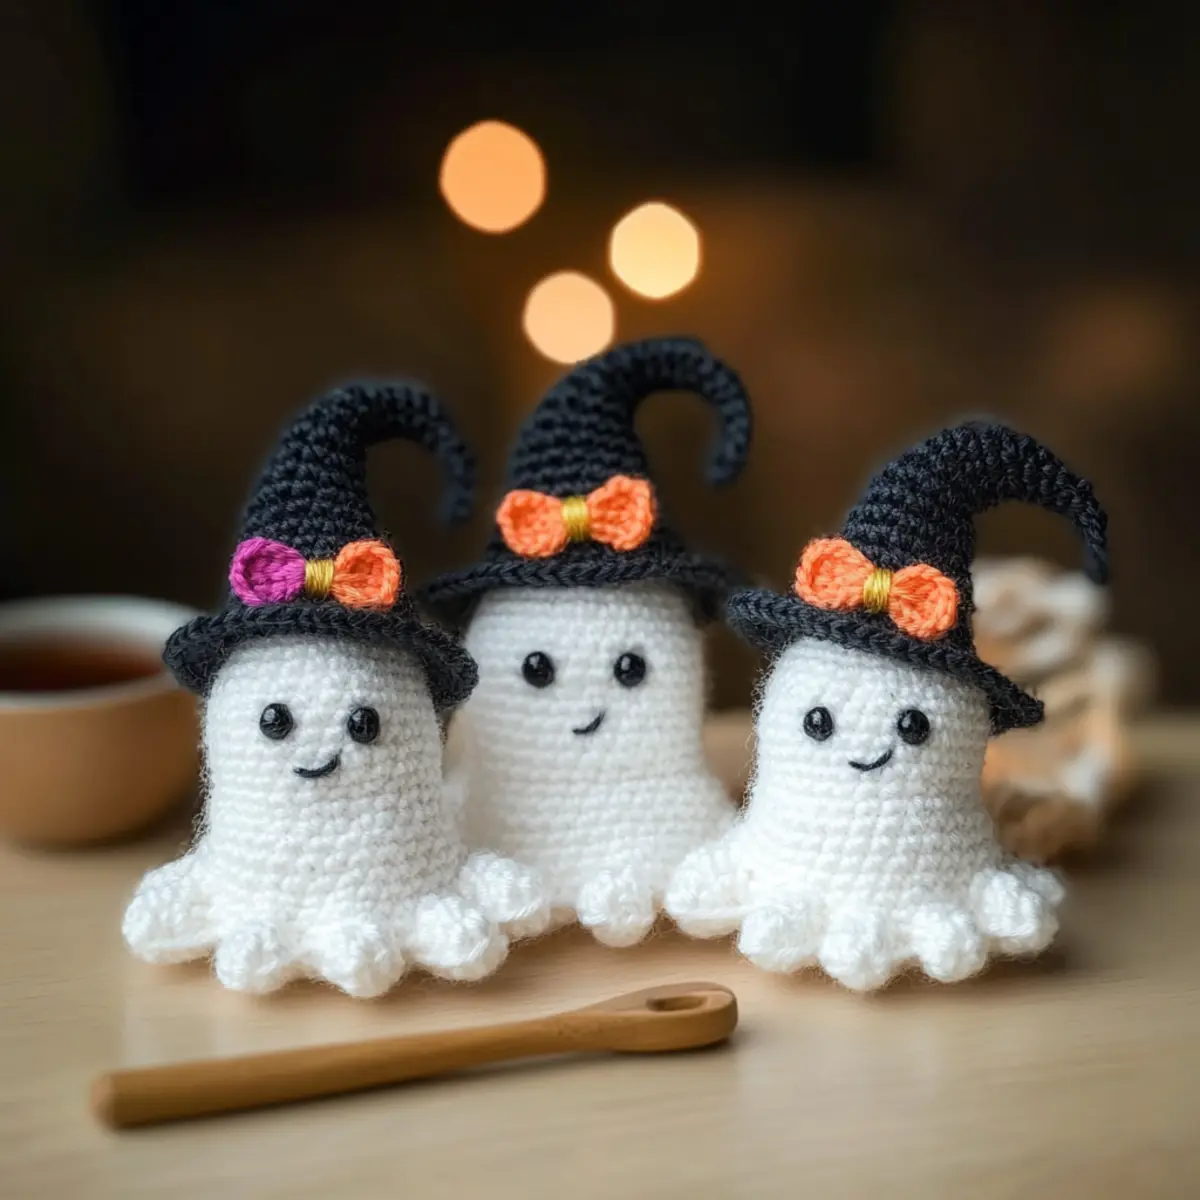
Charming and whimsical, these amigurumi ghosts will brighten up any space with their delightful designs. Beginner-friendly instructions allow you to create these spooky cuties in just an evening, perfect for last-minute gifting or festive decor. Customizable accessories, like witch hats and bows, let you tailor each ghost to fit your theme. With their soft, squishy texture, they not only look adorable but also feel great to touch. Their quick-making nature makes this project a fantastic stash-buster, ensuring you’ll want to make a whole ghostly gathering! Don’t forget to check out our tips on crocheting accessories for even more customization options!
Gauge & Sizing Notes
Don’t skip the gauge swatch! It’s vital for ensuring your amigurumi ghosts turn out just right, especially when customizing sizes for that perfect spooky decor. For your amigurumi ghosts, aim for a tension swatch of 4×4 inches (10×10 cm) that equals 12 single crochets by 10 rows. If you want to make a ghost wider, increase your starting chain in multiples of 6. Conversely, if your tension doesn’t match the gauge, and your swatch is too small, consider going up a hook size or using a heavier weight yarn. With these simple adjustments, your adorable cutie ghost amigurumi will be just as charming as you envision!
Step‑by‑Step Pattern for Adorable Cutie Ghost Amigurumi
Round 1: Start with a Magic Ring
Begin by creating a Magic Ring and work 6 single crochets (SC) into the ring. Pull the tail to tighten the ring, ensuring a snug start. Your work should be forming a small circle—this is the base for your adorable cutie ghost.
Round 2: Increase for Volume
In this round, increase the size of your ghost by making 2 single crochets in each stitch around (12 sts). As you stitch, be sure to keep the tension consistent so the shape remains even. Your piece should start to look fuller and rounder.
Round 3: Begin Shaping
Now, work the pattern by stitching (SC 1, inc) repeated 6 times around (18 sts). This helps your ghost gain height while still keeping that adorable look. You’ll notice it starts to take form, becoming a lovely little ghost shape.
Round 4: Continue Shaping
For this round, do (SC 2, inc) repeated 6 times (24 sts). The increases will give your amigurumi ghost more dimensions. As you stitch, the piece begins to feel more substantial, and you can imagine how charming your finished ghost will be.
Rows 5-12: Create the Body
For several rounds, continue to sc around without increases or decreases for a total of 8 rounds. You may want to check your stitch count to ensure it remains at 24. These rounds build the body of your adorable cutie ghost, providing a solid and squishable texture.
Round 13: Finishing the Body
In this final round, make 1 SC, then slip stitch (sl st) in the next 2 stitches to create a nice finish. This step gives your ghost a cute top, and now it’s time to fasten off invisibly and weave in your ends. Don’t forget to add safety eyes if desired, placing them in between specified rounds for that extra charm.
Accessories: Witch Hat
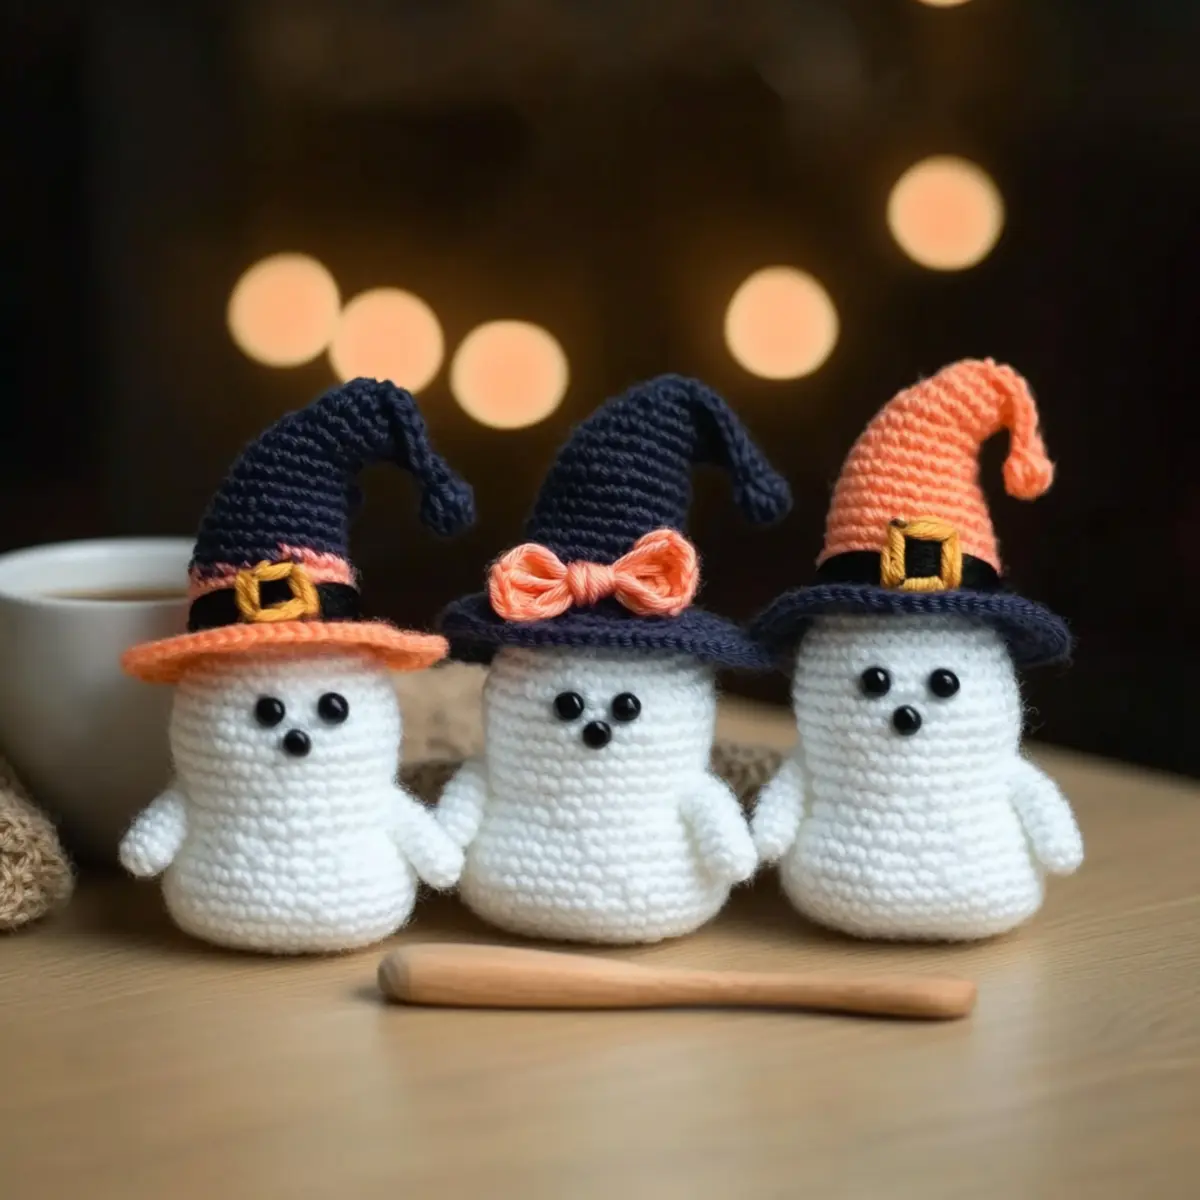
To create a delightful witch hat, start with a Magic Ring. Chain (Ch) 4, make 3 treble crochets (Tr) in the ring, and close with slip stitch to form the hat shape. Fasten off securely. This accessory will add a charming touch to your adorable cutie ghost.
Accessories: Bow
Using the same method as for the witch hat, make a small version for the bow. Secure the center tightly and attach it to your ghost. This simple accessory can customize your ghost and fit into any festive theme for the perfect finishing touch.
Care Instructions for Amigurumi Ghosts
- Hand Washing: Gently hand wash your adorable amigurumi ghosts in cold water with a mild detergent to keep them looking great without risking felting.
- Drying/Blocking: Lay your ghosts flat on a clean, dry towel to air dry. Avoid hanging them, as this may distort their charming shapes.
- Storage: Store your finished ghosts in a cool, dry place, and avoid exposing them to direct sunlight to maintain their vibrant colors and soft texture.
- Avoid Heat: Keep your ghosts away from excessive heat sources, as this may warp the fibers and alter their adorable designs.
Amigurumi Ghost Variations & Substitutions
Tap into your creativity and make these adorable amigurumi ghosts truly yours! Customize their look and feel to suit your seasonal décor and personal style.
-
Yarn Weight: Experiment with lighter or heavier yarn to change the size; bulky yarn creates larger, cuddly ghosts, while sports weight yields miniature versions perfect for table settings. Crafting different sizes can bring an enchanting variety to your Halloween displays.
-
Color Changes: Switch up your yarn colors to create unique ghost personalities. Use pastel shades for a whimsical look or classic white for traditional decor. The possibilities are only limited by your imagination!
-
Fiber Alternatives: Try using cotton yarn instead of acrylic for a different texture and drape. Cotton offers a more structured finish perfect for detailed embellishments, giving your ghosts a distinctive charm.
-
Added Texture: Enhance their spooky appeal by incorporating fun textures, like a soft pom-pom or playful fringe at the bottom. These details can make your ghosts stand out, adding a whimsical flourish.
-
Custom Accessories: Tailor their accessories by crafting themed hats or bows. For instance, use autumnal colors for witch hats or pastel ribbons for a friendly ghostly look. This personalization adds a lovely touch to each creation.
-
Weighted Base: For a sturdier ghost, add small pebbles or fabric scraps within the body as you crochet. This little adjustment helps keep your ghosts upright, perfect for those indoor displays!
-
Size Variability: Adjust the ghost height by adding or reducing rounds in the body. A taller ghost can create an eye-catching statement, while the shorter ones can serve as adorable companions!
-
Unique Embellishments: Use fabric pieces or yarn leftovers for fun accessories, like tiny capes or broomsticks. Incorporating different materials not only diversifies your designs but also helps you use up your stash!
Let your creativity soar as you explore these variations, and don’t forget to check out our guides on crochet accessories and decor ideas for even more inspirations to enhance your spooky creations!
Expert Tips for Amigurumi Ghosts
- Count Carefully: Always double-check your stitch count after each round to avoid mistakes that could alter your ghost’s shape.
- Tension Matters: Keep a consistent tension to ensure your ghosts have that charming, squishy texture. If stitches feel too tight, don’t hesitate to adjust your grip!
- Pinch for Shape: Remember to pinch along the increase rounds to create that classic droopy ghost look. This technique helps define each adorable ghost’s shape.
- Finishing Touches: Weave in ends neatly to maintain the clean appearance of your work. Use a tapestry needle to finish off any loose yarn tails securely.
- Safety First: If your ghosts are for kids, consider embroidering eyes instead of using safety eyes. It’s a safer and equally cute option!
Adorable Cutie Ghost Amigurumi Pattern FAQs
Can I use a different type of yarn for this pattern?
Absolutely! While I recommend worsted weight acrylic or cotton, you can substitute with similar yarns. For instance, using a bulky weight yarn will yield larger ghosts, while sport weight will create smaller ones. Just remember to adjust your hook size if necessary!
How do I adjust the size of the ghosts?
To change the size, you can use yarn of a different weight. For example, if you opt for sport weight yarn, the ghosts will be smaller. Keep in mind that the stitch count for the body will remain the same, but the overall dimensions will vary based on the yarn thickness.
Why is my ghost curling up at the edges?
Don’t panic! If your work is curling, it may be due to tight stitches or an uneven tension. Make sure your tension is consistent and consider going up a hook size for a looser, more flexible fabric. Pinching along the increase rounds can also help shape your ghost.
What hook size should I use for this pattern?
For this pattern, a 3.5 mm (E/4) hook is perfect! This size ensures that your stitches are neither too tight nor too loose, allowing the squishy texture of the ghosts to shine. If you’re using a different yarn weight, feel free to adjust the hook size accordingly.
How can I prevent dropped stitches in my crochet?
Ah, dropped stitches can be a hassle! To avoid them, always keep your yarn tension consistent while crocheting and take care when working into tight or tricky stitch areas. If you do drop a stitch, simply pick it back up using your hook and keep going—it’s an easy fix!
Leave a Reply