
As I sat in my favorite nook, the soft yarn slipping through my fingers like a gentle whisper, I couldn’t help but feel the excitement of a new project ahead. Introducing the delightful crochet baby dress, paired with matching bloomers, perfect for those sun-soaked summer days! This sweet ensemble is designed to elevate any little one’s wardrobe, offering both charm and versatility for various occasions—think birthday parties or family gatherings. One of the best perks of this project is the opportunity to delve into some intermediate stitch techniques, giving you the chance to enhance your skills while creating something truly special. Plus, the lightweight drape ensures your precious bundle stays comfortable and cozy. Ready to create a cherished piece that not only looks enchanting but is also infused with love? Let’s dive into this little crochet adventure!
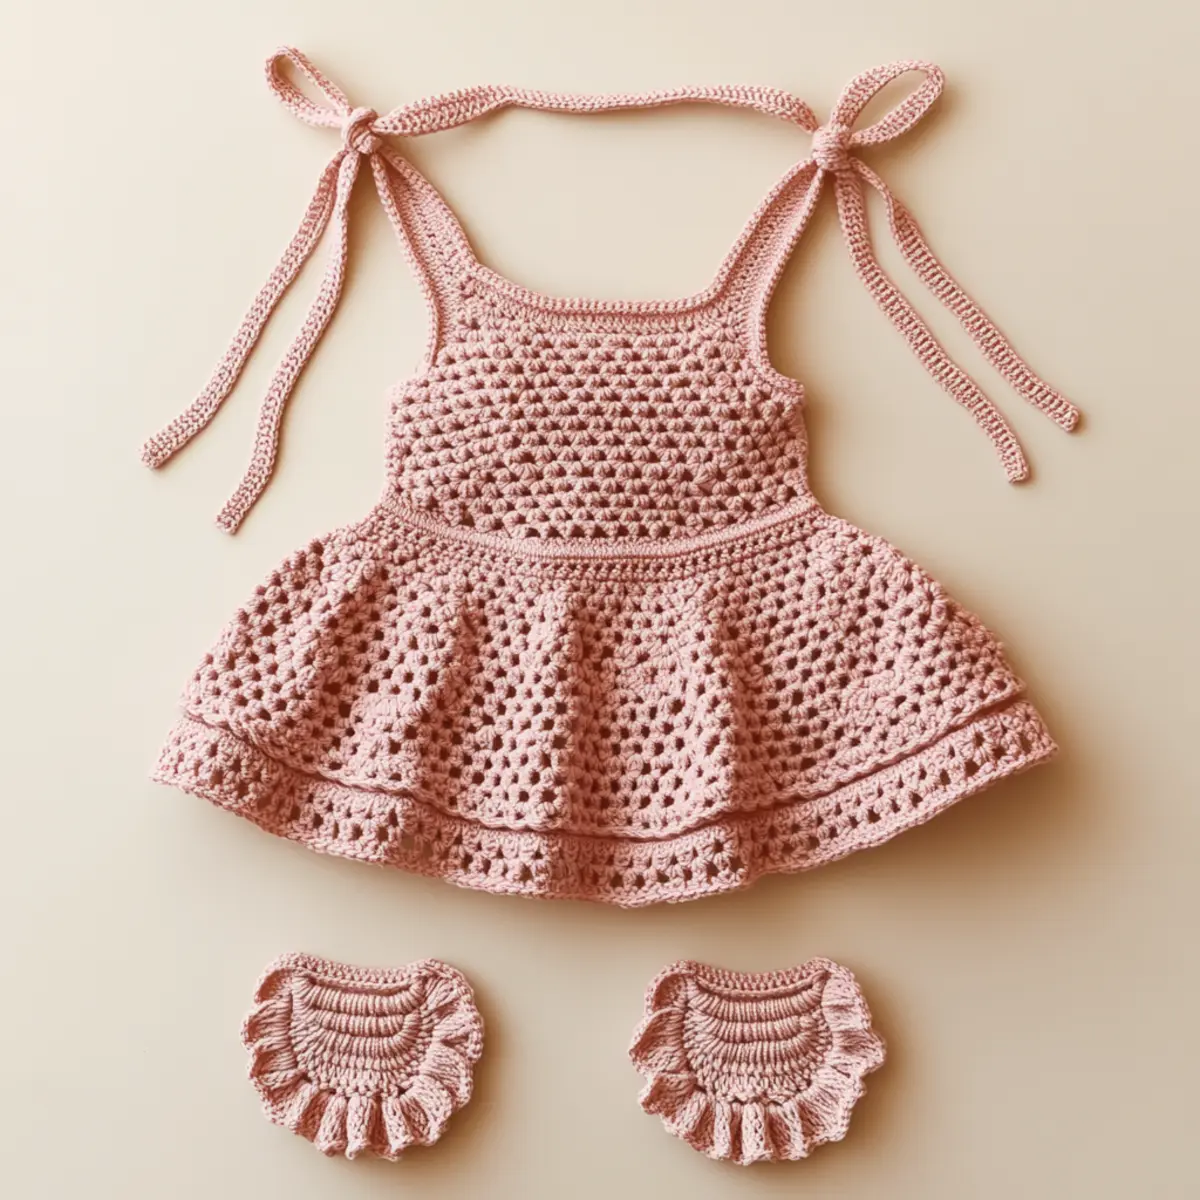
Crochet Baby Dress Materials & Tools
Tip: Gather these essentials to create your perfect crochet baby dress and bloomers set!
Yarn
• DK (Double Knit) Yarn – You’ll need approximately 300-400 yards for both the dress and bloomers, in a soft pink or any color of your choice!
• Cotton or Cotton Blend – This fabric choice ensures breathability and comfort for your baby’s delicate skin.
Tools & Notions
• 4.0mm (G/6) Hook – A perfect size for achieving the tight stitches needed in the bodice of the dress.
• Stitch Marker – Helps keep track of increases, especially during the skirt’s construction.
• Yarn Needle – Essential for weaving in ends and securing your finished project.
• Elastic – Use this for the waist of the bloomers to ensure a comfy fit.
Why is This Crochet Baby Dress Special?
Charming Aesthetic: The sweet combination of soft pink hues and floral motifs makes this crochet baby dress a delightful addition to any little girl’s wardrobe.
Skill Development: Embrace the joy of learning! This project uses various stitch techniques, giving you the chance to refine your crochet skills as you work.
Versatile Style: Whether it’s a summer picnic or a birthday bash, this adorable outfit shines in any setting, making it a go-to choice for multiple occasions.
Comfort Fit: With its lightweight yarn, the set ensures your baby stays cool and comfy, perfect for those sunny days.
Personalization Opportunities: Feel free to experiment with colors like mint or lavender to cater to your unique style! Why not add some embellishments for that extra flair?
Gauge & Sizing Notes
Don’t skip the gauge swatch! Ensuring accurate gauge is essential for the fit and look of your crochet baby dress and bloomers set. Aim for a gauge of 4×4 inches (10×10 cm) equal to 14 double crochets by 8 rows. If you find your tension swatch is too tight, consider using a larger hook size, while a loose swatch might require a smaller hook for that perfect tension. To adjust the size of your dress and bloomers, simply increase your starting chain in multiples of 6 + 2 for the bodice and adjust the total number of rounds based on your desired length. This way, you’ll create a lovely outfit tailored just right!
Step‑by‑Step Pattern for crochet baby dress
Row 1: Foundation Chain
Start by chaining 50 (or appropriate length for bodice width). Join with a sl st to form a ring, being careful not to twist your chain. Your first round will begin in the same stitch as the join, so this setup is crucial for a neat start to your crochet baby dress.
Row 2: Establish Bodice
Ch 2 (counts as 1 dc), then work 1 dc in each stitch around (50 dc). Join with a sl st to the top of the first ch 2. Your work should feel solid and should not twist, laying flat as you complete this initial round.
Row 3: Bodice Height
Ch 2, 1 dc in the next 2 sts, inc in the next st; repeat from * around (67 sts). Join with a sl st. You’ll notice the bodice beginning to take shape and grow taller, making it perfect for little one’s comfort.
Row 4: Continue Bodice
Ch 2, 1 dc in the next 3 sts, inc in the next st; repeat from * around (84 sts). Join with a sl st. Your bodice should start to cup slightly as the increases create a rounded shape for better fit.
Row 5: Bodice Length
Ch 2, 1 dc in each st around (84 sts). Join with a sl st. This row will help to further establish the depth of the bodice, giving it that cute, encapsulating feel essential for the crochet baby dress.
Row 6: Prepare for Skirt
Ch 2, 1 dc in the next 4 sts, inc in the next st; repeat from * around (105 sts). Join with a sl st. The bodice is full now, and your work transitions into the full-skirt phase, opening up with increases.
Row 7: First Skirt Round
Ch 2, 1 dc in each st around (105 sts). Join with a sl st. You should notice your project starting to flow beautifully from the bodice into the skirt, which will soon become the main feature of the crochet baby dress.
Row 8: Increase Fullness
Ch 2, 1 dc in the next 5 sts, inc in the next st; repeat from * around (126 sts). Join with a sl st. At this point, the skirt will become fuller and floatier, creating a lovely silhouette that’s perfect for dress twirling!
Row 9: Adding Flair
Ch 1, *sc in the next 3 sts, skip the next st, ch 3, sl st in the first ch to form a scallop; repeat from * around. Join with a sl st. This scalloped edge will beautifully finish the bottom of the skirt, giving your crochet baby dress an enchanting detail.
Step 10: Finish Bodice
Ch 1, work a row of sc around the bodice (84 sts). Join with a sl st. This sc row helps to create a tight finish for the bodice and gives a clean edge leading into the next section of assembly.
Step 11: Start Bloomers
For the bloomers, ch 40 for the foundation chain. Join with a sl st. This sets the width for the bloomers, a cute and cozy counterpart to the adorable crochet baby dress.
Step 12: Bloomers Body
Ch 2, work 1 hdc in each st around (40 hdc). Join with a sl st. Your project will start to form a lovely tubular shape that will be both functional and cute for the little one wearing it.
Step 13: Elastic Waist
Ch 2, hdc in the next 15 sts, inc in the next st; repeat from * around (48 sts). Join with a sl st. This will allow for some elastic gather, thus ensuring a comfy fit at the waist for the bloomers.
Step 14: Final Bloomers Rows
Ch 2, hdc in each st around (48 sts). Join with a sl st. At this point, your bloomers will be extending nicely, and they’ll be ready for the waistband.
Step 15: Weave in Ends
Using a yarn needle, weave in all loose ends and secure the elastic at the waist of the bloomers. This final touch is essential for keeping everything tidy and ensuring your crochet baby dress set is ready for wear.
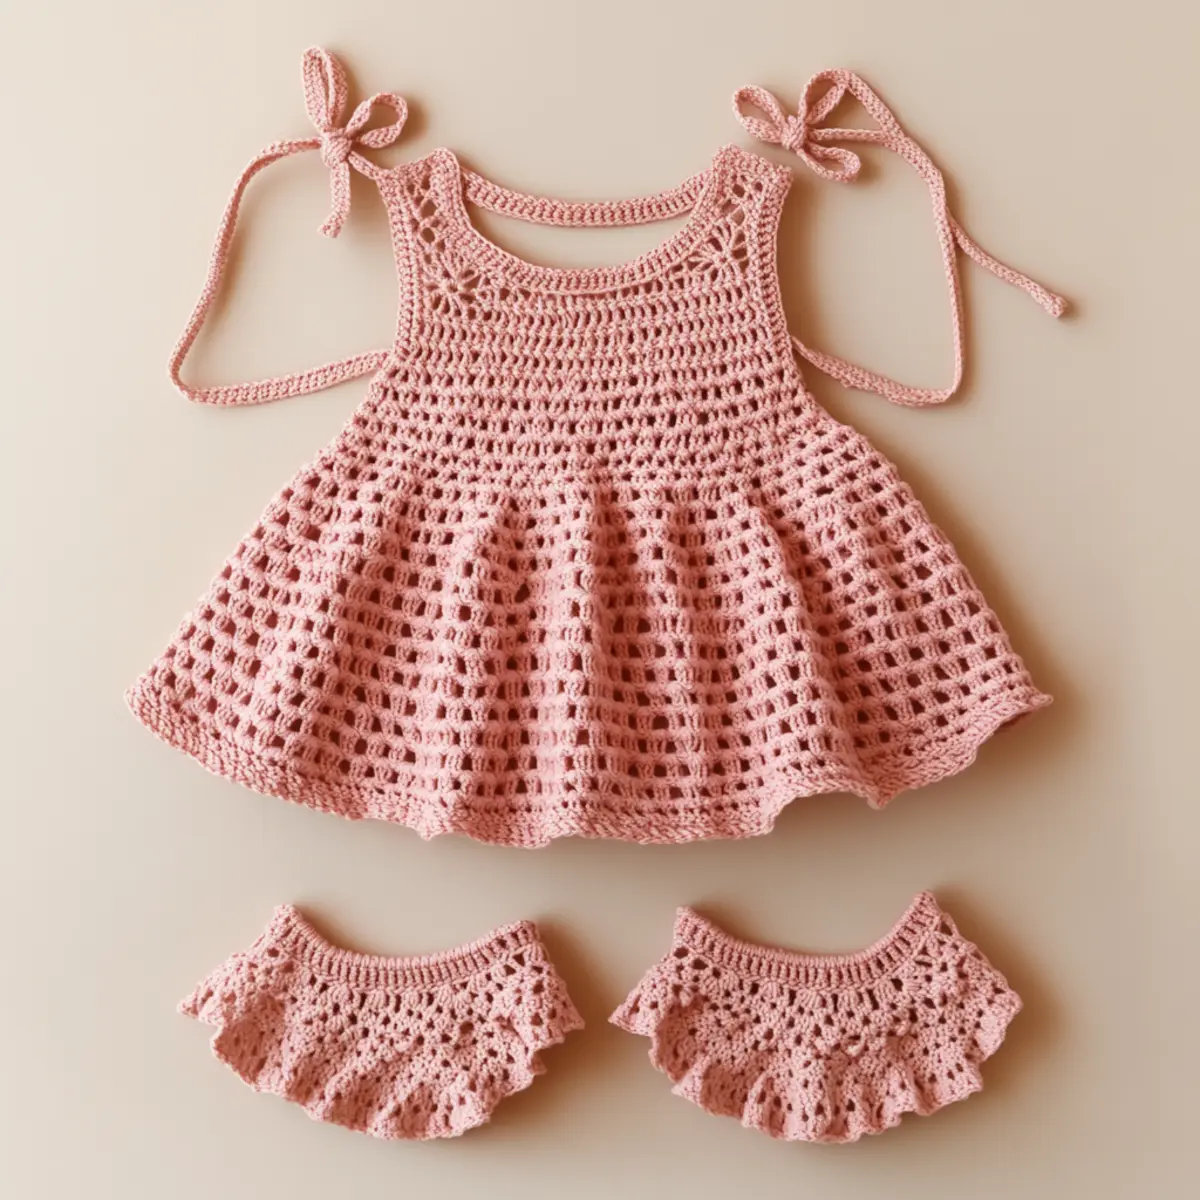
Crochet Baby Dress Variations
Embrace your creativity and make this crochet baby dress uniquely yours!
-
Yarn Substitutions: Opt for a bamboo blend for a softer texture. The luxurious feel adds a touch of elegance while keeping it breathable.
-
Color Choices: Explore pastel hues like mint green or lavender. These sweet shades inspire personalized style perfect for any occasion.
-
Size Adjustments: Modify the foundation chain and row counts for both bodice and bloomers. This allows for a custom fit that grows alongside your little one.
-
Texture Additions: Consider adding details like pom-poms or fringe. These playful elements elevate the charm and create delightful visual interest.
-
Embellishments: Sew on small crochet flowers or beads for added flair. This simple twist adds sweetness and character to the ensemble.
-
Stitch Variations: Experiment with different stitch patterns for the bodice. A shell stitch can create a lovely texture while still being beginner-friendly.
-
Contrast Colors: Try color-blocking the blooming sections. This fun approach creates vibrant visual interest that’s sure to catch the eye!
-
Belted Option: Add a matching belt made from the same yarn. It’s not only stylish but also helps the dress fit perfectly around the waist.
Feel inspired? Dive into more amazing projects with different crochet yarn types to find the perfect fit for your creativity!
How to Wash and Care for Your Crochet Baby Dress
-
Machine Washing: Use cold water and a gentle cycle to preserve the integrity of your crochet baby dress. Always place it inside a mesh laundry bag to prevent snagging.
-
Hand Washing: For extra care, hand wash in lukewarm water with mild detergent. Gently squeeze without agitating to avoid felting or pilling, maintaining that lovely texture.
-
Drying/Blocking: Lay the crochet baby dress flat on a clean towel to dry, reshaping as necessary. Avoid hanging to prevent unwanted stretching.
-
Storage: Store in a cool, dry place away from direct sunlight. Consider using a breathable cotton bag to protect it from dust while allowing air circulation.
Expert Tips for the Crochet Baby Dress
-
Check Your Gauge: Always check your gauge before starting; this ensures the dress fits perfectly and prevents frustration later on.
-
Use Stitch Markers: Place stitch markers at the beginning of each round to keep track of your increases and avoid losing count during your project.
-
Maintain Tension: Keep your tension consistent, especially in the bodice; uneven tension can result in a misshaped crochet baby dress.
-
Measure Before Finishing: Measure the bloomers against your baby’s waist to ensure comfort and adjust the elastic accordingly for the best fit.
-
Secure Loose Ends: Don’t forget to weave in all loose ends once you finish; this keeps your creation looking neat and prevents any unraveling.
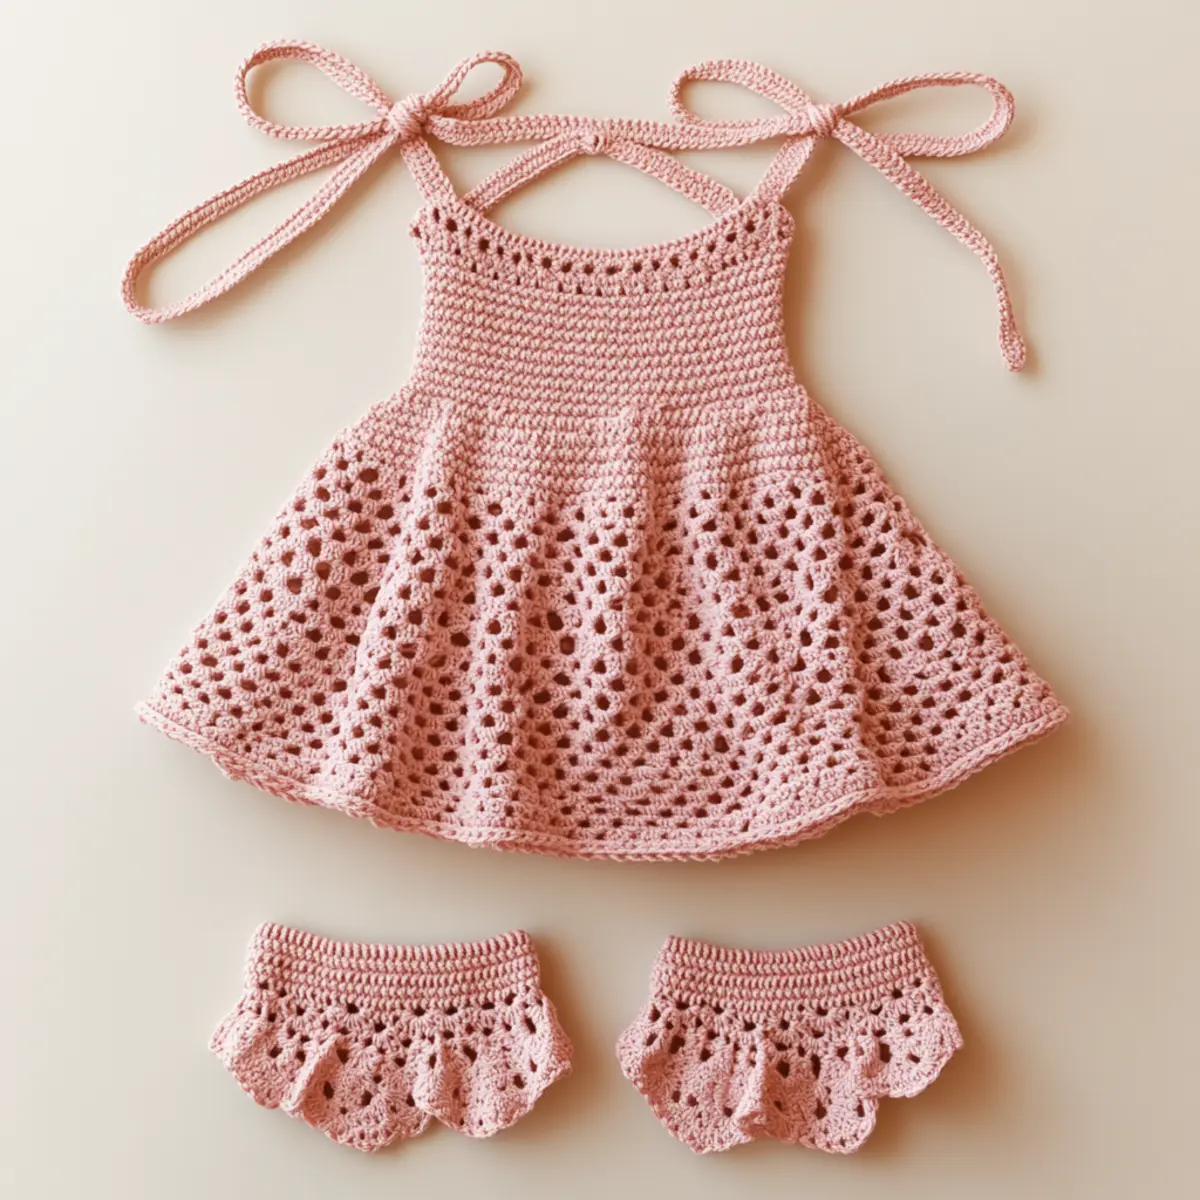
Crochet Baby Dress and Bloomers Set FAQs
Can I use a different type of yarn for this crochet baby dress?
Absolutely! While the recommended yarn weight is DK (double knit), you can substitute with a similar weight yarn, like a lighter worsted. Just keep in mind that using a heavier yarn may affect the drape and comfort of the final piece, so checking your gauge is essential.
How do I adjust the size of the crochet baby dress?
To make the dress larger or smaller, you can adjust the foundation chain to fit the desired width. For a larger size, add more chains in multiples of the stitch pattern you’re using, and for a smaller size, reduce the chains accordingly. Also, consider altering the row counts to achieve the perfect length that suits your little one.
Why is my crochet baby dress curling at the edges?
Don’t panic! If your edges are curling, it may be due to tight tension or using too small of a hook. Relaxing your grip as you crochet or trying a larger hook size can help. Another option is to add a finishing border—like a row of single crochet—to smooth out those edges.
What crochet hook size should I use for the project?
For this adorable crochet baby dress, a 4 mm (G/6) hook is recommended. However, it’s always a good idea to check your gauge with the hook to ensure the bodice has the tightness you want, as this can affect the fit of your creation.
How do I fix a dropped stitch in the crochet baby dress?
It’s an easy fix! Simply pick up the dropped stitch with your hook and use the surrounding stitches to help guide it back into place. If you’re unsure, you can always leave it for a moment and continue crocheting; once you’ve completed the row, go back and correct it before moving on.
Can I add embellishments to the bloomers?
Of course! Personalizing your bloomers is a lovely way to add unique charm. Consider adding small flowers or beads—just ensure any embellishments are securely attached for safety. Feel free to get creative with colors and textures to match the overall aesthetic of the set!
Leave a Reply