
There’s something magical about the first blooms of spring, isn’t there? As the world awakens, what better way to celebrate the season than by crafting your very own crochet daisy flower? This whimsical project is perfect for crafters of all skill levels and offers a joyful, therapeutic experience as you master simple stitches. Not only will you create a delightful embellishment that brings a burst of color to your home or wardrobe, but it also serves as a versatile accessory, whether you’re adorning a hair clip or brightening up a gift. With each stitch, you’ll feel the warmth of springtime spirit—and I can’t wait for you to dive in and start stitching these charming flowers!
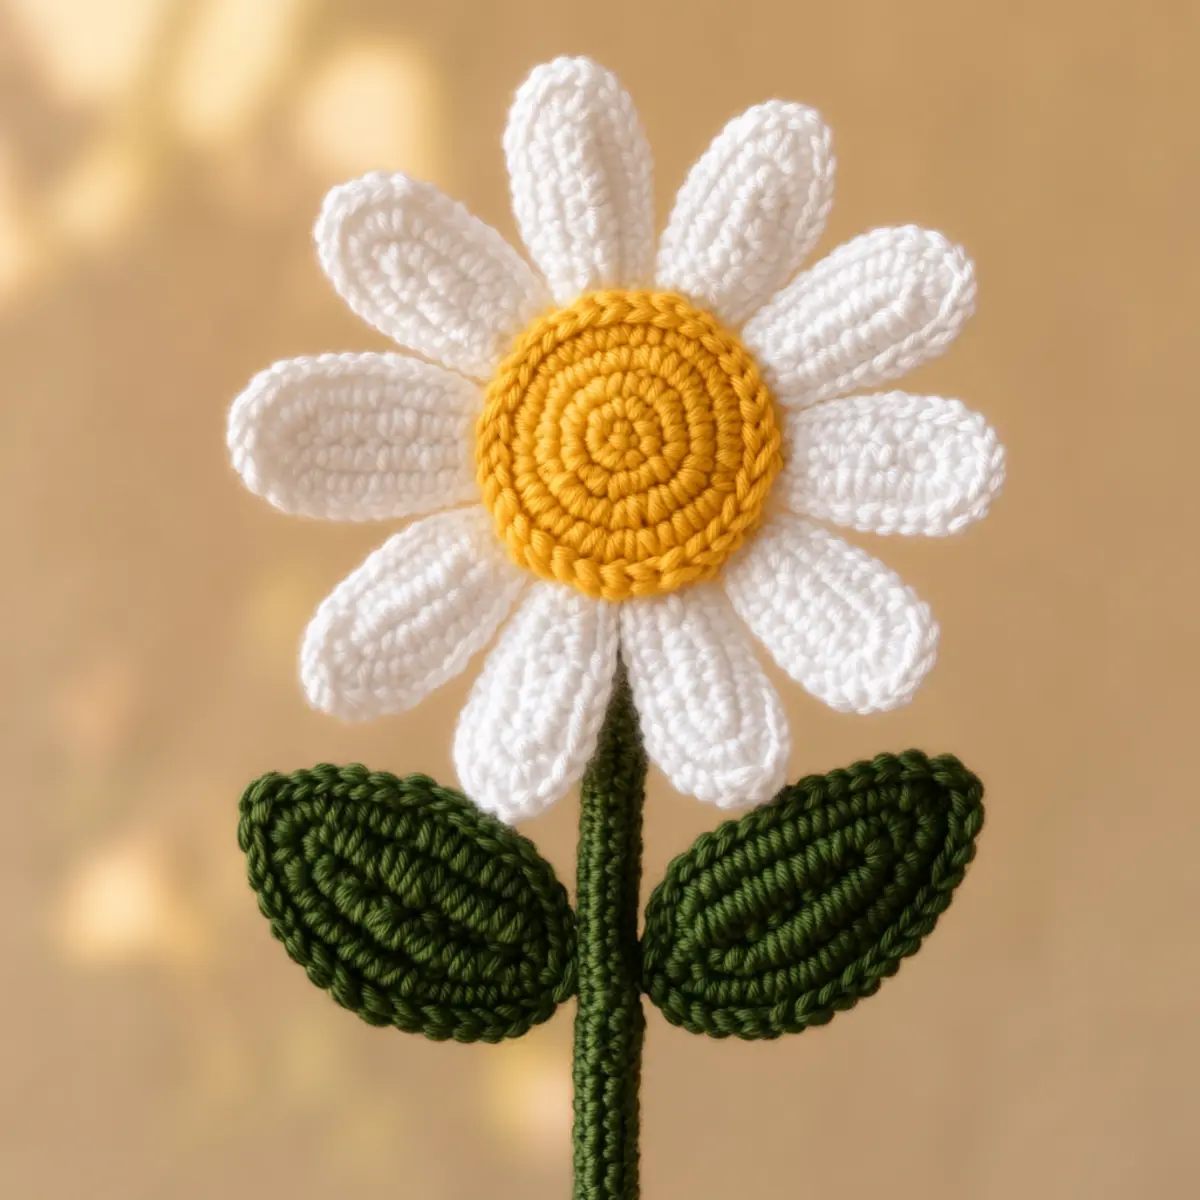
Crochet Daisy Flower Materials & Tools
Get ready to gather your supplies and experience the joy of creating your own crochet daisy flower!
Yarn
- DK or Worsted Weight Yarn – Use approximately 50-100 yards of white for petals, 30-50 yards of yellow for the center, and about 20 yards of green for leaves and stem.
- Acrylic or Cotton Yarn – Both options are durable and easy to wash, perfect for your daisy’s vibrant colors.
Tools & Notions
- 4 mm (G-6) Crochet Hook – This size is ideal for achieving those lovely stitches in your crochet daisy flower.
- Stitch Markers – Use these to keep track of your rounds, especially when working the center.
- Yarn Needle – Perfect for weaving in ends neatly for a polished finish.
- Stuffing (optional) – A small amount can add a plump, rounded look to the center of your flower.
With these materials in hand, you’ll be well on your way to crafting a stunning crochet daisy flower that embodies the spirit of spring!
Why Make a Crochet Daisy Flower?
Joyful Creation: This charming project sparks joy as you bring a touch of spring into your home. Simple Stitches: Enjoy the beauty of basic crochet stitches that create a therapeutic crafting experience. Versatile Use: These flowers make lovely hair accessories, brooches, or gift embellishments. Bright Colors: Use vibrant yarns to make your daisy stand out and brighten any outfit. Perfect Gift: Handmade daisies are heartfelt gifts for plant lovers—pair them with a cute pot! You may also want to explore other delightful patterns such as the Crochet Floral Square for creating lovely decorative pieces.
Gauge & Sizing Notes
Don’t skip the gauge swatch! Checking your tension is crucial for ensuring your crochet daisy flower turns out the perfect size. For this project, aim for a gauge of 4×4 inches (10×10 cm) square = 14 double crochets by 8 rows. If you want to make your daisy larger, simply increase your starting chain in multiples of 6 for the petals. Conversely, if your swatch isn’t matching the gauge, and it’s coming out too small, try going up a hook size to achieve that sweet blooming shape. Remember, achieving the right crochet gauge will help your crochet daisy flower look just as lovely as it should!
Step‑by‑Step Pattern for crochet daisy flower
Row 1: Create the Center
Start by making a magic ring and ch 2 (this counts as the first hdc). Inside the ring, work 10 hdc (12 sts total). Pull the magic ring tight to close, ensuring the circle is firm. Your work should resemble a small, tightly packed circle that will form the daisy’s center.
Row 2: Round the Center
To add to the fullness of the center, ch 2, then work 2 hdc in each hdc around (24 sts). This will create a lovely puffed appearance for your daisy flower’s center. Upon completion, the center should feel rounded and plump, ready for the petals!
Row 3: Begin the Petals
To create the petals, chain 4 and join with a sl st to form a small ring. Work 10 dc into this ring, ensuring that each stitch is snug to create a ruffled effect. Once you finish this round, your work should form a soft cup shape that gives life to your daisy flower.
Row 4: Add Petal Rounds
Ch 3, then work 1 dc in the same st. In the next st, work 2 dc, and repeat this process around (total of 20 dc). This round enhances the petals’ bloom, making them fuller and more vibrant. After this round, you should notice your petals starting to take shape beautifully.
Row 5: Final Petals Round
Next, ch 1 and sc in the first dc of previous row. Then ch 5, skip next dc, sc in the following dc; repeat from * to * around. Join with a sl st. Your daisy petals should now have a lovely scalloped edge, giving them a whimsical appearance, perfect for your crochet daisy flower.
Step 6: Make the Leaves
For the leaves, ch 8, then sc in the 2nd ch from hook and in the next 6 ch (7 sc). Ch 1 and turn. Work 2 sc in the first st, sc in the next 5, and 2 sc in the last. Turn your piece into a gentle point at the end of the leaf. Make 2 leaves for your flower.
Step 7: Assemble the Flower
With your yarn needle, sew the flower center to the center of the petals, taking care to secure it firmly. Then attach the leaves to the back of the flower base, using sc to add them slightly overlapping the petals. Your final crochet daisy flower should look vibrant and ready to be showcased in any décor!
Step 8: Finish and Block
Weave in any remaining ends and block your pieces gently for a polished finish. Lightly steam the petals and leaves if desired to enhance their shapes, ensuring your crochet daisy flower looks fresh and ready to bring warmth and joy to your surroundings.
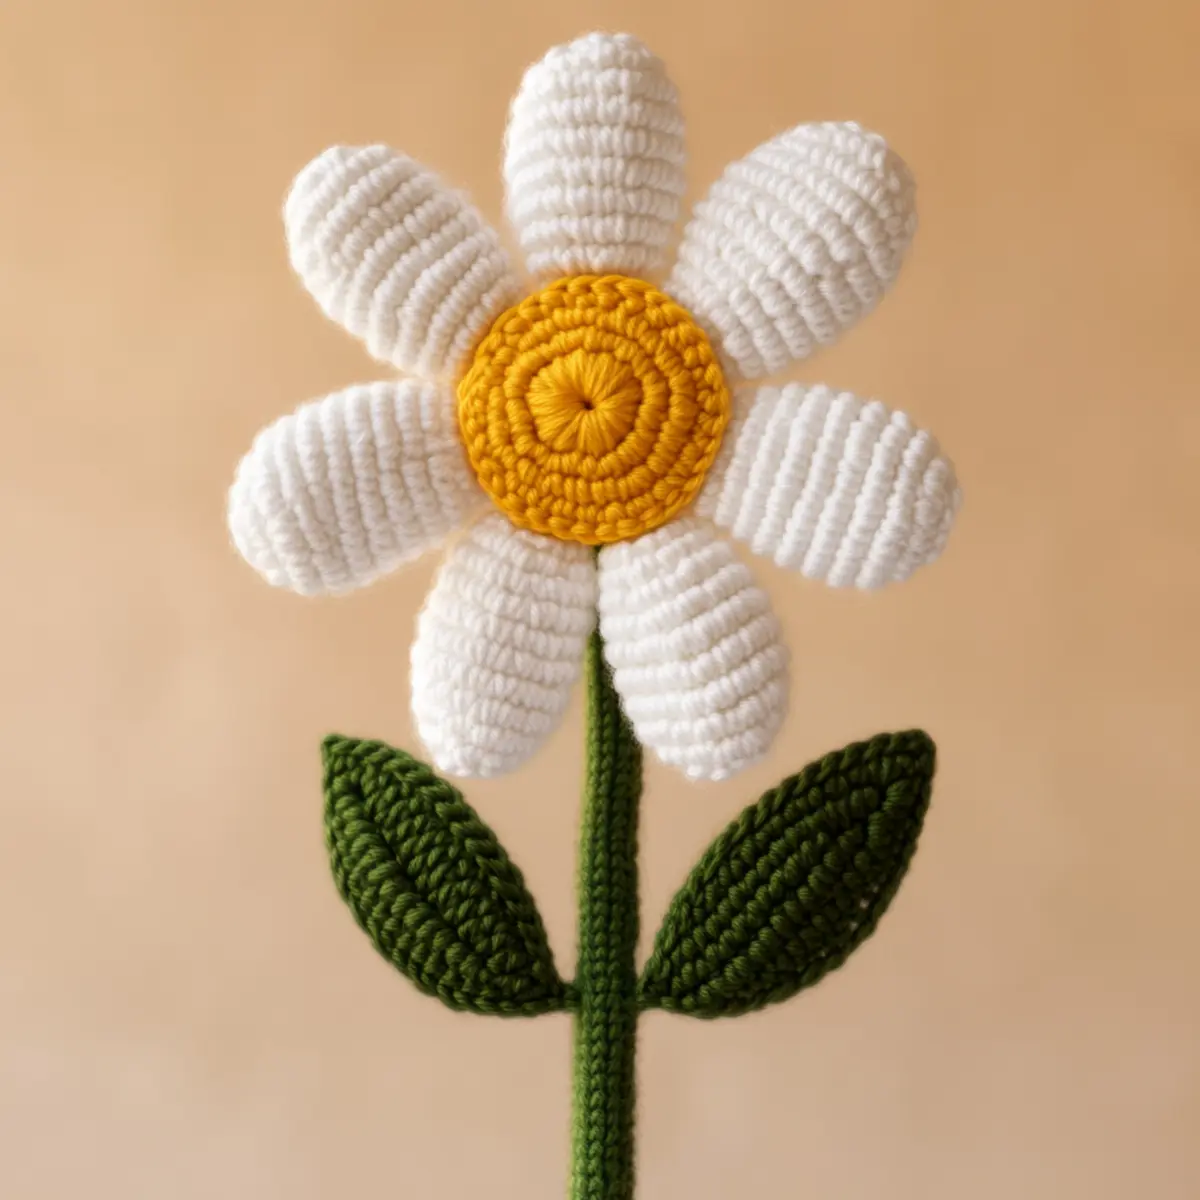
How to Wash and Care for Your Crochet Daisy Flower
- Machine Washing: If your crochet daisy flower is made with acrylic or cotton yarn, you can gently machine wash it in cold water on a delicate cycle to keep it looking fresh.
- Hand Washing: For extra care, hand wash your flower in cold water using a mild detergent. Avoid agitating it too much to prevent felting or pilling.
- Drying/Blocking: Lay your crochet daisy flower flat on a clean towel to dry, reshaping the petals and leaves as needed. Steaming can help block the flower for a polished finish.
- Storage: Store your finished daisy flower in a cool, dry place, away from direct sunlight to prevent fading. A breathable bag or container is ideal for maintaining its lovely shape.
Expert Tips for the Crochet Daisy Flower
- Consistent Tension: Maintain even yarn tension throughout your project to ensure uniformity in your petals. This keeps them looking neat and balanced.
- Track Your Stitches: Use stitch markers to help keep track of your rounds, especially when working in the round for the center. This prevents losing your place.
- Don’t Skip Stuffing: Adding a small amount of stuffing to the center gives your crochet daisy flower a lovely rounded appearance and adds dimension.
- Block Leaves: Gently steam block your leaves to shape them for a natural curve. This makes the final flower appearance more realistic and polished.
- Avoid Ruffling: When making petals, ensure your stitches are not too tight; this avoids unwanted ruffling and keeps the edges smooth.
- Experiment with Colors: Don’t be afraid to swap yarn colors for the petals and center! Trying different shades can personalize your crochet daisy flower beautifully.
Variations & Substitutions for Crochet Daisy Flower
Unleash your creativity and transform your crochet daisy flower pattern into something uniquely yours with a few simple tweaks!
- Color Swaps: Try pink or lavender petals for a fresh twist. A little change in color can evoke different moods and themes.
- Textured Yarn: Opt for a textured yarn to give your flower a unique visual look and feel, making it truly stand out.
- Bigger Blooms: Increase the stitch count or rounds to create larger flowers—perfect for statement pieces or displays.
- Bouquet Creation: Craft a bouquet using multiple flowers in various colors and sizes, all joined together on a single stem for a delightful arrangement.
- Fiber Alternatives: Switch from acrylic to cotton for a softer finish and a natural look that works beautifully in warm weather.
- Layered Petals: Create depth by layering two sets of petals—one smaller set underneath to create a fuller flower appearance.
- Add Fringe or Pompoms: Incorporate fringe on the edges or a pom-pom at the center for added texture and fun! This playful touch can add whimsy to your floral creations.
- Size Adjustments: Adapt the pattern to create mini daisies for embellishments on gifts, clothing, or accessories. They make excellent accents anywhere!
Each variation offers a chance to explore new techniques and colors, allowing for a delightful crafting journey. As you play, consider other patterns like the Crochet Daisy Flower or the Crochet Floral Square to complement your crochet daisy flowers beautifully!
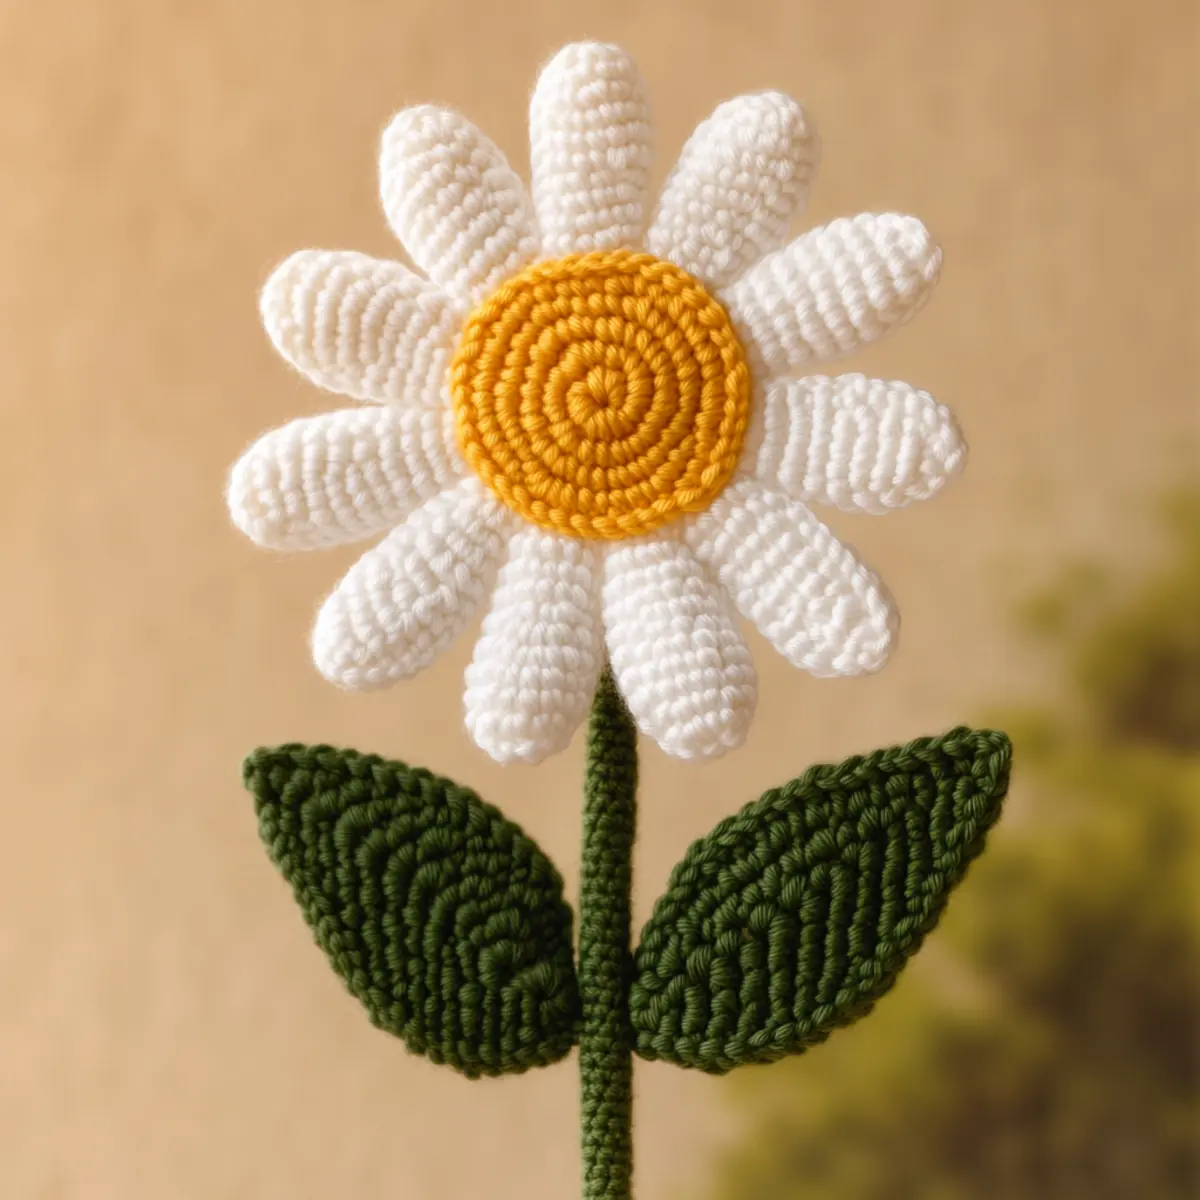
Crochet Daisy Flower FAQs
Can I substitute different yarns for the crochet daisy flower?
Absolutely! While the recommended yarn is DK or Worsted weight acrylic or cotton, you can experiment with other fibers such as bamboo or wool. Just be mindful of the weight and gauge; if you choose a lighter yarn, your flower will be smaller.
How can I adjust the size of my crochet daisy flower?
To make your daisy larger, simply increase the number of stitches in each round of petals or add extra rounds. For a smaller flower, decrease the number of stitches. You could also use a smaller hook size to tighten the fabric, resulting in a compact bloom.
Why is my crochet daisy flower curling at the edges?
Don’t panic! If your petals are curling, this might be due to tight stitches or incorrect tension. Relax your grip as you crochet or try using a larger hook. Blocking the petals after you finish can also help flatten them out effectively.
What hook size should I use for the crochet daisy flower?
A 4 mm (G-6) crochet hook is ideal for this project. However, if you find your fabric is too loose or tight, you can switch to a smaller or larger hook accordingly. Always check your gauge to ensure your flower matches the intended dimensions!
How do I fix a dropped stitch while making my daisy?
It’s an easy fix! First, don’t panic—drops happen to the best of us. Simply use your hook to pick up the dropped stitch and work it back into your row. If you notice it too late, you can always unravel and carefully redo that section.
What if my leaves aren’t shaping properly?
If your leaves are not forming the right shape, try gently steaming them after you finish crocheting. This helps to set the stitches and create a nice curve. Blocking can really enhance the overall look of your crochet daisy flower!
Leave a Reply