
In a world where everything feels a bit mundane, the Crochet Daisy Flower promises to inject a burst of charm into your life. As you work through this lovely intermediate project, you’ll find not only joy in creating something beautiful but also the satisfaction of mastering your color work and stitch definition. Perfect for home decor, these cheerful flowers can brighten up any setting or serve as delightful, handmade gifts that carry your personal touch. With just a few colors of worsted weight acrylic yarn and some simple techniques, you’ll be amazed at how quickly these blooms come to life. So, let’s embark on this crocheting adventure together and watch as your crafting skills blossom with every stitch!
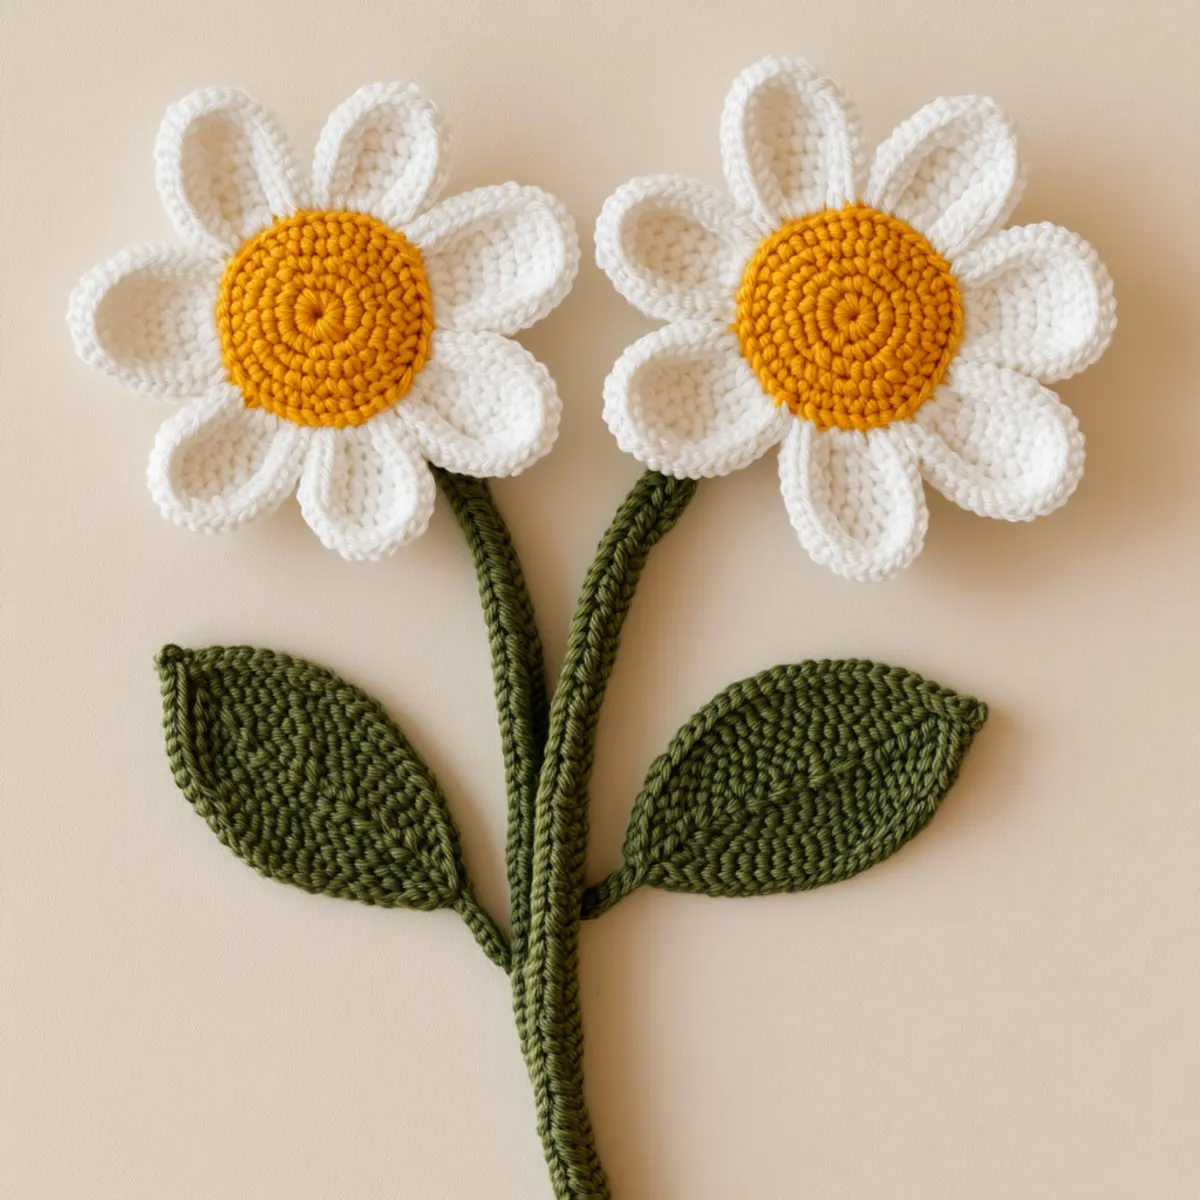
Crochet Daisy Flower Materials & Tools
-
Yarn
• Worsted Weight Acrylic Yarn – Gather white, yellow, and dark green shades with 50-75 yards of each color for vibrant blooms. -
Tools & Notions
• 2.5mm (C) Crochet Hook – Ensures tight stitches for a firm structure and defined petals.
• Yarn Needle – Essential for weaving in those pesky ends and securing your flower.
• Scissors – A must-have for trimming yarn and neat finishes.
• Floral Wire or Wooden Stick – Use for the flower stem to add support and structure.
• Green Floral Tape – Perfect for wrapping around the stem to conceal any wires or sticks.
• Stuffing (optional) – Great for achieving a puffy center if desired.
Dive into creating this delightful crochet daisy flower and enjoy the artistry of handcrafted home decor!
Why Will You Love This Crochet Pattern?
Charming Aesthetic: The Crochet Daisy Flower adds an eye-catching pop of color to your home, creating a delightful atmosphere that can brighten any room with its cheerful blooms.
Skill-Enhancing: Gain confidence in your crochet journey by mastering color work and stitch definition, making this project a rewarding experience for intermediate crafters.
Gift-Worthy: Perfect for gifting, these handmade flowers can bring heartfelt joy to friends and family, showcasing your creativity and thoughtfulness.
Customizable Design: Whether you choose to experiment with pastel shades or use cotton yarn for a rustic touch, this pattern invites endless possibilities to personalize your creations.
Quick to Create: With a straightforward design and minimal time commitment, you’ll love how quickly these daisies come together—ideal for last-minute gifts or decorations.
Dive deeper into this cheerful journey and explore more crochet flower patterns to expand your crafting repertoire!
Gauge & Sizing Notes
Don’t skip the gauge swatch! Checking your tension is crucial when creating your crochet daisy flower to ensure that each bloom turns out beautifully and fits your vision. A standard gauge measurement for this project is 4×4 inch (10×10 cm) square = 14 double crochets by 8 rows. If you find your swatch is larger or smaller than these dimensions, you can adjust the size of your flower by changing your hook size or modifying your starting chain in multiples of 6 + 2 to achieve a wider or narrower shape. If your tension doesn’t match, and your swatch is too small, try using a larger hook size for looser stitches, or opt for a smaller hook if you crochet tightly. Happy crafting!
Step‑by‑Step Pattern for crochet daisy flower
Row 1: Center Creation
Start with a magic ring using yellow yarn. Work 6 sc into the ring and pull it tight to close. This creates the foundation of your crochet daisy flower. Next, in each sc from the previous round, make 2 inc (increases), resulting in 12 sts (your work should begin to form a small circle).
Row 2: Building Height
For the next round, crochet 1 sc in the first stitch, then inc in the next stitch; repeat this pattern around (18 sts). As you stitch, your center will start to puff up slightly, giving dimension. Count your stitches to maintain accuracy and ensure the center maintains a rounded shape.
Row 3: Finalizing the Center
In this round, crochet 2 sc in the first stitch, then 1 sc in the subsequent two stitches; repeat this pattern around (24 sts). The center should now look fuller, ready for the petals. You’ll notice it has a slightly raised form, providing the perfect foundation for your crochet daisy flower.
Row 4: Petal Attachment
Switch to white yarn and attach it to any stitch from the last round with a sl st. Ch 4, then dc in the same stitch. Create 2 more dc in the same stitch, followed by a sl st to close the petal. This forms the first petal of your daisy, and you should see it starting to curl outwards.
Row 5: Completing the Petals
Repeat the previous step around the center until you have 6 petals total attached (your petals should be evenly spaced and appear full). Each petal is comprised of a cluster of three dc creating a lush, rounded shape. Ensure your petals stand out with a lovely wave-like structure.
Row 6: Leaf Preparation
For leaves, use dark green yarn. Start with a slip knot and ch 10. In the 3rd ch from the hook, work 1 hdc, followed by 1 dc in the next stitch, then 1 hdc, and finally, 1 sc in the last stitch. This forms a leaf shape, and the points should curve gently.
Row 7: Finishing the Leaves
To create another leaf, repeat the previous row’s steps, but at the end of the chain, cut yarn and fasten off. You should have two leaves now, which will add a lovely contrast to your crochet daisy flower. These will be attached to the stem providing a quaint design element to your bouquet.
Step 8: Stem Assembly
For the stem, take floral wire or a wooden stick and wrap it with green yarn. Secure the yarn with tight stitches, ensuring the stick is well-covered. Once wrapped, use a separate piece of yarn to attach the base of your flower and leaves to the stem. The stem should visually support your crochet daisy flower, pulling your whole project together.
Step 9: Final Touches
Carefully trim any loose ends with scissors and weave in your yarn tails using a yarn needle. If you’d like a fuller center, add some stuffing before attaching it to the flower. Your crochet daisy flower is now complete, ready to brighten any corner of your home or for gifting!
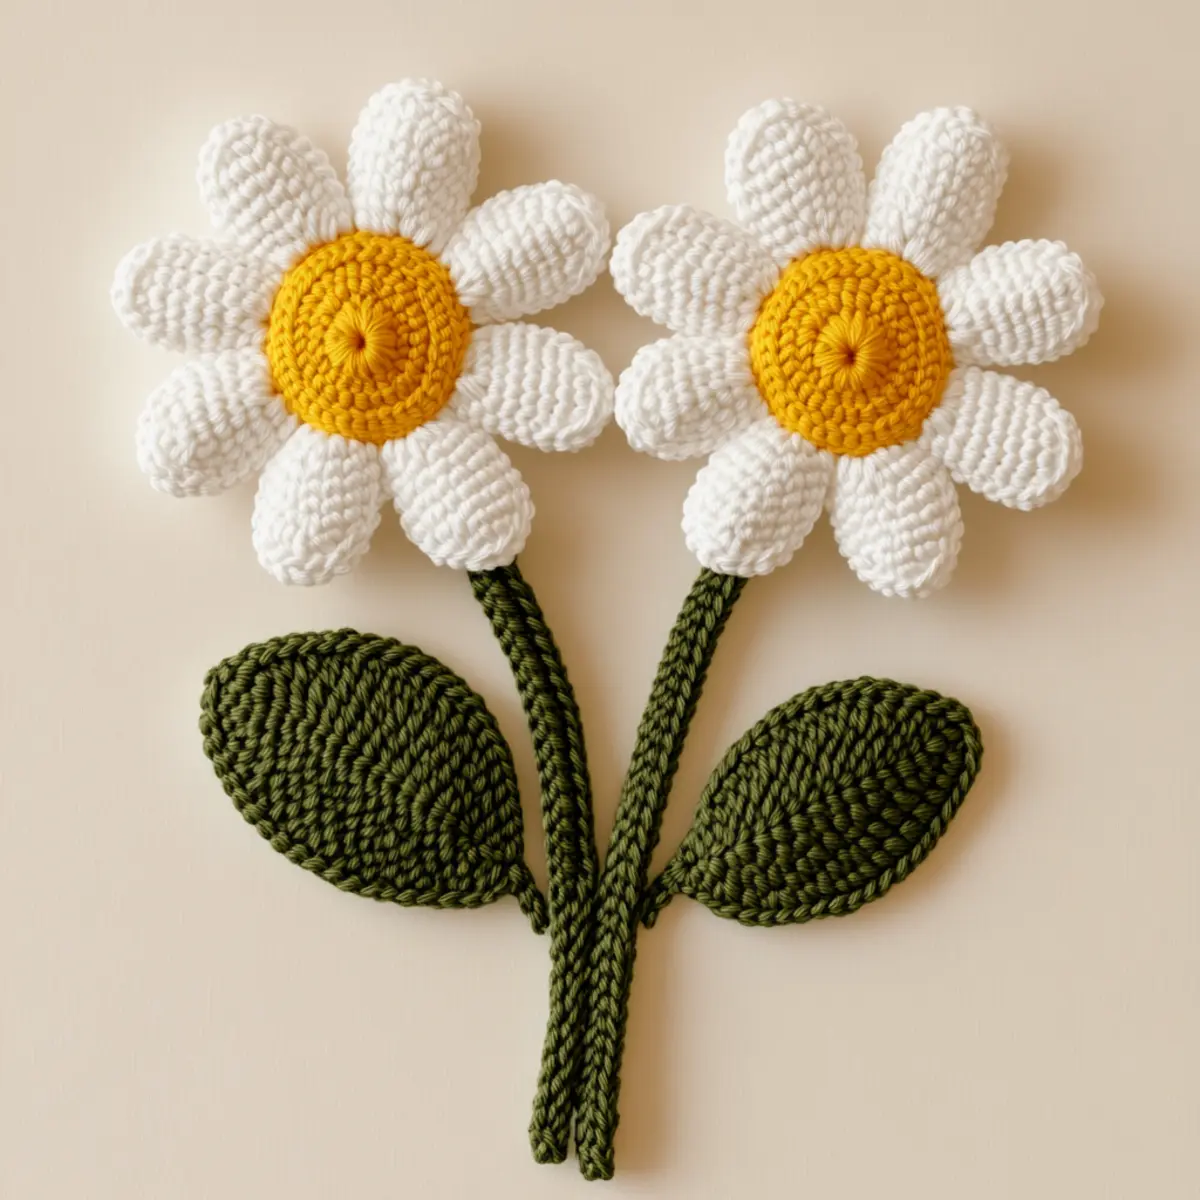
Crochet Daisy Flower Variations
Feel free to personalize your crochet daisy flower project with these delightful twists and substitutions!
-
Yarn Substitutions: Try using cotton yarn for a more rustic and textured feel. The slightly different drape can add character to your daisies.
-
Color Play: Infuse a pop of whimsy by experimenting with pastel or deep jewel tones for your petals. The right shades can transform your flowers’ personality!
-
Size Shifts: Make your flowers larger or smaller by switching to bulky or lighter weight yarn. Bigger daisies can create stunning focal points in your home decor.
-
Texture Twists: Consider adding a fringe to the edges of your petals for an exciting new texture. This playful detail can make your daisies even more eye-catching!
-
Layering Colors: Create a stunning gradient effect by using variegated yarn or layering multiple colors for the petals. This technique adds depth and visual interest to your flowers.
-
Bouquet Creation: Gather multiple daisies of varying colors and sizes to form a bouquet. This combination makes for a gorgeous decorative piece that adds cheer to any room.
-
Integrated Leaves: Instead of traditional separate leaves, incorporate leaf shapes directly into the petal design. This could bring a fresh perspective to your daisy flowers!
-
Adding Accents: Embellish your finished flowers with small beads or buttons in the center to add a unique touch. This simple addition can give your crochet daisies a personal flair.
Explore more ideas and techniques by checking out other crochet flower patterns to inspire your crafting journey!
Expert Tips for Crochet Daisy Flower
• Tension Matters: Ensure consistent tension throughout your project, especially for petals, to maintain their crisp shape. Consider using a smaller hook if your stitches seem too loose.
• Stay on Track: Regularly count your stitches as you work through the center and petals. It’s easy to lose track in round crochet, so check frequently to prevent mistakes.
• Shape Setting: Lightly block the leaves after finishing to enhance their natural curve. This simple step will make your crochet daisy flower look more professional and polished.
• Secure Assembly: When attaching the petals and leaves to the stem, make sure your stitches are tight, ensuring that nothing comes loose over time. This attention will keep your flowers vibrant and sturdy.
• Finish Neatly: Weave in all ends carefully with a yarn needle to keep your crochet daisy flower looking clean and beautiful. A tidy finish enhances the overall aesthetic of your handcrafted piece.
How to Wash and Care for Your Crochet Daisy Flower
Machine Washing: Use a gentle cycle with cold water when washing your crochet daisy flower to prevent felting and maintain its vibrant colors. Avoid fabric softeners that could alter the texture.
Hand Washing: If you prefer, hand wash in cold water with mild soap, gently squeezing out dirt without twisting. This keeps your flowers looking fresh without damaging the stitches.
Drying/Blocking: Lay your crochet daisy flower flat on a clean towel to dry, shaping the petals and leaves to restore their form. Avoid hanging, which could distort the shape.
Storage: Store your finished crochet daisy flower in a cool, dry place away from direct sunlight to prevent fading and maintain the integrity of the yarn.
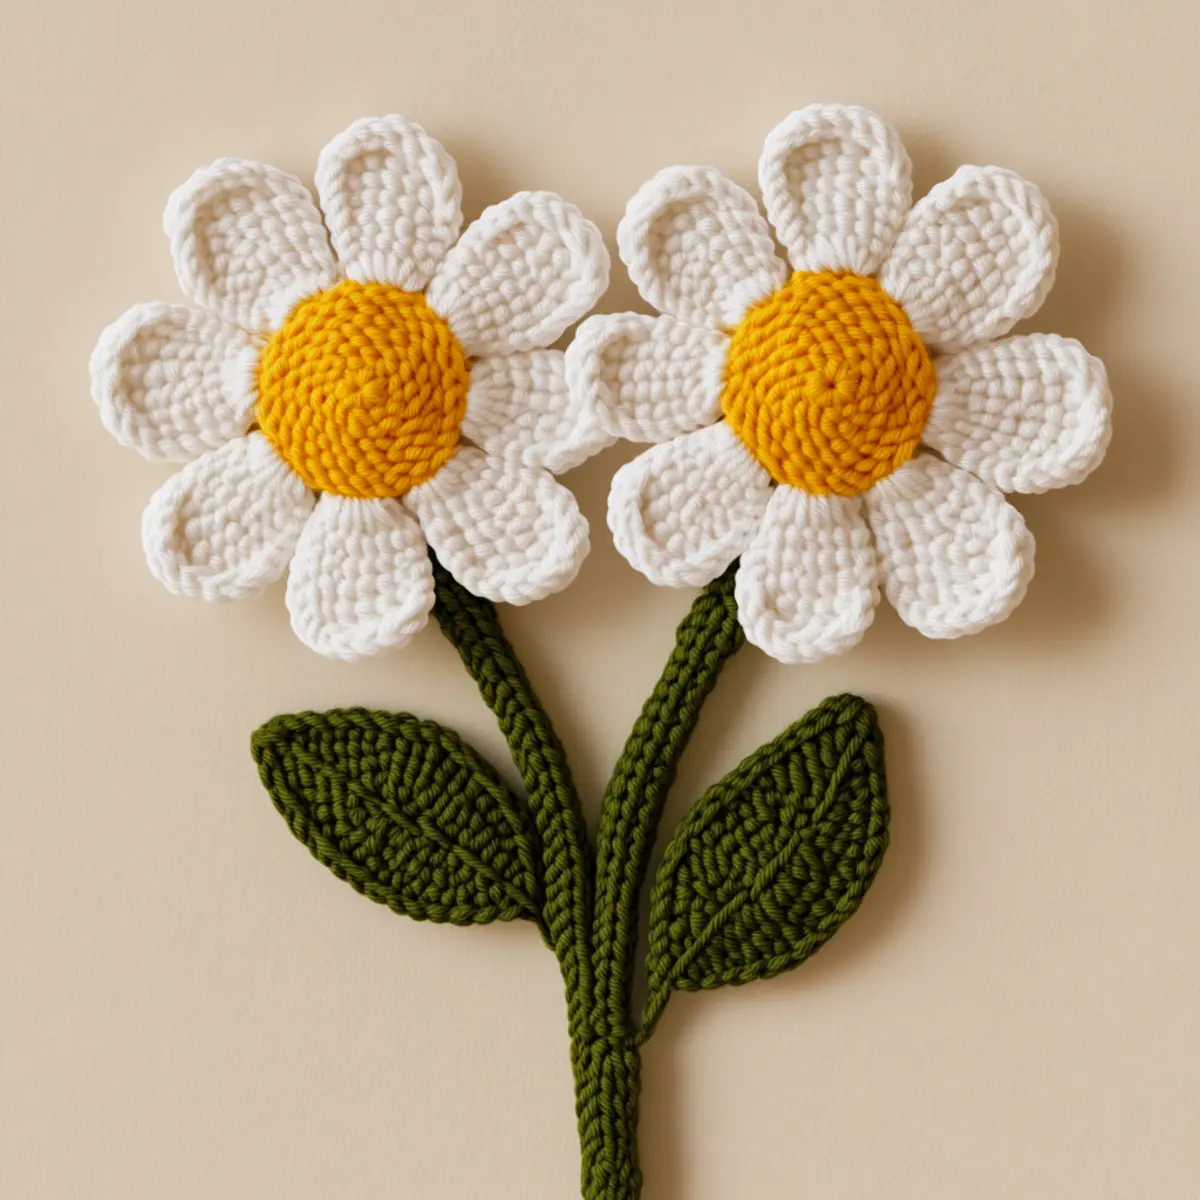
Charming Crochet Daisy Flower FAQs
Can I substitute yarn types for the crochet daisy flower?
Absolutely! While the pattern calls for worsted weight acrylic yarn, you can use cotton yarn for a more rustic look. Just keep in mind that gauge may change, so it’s a good idea to check your tension if you decide to swap.
How can I make my crochet daisies bigger or smaller?
To scale your crochet daisy flower up, simply use a bulkier yarn and an appropriately sized hook. For smaller flowers, try using a lighter weight yarn like DK or sport yarn, and adjust your hook size accordingly to achieve a tighter structure.
Why is my work curling, especially on the petals?
Don’t panic! If your petals are curling up like a bowl, it may be due to tension. Ensure you’re maintaining a tight stitch throughout. You can also lightly block the petals after finishing to help them lay flat and showcase their natural beauty.
What hook size should I use for the crochet daisy flower?
The pattern recommends a 2.5mm (US size C) crochet hook to ensure tight, defined stitches. If you’re using a different yarn weight or find your stitches are too loose, consider trying a smaller hook to achieve the desired gauge.
How do I fix dropped stitches in my petals?
If you find a dropped stitch, it’s an easy fix! Simply pull the yarn through the dropped stitch to create a new loop and continue crocheting as normal. If needed, you can use a yarn needle to weave the stitch back in for added security.
What is the best way to attach the leaves to the stem?
When attaching the leaves, make sure to stitch them securely with tight tension to prevent them from falling off. A bit of green floral tape around the base where they meet the stem can also add extra support and keep everything neat and tidy!
Leave a Reply