
As I sat on my porch, surrounded by blooming flowers swaying in the breeze, I felt inspired to create something equally vibrant. Enter the layered crochet flower pattern—a delightful project that brings together color and texture into a stunning handmade piece. This crochet flower pattern is perfect not only for those looking to spruce up their home décor but also for crafters eager to explore color combinations and improve their crochet skills. With its modern yet timeless appeal, you’ll find this flower to be a charming embellishment for everything from bags to hats. Not to mention, it’s a wonderful way to use up some yarn stash! Gather your favorite worsted-weight yarn, and let’s dive into this joyful adventure of crocheting a flower that’s sure to brighten your crafting days. Get ready to unleash your creativity!
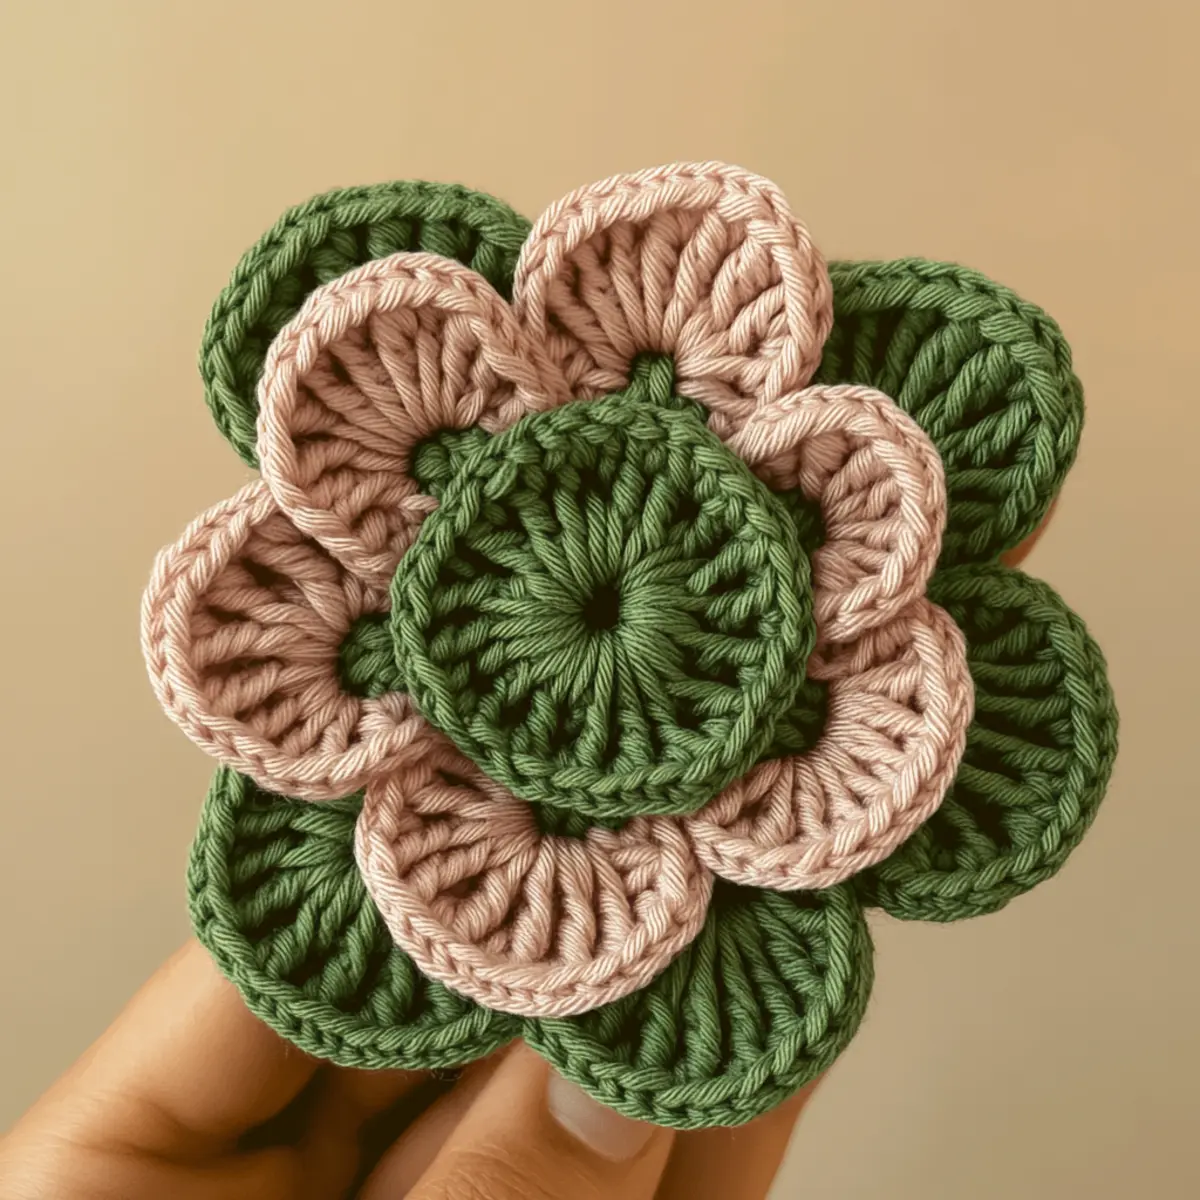
Layered Crochet Flower Materials & Tools
Note: Gather your supplies for this delightful crochet flower pattern and let your creativity bloom!
Yarn
• Medium Weight (Worsted) Yarn – Approximately 100-150 yards; use cotton or a cotton blend for durability.
• Soft Pink Yarn – Perfect for the outer petals, adds a soothing contrast.
• Sage Green Yarn – Ideal for creating the inner petals, enhances the botanical feel.
• Dark Green Yarn – Use for the center to provide a striking focal point.
Tools & Notions
• 4.0mm (G-6) Crochet Hook – Recommended size for optimal tension and petal shapes.
• Yarn Needle – Essential for weaving in ends and finishing your flower neatly.
• Stitch Markers – Helpful for tracking rounds and keeping your stitches organized while working through layers.
With these materials and tools in hand, you’re all set to create a stunning layered crochet flower that brings a pop of color and charm to any space!
Why Try This Crochet Flower Pattern?
Vibrant Colors: The use of multiple shades brings a lively touch to your projects.
Intermediate Skill Level: This pattern provides an excellent opportunity to hone your crochet skills while creating something beautiful.
Multifunctional Decor: Use it to embellish everything from bags to home décor pieces. It’s perfect for making a statement!
Unique Textures: The layered construction technique creates an eye-catching texture that draws the viewer in.
Easy to Personalize: Experiment with colors, petal shapes, and yarn weights for a one-of-a-kind flower that fits your personal style. If you’re looking for more floral inspiration, check out our Crochet Floral Square or the delightful Magnolia Crochet Pattern.
This pattern truly marries craftsmanship and creativity, making it a delight to crochet!
Gauge & Sizing Notes
Don’t skip the gauge swatch! For the crochet flower pattern, achieving the correct tension is vital to ensure your flower maintains its beautiful shape and dimensions. A standard gauge for this project is a 4×4 inch (10×10 cm) square = 14 double crochets by 8 rows. If you’d like to make your flower larger or smaller, adjust your starting chain in multiples of 4 for the petals, or modify the number of rounds as needed. If your swatch turns out smaller than the gauge, simply go up a hook size; conversely, if it’s too large, try a smaller hook. With a little tweaking, you’ll find the perfect fit for your stunning crochet flower!
Step‑by‑Step Pattern for Layered Crochet Flower
Row 1: Center of the Flower
Start with a magic ring and ch 1 to secure. Work 6 sc into the ring, ensuring it’s tight. Pull the magic ring closed. This forms the center of your flower. Your work should be rounded and compact, resembling a small disc (6 sts).
Row 2: Building Up the Center
Ch 1, then work 2 sc in each stitch around for a thicker center. This round will create a bit of height while maintaining a nice, rounded shape. You should now have a plump center that measures about one inch in diameter (12 sts).
Row 3: Adding Texture to the Center
Ch 1, *sc in the next stitch, 2 sc in the following stitch; repeat from * around. This round builds texture and size, allowing the center to stand out more. Your work should now have a slight ruffled effect and be about 1.5 inches across (18 sts).
Round 4: Transition to Petals
Ch 2, *hdc in the next stitch, skip 1 stitch, sl st in the next; repeat from * around. This establishes the first layer of petals while connecting the layers elegantly. You should now see small openings indicating where the petals will be (6 petals total).
Round 5: Forming the Petals
Ch 3, *dc in the same sl st, ch 2, dc in the same sl st; repeat from * around. This creates lovely double crochet petals that will stand out. Your work should begin to form a beautiful, layered petal effect, with each petal sitting gracefully alongside one another (6 petals).
Round 6: Final Petal Layer
Ch 2, *hdc in next petal base, ch 3, sl st to base of the next petal; repeat from * around. This creates a floating petal effect that enhances dimensionality. Your flower now has a lovely layered appearance, with petals that seem to gently cascade outward (6 small loops).
Step 7: Assembly of Layers
Carefully stack your petals on top of each other, aligning them. Using the yarn needle, sew the layers together through the centers, ensuring a secure hold. Tighten the thread gently to maintain a puffy appearance. Your flower should now feel cohesive and complete.
Step 8: Finishing Touches
Weave in all loose ends and trim them, making sure your flower looks neat. To enhance its beauty, gently block the flower by shaping it with your hands and pinning it down until dry. This will improve its structure, ensuring it maintains its lovely shape for all your crafting needs.
Expert Tips for Layered Crochet Flower
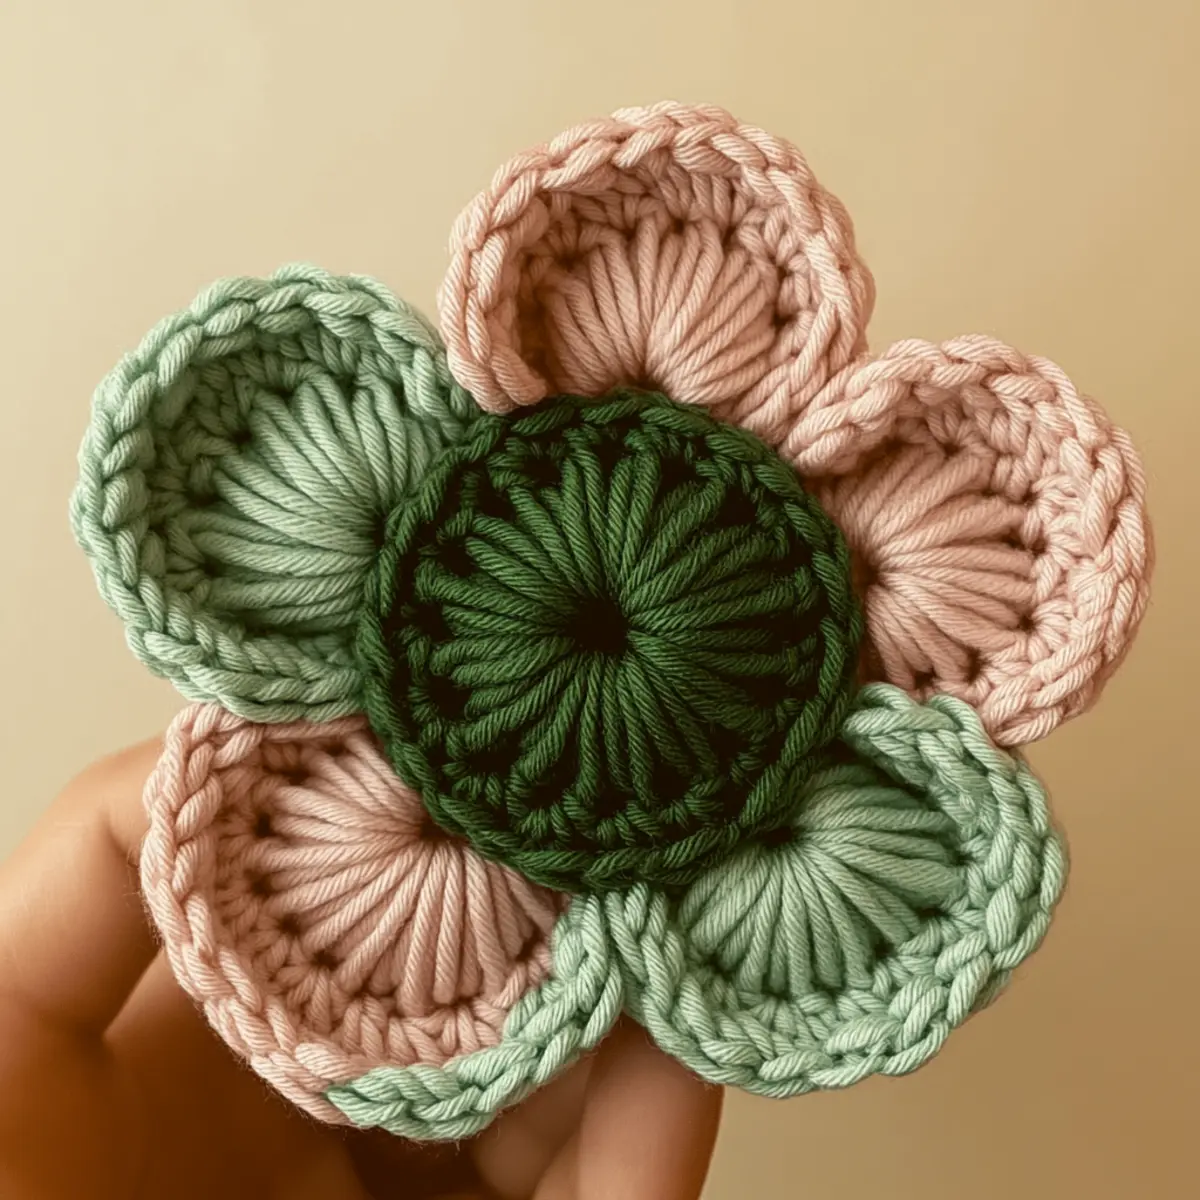
Maintain Tension: Consistency is key; uneven tension can distort your flower’s shape. Keep your grip relaxed to achieve that perfect petal.
Count Stitches Carefully: Losing count can lead to uneven petals. Use stitch markers to track rounds, ensuring you maintain the correct stitch count throughout your crochet flower pattern.
Secure Each Layer: When assembling, make sure to sew or slip stitch the layers tightly. This keeps your flower looking neat and prevents it from falling apart.
Block for Beauty: Don’t skip blocking! It enhances the texture and shape of the finished flower, especially with cotton yarn.
Embellish Thoughtfully: If adding beads or other embellishments, secure them well. This will elevate your flower’s visual appeal and ensure durability.
Each tip is designed to help you succeed in creating a stunning crochet flower pattern!
Care Instructions for Crochet Flower
Machine Washing: Gently machine wash on a cold, delicate cycle to avoid agitation. This helps prevent felting and preserves the integrity of your crochet flower pattern.
Hand Washing: For best results, hand wash your flower in cold water with a mild detergent. Avoid scrubbing to maintain the shape and texture of the petals.
Drying/Blocking: Lay your finished flower flat to dry, reshaping as necessary. If using cotton yarn, blocking will enhance its dimensionality and appearance.
Storage: Store your crochet flower in a cool, dry place, ideally flat in a breathable container, to prevent crushing and maintain that beautiful layered look.
Crochet Flower Pattern Variations
Feel free to let your creativity blossom and make this crochet pattern uniquely yours!
- Yarn Substitutions: Experiment with different yarn fibers, such as acrylic for a softer feel or cotton for durability and ease of care.
- Color Blocking: Play with various colors for each petal layer to create a more dynamic visual. Pastel pinks paired with vibrant yellows can create lovely effects.
- Texture Twist: Add a bit of flair by incorporating bobbles or puffs into the petals for an extra tactile interest.
- Sizing Adjustments: Use a heavier yarn to create a larger flower or a finer yarn for a delicate version. Adjust hook size accordingly for the best results.
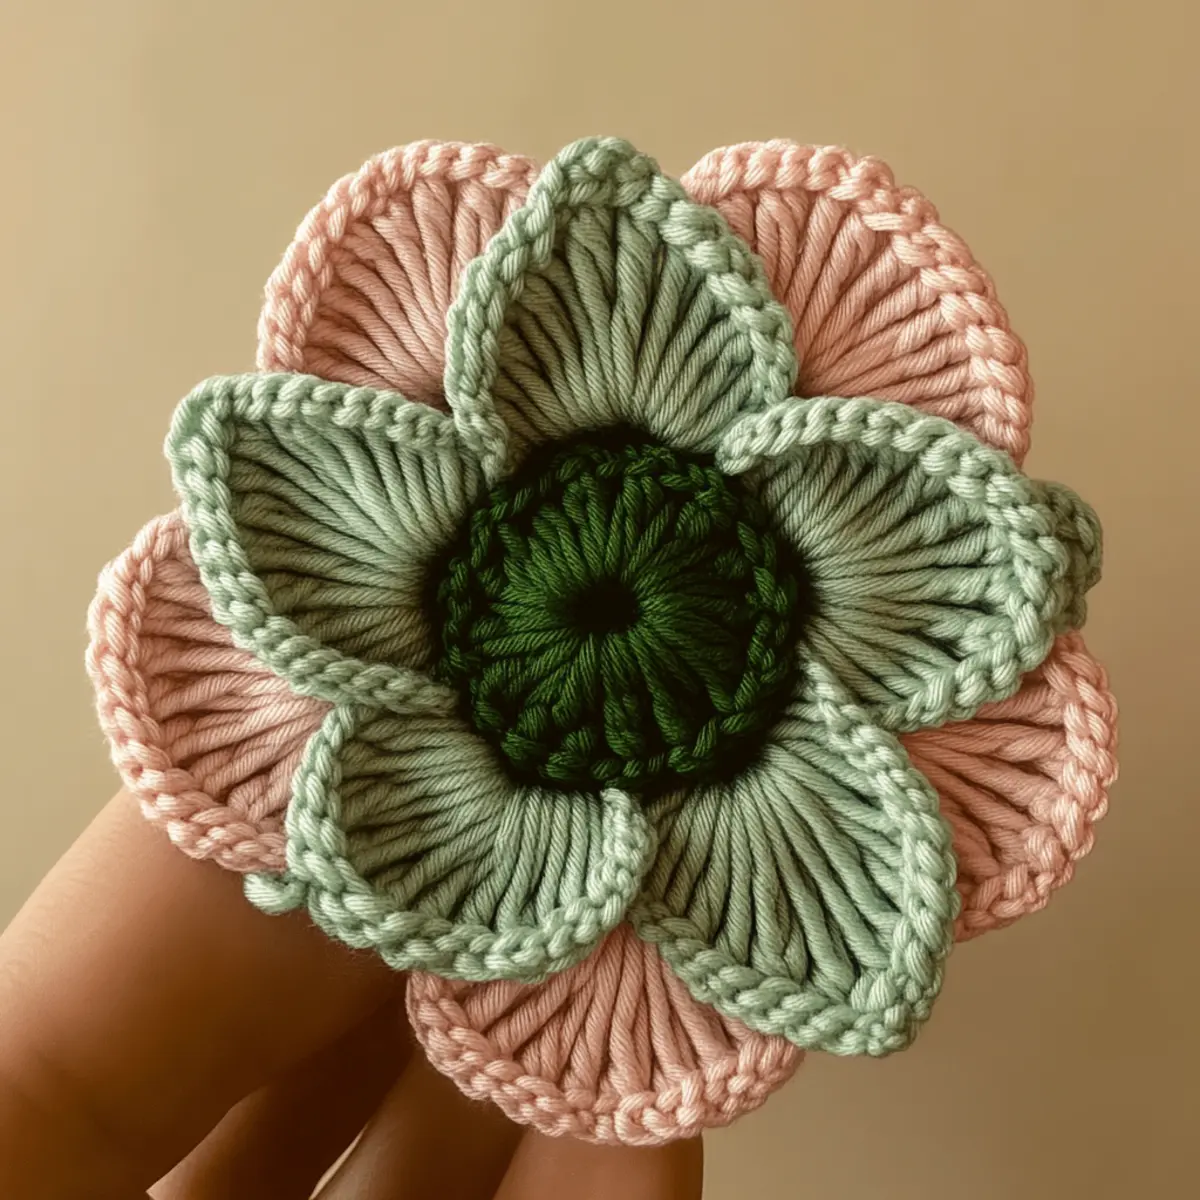
- Petal Shape Variations: Try modifying the shape and number of petals by adding or removing stitches to create choppy, whimsical edges. Each variation tells its own story.
- Embellishment Additions: Consider stitching beads or sequins at the flower’s center for a sparkly touch, making it an eye-catching addition to any project.
- Fringe Fun: Add fringe to the flower base for a bohemian feel—this works beautifully if you’re planning to create a decorative piece!
- Unique Borders: Try working a decorative border around the flower using shells or picot stitches to enhance its charm. If you’re feeling adventurous, be sure to check out our Crochet Tulip Pattern for more inspiration!
By exploring these variations, you’re not only amplifying the joy of crafting but also cultivating a personal connection to each handmade flower you create.
Layered Crochet Flower FAQs
Can I substitute yarn for this crochet flower pattern?
Absolutely! While I recommend a medium weight (worsted) cotton or cotton blend for durability, you can substitute acrylic if you need a more budget-friendly option. Just keep in mind that different fibers may affect the drape and appearance of your finished flower.
How can I adjust the size of the flower?
To make your flower larger, you can use a bulky yarn and a larger hook. If you prefer a smaller version, try using a fine weight yarn and a smaller hook. Don’t forget, the number of petals can also be adjusted—experiment with varying petal counts for a unique look!
Why is my crochet flower curling?
Don’t panic! This is often caused by uneven tension or using a yarn that’s too stiff. Ensure you’re maintaining consistent tension throughout the project, and consider blocking your finished flower. A gentle steam block can help flatten out those pesky curls.
What hook size should I use for this crochet flower pattern?
For this pattern, a 4.0 mm hook (G-6 in US terms) is recommended. However, if your tension tends to be looser or tighter than average, adjusting your hook size to match your gauge may be beneficial. You want the flower to have a nice, tight stitch without being overly bulky.
How do I fix dropped stitches in my flower project?
It’s an easy fix! If you notice a dropped stitch, simply pull the yard to unravel back to the row before the mistake. Re-insert your hook into the stitch you dropped and continue crocheting as usual, ensuring you maintain your stitch count.
How do I know if my gauge is correct?
Before jumping into your flower, it’s wise to crochet a small swatch using your chosen yarn and hook size. Measure your swatch to ensure it matches the gauge described in the pattern. If it doesn’t, adjust your hook or yarn accordingly for the best results!
Leave a Reply