
As I sat sipping my tea on a bright spring morning, I couldn’t help but feel inspired by the vibrant colors blooming around me. That’s when the idea struck me: a delightful crochet tulip bouquet that captures the essence of the season in every stitch. This crochet tulip pattern is perfect for intermediate crocheters ready to take their skills to the next level, blending various techniques like magic rings and color changes. Not only will this bouquet brighten your home decor, but it also makes a timeless gift that brings joy without the worry of wilting. With a playful array of colors at your disposal, you can truly customize your creation to fit any aesthetic. Let your creativity flourish as you embark on this charming journey of making beautiful, forever-blooming tulips that will surely make your heart smile. Ready to grab your hook and bring these whimsical blossoms to life? Let’s dive into the colorful world of crochet!
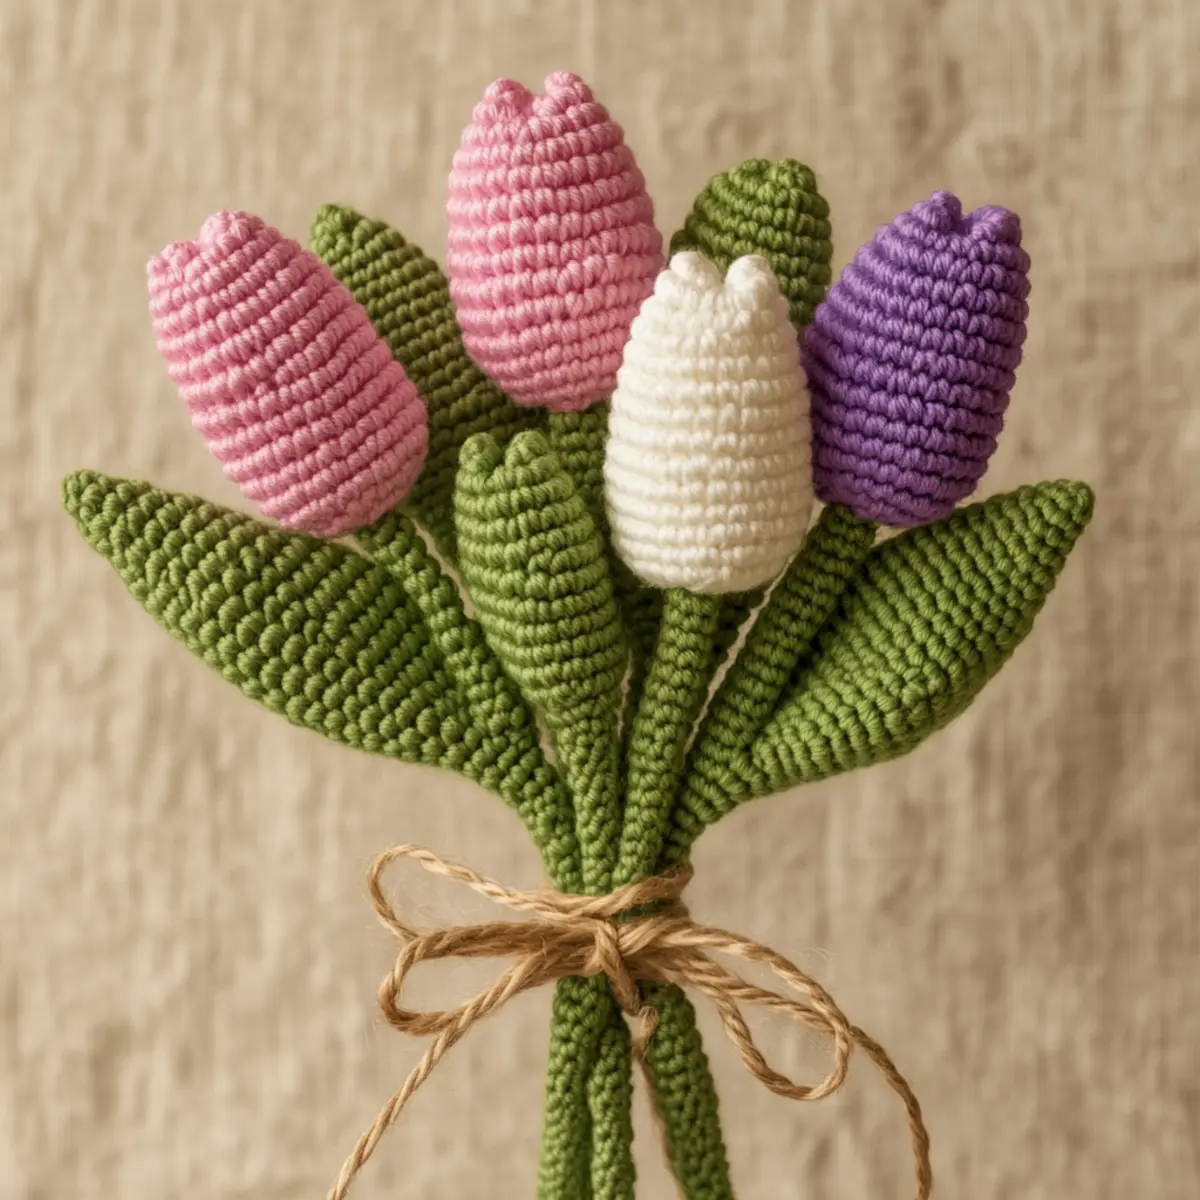
Crochet Tulip Pattern Materials & Tools
Note: Gather everything you need for your delightful crochet tulip bouquet!
Yarn
- Cotton Yarn – Choose pink, purple, white, and green to create vibrant tulips and lush leaves, approximately 250-300 yards total for multiple blooms.
Tools & Notions
- 2.5 mm (C) Crochet Hook – A perfect size to keep your stitches tight and your tulips looking fabulous!
- Yarn Needle – Essential for weaving in those pesky ends and finishing your flowers beautifully.
- Scissors – Don’t forget these handy snips for trimming yarn as you go!
- Green Floral Tape or Wire Stem (Optional) – Use floral tape to secure your tulips’ stems elegantly for a professional finish.
Why Choose the Crochet Tulip Pattern?
Endless Creativity: With this tulip bouquet, you can experiment with a vibrant palette of yarns, creating unique blooms that suit your style and decor.
Whimsical Design: Its charming aesthetic makes it perfect for brightening up your spring decor or gifting, showcasing your creativity without the worry of wilt.
Skill Development: This pattern encourages intermediate crocheters to enhance their technique, mastering magic rings and color changes, leading to personal growth in your crochet journey.
Versatile & Customizable: Adjust the size or texture by varying yarn weights or hook sizes, and add embellishments like beads to make each tulip truly one-of-a-kind!
Timeless Appeal: Unlike real flowers, your crochet tulips remain vivid and cheerful year-round, offering a touch of spring whenever you need it. Looking for more floral inspiration? Check out our alluring Crochet Daisy Flower pattern for a delightful complement!
Gauge & Sizing Notes
Don’t skip the gauge swatch! Ensuring the correct tension is crucial for your crochet tulip pattern to turn out beautifully, as it directly affects the size and shape of your tulips. Aim for a standard gauge of 4×4 inches (10×10 cm) to equal 14 double crochets by 8 rows. If you’d like to make larger tulips, simply increase your starting chain in multiples of 4 for each petal, or adjust your hook size; if your gauge is too small, try using a larger hook. Remember, maintaining consistent tension throughout your work will help create those lovely, even stitches that will bring your tulip bouquet to life!
Step‑by‑Step Pattern for Crochet Tulip Pattern
Row 1: Start the Petal
Begin with a magic ring. Inside the ring, work 6 dc (double crochet) to form the base of the petal. Gently pull the tail to close the ring snugly, creating a small circle. This initial round will set you up for shaping your tulip petals; your work should have a slight curve at this stage (6 sts).
Row 2: Increase the Petal
In this round, work 2 dc in each stitch around to create a fuller petal shape. Carefully mark the beginning of your round. As you complete this row, note that your crochet should start to puff out, indicating you have the desired volume (12 sts).
Row 3: Shaping the Petal
For the third row, work 1 dc in the next stitch, 2 dc in the following stitch around. This will help establish the petal’s natural curve for the tulip blossom. Keep tightening your magic ring if needed for a more defined petal shape (18 sts).
Row 4: Final Petal Round
Continue the petal design by working 1 dc in the next two stitches, 2 dc in the next stitch for this round. Focus on maintaining consistent tension to keep the stitches even. At the end of this row, your petals should appear beautifully rounded (24 sts).
Row 5: Forming the Petal Edges
Switch to a hdc (half double crochet) for this round. Work 1 hdc in each stitch around, which will give the tulip a softer finish. Feel your crochet’s texture soften; the edges of the petals should appear gentle and flowing (24 sts).
Row 6: Finishing the Petal
In this final petal round, switch to a sl st (slip stitch) for a clean edge. Work 1 sl st in each stitch around. This completes the petal, giving you a neat finish to work with for assembly later. Your finished petal should stand proudly, looking ready to bloom (24 sts).
Step 1: Prepare the Leaves
For the leaves, chain 16 and then work into the second chain from the hook by placing 1 sc (single crochet). Continue with 1 hdc in the next chain, and then 1 dc in each of the following 3 chains. This will start the leaf shape. Your work should begin to curve and fork (6 sts).
Step 2: Shape the Leaf
Now work on the other side of the chain. Place 1 dc in the next 3 chains, 1 hdc in the next chain, and finish with 1 sc in the last chain. This step creates a symmetrical leaf shape, giving your tulip bouquet a more natural look (12 sts).
Step 3: Assemble the Tulip
Overlap the edges of your six tulip petals and use a long tail from the last petal to sew them together at the base, holding the petals firmly in place. As you sew, insert your prepared stem into the center. Ensure everything feels secure and tight; your floral masterpiece is taking shape!
Step 4: Add the Leaves
Using your tail, secure the prepared leaves to the base of the stem by sewing through the bottom of the petals. Position them to either side for a balanced and charming tulip. Adjust the leaf positioning until it feels just right, capturing the essence of a blossoming tulip.
Step 5: Final Touch-Up
Once your tulip bouquet is assembled, trim any excess yarn tails and weave them in for a clean finish. You might consider lightly blocking your petals for a more defined look. Your crochet tulip pattern is now complete and ready to brighten up any space!
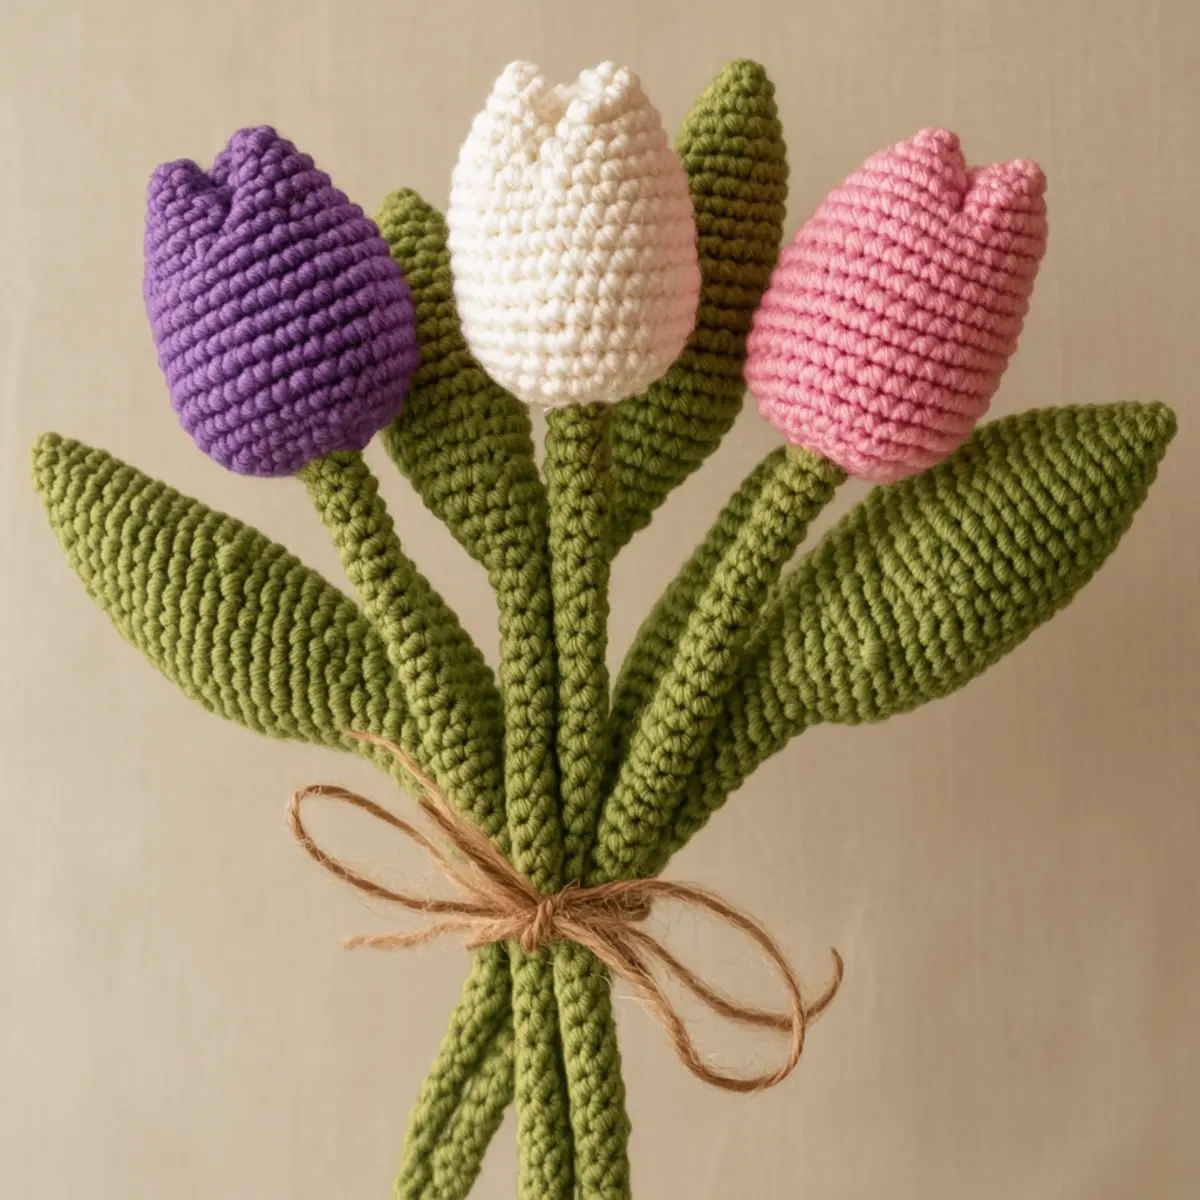
How to Wash and Care for Your Crochet Tulip Bouquet
Machine Washing: Use a gentle cycle with cold water to clean your crochet tulip bouquet. Avoid agitation to prevent any changes in shape or texture.
Hand Washing: If you prefer a more delicate touch, gently hand wash the bouquet in cold water with mild detergent. Do not wring or twist to maintain petal integrity.
Drying/Blocking: Lay your tulips flat to dry on a clean towel, reshaping the petals if needed. Lightly steam block them to enhance their beauty and definition.
Storage: Keep your crochet tulip bouquet in a cool, dry place, away from direct sunlight to preserve the vibrant colors of your yarn.
Helpful Tricks for the Crochet Tulip Pattern
Maintain Tension: Keeping consistent tension is essential for even-looking petals; practice by crocheting a few tension swatches before starting your tulips.
Count Stitches: After each round, double-check your stitch count. This prevents shapeless petals and ensures your crochet tulip pattern maintains its lovely structure.
Use Magic Rings Properly: Secure your magic ring tightly to prevent gaps at the base of your petals. Gaps can cause your tulips to droop, so snug is key!
Secure Ends: When assembling your tulips, ensure all components are sewn tightly to secure petals together. This adds stability and enhances the overall beauty.
Lightly Block for Shape: If your tulips need extra help forming, consider lightly blocking them after finishing. This can help bring out the petal shapes and give your bouquet a polished look.
Crochet Tulip Pattern Variations
Feel free to add your unique twist to this lovely crochet project and let your creativity bloom!
-
Yarn Weight Swaps: Experiment with lighter or heavier yarn to achieve different tulip sizes. Worsted weight provides a compact look, while bulky yarn can create fluffy blooms.
-
Fiber Alternatives: Switch from cotton to acrylic for vibrant hues and a softer feel. Acrylic yarn can also add a slight sheen, perfect for those sunny, spring days!
-
Color-Blocking: Choose contrasting colors for different tulip sections. A striped petal can turn a simple tulip into a stunning conversation piece for any arrangement.
-
Sizing Adjustments: Alter your hook size to create mini tulips for a cute centerpiece or oversized blooms for a dramatic statement. The possibilities are endless!
-
Texture Modifications: Incorporate fluffy or textured yarns for a whimsical look. Adding pom-poms at the tulip’s center can also give it a playful touch—perfect for kids’ rooms!
-
Embellishments: Spruce up your tulips with beads or buttons to rest at the heart of each flower. This charming detail can add a personal touch that makes each bloom truly yours.
-
Floral Wire Stems: Consider using colorful floral tape on your floral wire stems for a cheerful, cohesive look throughout your bouquet. It adds a touch of personality beyond the yarn!
-
Leaf Variations: Instead of standard leaves, try creating curled or ruffled leaves for an enchanting effect. These adjustments not only enhance the visual appeal but also contribute to the overall whimsy of your bouquet.
Ready to explore more? Dive into our delightful Crochet Squirrel Charming pattern for another whimsical project that will spark your imagination!
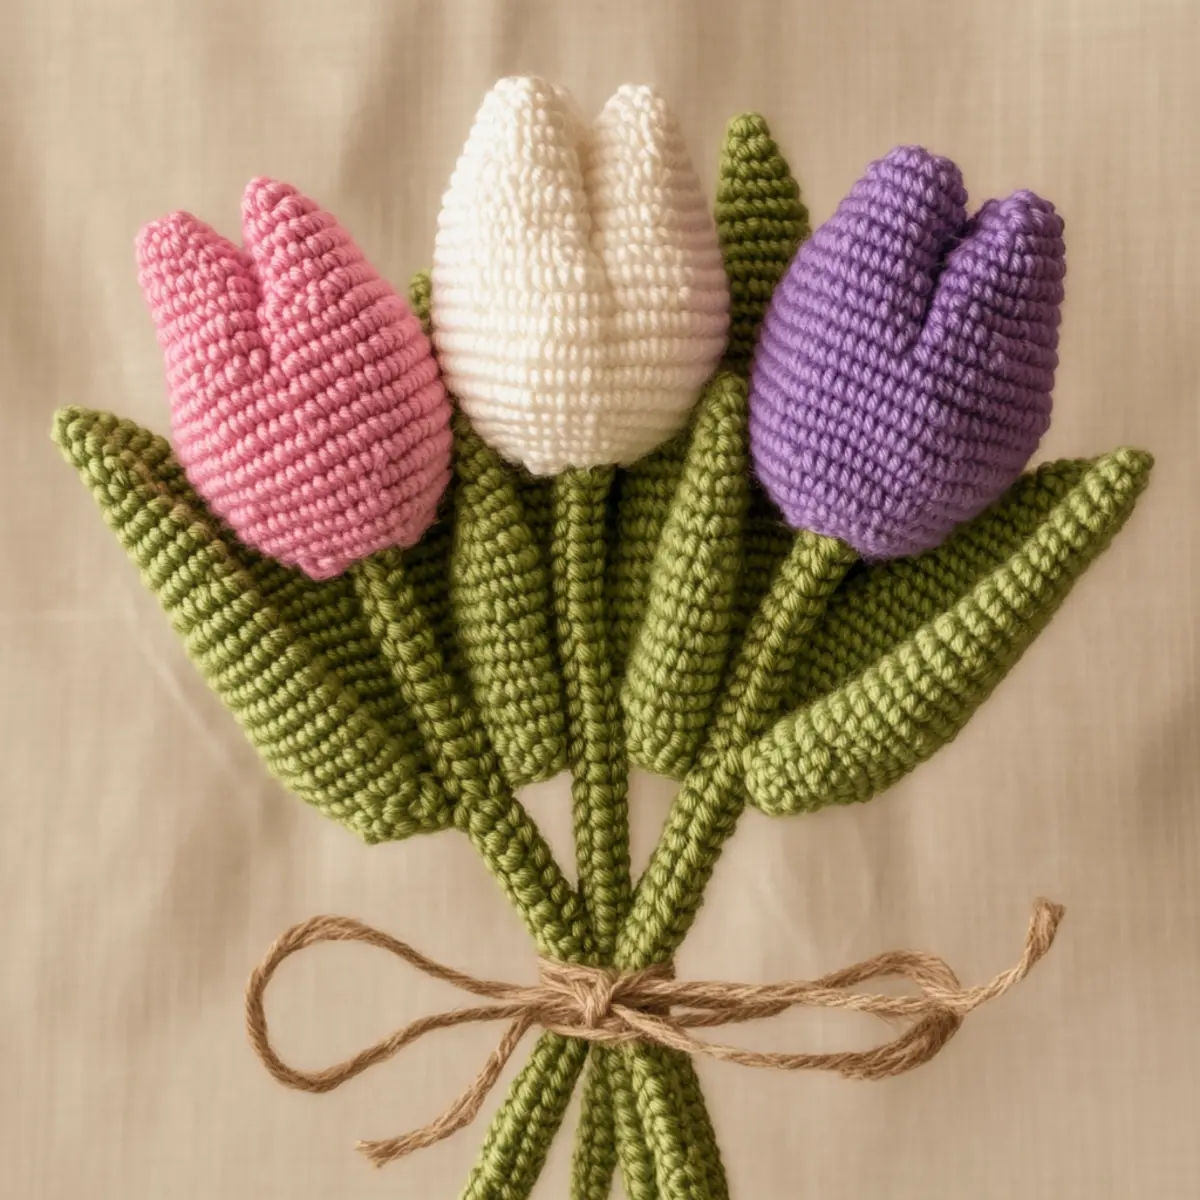
Charming Crochet Tulip Pattern FAQs
Can I use a different type of yarn for the crochet tulip pattern?
Absolutely! While cotton yarn is recommended for its lightweight nature and durability, you can experiment with acrylic or wool yarn. Just remember that different fibers may affect the overall texture and drape of your tulips, so always check your tension and adjust accordingly!
How can I adjust the size of my tulips?
If you want to create mini or oversized tulips, you can easily adjust the yarn weight and hook size. For smaller tulips, try a lighter yarn with a smaller hook, such as a 2.0 mm (US size B), or use thicker yarn and a larger hook to make bigger blooms. Always keep track of your stitch count for a consistent look!
Why is my crochet tulip’s petals curling?
Don’t panic! If your petals are curling up like a bowl, it could be due to inconsistent tension while crocheting or missing stitches. Make sure to count your stitches at the end of each round. If needed, lightly block your petals to help them lay flat and maintain their shape.
What hook size should I use for this crochet tulip pattern?
The pattern recommends using a 2.5 mm (US size C) crochet hook. This size allows for tight stitches that hold their shape well. If you’re using a different yarn weight, you might want to adjust the hook size accordingly, so always check your gauge!
How do I fix dropped stitches in my crochet tulip?
It’s an easy fix! Simply pull the working yarn gently to raise the dropped stitch back to the hook. Use a yarn needle to weave through the stitch from the back if necessary, or crochet back into that area to secure it. Keeping a close eye on your work will help prevent this issue in the future.
Can I add embellishments to my tulips?
Absolutely! Adding beads, buttons, or other embellishments can enhance your tulip bouquet and give each flower a unique touch. Just be sure to sew or attach them securely, so they stay in place during handling and display. Enjoy personalizing your creations!
Leave a Reply