
As I sat in my favorite crafting corner, the thought of bringing spring indoors sparked joy in my heart. That’s when my Charming Tulip Basket crochet project began to bloom. This delightful tulip basket crochet pattern is not only a feast for the eyes but your perfect companion in both decor and organization. With its vibrant petals and practical design, it invites creativity and a sense of accomplishment. Two irresistible benefits stand out: first, it combines functionality with beauty, allowing you to display cherished items while adding a splash of color to any space. Secondly, this project is highly engaging, encouraging you to explore various techniques and methods within crochet, while also being beginner-friendly. Each element of this basket brings you a step closer to crafting confidence and satisfaction. I can still feel the plush texture of the yarn slipping through my fingers as I perfect those petal shapes. What unique color combinations are you inspired to try for your own tulip basket?
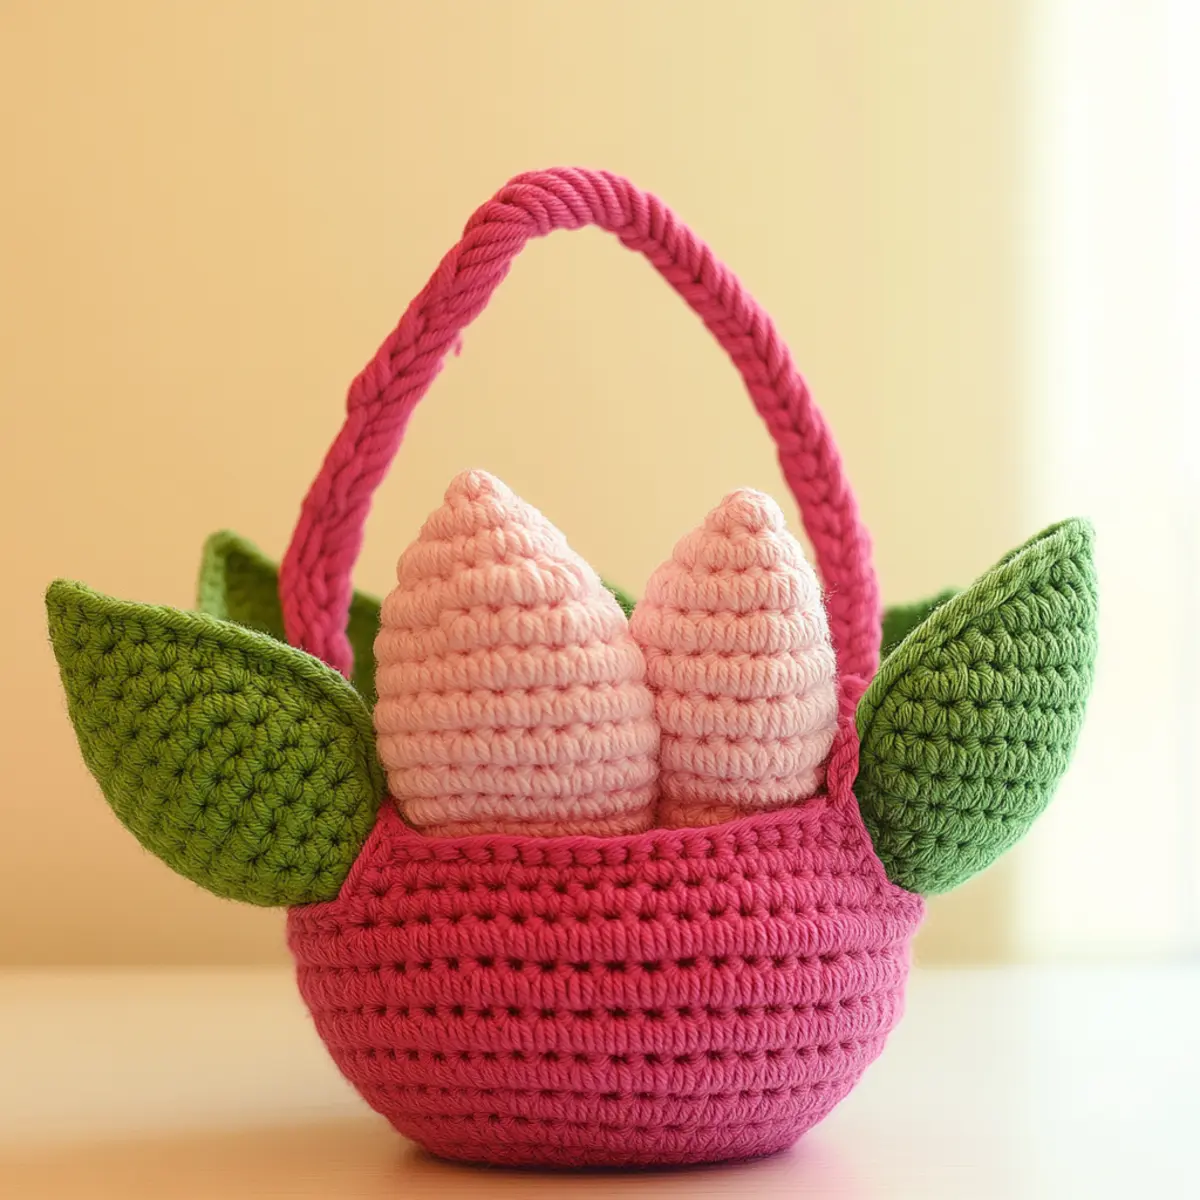
Tulip Basket Crochet Materials & Tools
Yarn
Plush/Chenille Yarn – Approximately 200-300 yards total in pink and light green for the tulip basket crochet. Ideal for its soft texture and cozy finish.
Tools & Notions
5.0 mm (H-8 US) Crochet Hook – The perfect size for creating the solid base and detailed petals.
Safety Eyes (8 mm) – These add a whimsical touch to the basket; consider using them for embellishment.
Polyester Stuffing – Use for filling, ensuring the basket retains its delightful shape.
Scissors – Essential for finishing off any loose ends after your tulip basket crochet is complete.
Why You’ll Love This Pattern
Versatility is at the heart of this tulip basket crochet pattern. Not only does it serve as an enchanting decor piece, but it also functions as a charming storage container for your essentials. The textured petals and base allow you to explore various crochet stitches while making each piece come alive. It’s also stash-friendly; use leftover yarn to create unique combinations that reflect your style, making it a real Crochet Tulip Pattern standout. Moreover, with its simple assembly process, you’ll find that this basket is a time-saving gem—you can complete it in just a weekend! The aesthetics alone draw admiration, while the final assembly gives it an impressive finish that showcases your skills. If you’re looking for more delightful patterns, don’t forget to check out our Magnolia Crochet Pattern for more inspiration!
Gauge & Sizing Notes for Tulip Basket Crochet
Checking your tension is critical for this tulip basket crochet project. A standard gauge measurement of 4×4 inches (10×10 cm) should yield 12 dc and 15 rows for precise sizing. If your swatch is larger, try a smaller hook for snugger stitches, or if it’s smaller, switch to a larger hook. You might need to adjust the initial chain rounds when starting the basket base to achieve your desired dimensions; it’s possible to create smaller versions or larger ones based on your needs. The tulip basket crochet project roughly measures 15 cm (5.9 inches) tall, ideal for decoration or light storage. Remember, keep track of your stitches and rows as you work. The density of your final product should invite touch, so feel free to experiment with different methods until you find your perfect fit!
Step-by-Step Pattern for Tulip Basket Crochet
Row 1: Start the Petals Begin with a magic ring, ch 3 (counts as first dc). Work 11 dc into the ring, pull tight to close. You should have 12 dc around the ring at the end. (12 dc)
Row 2: Shape the Petals Ch 3 (counts as first dc), dc in same st, then 2 dc in next st, 1 dc in next st repeat around. This will begin the blossoming shape of your tulip petals. (18 dc)
Row 3: Continue Petal Shaping Ch 3, dc in same st, 1 dc in next 2 sts, 2 dc in next st repeat around to add more depth to your petals. (24 dc)
Row 4: Finalize Petal Shape Ch 3 and dc in the same st. Then, 1 dc in next 3 sts, 2 dc in next st continue around. This step helps form the petal tips. (30 dc)
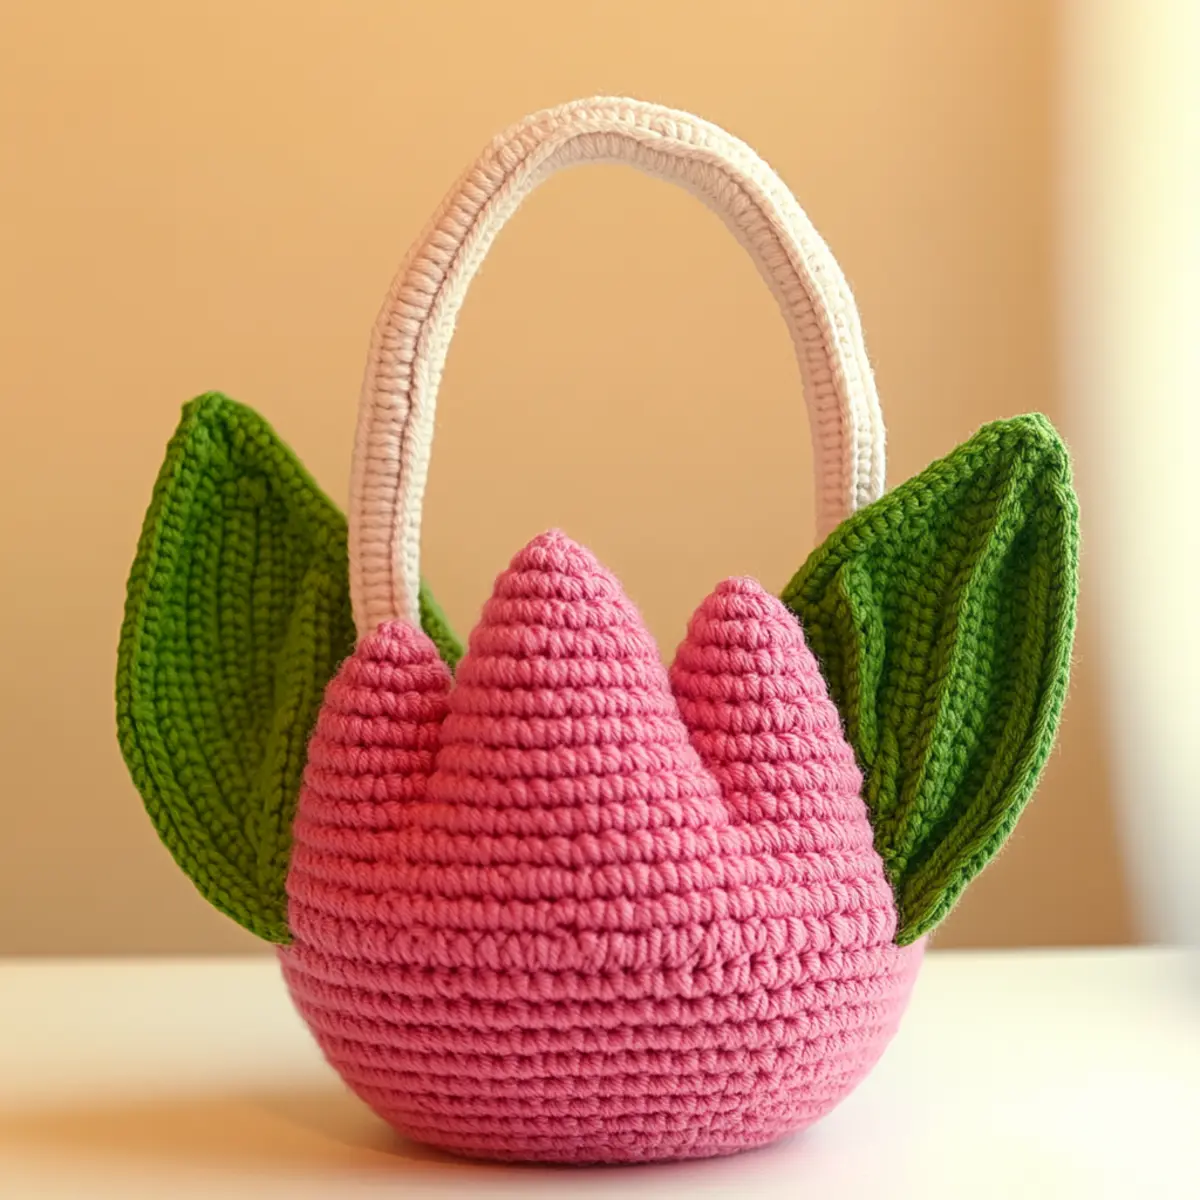
Row 5: Finish the Petals Sl st to the top of the first dc, fo, leaving a long tail for assembly. Make a total of 6 petals. This phase shines as you see the tulip shape emerge. Set aside.
Row 6: Create the Basket Base Begin another magic ring, ch 3 (counts as first dc). Work 11 dc into the ring again, and pull tight. As you embrace the basket base, remember it’s the foundation. (12 dc)
Row 7: Increase the Base Ch 3, dc in same st. Next, 2 dc in each st around. This round starts making your base wider and more stable for the basket. (24 dc)
Row 8: Continue Building the Base Ch 3 and dc in the same st, 1 dc in next st, 2 dc in next st repeat to keep expanding your circle evenly. This gives your basket strength. (36 dc)
Row 9: Complete the Base Size Ch 3, dc in same st, 1 dc in next 5 sts, 2 dc in next st repeat. Your base should feel secure and sturdy for your tulip basket crochet project. (42 dc)
Row 10: Form the Leaves Using green yarn, begin a new magic ring, ch 3 (counts as first dc). Work 11 dc into the ring, allowing it to form a tight and smooth leaf shape. (12 dc)
Row 11: Finalize Leaf Forms Ch 3, dc in same st, and then 2 dc in next st, 1 dc in next 3 sts repeat around for the pointed leaf look. (18 dc)
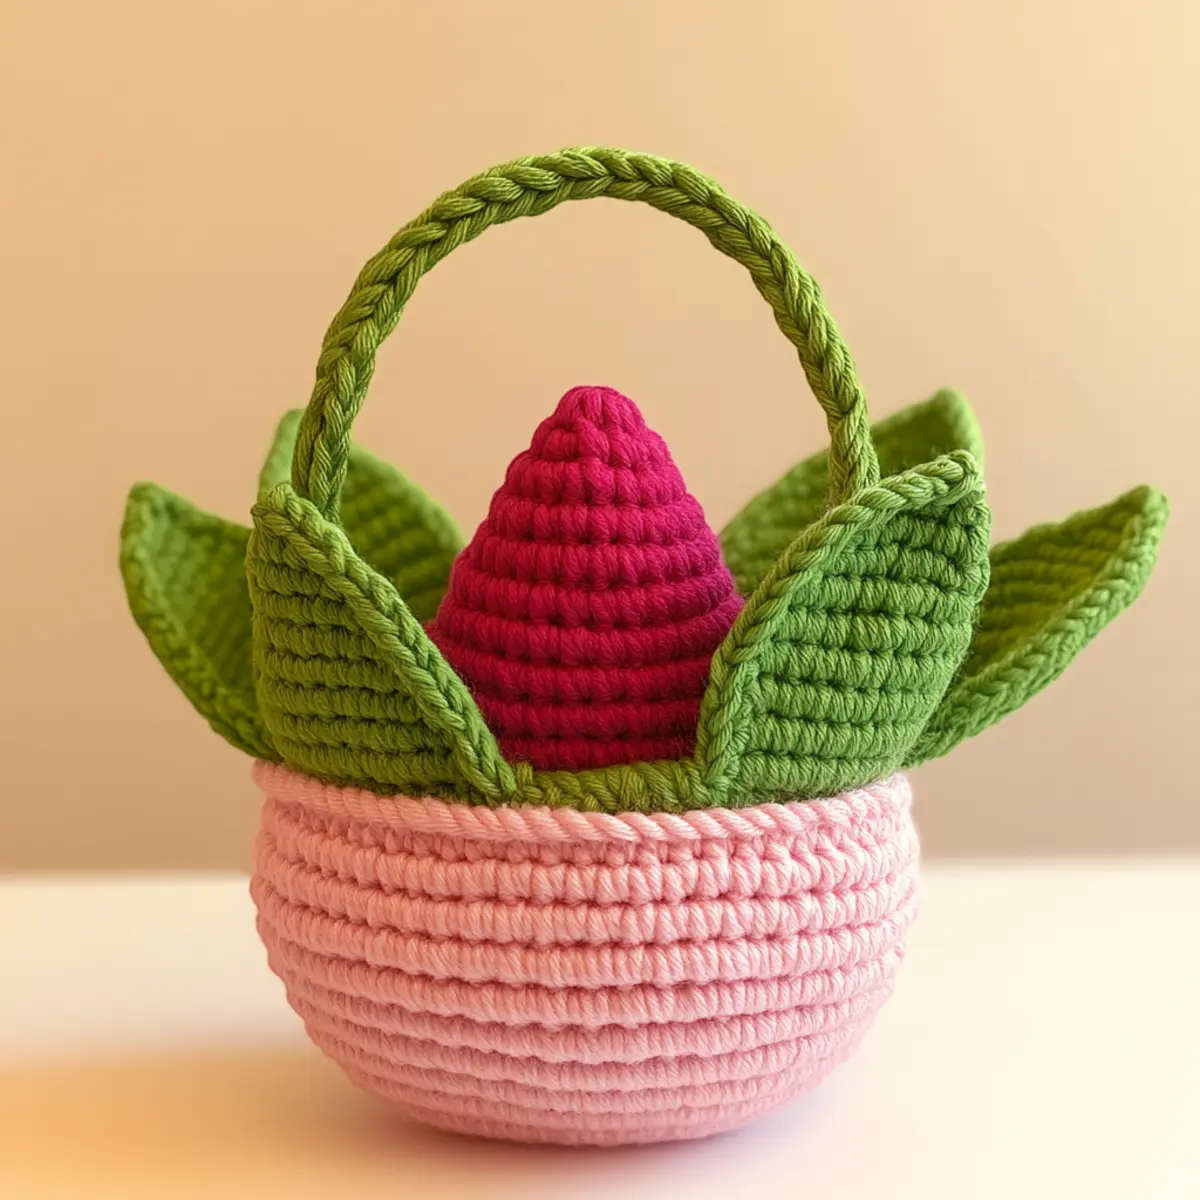
Row 12: Complete All Components Stitch together each petal around the edge of the basket using the tails left after Row 5. Position leaves under the handle and secure, adding detail to your charming tulip basket. Ensure everything is neatly attached.
Row 13: Attach Handle For the handle, create a twisted cord with your chosen yarn and secure the ends to the sides of the basket. Your tulip basket crochet is nearing completion. Be sure it feels stable; adjust the handle as necessary.
Row 14: Final Details Add 8 mm safety eyes to the petals, secured firmly with sewing thread. The finishing touches allow your tulip basket crochet project to come to life! You can now weave in any loose ends and consider blocking the project for a polished appearance.
Expert Tips for the Best Tulip Basket Crochet
Diligent Counting: Always count your stitches, especially during increases. This prevents miscounting, leading to size discrepancies.
Watch Your Tension: Maintain even tension while crocheting petals. Uneven tension can lead to misshaped petals, affecting the final look.
Foundation Focus: Use a magic ring for the base and petals. This ensures a tight beginning, which is crucial for a sturdy tulip basket crochet project.
Secure Assembly: When attaching petals to the basket, sew securely to ensure they stand upright and maintain their shape during use.
Blocking Benefits: Don’t skip blocking! It gives your tulip basket crochet project a polished finish by helping pieces lay flat and maintain form.
Creative Colors: Experiment with different yarn shades or mix colors for a vibrant tulip effect that personalizes your basket beautifully.
tulip basket crochet variations
Feel free to customize this lovely project to match your style!
-
Color Combinations: Try varying shades of pinks and greens to create a more vibrant tulip effect. Consider adding a contrasting color at the base for a delightful take.
-
Yarn Types: Explore using cotton or acrylic yarn to achieve different textures or firmness. Each yarn offers unique characteristics that can change the overall feel.
-
Size Adjustments: By altering the number of rounds in the basket base, you can make mini versions for trinkets or larger ones suitable for toys. This way, you can create a set of baskets in various sizes!
-
Petal Embellishments: Add decorative buttons or beads to the center of each petal. This personal touch can turn a simple basket into a unique masterpiece, enhancing its charm.
-
Texture Modifications: Incorporate cable stitches or popcorn stitches within the petals for an intricate texture. These stitch variations may require additional attention but can elevate the design significantly.
Using variations like these can make your tulip basket crochet truly one-of-a-kind. Don’t hesitate to share your unique creations in our Crochet Tulip Pattern community!
-
Seasonal Themes: Consider crafting this basket in autumn shades or wintery white for versatile seasonal decor. Each season presents new inspiration to bring your basket to life.
-
Functional Use: Transform your basket into a project holder by increasing its size and creating more compartments. Perfect for keeping your crochet supplies tidy!
How to Wash and Care for Your Tulip Basket Crochet
Machine Washing: Use a gentle cycle in cold water, ideally with a bag to protect the petals. Avoid agitation to maintain shape.
Hand Washing: For a more delicate approach, wash by hand with mild soap and cold water. Gently squeeze, avoiding pulling at stitches.
Drying: Lay flat to dry, reshaping if necessary. This helps retain the basket’s form and prevents any twisting.
Storage: Keep your tulip basket crochet in a cool, dry place to ensure the plush material remains in great condition and avoids any dampness.
Tulip Basket Crochet FAQs
Can I substitute the yarn?
Absolutely! You can try cotton or acrylic yarn for a firmer option. Just note that different yarns may alter the softness and drape of your tulip basket.
How do I adjust the size of the basket?
Feel free to modify the number of rounds in the basket base. For mini versions, reduce rounds, or increase for larger storage options.
What if my stitches are curling?
Curling can often occur if the tension is uneven. Ensure you’re keeping a consistent grip, and consider blocking your finished piece for a smoother appearance.
What hook size should I use?
Using a 5.0 mm (H-8 US) crochet hook is recommended for this pattern to create a solid base and detailed petals, but an adjustment can be made depending on your yarn or tension.
How do I fix dropped stitches?
Don’t panic! You can easily pick up the dropped stitch using your crochet hook. Rework the stitches to find the correct position or pull gently to rediscover it.
Can I add embellishments?
Yes, adding decorative buttons or safety eyes to the petals can enhance the charm of your tulip basket crochet, personalizing it beautifully!
Leave a Reply