
The air is filled with anticipation as I unveil my latest creation, the Floral Elegance Crochet Curtain. This delightful project not only serves its purpose of providing light-filtering in your home, but it does so with a charm that’s absolutely irresistible. With just a few skeins of yarn and some basic crochet skills, you can craft this lovely curtain that dances in the light while showcasing beautiful floral motifs. Among its numerous benefits, you’ll find that this crochet curtain pattern is perfect for beginners and seasoned crafters alike—it’s a true stash-buster that allows for tons of customization! Imagine how your space will transform with this elegant touch; you’ll be left wondering why you hadn’t made one sooner. It’s the cozy aesthetic you’ve been dreaming about for your home. As I dive deeper into the pattern details and techniques, I can’t help but wonder how you’ll choose to make it your own.
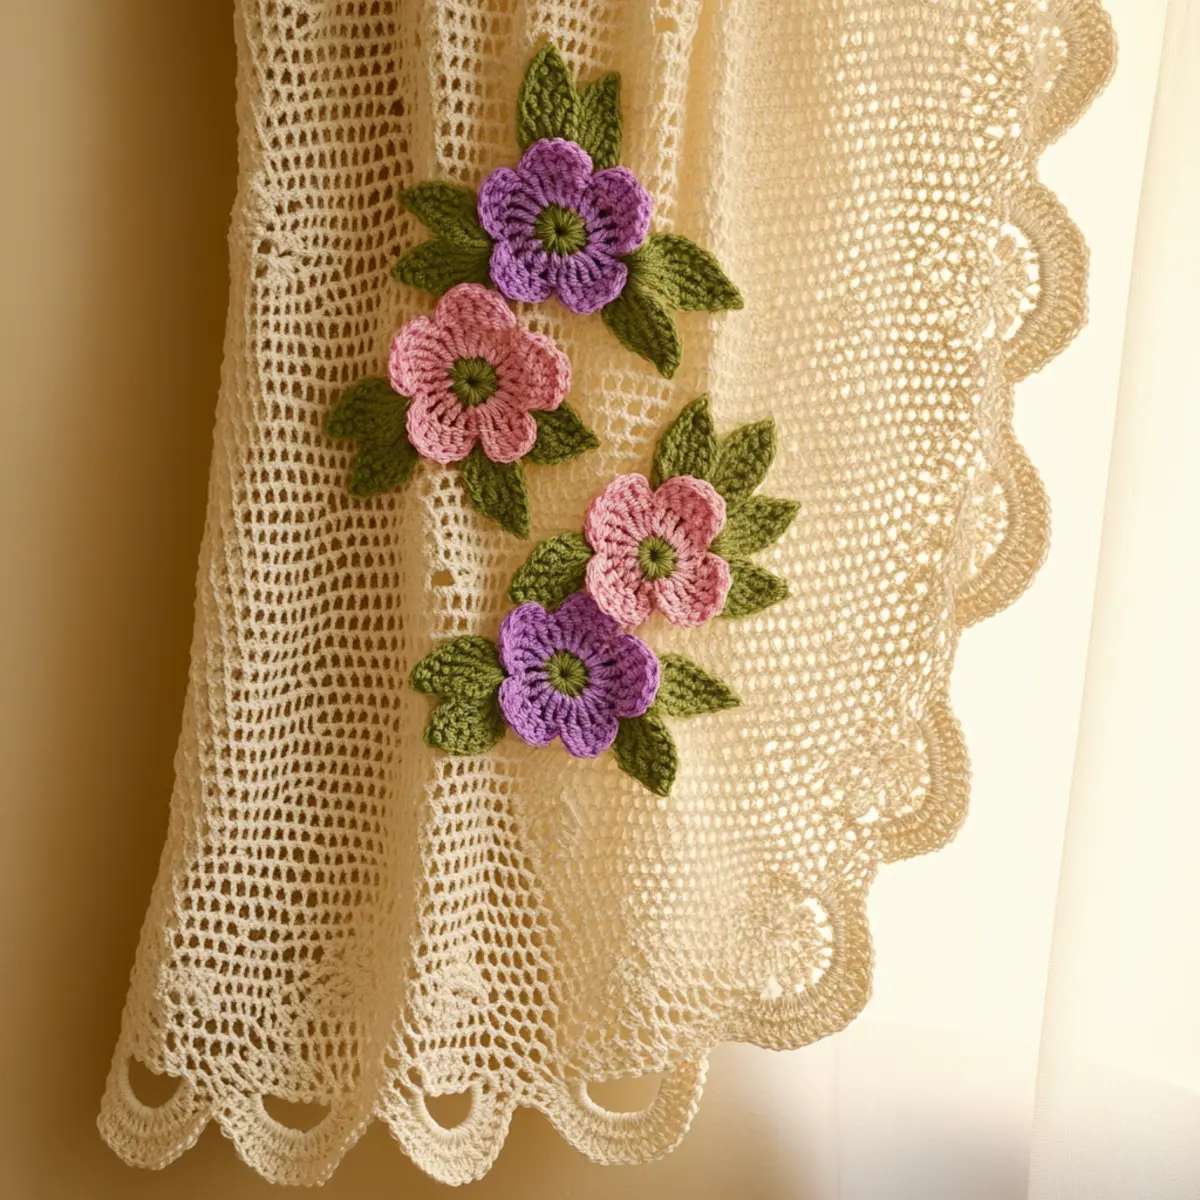
Crochet Curtain Pattern Materials & Tools
Yarn
- Light worsted weight cotton yarn – Approximately 800-1000 yards for a full curtain; the crochet curtain pattern benefits from the drape and texture of cotton.
- Optional decorative yarn – Perfect for embellishing flower centers; consider a sparkly or contrasting color for an extra touch.
Tools & Notions
- Crochet hook (4.0mm or 4.5mm) – Choose the suitable size based on your tension; they work perfectly with this crochet curtain pattern.
- Stitch markers – Handy for keeping track of floral motifs and sections during assembly, ensuring a neat finish.
- Safety scissors – Essential for snipping yarn ends cleanly as you complete your pieces.
- Measuring tape – Check your window dimensions accurately before starting, especially for custom sizing!
What Makes This Crochet Curtain Pattern Special?
Simplicity reigns supreme in this crochet curtain pattern, perfect for those who appreciate straightforward yet elegant designs. With clear instructions, even beginners will find that they can create stunning results in no time. Texture plays a vital role; the airy and openwork design, achieved through a blend of single and double crochet stitches, introduces a delightful softness to your windows. Also, this pattern is a stash-friendly option that encourages creativity, allowing you to use various yarn colors or types to reflect your unique style, just like in the Crochet Daisy Flower project. Furthermore, it offers customizability in terms of dimensions or floral motifs, meaning every piece can be uniquely yours! Finally, you’ll appreciate the aesthetic appeal; each flower and leaf detail adds a touch of charm that turns a basic window treatment into a statement piece for your home. Upgrade your space easily with a project that’s not only beautiful but also rewarding.
Gauge & Sizing Notes for Floral Elegance Crochet Curtain
To achieve the perfect fit for your crochet curtain pattern, it’s crucial to check your tension consistently throughout the project. A standard gauge measurement for this project is 4×4 inches (10×10 cm) with about 14 dc + 12 rows. If your gauge does not match, consider adjusting your hook size or the way you tension your yarn. Since personal preferences and yarn choices can vary, you may need to adjust the starting chain accordingly. For adding width to your curtain, increase your initial foundation chain in multiples of 2. Conversely, if you’re looking to decrease width, use fewer chains. For length adjustment, simply add more complete rows of the floral motifs or openwork design. Always ensure to measure your window before starting so you have a definitive idea of the size you need to achieve. With these guidelines, you can successfully create a uniquely tailored crochet curtain pattern that enhances your home decor beautifully.
Step-by-Step Pattern for Crochet Curtain Pattern
Row 1: Establish Foundation Chain
Begin by making a foundation chain of 90 stitches for a standard window. This chain will serve as the width of your curtain, so adjust accordingly if your window is wider or narrower. Remember to keep the tension even throughout.
Row 2: First Row of Stitches
In the second chain from the hook, work a row of single crochet (sc) across the foundation chain. This sets the starting base for your floral curtain. You should have 89 sc at the end of this row. Check that each stitch is consistent to ensure a lovely finish.
Row 3: Creating the Openwork Design
For this row, alternate between double crochet (dc) and chain stitches to form an openwork design. Work 1 dc, ch 1 across, ending with a dc in the last stitch for a total of 44 dc and 44 ch spaces. This openwork will allow light to filter beautifully.
Row 4: Repeat Openwork Pattern
Repeat the openwork design from Row 3 for the next row. Remember to count your stitches carefully. By now, your curtain should start to show hints of the airy texture that characterizes the crochet curtain pattern.
Row 5: Floral Motif Base
To start the floral motifs, chain 3 and join it into a ring with a slip stitch (sl st). This ring will hold the petals of your flower; create 5 sc into the ring and pull tight, closing the hole. Fasten off and leave a tail for attachment.
Row 6: Adding Flower Petals
Attach your floral base back to the curtain where desired with a sl st. Chain 3 and make a dc in the same stitch to start forming petals. Alternate between dc and chain stitches to achieve a petal shape, and repeat for a total of 5 petals. This step will make your crochet curtain pattern truly stand out.
Row 7: Leaf Assembly
Now it’s time for the leaves! Using the same color as the flowers, chain 4 and do a series of skipping stitches that mimic leaves. Attach these around your flowers with sl st to add visual interest and depth. Aim for 2-3 leaves per flower to achieve a full look.
Row 8: Scallop Edging
Create a scallop border by working 5 dc in the same stitch, skipping 2 stitches, and continuing across the entire bottom edge. This delightful touch will give your crochet curtain pattern a finished flair, making it lovely to display.
Row 9: Joining Panels (if needed)
If creating multiple panels for wider windows, align the edges of each panel, and secure them together with slip stitches for seamless integration. Ensure that your panels are aligned for uniformity and consistency across the curtain’s design.
Row 10: Final Touches
To fasten off, weave in all yarn ends securely, ensuring that no loose ends are visible. Take your measuring tape to check for adherence to the finished dimensions of 24 inches by 36 inches. If necessary, make adjustments through blocking for that perfect shape.
Row 11: Blocking Your Curtain
Lightly block your finished piece to enhance the details of the openwork and scalloped edges. Use a spray bottle for gentle moisture, then pin it flat to a surface to help achieve the desired drape. This final touch greatly elevates your crochet curtain pattern’s beauty.
Row 12: Hanging Your Curtain
Finally, it’s time to hang your curtain! You may want to attach ties at the sides for easy opening and closing. Alternatively, use curtain rings to allow it to glide smoothly. Enjoy the newfound charm your crochet curtain brings to your space!
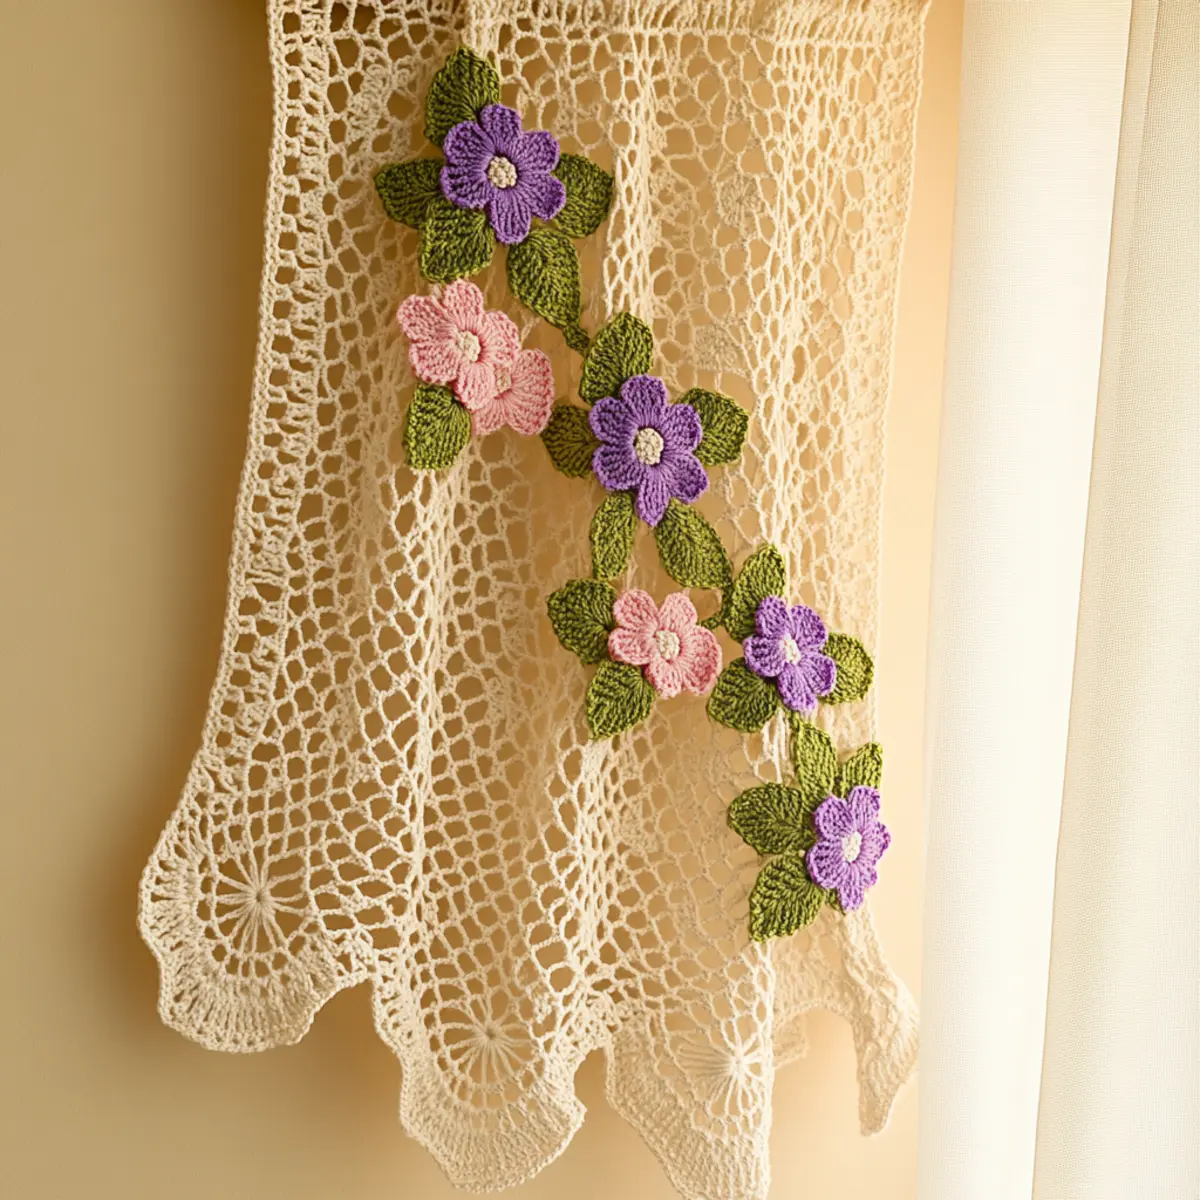
How to Wash and Care for Your Crochet Curtain Pattern
Machine Washing: Use a gentle cycle with cold water to prevent damage. Avoid harsh detergents that could fade the colors of the crochet curtain.
Hand Washing: For delicate yarns, prefer hand washing in lukewarm water with a mild soap. Rinse thoroughly to preserve the crochet’s integrity.
Drying: Always lay flat to dry. Hanging can distort the shape and size of your crochet curtain, particularly if made from cotton.
Blocking: Lightly block after washing to restore the shape and enhance the pattern details. Use pins to maintain the openwork sections.
crochet curtain pattern variations
Feel free to personalize your crochet curtain pattern with these delightful suggestions!
- Color Swaps: Experiment with different color palettes like pastels or bold primaries to match your decor style.
- Yarn Alternatives: Try using a heavier worsted weight yarn for a cozier and thicker curtain design, enhancing the overall ambiance.
- Panel Adjustments: Change the size of your curtain by adding or removing panels to fit unique window dimensions perfectly.
- Floral Variability: Incorporate different types of flowers or leaf shapes to elevate the floral motifs and add a personal touch.
- Beaded Embellishments: Use decorative beads in flower centers for added charm and visual appeal, enhancing the overall design.
- Texture Modifications: Experiment with different crochet stitches, like shell stitches, to modify the texture of your curtain, creating a unique visual interest.
For a more rhythmic variation, consider creating a layered look by making two curtains of differing lengths or styles. This adds depth and elegance to your space while allowing light to filter in beautifully. Don’t forget to explore ideas like Crochet Daisy Flower for your floral updates or Granny Square Baby patterns for other delightful crochet projects that spark your creativity.
Expert Tips for the Best Crochet Curtain Pattern
Count Consistency: Regularly check your stitch count, especially after each row. Missing a stitch can disrupt the pattern and ruin your crochet curtain.
Avoid Twisting: Ensure that your foundation chain isn’t twisted before starting the first row. A hidden twist can lead to uneven draping.
Secure Flowers: When adding floral motifs, secure them well to prevent them from falling off or becoming loose when the curtain is hung.
Yarn Swaps: If planning to use a different yarn weight, consider adjustments to hook size and initial chain length. It affects the overall look of your crochet curtain.
Tension Matters: Maintain consistent tension across all rows to ensure an even finish. Varied tension leads to a lopsided crochet curtain pattern.
Measure Twice: Before beginning, measure your window accurately. This ensures the curtain is the right fit and prevents unnecessary yarn wastage.
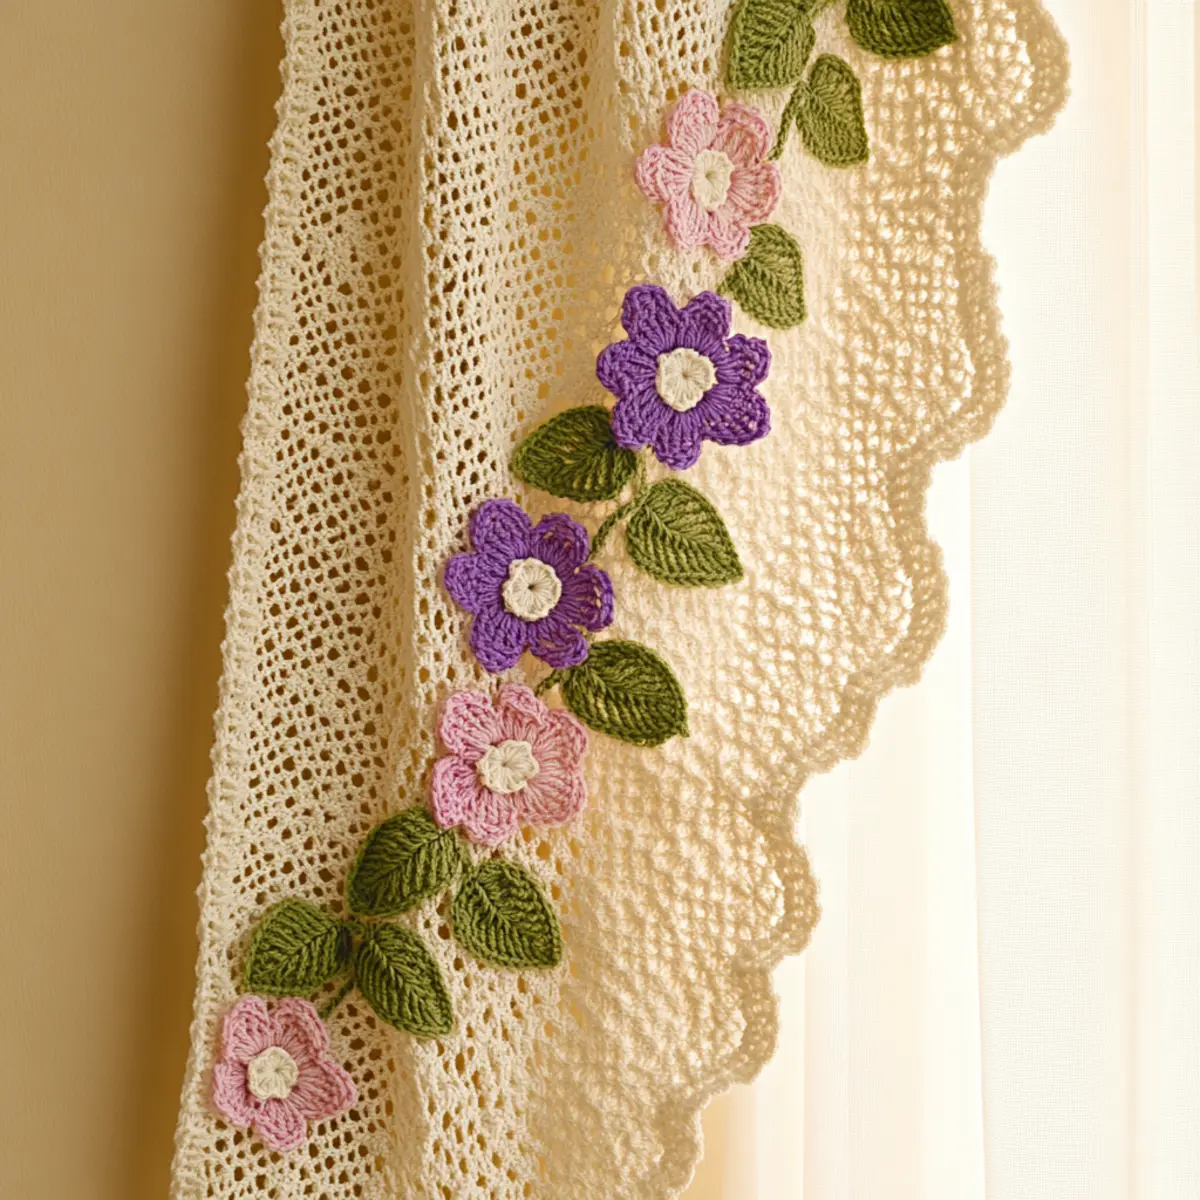
Floral Elegance Crochet Curtain FAQs
Can I substitute yarn for this project?
Absolutely! You can swap cotton for other fibers, but be cautious as some yarns may alter the curtain’s drape or appearance.
What if my curtain is curling at the edges?
Don’t panic! Curling can be fixed with blocking. After finishing, lightly wet the edges and pin them flat to help straighten.
How do I adjust the sizing of my crochet curtain?
To increase width, add more chains to your foundation chain in multiples of 2. For length, simply incorporate more rows to achieve your desired size.
I’m getting dropped stitches. What should I do?
If you notice dropped stitches, try counting your stitches after every row. It helps identify where you went wrong, allowing for quick fixes.
What hook size is best for this crochet curtain pattern?
Using a 4.0mm or 4.5mm hook is recommended, but adjust according to your tension. A tighter stitch might require a larger hook.
How do I create a unique floral design on my curtain?
Experiment with different yarn colors or patterns! You can also create flowers in various shapes and sizes to personalize the final look of your crochet curtain.
Leave a Reply