
The first time I crafted an amigurumi mushroom, I was genuinely surprised by how quickly it came together, transforming a ball of yarn into something utterly cute and charming. This project is not just an easy endeavor; it’s perfect for those cozy crafting afternoons when you want a satisfying, fun experience without spending hours on a single piece. My latest creation, the amigurumi mushroom, effortlessly blends whimsical aesthetics with practicality, serving as a delightful decorative item or even a handy keychain. With just a few simple stitches and some worsted weight yarn, you can create an enchanting treasure that adds a pop of joy to your space. What’s more, this pattern is a fantastic stash-buster, allowing you to use leftover yarn while diving into your creative side. As you explore the delightful world of crocheting with me, I can’t wait for you to discover what magic you can create with just a hook and some yarn!
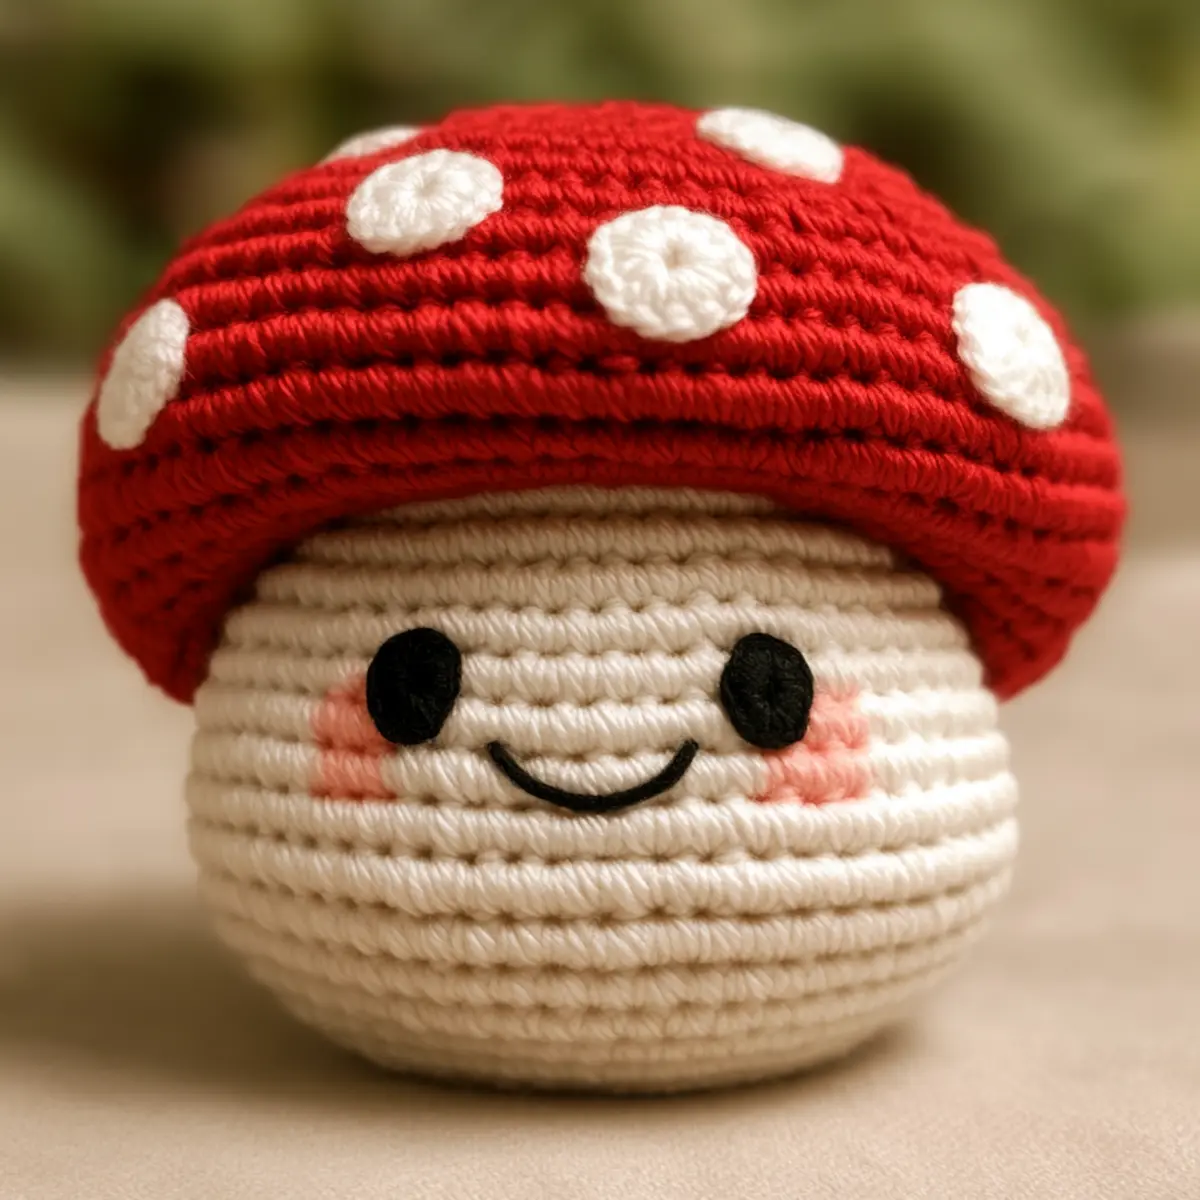
Amigurumi Mushroom Materials & Tools
Yarn
- Worsted weight yarn (beige, red, white) – Approximately 50-100 yards total is needed for the amigurumi mushroom, allowing for a cozy, plush texture.
Tools & Notions
- 2.5 mm (US B) crochet hook – This size is ideal for creating tighter stitches that hold their shape well.
- Yarn needle – For sewing the cap to the base and weaving in the ends.
- Scissors – Ensure you have a pair handy for cutting yarn.
Keep your amigurumi mushroom considerations in mind when selecting colors, and enjoy experimenting!
Why You’ll Love This Pattern
Simplicity is at the heart of this amigurumi mushroom. Whether you are an experienced crocheter or just starting out, this pattern guides you through every delightful step. Plus, the texture you create with soft yarn results in a plush mushroom that is just begging to be squished! Not only is it a fun stash-friendly project, but the use of simple shapes makes it easily customizable; you can change yarn colors for different variations or even add whimsical details like tiny leaves. Additionally, it’s a substantial time-saver—you could finish this charming piece in just a couple of hours, perfect for last-minute gifts or embellishments. If you’re looking for more inspiration, check out our article on quick and fun amigurumi patterns or dive into our blog post on stash-busting crochet projects. You’ll quickly see that this amigurumi mushroom is not just an adorable ornament, but a delightful introduction to the heartwarming world of crochet!
Gauge & Sizing Notes for Amigurumi Mushroom
Checking tension is crucial for this amigurumi mushroom project to ensure consistent stitch size and a well-formed piece. The standard gauge measurement is 4×4 inches (10×10 cm), which should yield about 16 sc in 4 inches. Adjusting the starting magic ring or round counts can help resize the mushroom; for instance, if you want it larger, simply add more rounds to your base and cap. Conversely, if your swatch doesn’t match, try a different hook size to tighten or loosen your stitches. This attention to gauge and sizing will guarantee that your final amigurumi mushroom retains its cute, plush charm, making it a delightful addition to any decor or a precious gift. Remember, the finished mushroom will typically measure about 4-5 inches in diameter, showcasing its adorable stature!
Step-by-Step Pattern for Amigurumi Mushroom
Row 1: Create Magic Ring
Start by creating a magic ring (AM) with your beige yarn. Pull the tail to tighten and ensure it forms a small circle to hold your first stitches (6 sc total).
Row 2: Establish Base
In the magic ring, create 6 single crochets (sc). This forms the foundation for the amigurumi mushroom base. Make sure to pull the ring tightly to minimize gaps (6 sc total).
Row 3: Increase Rounds
For this row, you will add increases. Work (1 sc, inc) around the row, which doubles your stitch count in a gentle way. This creates the base that will give your mushroom a sturdy foundation (12 sc total).
Row 4: Alternate Stitches
Continue with (2 sc, inc) for this round. Repeat this pattern until the end, and take note of your stitch count, ensuring that every increase is accurate for that perfect mushroom shape (18 sc total).
Row 5: Continue Increasing
Now, work (3 sc, inc) for this round. The base will grow larger as you continue this practice. Take care to count your stitches as you go, keeping your rounds full and tight (24 sc total).
Row 6: Begin Cap
Switch to your red yarn for the mushroom cap. Start a new magic ring, and work 6 sc into it to get the cap started. This marks the transition from the base to the whimsical cap of your mushroom (6 sc total).
Row 7: Red Cap Increases
For the first round of the cap, repeat the increase pattern, working (1 sc, inc). This creates a slightly rounded dome shape that mimics the cap of a mushroom. Count carefully, ensuring you maintain the correct structure (12 sc total).
Row 8: Build the Dome
Continue with (2 sc, inc) in this round. It’s essential to remain vigilant with your stitch count for the mushroom cap to ensure the right contour and size. You want it fluffy and charming (18 sc total).
Row 9: Finish the Cap
In this round, work (3 sc, inc) around the cap to finish shaping it. You’ll start to see the characteristic rounded shape coming together. Count diligently; it’s key at this stage (24 sc total).
Row 10: Create Polka Dots
Using white yarn, create small circles separately for the polka dots. Use a slip knot and chain to make tiny rounds, ensuring they fit snugly on your red cap. Attach them using a yarn needle.
Row 11: Attach Cap to Base
To finish your charming amigurumi mushroom, position the cap atop the base and sew securely using your yarn needle. Ensure the stitches are evenly distributed to hold neatly in place, enhancing the shape and structure.
Row 12: Final Touches
Weave in any loose ends and check your work for any noticeable gaps. If the shape seems off, block it lightly with steam while stuffed to maintain its form. Your amigurumi mushroom is now complete and ready to charm anyone who sees it!
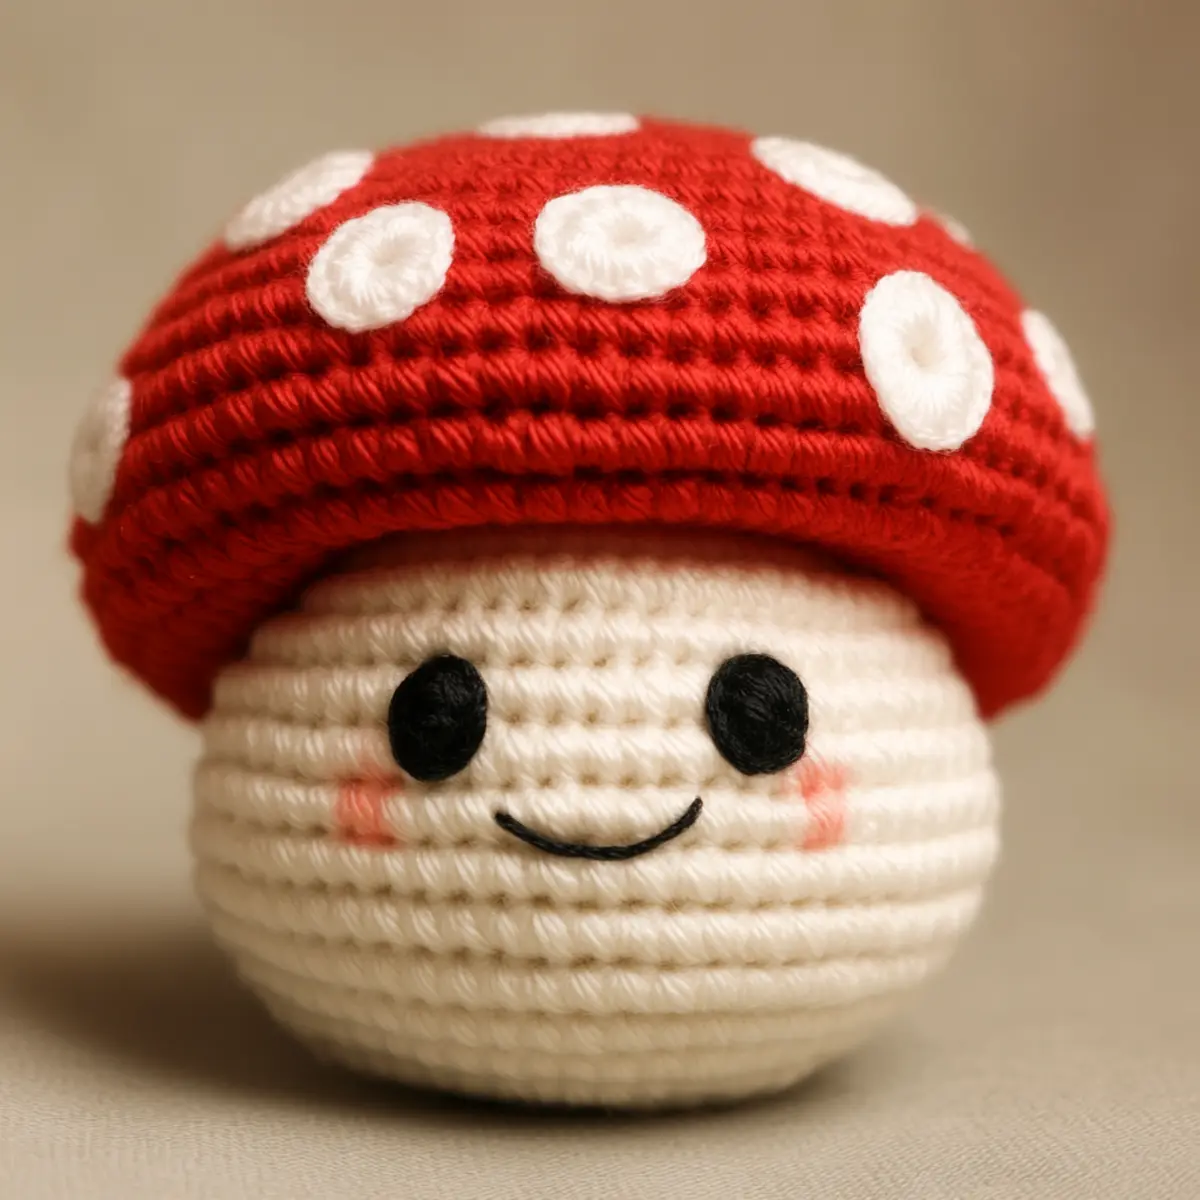
amigurumi mushroom
Feel free to express your creativity as you customize this lovely project!
- Alternate Colors: Use vibrant hues like blue or green for the mushroom cap to create a unique look.
- Different Yarn Weights: Switch to sport or DK weight yarn for a more delicate charm or bulky yarn for a plush effect.
- Miniature Version: Create a tiny version using smaller hooks and less yarn, perfect for keychains or adorable gifts.
- Texture Changes: Opt for cotton yarn instead of acrylic for a different texture that feels gentle and soft.
- Add Accessories: Enhance your mushroom with tiny leaves, flowers, or stars to give it a whimsical touch.
Playing with colors can add a personal flair to your amigurumi mushroom. Imagine creating a whole forest of quirky mushrooms in varied shapes and shades! Consider a calming palette of soft pastel tones for a serene vibe, making them perfect for nursery decor. Alternatively, embrace bold and spirited colors for a more energetic feel that brightens your space.
Don’t forget that this project is a wonderful stash-buster, designed to let your creativity run wild and utilize leftover yarns while crafting something joyous. Explore the delightful range of yarn available with projects that cater to different colors and textures, ensuring your amigurumi mushrooms stand out in every possible way. Immerse yourself further in this engaging crochet journey by checking out the simple crochet techniques in our quick guide for easier projects!
How to Wash and Care for Your Amigurumi Mushroom
Machine Washing: For a quick clean, you can wash it on a gentle cycle in cold water. Avoid agitation to maintain its shape and texture.
Hand Washing: When cleaning by hand, use cold water and mild detergent. Gently press the water out without wringing, to keep your amigurumi mushroom intact.
Drying: Always lay your mushroom flat to dry instead of hanging. This prevents it from stretching out of shape or becoming misshapen.
Storage: Store your amigurumi mushroom in a dry, cool place, away from direct sunlight. This helps preserve the softness and color vibrancy of the yarn.
Expert Tips for the Best Amigurumi Mushroom
Count Consistently: Always check your stitch count after each round to avoid losing track and ensure a well-formed shape. This is crucial for your amigurumi mushroom.
Even Tension: Maintain consistent tension while crocheting, especially on small stitches. This prevents gaps that can detract from the overall appearance.
Color Experimentation: Have fun with colors! Try different shades for caps or bases to create unique variations of your amigurumi mushroom.
Steaming for Shape: If your mushroom is misshapen after finishing, lightly steam it while stuffed. This helps achieve the correct form and enhances its cute, squishy texture.
Blocking Tips: Before blocking, ensure your pieces are stuffed correctly inside. Blocking will help fix any uneven areas and give a polished look.
Use Leftover Yarn: This project is a great way to use up any leftover yarn. Get creative and experiment with various combinations!
Amigurumi Mushroom FAQs
Can I use different yarn weights for this project?
Absolutely! You can alter the yarn weight. A lighter yarn creates a mini version, while a heavier yarn can make a larger plush toy.
What happens if I drop a stitch?
Don’t panic! Just carefully pick up the dropped stitch and continue. If it affects the shape, you can always make adjustments in the next rounds.
What hook size should I use?
For this project, a 2.5 mm (US B) crochet hook is recommended for precision with smaller stitches that hold the shape well.
Can I make this pattern bigger?
Yes! Adjust the starting magic ring size or increase the number of rounds for a larger amigurumi mushroom. Just be mindful of the increased yarn needed.
How do I troubleshoot curling edges?
If your mushroom cap begins to curl, you might be working too tightly. Consider using a larger hook or adjusting your tension for a smoother finish.
What other embellishments can I add?
You can enhance your amigurumi mushroom by adding tiny leaves, flowers, or even different colored dots. Get creative and make it uniquely yours!
Leave a Reply