
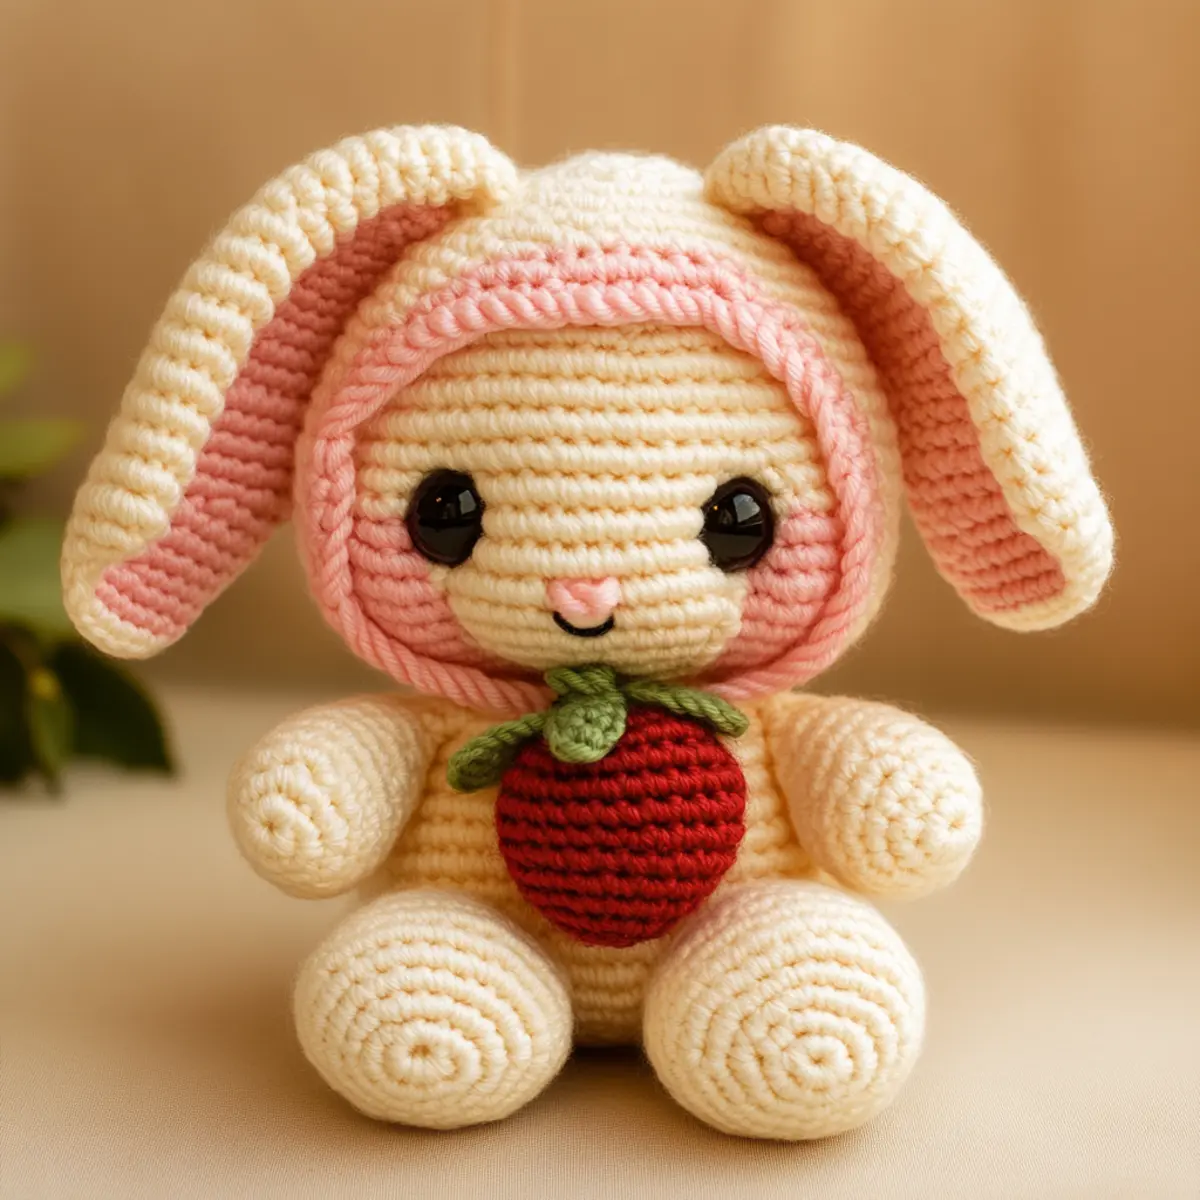
As I sat there, trailing my fingers over the skeins of yarn in my stash, I was suddenly inspired by the whimsy of childhood. That’s when the idea for my Strawberry Bunny Amigurumi took shape, a delightful piece crafted to capture joy and nostalgia in every stitch. This cozy crochet bunny pattern is perfect for crafters of all levels looking for a quick yet captivating project. One of the best things about this pattern is its stash-buster quality, allowing you to utilize various colorways for that unique touch. Plus, the soft and plush yarn we use ensures your finished bunny will be huggable and oh so cuddly. Each stitch brings together the playful elements of design and creativity, making this project not just a craft but a meaningful addition to your collection or a perfect gift for loved ones. Have you picked out your yarn colors yet? You’ll want to let your imaginative side roam free as you explore the different looks your bunny can take on!
Crochet Bunny Pattern Materials & Tools
Yarn
– Use medium (worsted weight) plush or chenille yarn; approximately 200-250 yards will suffice to create your adorable amigurumi.
Tools & Notions
– 10 mm safety eyes – Essential for giving your strawberry bunny that delightful gaze.
– Polyester stuffing – Fill your creation generously to add softness and comfort.
– Scissors – Keep your tools handy for cutting ends as you go.
– Yarn needle – Great for weaving in ends and stitching pieces together.
While crafting this crochet bunny pattern, be sure to maintain consistent tension to ensure your amigurumi’s features are well-defined and charming!
Why Is This Crochet Bunny Pattern a Must-Try?
Embrace the whimsical nature of this pattern, where simplicity goes hand-in-hand with charm! The texture created by the plush yarn not only adds visual appeal but also delivers a delightful tactile experience. This amigurumi pattern is stash-friendly, meaning you can pull out those leftover yarn scraps and turn them into a cherished companion. Plus, it’s adaptable; you can easily customize your bunny’s accessories, whether by experimenting with different colors or seasonal themes. Need something cozy and inviting? Check out our collection of soft yarn that adds an extra layer of warmth to your creations. Overall, the aesthetic appeal of the finished bunny, combined with the enjoyable making process, makes this the perfect project for anyone looking to spruce up their crochet repertoire. Dive into the world of amigurumi with this crochet bunny pattern that guarantees a fun crafting experience!
Gauge & Sizing Notes for Crochet Bunny Pattern
Consistency in your tension is vital for the successful completion of your Strawberry Bunny Amigurumi. A standard gauge measurement of 4×4 inches (10×10 cm) should yield approximately 14 sc and 16 rows in worsted weight yarn when using an appropriate hook. If your swatch doesn’t match, consider adjusting your hook size to alter the tension for a snug fit. If you’re looking to resize the bunny, change the initial starting chain or round based on the preferred dimensions, keeping in mind that additional rounds will affect the overall look. The crochet bunny pattern aims for a finished piece approximately 10-12 inches tall when seated, making it a delightful centerpiece for both decor and gifting. Keep experimenting with color choices for a unique flair or even switch the strawberry for seasonal themes to nail down that personalized touch!
Step-by-Step Pattern for Crochet Bunny Pattern
Row 1: Start with Magic Ring Begin by creating a magic ring (MR), ensuring a tight closure for the head of your Strawberry Bunny. Work 6 single crochet (sc) into the MR. This forms the foundation for a cute and compact bunny head structure. (6 sc)
Row 2: Increase for Head Shape In the second round, work 2 sc in each stitch around to build the round shape of the head. Carefully count your stitches after each round to maintain the perfect proportions of your bunny. (12 sc)
Row 3: Continuing to Increase Work (sc, inc) around the round. This formula increases the stitch count while providing dimensions that give the bunny a fuller face. Make sure to keep counting to avoid extra stitches. (18 sc)
Row 4: Define the Head’s Shape Continue increasing by working (2 sc, inc) in this round. This gradual increase helps ensure a rounded head shape that supports the facial features you will add later. Count your stitches frequently. (24 sc)
Row 5: Finish the Head For the next row, sc one round without increasing to create a solid head base. This step helps keep the bunny’s head looking neat and defined. (24 sc)
Row 6: Attach the Eyes and Nose Lay out the 10 mm safety eyes and stitch on a small nose using a contrasting yarn. Position them securely to give your Strawberry Bunny its charming expression. This personal touch brings your creation to life!
Row 7: Create the Body Start the body by switching to a new MR. Work 6 sc in the magic ring, similar to the head. Keep a good tension while making the body to maintain consistency with your head’s size. (6 sc)
Row 8: Shape the Body Increase in the same manner as the head, following the formula of (sc, inc) around this round. Ensure both the head and body match in size for perfect snugness when attached. (12 sc)
Row 9: Building the Body Height For the next rows, continue working without any increases to achieve the desired height for the bunny’s torso. Generally, you will need about 6-8 rounds of sc to reach an approximate height of 5-7 inches. (12 sc)
Row 10: Craft the Legs and Arms Make both arms and legs as separate pieces as simple cylindrical shapes. Use the same technique (with magic rings) and color change for the paws. Don’t forget to stuff them for a rounded look! (varies by piece)
Row 11: Shape Bunny Ears Create two identical bunny ears with a magic ring, working in rounds to form curved shapes. For the ear texture, alternate between increasing and single crochet to achieve soft curves and dimension. (varies by piece)
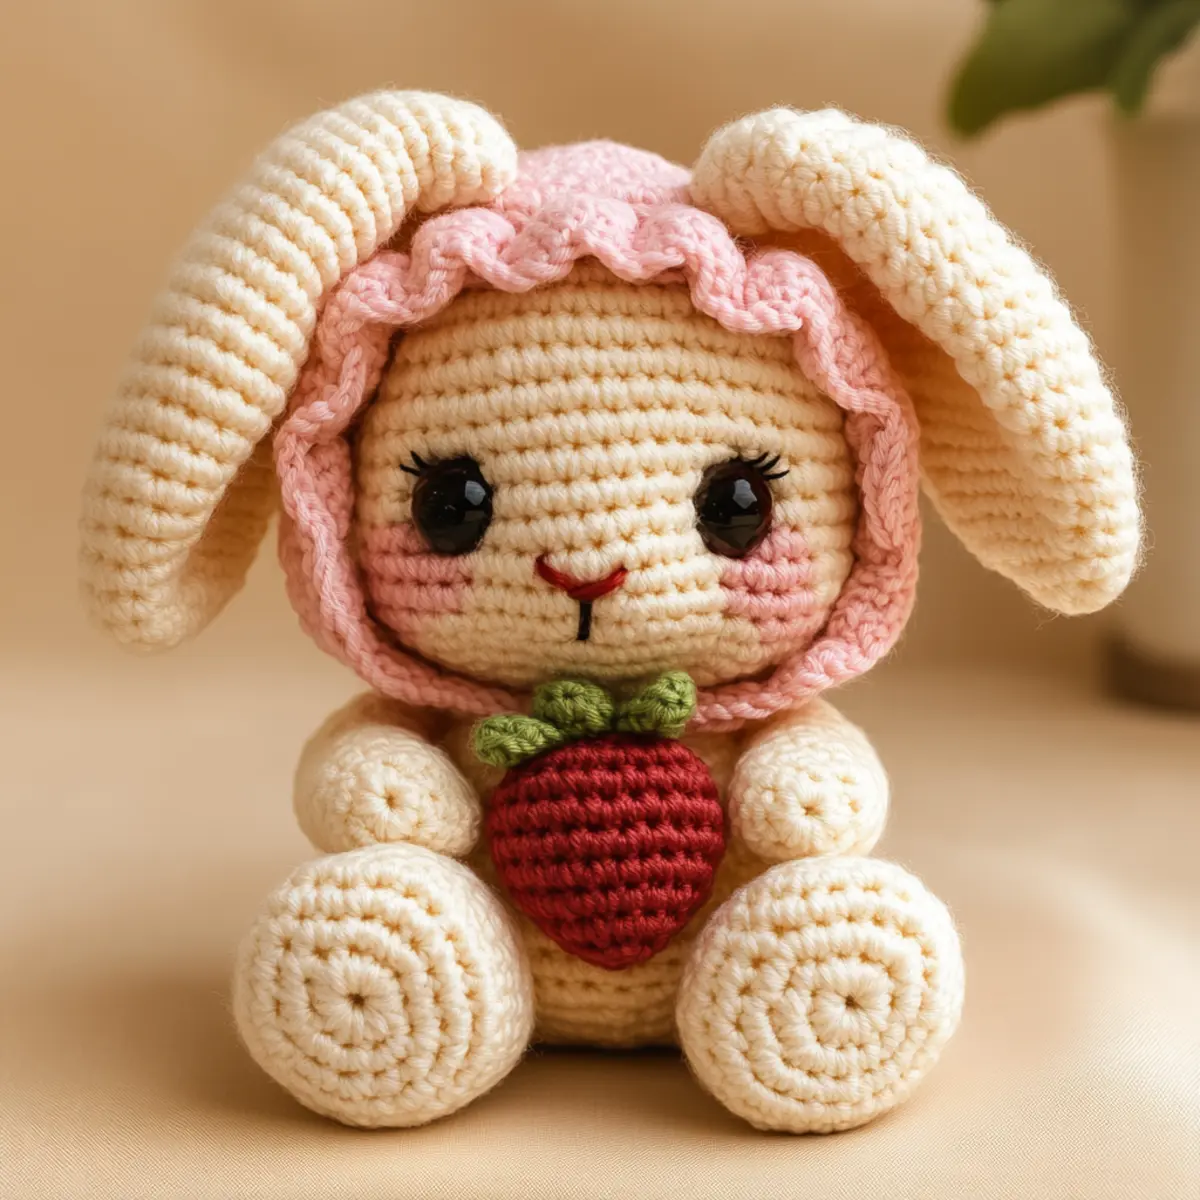
Row 12: Assemble the Bunny Finally, stitch the head to the body, securely attaching the arms and legs. Add the ruffled bonnet and your charming strawberry in its paws. This finishes your delightful Strawberry Bunny Amigurumi.
Finishing Touch: Ensure all pieces are secured and tidy up any loose ends, giving the completed project that professional finish every crochet bunny pattern deserves. Your lovely creation is now ready to be gifted or displayed proudly!
Expert Tips for the Best Crochet Bunny Pattern
-
Count Stitches: Regularly counting your stitches ensures you won’t lose track, especially in the head and body sections. This helps maintain the shape of your crochet bunny.
-
Maintain Tension: Consistent tension is key to achieving a well-defined structure for your amigurumi. Avoid too tight or too loose stitches for an even finish.
-
Magic Ring Technique: Master the magic ring as it creates a tight closure, crucial for the head. This technique lays the perfect foundation for your crochet bunny.
-
Pay Attention to Fittings: When attaching eyes and features, secure them well. This will prevent them from falling off after being handled, keeping your amigurumi safe.
-
Use Stitch Markers: If you’re prone to losing your place, consider using stitch markers to keep track of your rounds. They are perfect when working on larger projects like this crochet bunny pattern.
-
Experiment with Yarns: Feel free to explore different yarn colors and textures. Changing up the yarn not only personalizes your bunny but also adds a unique touch to your crochet project.
crochet bunny pattern variations
Feel free to let your creativity shine by customizing your Strawberry Bunny Amigurumi in unique ways!
- Pastel Blues: Switch to pastel blues for a refreshing take on the classic look. This gives your bunny a serene vibe.
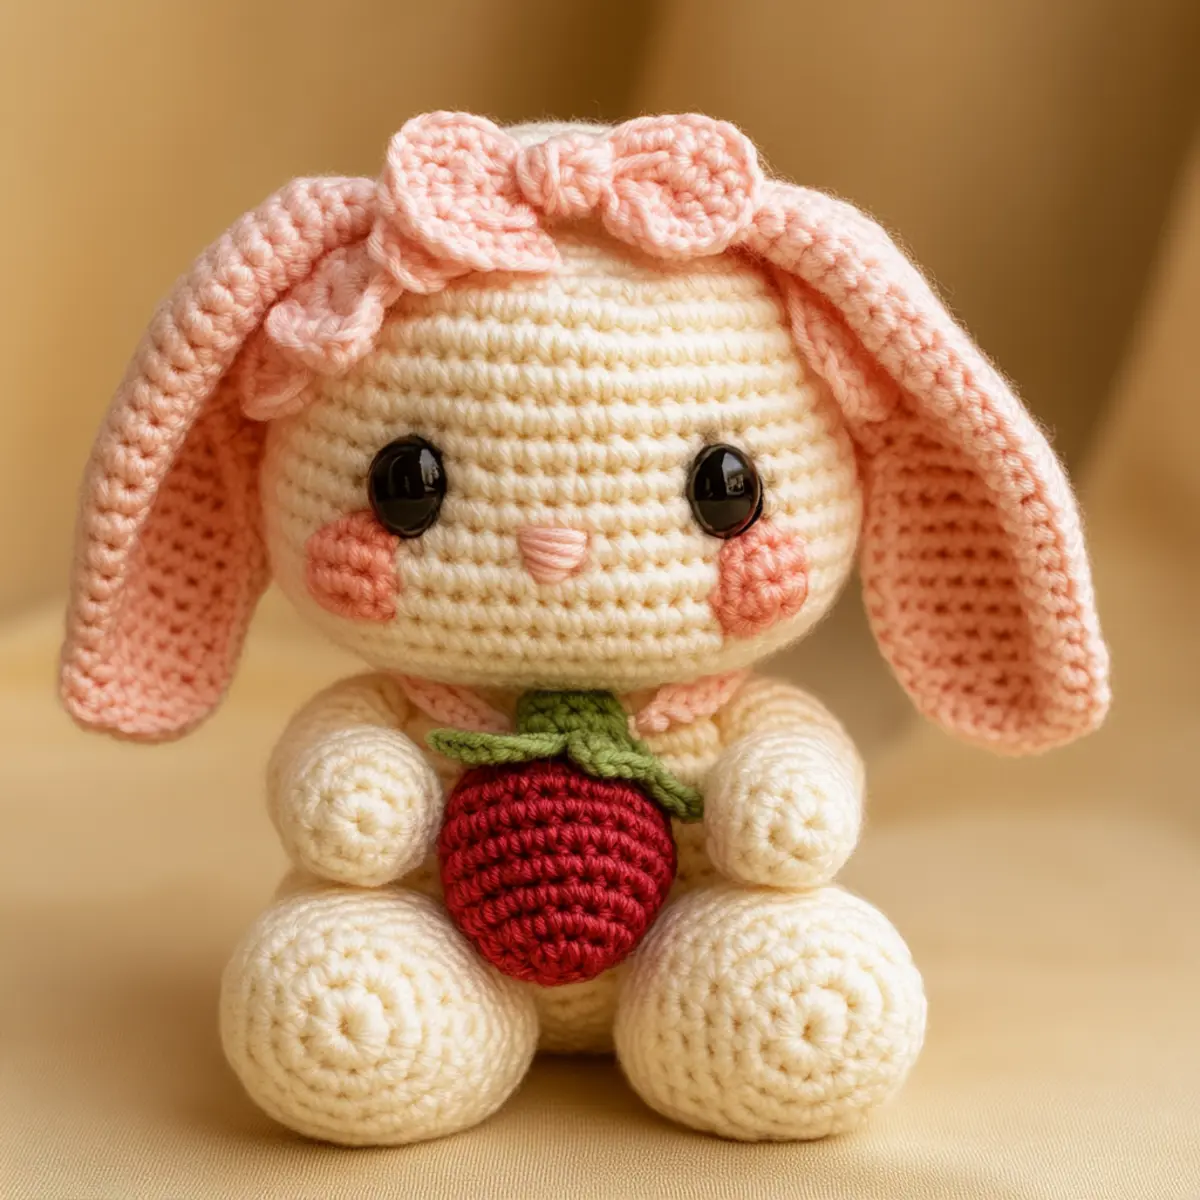
- Seasonal Themes: Consider creating an autumn version by replacing the strawberry with a pumpkin, adding seasonal charm perfect for decorations.
- Personalized Embroidery: Add your own designs on the bunny’s body using embroidery. This custom touch makes it extra special for gifting.
- Color Blocking: Use multiple colors in sections to create a color-blocked design, giving your bunny a fun and modern twist.
- Texture Modifications: Try using different yarns with unique textures, like boucle or tweed, to enhance the bunny’s fluffy appearance.
- Larger Bunny: Change the yarn weight to bulky for a larger version of the bunny, perfect for a statement piece or cuddly toy. This approach not only adds size but also gives a different feel to the amigurumi. Experimenting with larger yarn creates a soft and huggable companion.
- Mini Version: Use lace-weight yarn and a smaller hook to create a mini bunny. It’s an adorable take on your original pattern, great for gifts or keychains.
- Instant Classic: Swap the plush yarn for cotton for a sturdier finish, ideal for those wanting a more structured amigurumi. This variation opens the door to a more classic crochet feel while retaining the charm of the bunny.
If you’re excited about altering your crochet bunny pattern, the world of yarn and imagination awaits!
How to Wash and Care for Your Crochet Bunny Pattern
-
Machine Washing: If you choose to machine wash, use a gentle cycle with cold water, ensuring your crochet bunny’s delicate features are not damaged.
-
Hand Washing: For best results, hand wash your amigurumi in cold water with mild soap, gently squeezing without agitation to keep the plush yarn intact.
-
Drying: Always lay your finished crochet bunny flat to dry. Avoid hanging to prevent distortion of shape, ensuring it stays cuddly and intact.
-
Storage: Store your crochet bunny in a clean, dry place away from direct sunlight. This keeps its colors vibrant and texture plush over time.
Strawberry Bunny FAQs
-
Can I use different yarn? Absolutely! You can substitute with any worsted weight yarn, including cotton or acrylic, just ensure the tension remains consistent for a lovely finish.
-
What hook size should I use? For this pattern, a 4mm (G) crochet hook is recommended, but you can switch to a hook based on your preferred yarn thickness and tension.
-
What if my bunny keeps curling up? Don’t panic! Curling can occur if stitches are too tight. Check your tension and consider loosening your stitches, as this can help the body lay flat.
-
How do I adjust the sizing? To change the size of your bunny, use a different weight yarn and a matching hook size. You can also alter the number of rounds in the body to achieve your desired height.
-
What if I drop a stitch? No worries! If you spot a dropped stitch, simply unravel a few stitches back and re-crochet the section. Alternatively, you can weave the yarn back into place for minor slips.
-
Can I craft with my kids? Certainly! This crochet bunny pattern is beginner-friendly and can be a fun family project. Just supervise any use of scissors or yarn needles for safety.
Leave a Reply