
As I sat down to crochet my latest creation, a wave of excitement washed over me when the liveliness of the yarn slipped through my fingers. Today, I’m thrilled to introduce you to the delightful crochet duck pattern that features an adorable strawberry hat; it’s a whimsical project that combines charm and creativity. This amigurumi duck isn’t just a cute decoration—it’s a wonderful way to hone your skills while crafting something truly unique. With its perfect blend of intricate shaping and fun color changes, this pattern offers an engaging challenge that will leave your heart full and your crafting skills elevated. Whether you’re looking for a playful addition to your home or a heartfelt gift for a loved one, this sweet creation will surely brighten any space. Ready to embark on this joyful stitching journey? Let’s dive in and make some magic together!
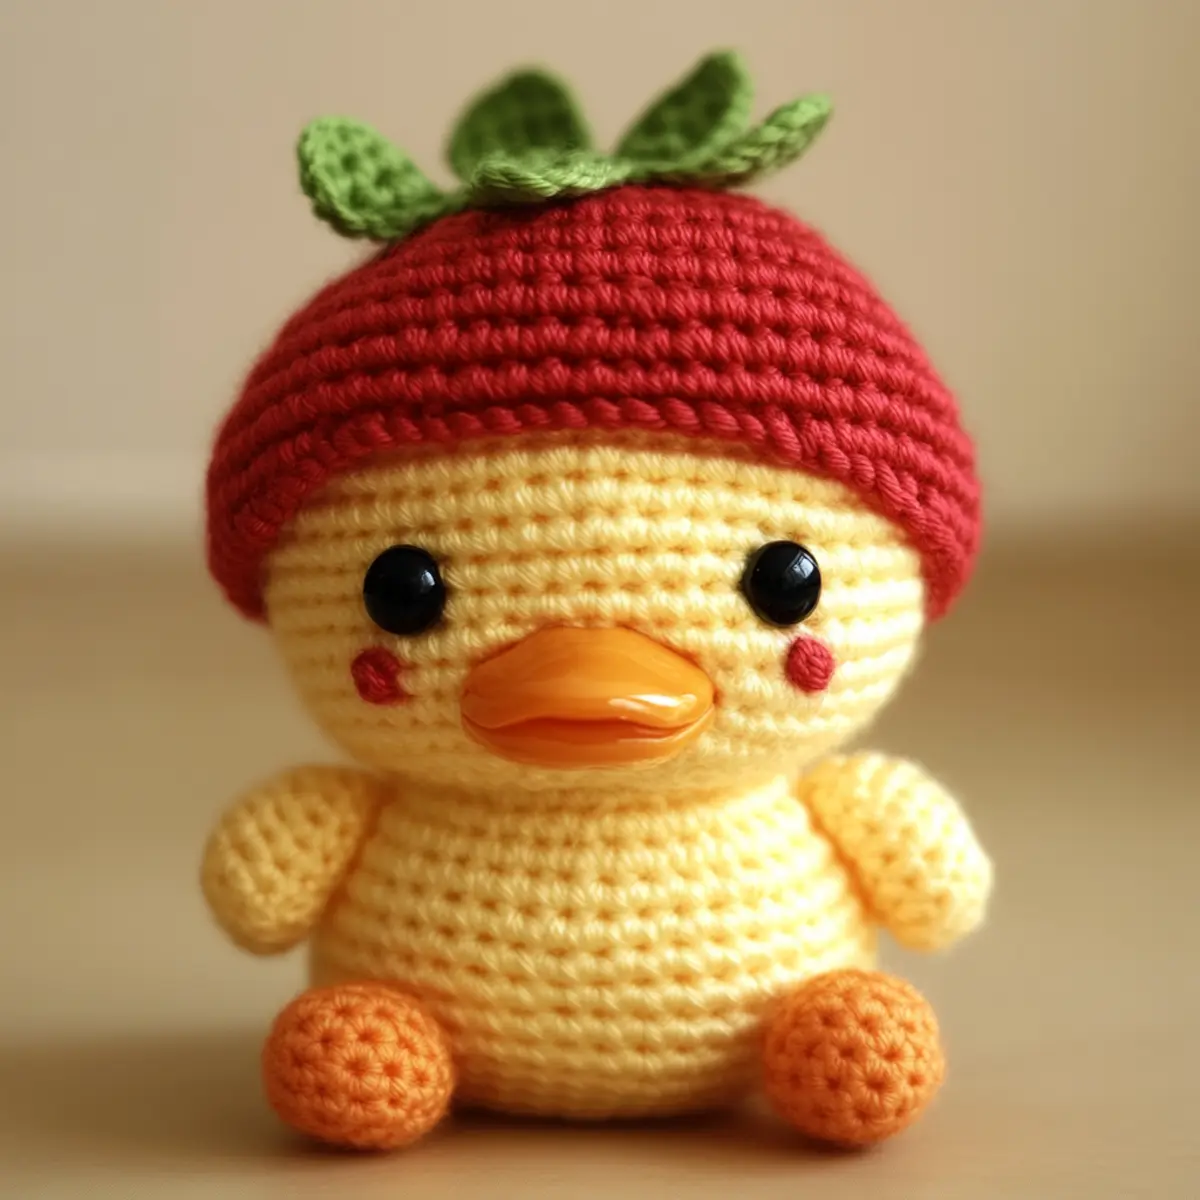
Crochet Duck Pattern Materials & Tools
• Dive into this whimsical project with everything you need at hand!
Yarn
- Worsted Weight Yarn (Category 4) – Approximately 100 yards total in soft yellow for the body, orange for the feet, and vibrant red for the strawberry hat.
Tools & Notions
- 3.5 mm (E) Hook – The recommended size for achieving the perfect stitch definition and a cuddly texture.
- Safety Eyes – Essential for giving your duck character and charm.
- Stitch Markers – Helpful for keeping track of your rounds, ensuring a smooth crochet experience.
- Polyester Fiberfill Stuffing – A small amount may be needed to give your duck that cuddly, plush feel.
Get ready to enjoy this crochet duck pattern that combines creativity with a dash of fun!
Why Will You Love This Duck Pattern?
Irresistible Charm: This crochet duck pattern is cuteness personified! The whimsical strawberry hat adds a delightful touch that brightens any space.
Skill-Building Challenge: Perfect for those ready to level up, this project involves color changes and intricate shaping, improving your crochet skills while you create.
Perfect Gift Idea: This charming amigurumi makes a delightful gift for children and crafting enthusiasts alike, evoking smiles wherever it goes.
Versatile Style Options: Change up the colors or create alternate hat styles for endless creative possibilities. You could even learn more about customizing your crochet.
Cozy Texture: The tight stitches result in a soft, plush drape that’s perfect for little hands, making it ideal for both display and play.
Embrace the joy of crafting with this adorable project that’s as fun to crochet as it is to display or gift!
Gauge & Sizing Notes
Don’t skip the gauge swatch! Ensuring that your crochet duck pattern comes out the perfect size is crucial for maintaining the proportions of this whimsical creation. For this project, a standard gauge measurement is 4×4 inches (10×10 cm), which should equal 12 single crochets by 13 rows. If you find that your tension doesn’t match this, don’t worry! If your swatch is too small, simply go up a hook size to achieve the desired gauge. To adjust the size of your crochet duck, increase your starting chain in multiples of 6, which will allow for a larger duck, or decrease in the same multiples for a smaller version. Embrace the joy of customizing your creation!
Step‑by‑Step Pattern for Strawberry Hat Crochet Duck
Row 1: Start the Duck Body
Begin by creating a magic ring. Ch 1, then work 6 sc into the ring (6 sts). Pull the magic ring tight to close it. Your work should form a small circle that begins to cup. Use a stitch marker to keep track of your rounds as you progress.
Row 2: Increase the Body
In the next round, make 2 sc in each stitch around (12 sts). This will expand the body, giving it a rounded shape. You will notice your piece starting to form a small bowl shape, which sets the foundation for the body of your crochet duck.
Row 3: Continue Increasing
For this round, crochet (1 sc, inc) in each stitch around (18 sts). This introduces a gentle expansion while maintaining the round form. Keep your tension consistent as you stitch. Your work should continue to resemble a bowl, but grow larger and rounder.
Row 4: Further Expansion
In this round, work (2 sc, inc) in each stitch around (24 sts). This establishes the bottom half of the duck’s body, helping it hold its shape better. Your piece should now resemble a wider rounded base, ready for the next segment of the body.
Row 5: Shape the Body
Switch to (3 sc, inc) in each stitch around (30 sts). Continue maintaining even tension. Your duck body will begin to rise as you stitch, creating height while keeping a rounded appearance. This will give your duck a fuller body look as you move forward.
Row 6: Start Decreasing
Now, decrease to shape the top of the body, working (4 sc, dec) around (24 sts). This will begin tapering the upper section, creating the neck and head area. You’ll notice the piece starting to transition from a full shape into a more defined contour.
Row 7: Finishing the Body
Continue by working (3 sc, dec) around (18 sts). This round further shapes the neck area. Your work should appear more elongated at this point, and you can start to visualize your finished crochet duck coming together.
Row 8: Neck Shaping
In this round, crochet (2 sc, dec) around (12 sts). As you decrease, you should see the neck take shape above the body of your crochet duck. Be mindful of your tension to ensure the neck remains snug and cohesive.
Step 9: Complete the Body
Finally, making (1 sc, dec) around will bring you to (6 sts). Finish off your work by cutting a long tail for attaching parts later. Stuff the body lightly using fiberfill for a plush feel. This section should feel substantial yet soft to the touch.
Step 10: Create the Duck’s Wings
To make the wings, start with a new piece by chaining 8. In the second chain from the hook, work 1 hdc, then 2 hdc in the next stitch, followed by 1 hdc in the next four stitches, and 2 hdc in the last stitch (10 sts). Your wing should begin to take on a nice shape.
Step 11: Form the Wing Shape
For the next row, ch 1, then work (1 hdc, dec) across (8 sts). This helps taper the wing’s structure, contributing to the curvy shape. Your work will start to curve slightly, creating the design of the duck’s wing.
Step 12: Finish the Wings
Cut your yarn, leaving a long tail for sewing. Create two wings in total, ensuring they are equal in size. They should curve slightly, making them look dynamic and lifelike when attached to your crochet duck later.
Step 13: Making the Beak
With orange yarn, chain 5. In the second chain from the hook, work 1 sc, then 1 hdc in the next stitch, and finish with 2 dc in the last two chains (5 sts). This gives a pointed shape resembling a duck’s beak.
Step 14: Assemble the Duck
Sew the wings securely onto either side of the body. Place the beak just above the body center, ensuring a friendly expression. Use a needle to stitch them in place firmly, and ensure they are evenly spaced for a smooth appearance.
Step 15: The Strawberry Hat
For the strawberry hat, start with a magic ring, and work 6 dc into the ring (6 sts). It will form the base of the hat, giving it a rounded shape. Pull the ring tight to secure your starting point for the colorful hat.
Step 16: Build the Hat
In the next round, crochet 2 dc in each stitch around (12 sts). Your work will begin to widen, forming a charming brim for the strawberry hat. You should see the hat expanding beautifully as it prepares for additional rounds.
Step 17: Continue the Hat Rounds
Next, work (1 dc, inc) for the entire round (18 sts). This will further increase the width of the hat. You can visualize the playful form of a strawberry as you crochet, making it an exciting step in your crochet duck pattern.
Step 18: Finishing Touches on the Hat
Finally, work (2 dc, inc) around (24 sts). Your hat should now have a pleasing strawberry-like shape. Finish off your work, cutting the yarn long enough for sewing. Add small green pieces for leaves separately to enhance the strawberry appearance.
Step 19: Attach the Hat
Sew the completed hat onto the head of your crochet duck using the yarn tail. Ensure it’s positioned snugly and securely, so it sits comfortably. Your duck should now exhibit the delightful charm of a strawberry hat, completing the whimsical look.
Step 20: Final Details and Embellishments
Add safety eyes to the duck, positioning them evenly on the head. Weave in any loose yarn ends carefully, keeping your piece clean. This will enhance the overall appearance and ensure your crochet duck pattern is polished and delightful to behold.
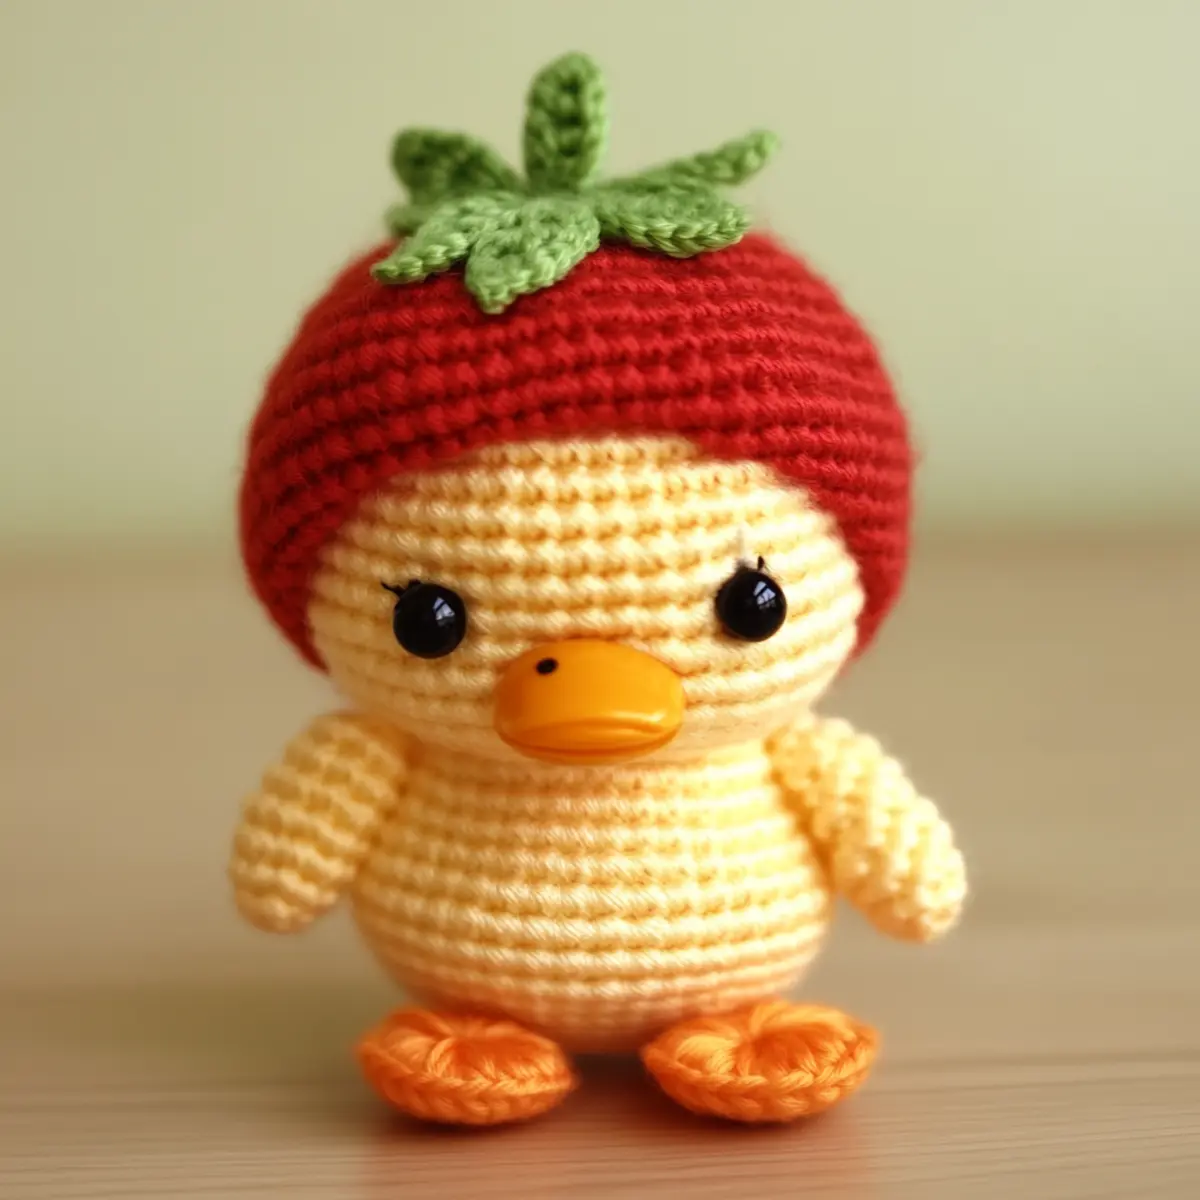
How to Wash and Care for Your Crochet Duck
Machine Washing: Use a gentle cycle with cold water when washing your crochet duck to prevent any felting or pilling. Always place it in a mesh laundry bag for extra protection.
Drying/Blocking: Lay the crochet duck flat on a towel to dry, reshaping the body and hat as needed. Avoid hanging to prevent stretching out the delicate stitches.
Storage: Keep your crochet duck away from direct sunlight and moisture. Store it in a cool, dry place, ideally in a breathable cotton bag to preserve its color and texture.
Regular Maintenance: Occasionally, lightly fluff your crochet duck with your fingers to maintain its shape and softness, keeping that charm alive!
Crochet Duck Pattern Variations
Feel free to infuse your creativity into this delightful crochet pattern and make it uniquely yours!
-
Yarn Weight Swaps: Experiment with lighter or heavier yarn to create a larger or smaller duck for various visual effects.
-
Color Alternatives: Instead of yellow for the body, try soft pastels like mint or peach for a fresh take on the duck’s personality.
-
Hat Styles: Substitute the strawberry hat with a traditional beanie or a whimsical sunhat to change the overall vibe!
-
Texture Modifications: Add a charming pom-pom on top of the hat or buffalo plaid crochet accents for a cozy, rustic feel.
-
Different Fibers: Use cotton yarn for a more breathable texture perfect for summer décor, while acrylic might suit colder seasons.
-
Sizing Adjustments: Change the yarn weight and crochet hook size to create both tiny or oversized versions, making them ideal for any space!
-
Fringe Fun: Introduce some playful fringe on the hat’s brim for a fun, boho twist that kids will adore.
-
Embellished Features: Enhance the duck’s expression by adding detailed facial features with embroidered accents.
Adding these variations can turn this project into a treasure all your own! Don’t forget—you can also explore more about crafting unique amigurumi designs to continue your crochet journey!
Expert Tips for Crochet Duck Pattern
• Check Your Gauge: Always check your gauge before starting to maintain the correct tension, ensuring your duck turns out the right size.
• Use Stitch Markers: Keep track of your rounds with stitch markers to avoid losing count, especially during complex color changes.
• Maintain Even Tension: Be mindful of your tension throughout the project, particularly when assembling the parts to ensure a cohesive look.
• Stuff Carefully: When adding stuffing to the body, distribute it evenly to avoid lumps, giving your crochet duck a smooth and cuddly shape.
• Block for Polish: After completing your crochet duck, gently block the pieces to help them hold their shape, enhancing the finished look.
With these expert tips, your crochet duck pattern will turn into a charming masterpiece that showcases your skills!
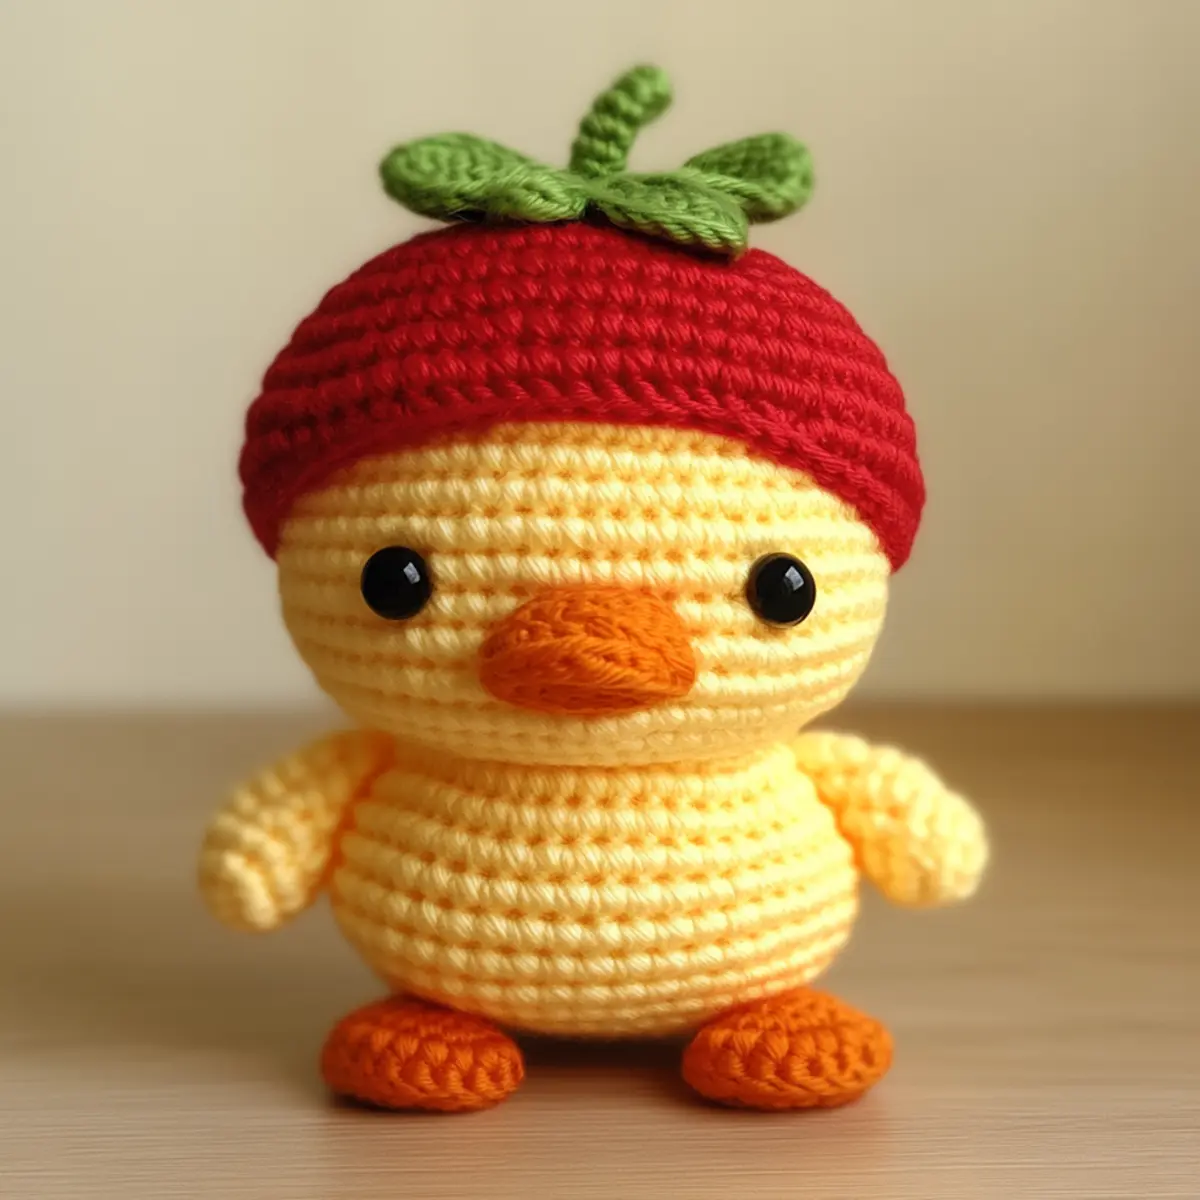
Strawberry Hat Crochet Duck FAQs
Can I use a different yarn weight for the crochet duck pattern?
Absolutely! You can substitute the worsted weight yarn with a sport weight or bulky yarn. Just remember to adjust your hook size accordingly, and you may need to modify the number of rounds to achieve the desired size.
How do I make the duck larger or smaller?
To adjust the size of your crochet duck, consider changing both the yarn weight and the hook size—for instance, using a bulky yarn with a larger hook will give you a bigger duck! Alternatively, if you want a smaller duck, switch to a lighter yarn and a smaller hook.
Why is my crochet work curling up?
Don’t panic! If your work is curling like a bowl, it may be due to tight stitches. Check if you need to loosen your tension or use a larger hook size. Also, blocking can help flatten your pieces.
How do I fix dropped stitches in my crochet duck pattern?
It’s an easy fix! Simply use a crochet hook to pull the dropped stitch back through the loops of the stitches below it, being careful to maintain the original stitch count. If it’s hard to follow, just unravel the work to that point and redo the stitches—it’ll turn out even better!
What size hook should I use for this pattern?
For the Strawberry Hat Crochet Duck, a 3.5 mm (E) crochet hook is recommended. This size will ensure your stitches are tight enough to hold stuffing while providing the necessary shaping for the body and hat.
Can I change the color of the duck’s body?
Absolutely! Feel free to get creative and change the body color to shades like green, blue, or any color that inspires you. This customization can give your crochet duck a unique personality that suits your tastes!
Leave a Reply