
As I sifted through my yarn stash one rainy afternoon, a soft spark of inspiration hit me. What if I could create a cozy crochet flower blanket that brings the lush beauty of a garden indoors? The Flower Bouquet Blanket quickly became my favorite project, combining whimsical floral motifs with the comforting embrace of a warm throw. Not only is this crochet flower blanket a perfect beginner-friendly project, but it also serves as a delightful stash-buster, allowing you to use up those vibrant leftover yarns. Each stitch embodies joy, transforming simple yarn into a captivating work of art that enlivens any room. During chilly evenings, you can cozy up under this plush creation, making it both functional and fantastical. It’s incredible how quickly this project comes together, providing a sense of accomplishment that fuels your passion for crochet. Are you ready to explore the endless possibilities of color and texture in your next cozy project? Let’s dive into the world of floral crochet!
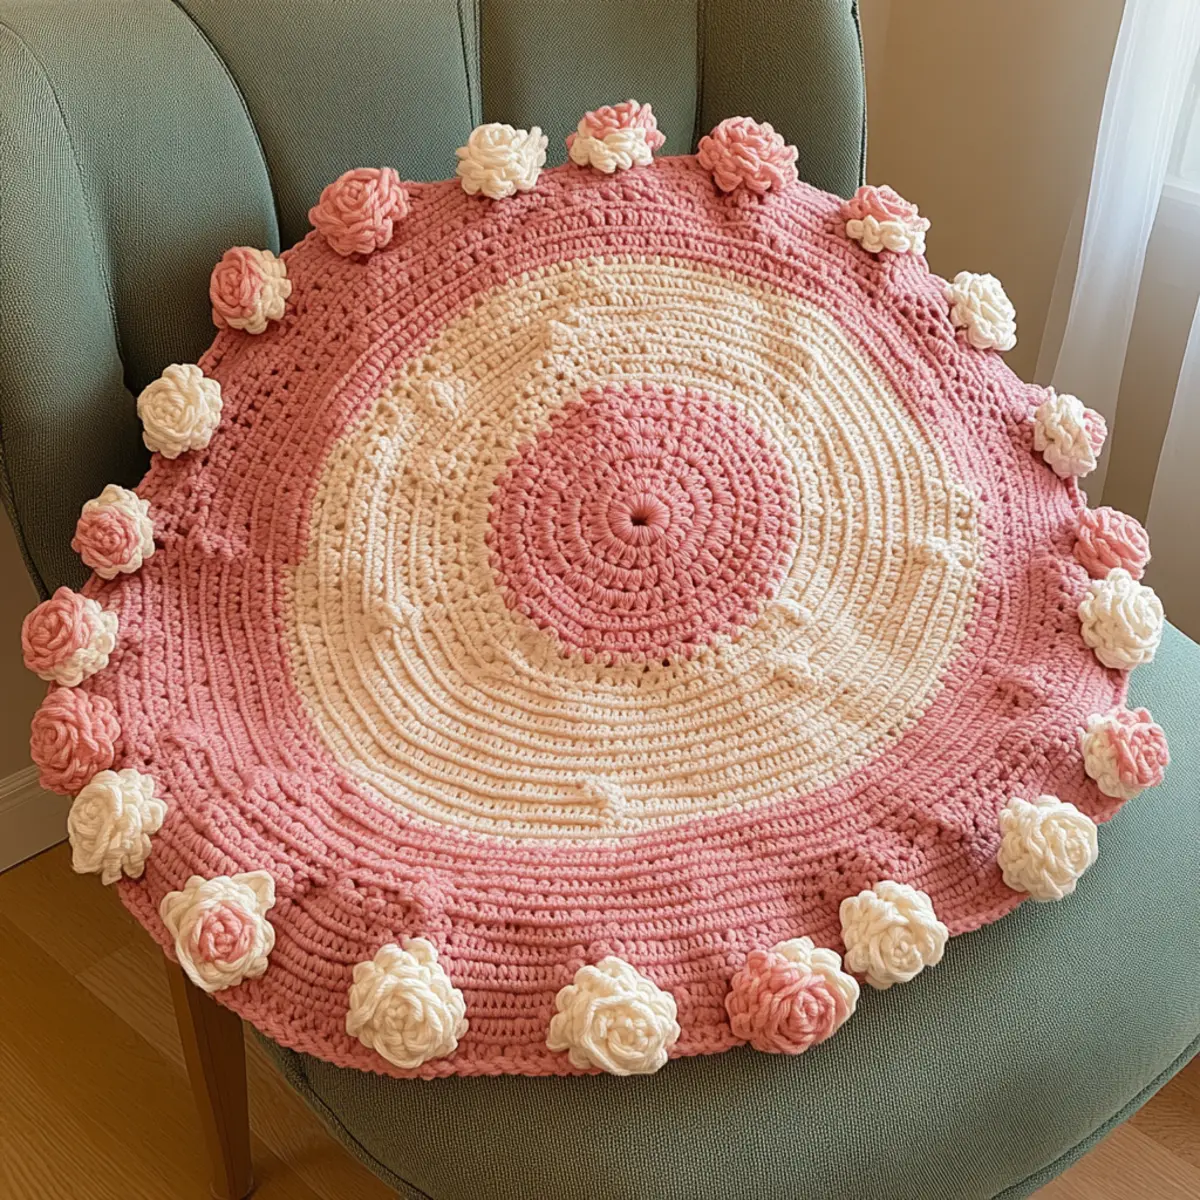
Crochet Flower Blanket Materials & Tools
Yarn
Medium-weight yarn – Approximately 800 to 1000 yards needed for the crochet flower blanket; soft acrylic works wonderfully for a cozy finish.
Yarn in various colors – Mix and match vibrant hues for the floral accents; a varied palette adds visual interest.
Tools & Notions
5.0 mm Crochet Hook (H/8) – Recommended for achieving the ideal stitch density.
Stitch Marker – Keep track of your rounds easily for even tension while crocheting.
Yarn Needle – Essential for weaving in ends and finishing your project with care.
Scissors – Sharp scissors for snipping yarn when necessary during your crochet flower blanket making.
Why You’ll Love This Pattern
Crafting the Flower Bouquet Blanket not only enhances your crochet skills but also brings a joyous touch to your living space. Simplicity is at its core; even beginners will find joy in mastering basic stitches while creating something beautiful. Textural richness comes from the layered floral accents that pop against the soft backdrop, adding an artistic flair. Its stash-friendliness allows for versatile colorplay, making every blanket uniquely yours. You’ll appreciate the time-saving aspect; this project is quick to finish, perfect for last-minute gifts or cozy nights in. Explore more ideas for crochet projects by checking out our guide on creative stash usage or our tips for enhancing texture in crochet. You’ll fall in love with how this cozy blanket can become a centerpiece in any room, all while developing your style and technique.
Gauge & Sizing Notes: Crochet Flower Blanket
Checking your tension is crucial for the crochet flower blanket to ensure that your design remains consistent and beautiful. A standard gauge for this project is 4×4 inches (10×10 cm) and should yield around 12 dc in 6 rows to achieve the correct drape and texture. If the swatch doesn’t match, adjust your hook size; a larger hook decreases tension while a smaller hook increases it. If you desire to resize, add or subtract stitches in multiples of 12 at the start of your magic ring. This flexibility makes the crochet flower blanket perfect for crafters aiming for personalization. Each adjustment gives you the power to customize your blanket, ensuring it fits the specific needs or whims of your space. Remember, consistent tension throughout the entire project will make your finished flower blanket a stunning focal point in any room.
Step-by-Step Pattern for Crochet Flower Blanket
Row 1: Create the Magic Ring
Start by forming a magic ring, a foundational technique allowing you to crochet in the round seamlessly. This base will be the heart of your crochet flower blanket. Ensure your yarn is comfortably tensioned, and pull the tail of the yarn to secure the ring at the end of this row. (1 ring made)
Row 2: Establish the Base
Ch 3 (counts as 1st dc), then work 11 dc into the magic ring to form a circle. This will create a total of 12 dc stitches. Make sure to keep your tension even to ensure a consistent round shape for your crochet flower blanket. (12 dc)
Row 3: Increase for Wider Shape
Next, begin increasing your stitches by working 2 dc into each of the 12 stitches from the previous row. This will help widen your flower blanket’s base, providing ample area for flower motifs later on. Remember to mark your rounds! (24 dc)
Row 4: Build Layering
Ch 3, then dc in the same stitch. Work 1 dc in next stitch, then 2 dc in the following stitch all around. This step introduces texture to your crochet flower blanket and enhances its visual interest. Stay consistent with your stitch count! (36 dc)
Row 5: Continue Expanding
Ch 3, and in the 1st stitch make 2 dc. Follow with 1 dc in the next 2 stitches, then 2 dc in the next stitch. This facilitates continuing your blanket’s smooth and round shape while gradually showcasing your crafting skills. (48 dc)
Row 6: Forming Texture
Repeat Row 5 but expand your pattern to 1 dc in the next 3 stitches, then 2 dc in the next stitch. This gradual progression enables a wider radius for your crochet flower blanket, ideal for comfort. (60 dc)
Row 7: Adding Half Double Crochets
Ch 2 (counts as 1 hdc), then work hdc in each stitch around. Incorporating hdc will start adding a delightful texture, which complements both functionality and aesthetics in your crochet flower blanket project. (60 hdc)
Row 8: Transition to Flowers
Switch up your pattern! Start with ch 4, then skip the next 2 stitches to sl st into the 3rd stitch to create a basic petal. Repeat to create a consistent pattern of flower petals around the outer edge of your work. This will prepare your border for embellishments. (Formed 12 petals)
Row 9: Create Flower Petals
Now for each sl st petal, cluster 5 dc together, then finish with a sl st to the base of the next petal. This layer of solid flowers not only enhances the beauty of your crochet flower blanket but provides a lush dimension as well. (12 petals formed)
Row 10: Add Leaves to Flowers
For each petal, join yarn in the base and ch 10, then sl st in 3rd ch from hook, hdc in the next 2 chs, then join with sl st back to the petal. This infuses your crochet flower blanket with vibrant natural elements. Repeat for all flowers. (12 leaves created)
Row 11: Finishing Touches
Work your way around the entire border with a final row of sc, ensuring you secure each flower and leaf to the crochet flower blanket. This will complete the texture and enhance the overall look of your creation. (Around 90 sc total)
Row 12: Weaving in Ends
Finally, weave in all loose ends with a yarn needle, ensuring that every tail is tucked away cleanly. This step contributes to the polished finish of your crochet flower blanket, making it look professionally crafted. Enjoy your finished work and consider exploring new colors for unique updates!
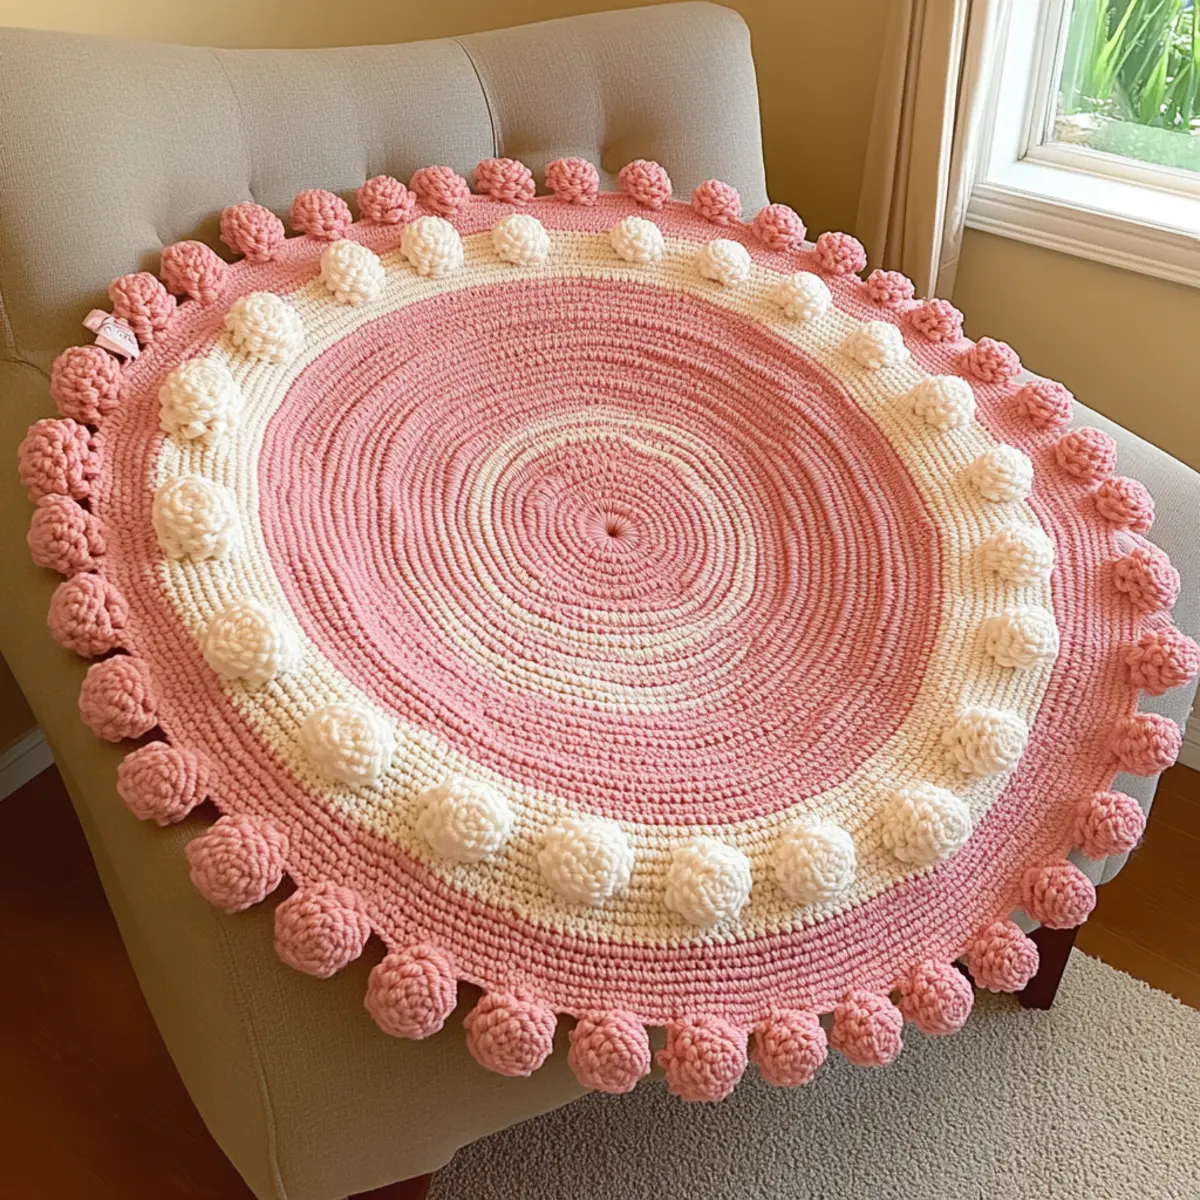
How to Wash and Care for Your Crochet Flower Blanket
Machine Washing: Use a gentle cycle with cold water and mild detergent to maintain colors and fibers in your crochet flower blanket. Avoid harsh agitation.
Hand Washing: For a more delicate approach, hand wash in lukewarm water; gently swish and rinse, preserving the blanket’s integrity and shape.
Drying: Lay your crochet flower blanket flat to dry on a clean surface to keep its shape and prevent stretching. Avoid using a dryer.
Blocking: Consider blocking your finished blanket by dampening it and pinning it to maintain shape and increase stitch definition. This step enhances the overall look of your crochet flower blanket.
Crochet Flower Blanket Variations
Feel free to make this project uniquely yours by customizing yarn types, colors, and techniques!
-
Color Choice: Experiment with vibrant or pastel shades to create visually appealing floral motifs. Whether you choose lively colors or soft hues, each combination provides a different feel.
-
Yarn Weight: Opt for a heavier yarn like bulky (weight 5) for a thicker and warmer blanket, perfect for those chilly evenings. This adds cozy sophistication that transforms any living space.
-
Petal Styles: Try different flower petals—daisies or tulips—using versatile stitches to give a personal touch. Modify the existing structure with new motifs for a breathtaking twist.
-
Size Modifications: Increase the diameter by adding more rounds; this makes it suitable for larger spaces or as a bedspread to brighten bedrooms. More diameter equals more flowers—bringing beauty to any room.
-
Textural Elements: Incorporate stitches like bobbles or clusters within the petals for added depth and texture. This invites the eye to engage with the detailed work you’ve put into your crochet flower blanket.
-
Embellishments: Add personal embroidery of names or even a date to celebrate a special occasion. This not only enhances the blanket but also makes a beautiful heirloom piece. Create with love and a sense of legacy.
-
Flower Borders: Consider using different borders like scallops or picots to enhance the blanket’s edges. These minor decisions help personalize your project and enhance its overall appearance.
-
Layered Textures: Utilize a mix of yarn types—like cotton with acrylic—to achieve different textures. This adds dimension while maintaining cozy functionality. By choreographing your selections, you ensure a beautiful visual experience.
Tips for the Best Crochet Flower Blanket
Stay Focused: Keep an eye on your stitch count throughout the project to prevent losing track, especially in intricate patterns.
Use Markers: Utilize stitch markers to clearly define your rounds, preventing dropped stitches that can compromise your crochet flower blanket.
Check Tension: Frequently assess tension; uneven tightness can lead to a distorted shape. Consistency is key to avoid curl or asymmetry.
Twisted Chains: Begin with a loose foundation chain and ensure it’s not twisted. This can affect the overall appearance and flexibility of your crochet flower blanket.
Practice Patience: Crafting intricate flower motifs may take time. Embrace the process and enjoy creating textures that add depth to your blanket.
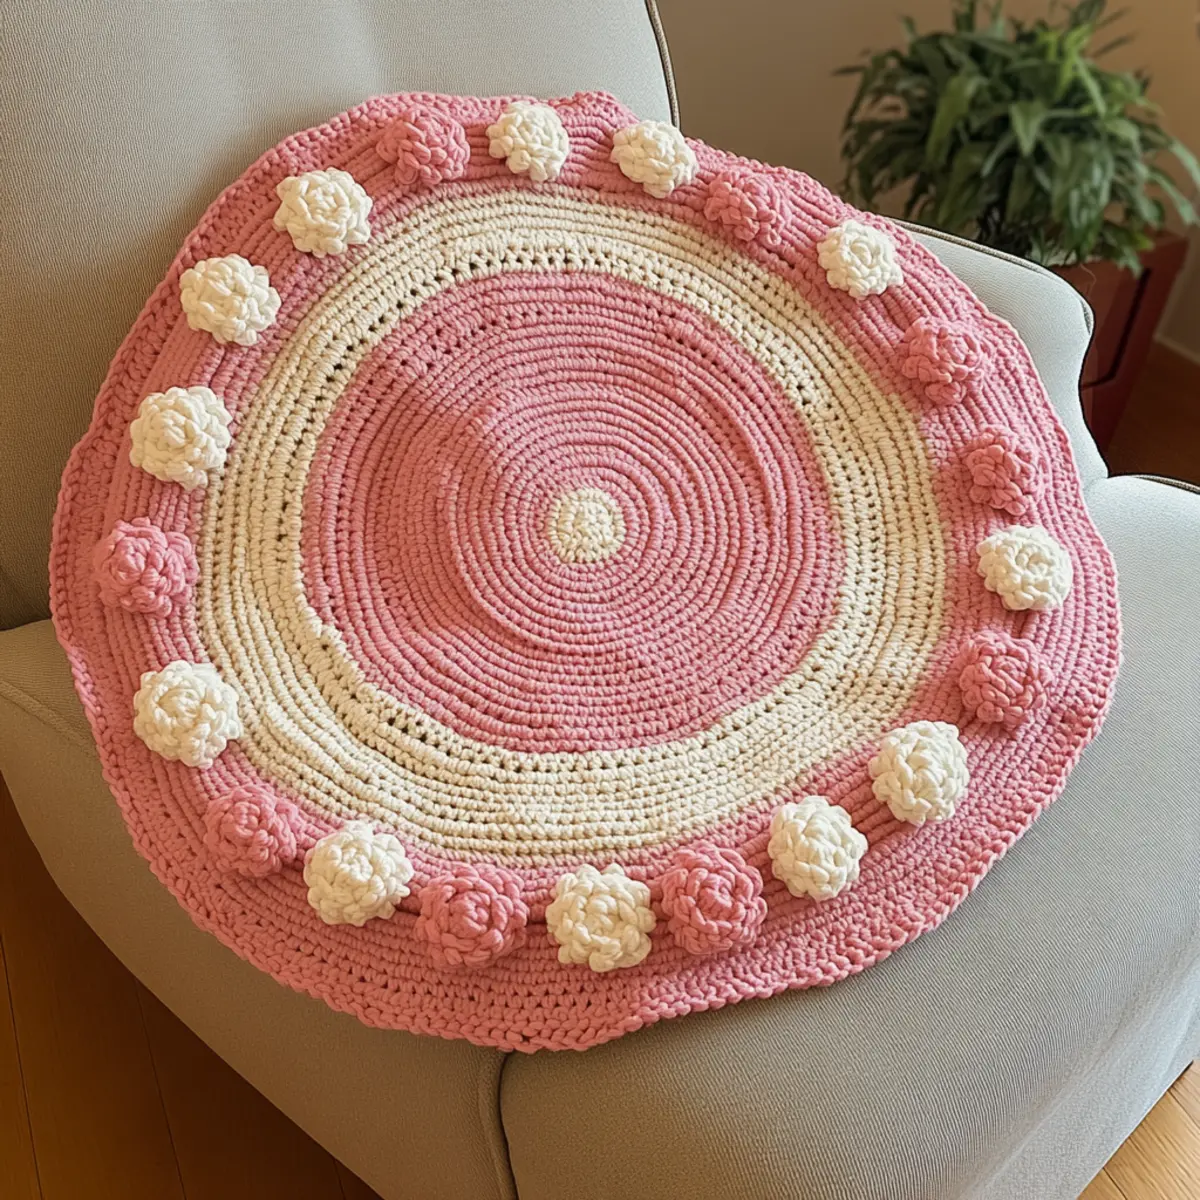
Crochet Flower Blanket FAQs
Can I substitute yarn for this project?
Absolutely! If you wish to use a different yarn, just ensure it’s a medium-weight option that maintains the drape and texture of the crochet flower blanket.
How do I adjust the size of the blanket?
To resize, simply add or subtract in multiples of 12 at the start of your magic ring. This flexibility allows customization to your desired dimensions.
What can I do about curling edges?
Curling edges can be resolved by ensuring consistent tension throughout your stitches. Blocking the finished blanket often helps flatten and define edges better.
What hook size should I use?
A 5.0 mm crochet hook (H/8) is recommended for the best results. However, if your tension is too tight or loose, feel free to adjust the hook size accordingly.
How do I fix dropped stitches?
Don’t panic! Simply find where the stitch dropped and pull the working yarn back to that point. Reinsert your hook into the stitch and crochet back up to the main piece.
Can I add my personal touch to the blanket?
Definitely! Feel free to mix colors, incorporate different flower types, or even add embroidery to showcase your style. Personalization enhances the character of your crochet flower blanket.
Leave a Reply