
There’s something uniquely heartwarming about crafting an adorable amigurumi that feels as cozy as a hug on a chilly day. My latest creation, the Crochet Penguin Pattern, is a joyful blend of charm and whimsy, perfect for adding a splash of fun to your home or gifting to a loved one. This delightful Snowball Penguin is not only a quick project that allows for personal color choices but also a sturdy companion for both children and adults alike. Made primarily with soft worsted weight yarn, this penguin plush is designed for intermediate crocheters, inviting you into a world of playful possibilities. Whether you want to showcase your creativity with a mix of gentle pastels or classic winter hues, this pattern is just the ticket to spark your crochet passion. Are you ready to dive into the fun of bringing this cheerful little fella to life?
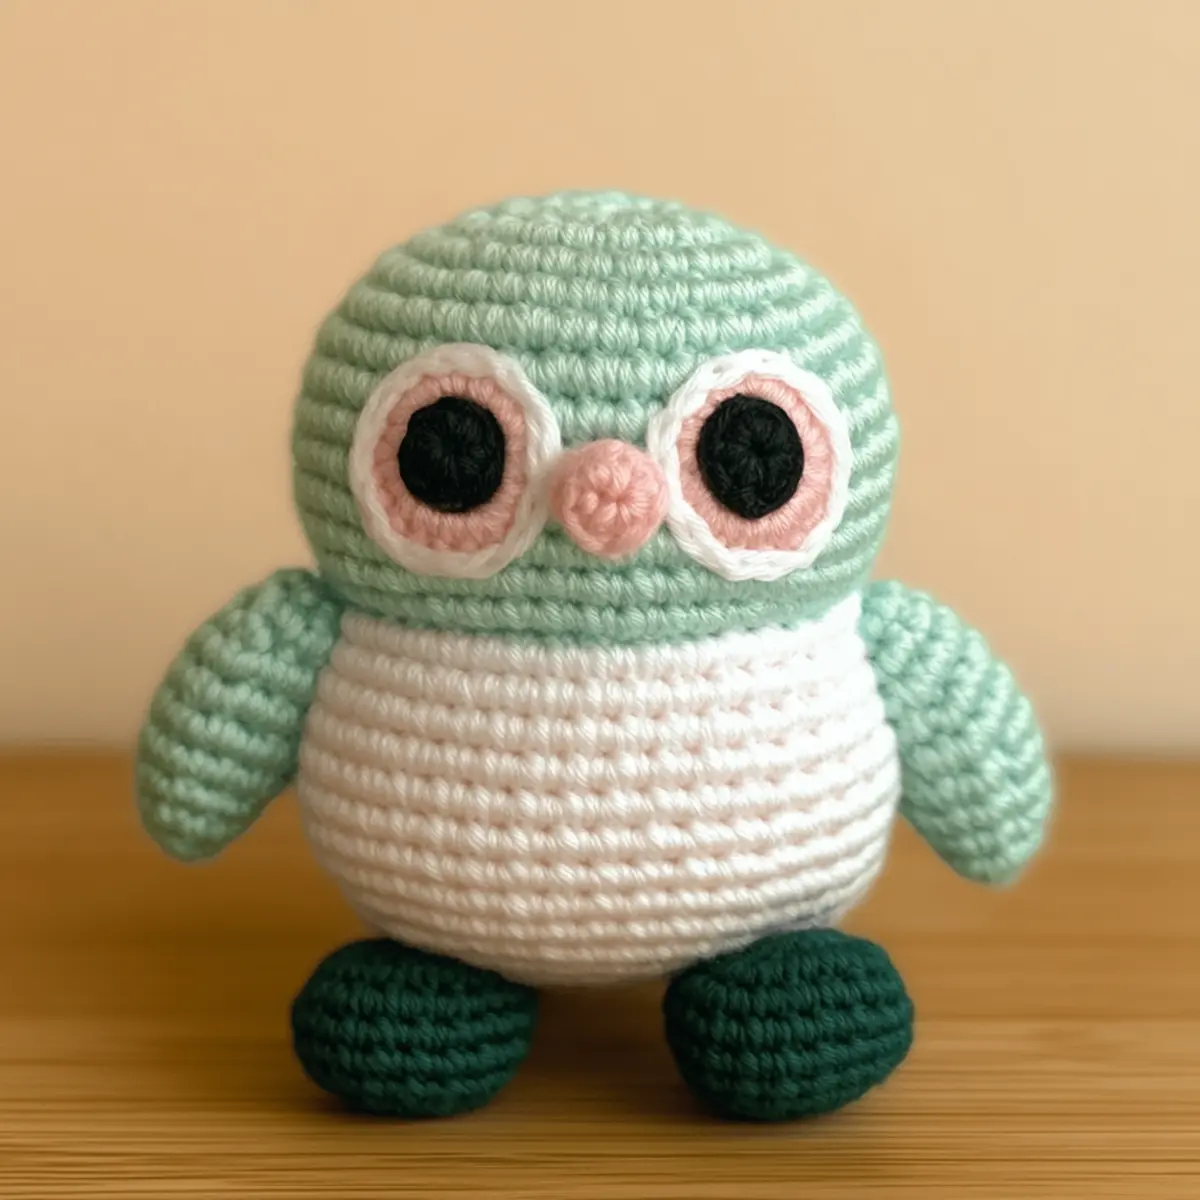
Crochet Penguin Pattern Materials & Tools
Get ready to bring your cozy crochet penguin to life with these essential materials!
Yarn
• Worsted Weight Yarn – Approximately 100-150 yards total: white for the body, mint green for wings and feet, pink for belly and cheeks.
Tools & Notions
• 3.5mm (US E) Hook – Perfect size for creating a plush yet sturdy texture.
• Safety Eyes (6mm) – Ensure a whimsical look for your penguin’s cheerful face.
• Tapestry Needle – Ideal for sewing pieces together and weaving in ends.
• Stitch Markers – Helpful for tracking rounds and maintaining even stitching.
With these materials ready, you’ll be all set to embark on your adorable crochet penguin adventure!
Why Is This Penguin So Special?
Crafting Joy: This crochet penguin pattern is not only a project but a heartwarming experience, perfect for brightening up any space.
Quick Assembly: Enjoy the quick assembly process, making it ideal for last-minute gifts or cozy decor.
Soft Textures: The worsted weight yarn ensures a soft feel, perfect for cuddling, while also providing durability.
Creative Colors: With the potential to mix and match colors, you can personalize each penguin to your liking!
Whimsical Design: Its playful style adds a cheerful vibe, whether on a shelf or in a playroom. Make sure to check out other cute projects like the Crochet Baby Whale or the adorable Crochet Monkey Pattern for more fun crochet ideas!
Gauge & Sizing Notes
Don’t skip the gauge swatch! Ensuring you have the correct tension is crucial for your crochet penguin pattern, as it directly affects the final size and appearance of your sweet Snowball Penguin. Aim for a gauge of 4×4 inches (10×10 cm) to equal 14 double crochets by 8 rows. If you find your penguin is turning out larger or smaller than intended, you can easily adjust the size; for a wider body, increase your starting chain in multiples of 4, and for a taller penguin, you can add additional rows. If your swatch is too small, simply go up a hook size to achieve a snugger fit with the worsted weight yarn. Happy crocheting!
Step‑by‑Step Pattern for Cozy Snowball Penguin
Row 1: Start the Head
Begin by creating a magic ring. Work 6 sc into the ring, pulling the yarn tail to close the ring tightly. This forms the base of the penguin’s head. As you crochet, your work should start to cup slightly, creating a rounded shape. (6 sts)
Row 2: Increase for Roundness
In the next round, crochet 2 sc in each stitch around to increase the size of the head. This will help achieve the desired plumpness for your penguin. Count your stitches carefully—your round should now have a total of 12 sts. (12 sts)
Row 3: Continue Increasing
For this round, work 1 sc in the first stitch, 2 sc in the next and repeat around. This method will maintain the round shape while gradually expanding the head. Your work should be visibly getting larger, showcasing a smooth, bulging silhouette. (18 sts)
Row 4: Add More Roundness
Continue to increase by working 1 sc in the first 2 stitches, 2 sc in the next for this round. This progression keeps the head shaping nicely while you add to the overall size. At the end of this round, you should have 24 sts. (24 sts)
Row 5: Transition to Body
Now start the body by working 1 sc in each stitch around without any increases. This allows you to create a gentle transition from the head to the body of the penguin. The head should feel quite full, with 24 even stitches. (24 sts)
Row 6: Begin Body Color
Change to white yarn for the body and continue working in sc around. Your work should begin to lengthen as you move downwards. This transition helps define the penguin’s charming form. Maintain this yarn until you have completed an additional 12 stitches, totaling 24 sts. (24 sts)
Row 7: Create the Belly
Switch to pink yarn for the belly. Work 1 sc in each stitch around. This adds a delightful splash of color to the cozy snowball penguin. Your round should remain at 24 sts, visualizing the cute shape of the belly as it forms among the white. (24 sts)
Row 8: Finalizing the Body Shape
Continue with your pink yarn, working in sc for 6 rounds (not increasing or decreasing), allowing the body to take its full shape. As you crochet, the body should grow softly. At the end of these rounds, the snowball penguin will take form at approximately 4 inches in height.
Row 9: Crocheting the Feet
To create the feet, start with mint green yarn. Make a magic ring and work 4 sc into the ring. This small round will create a sturdy base for your penguin’s feet and should measure about 1 inch in diameter once complete. (4 sts)
Row 10: Shape the Feet
In the next round, work 2 sc in each stitch around. The feet should begin to look more robust and solid, ready for your cozy snowball penguin to stand proudly. At the end of this round, you’ll total 8 sts. (8 sts)
Row 11: Final Foot Rounds
For this round, work 1 sc in the first stitch, 2 sc in the next and repeat around. This increases the size of each foot slightly while keeping the rounded look. You should see the feet starting to take shape as solid, cute appendages. (12 sts)
Step 12: Make the Wings
Next, using mint green yarn, create the wings. Start with a chain of 10 and sc in the second chain from the hook. Continue with 8 more sc (in total 9 sts), then chain 1 and turn to work back. You should now see the wing form with a smooth, tapered shape. (9 sts)
Step 13: Finishing the Wings
For the next row, only work 1 sc in the top two stitches (decreasing slightly). This creates a perfect finish for the edge. Repeat this until the wing exhibits a lovely shape, totaling about 6 sts by the end.
Step 14: Assembly of Penguin Parts
Stuff the head, feet, and wings lightly with filling. Attach safety eyes to the head before stitching on the beak and cheeks in pink yarn. Using a tapestry needle, sew the wings and feet onto the body securely using sl st technique to keep everything in its cozy place, giving the whole penguin a smile!
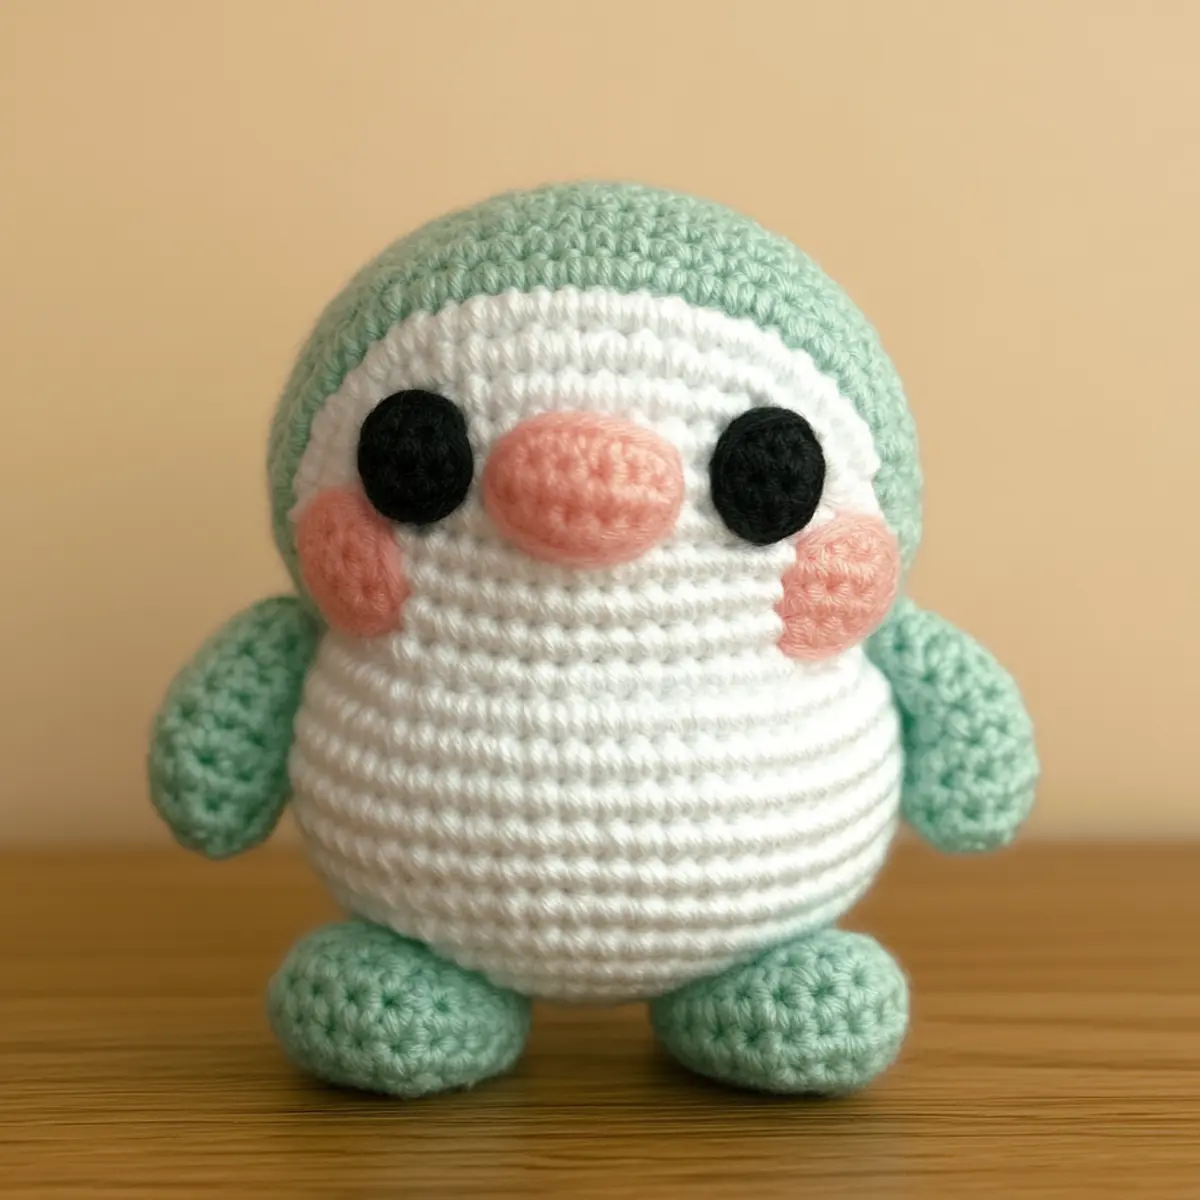
Crochet Penguin Pattern Variations
Feel free to let your creativity run wild as you personalize your crochet penguin!
-
Yarn Alternatives: Swap worsted weight for a softer, plush yarn like velvet or chenille for snuggly textures. You’ll love how these tend to give your penguin a whole new huggable quality.
-
Color Combinations: Experiment with vibrant shades for the belly and accents! Consider a rainbow palette or a winter wonderland theme, creating a truly unique plush companion.
-
Size Modifications: For a bigger penguin, use a larger crochet hook and thicker yarn. Conversely, switching to a smaller hook can lead to adorable mini versions that are perfect for keychain charms.
-
Accessory Enhancements: Add a tiny scarf or a festive hat to your penguin to give it a customized look. A little extra flair can turn an ordinary toy into a delightful gift!
-
Texture Twists: Consider including fun fringe or pom-poms on the hat or scarf for added texture. Textured details bring out the joyfulness in your crochet creations!
-
Diverse Body Shapes: Try creating a more rounded or elongated body by adjusting your increases and decreases. This can help you craft penguins with unique personalities!
-
Mix Fiber Types: Blend different fibers like cotton and acrylic to achieve a nice balance between structure and softness. Experimenting with yarn types can lead to beautiful new looks.
-
Personalization Ideas: Use embroidery or fabric paint to add custom designs or names on your penguin. Personal touches make every toy more special and memorable.
With these variations, your penguin may quickly become a collection of whimsical companions! Don’t forget to check out more patterns like the charming Crochet Squirrel Charming or the lovely Magnolia Crochet Pattern for even more creative opportunities.
How to Wash and Care for Your Crochet Penguin
- Hand Washing: Gently wash your crochet penguin pattern in cold water with mild detergent. Avoid agitation to prevent felting and pilling, ensuring your plush remains soft and cuddly.
- Drying: Lay your finished penguin flat on a clean towel to air dry. Avoid hanging, as this can distort its shape; just let it bask in the fresh air.
- Storage: When storing your crochet toy, keep it in a cool, dry place away from direct sunlight to maintain its vibrant colors and plush texture.
- Blocking: Consider blocking your penguin after washing to achieve a neat shape. Pinning the wings and head can help them retain that adorable, rounded form!
Helpful Tricks for Crochet Penguin Pattern
- Count Carefully: Always keep track of your stitch count; using a stitch marker can help prevent confusion and ensure even rows.
- Tension Matters: Maintain consistent tension throughout your work. Avoid pulling too tightly or leaving stitches loose for a uniform finish.
- Secure Safety Eyes: Before securing safety eyes, double-check their placement. This avoids the hassle of repositioning and keeps your penguin looking its best.
- Blocking Benefits: Don’t skip blocking! It enhances the shape of your finished pieces, especially the rounded head and wings, giving them a polished look.
- Assemble with Care: When joining pieces, take your time with slip stitches to ensure everything is aligned perfectly, creating a cute, cohesive penguin plush.
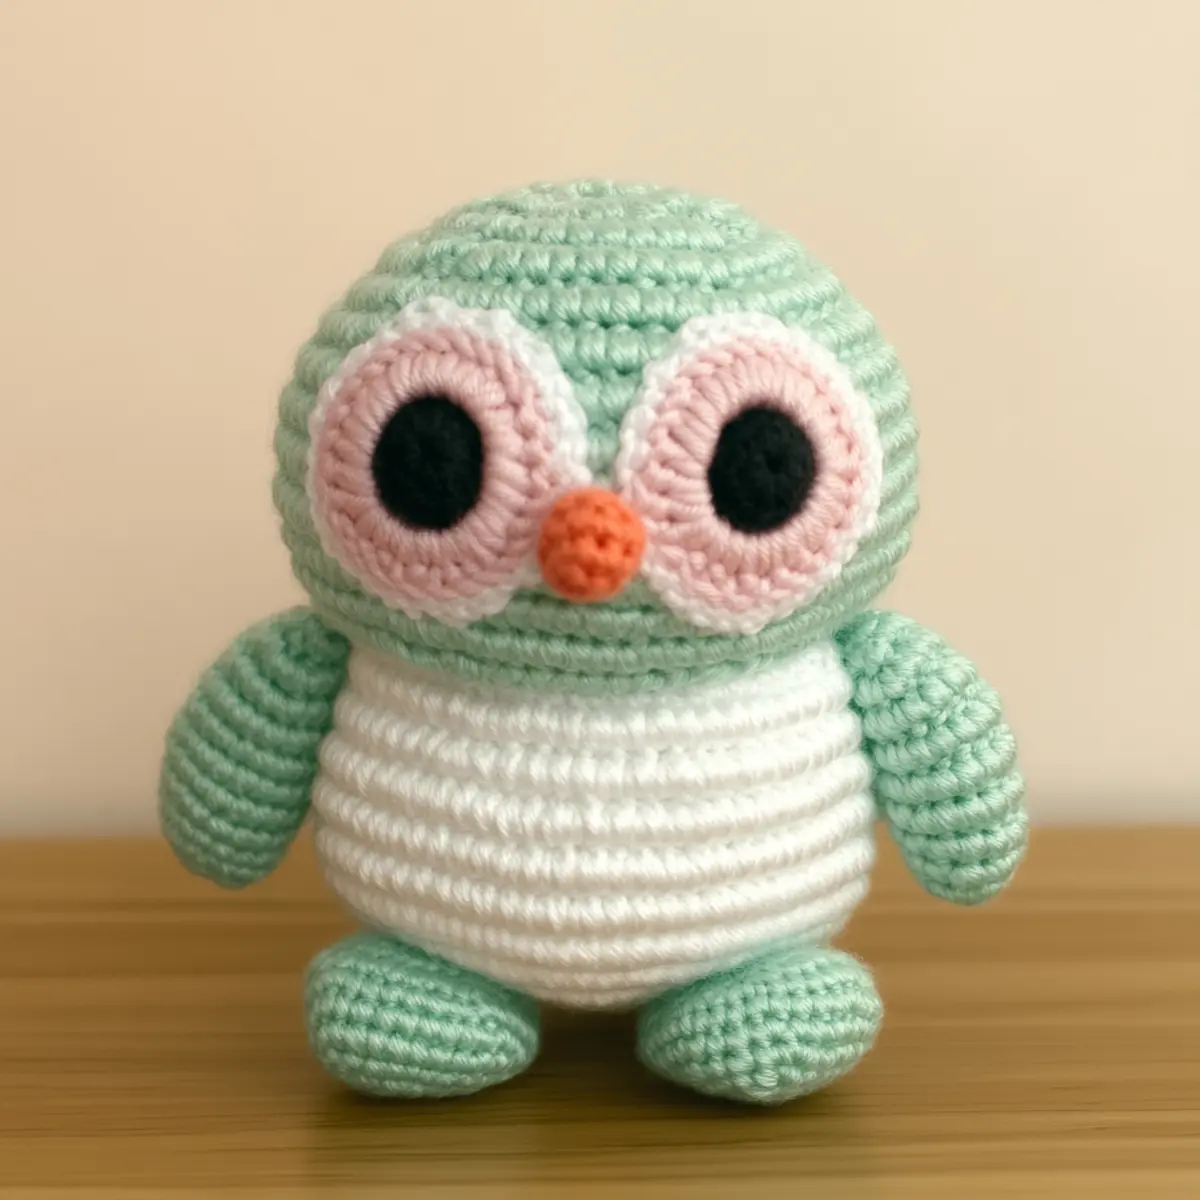
Cozy Snowball Penguin Crochet Pattern FAQs
Can I substitute yarns for the crochet penguin pattern?
Absolutely! While this pattern is designed for worsted weight yarn, you can experiment with alternatives like plush yarns such as velvet or chenille for a fluffier texture. Just keep in mind that yarn thickness may affect the finished size and shape of your penguin!
How can I adjust the size of my penguin?
It’s an easy fix! To make your penguin larger, use a thicker yarn and a correspondingly larger hook. Alternatively, you can go smaller by using a finer yarn and a smaller hook. Remember to adjust your stitch count accordingly for each section, ensuring the proportions remain balanced!
Why is my penguin’s head curling?
Don’t panic! If your work is curling up like a bowl, it usually means you’re pulling your stitches too tightly. Make sure to maintain a relaxed tension throughout. Blocking the finished pieces can also help flatten out any curling, particularly around the head and wings.
What hook size should I use for this pattern?
I recommend using a 3.5mm (US E) hook, which is perfect for worsted weight yarn. However, if you decide to switch your yarn for a different texture or thickness, be sure to adjust the hook size accordingly to achieve the right gauge!
How do I fix dropped stitches?
If you find a dropped stitch, don’t worry, it’s part of the crafting process! Simply use your tapestry needle to pull the yarn back through the dropped stitch and secure it. You can also use a crochet hook to gently loop the yarn through, bringing it back up to the current row.
What should I do if my safety eyes are misaligned?
It can be tricky once they’re on! Always double-check the placement of your safety eyes before securing them. If they’re already placed and you need to make an adjustment, carefully pull them out and be gentle with the yarn. It’s best to move them before the tension is too tight!
Leave a Reply