
As I sat cozy on my couch, yarn strewn about and a warm cup of tea in hand, the idea of a whimsical crochet turtle took shape. I’m thrilled to share this unique crochet turtle pattern featuring our delightful Honey Hive Turtle! This charming amigurumi isn’t just a cute addition to your collection; it combines a playful honey hive theme with intricate details that are sure to spark your creativity. Not only is this project a fantastic opportunity to hone your skills as an intermediate crocheter, but it’s also a wonderful way to create a thoughtful gift or home decor that radiates charm and whimsy. Whether you’re using lush plush yarn for that cuddly texture or bright colors to catch the eye, crafting this adorable turtle is bound to be a delight. Ready to dive in and bring your own Honey Hive Turtle to life? Let’s get crafting together!
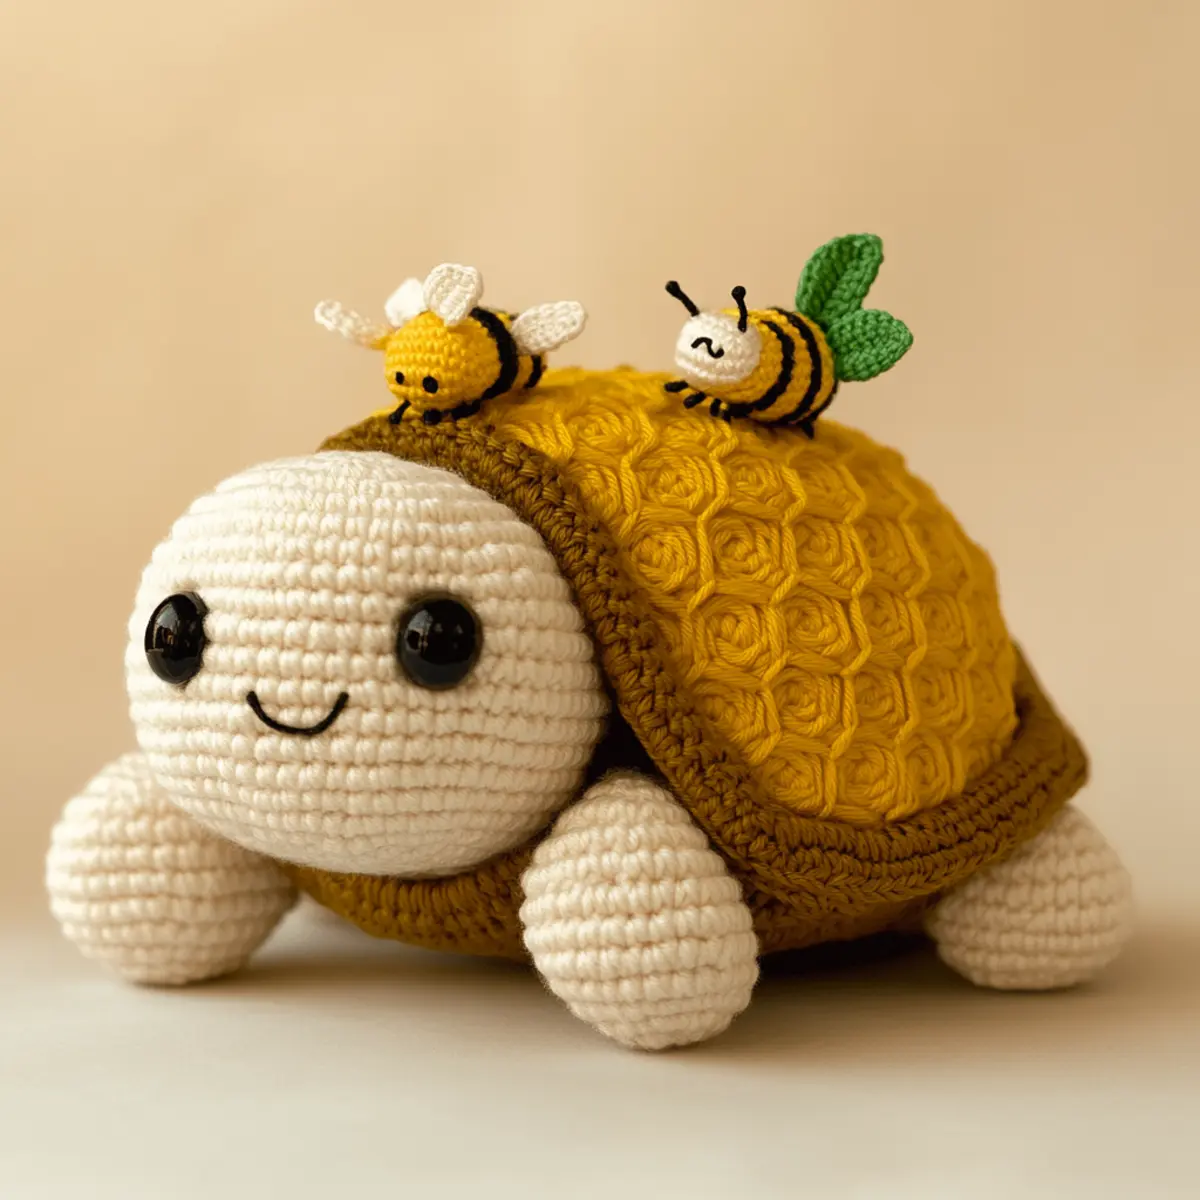
Crochet Turtle Pattern Materials & Tools
Dive into crafting your very own Honey Hive Turtle with these essential materials!
Yarn
- Worsted Weight Yarn – Aim for a medium 4 yarn, using plush or chenille for softness.
- Approx. 200-300 Yards – Total yardage for the body, shell, and adorable details.
Tools & Notions
- 3.5mm to 4.0mm (E to G) Hook – Ideal hook size to achieve the perfect tension and stitch definition.
- Safety Eyes – Perfect for giving your turtle a charming face.
- Stuffing – Use fiberfill to give your turtle that lovable, cuddly shape.
- Stitch Markers – Handy for keeping track of rounds and assembly points.
Feel free to get creative and personalize your crochet turtle pattern by mixing and matching colors for a unique twist!
Why Choose the Crochet Turtle Pattern?
Uniqueness: The Honey Hive Turtle pattern features a whimsical honey hive theme, setting it apart from ordinary turtle designs and adding a seasonal touch.
Skill-Building: This intermediate project will enhance your crocheting abilities, as it incorporates various stitch techniques like increases and front-post stitches.
Colorful & Fun: With a vibrant palette and adorable features, this amigurumi is perfect for brightening up your home décor or making heartfelt gifts.
Squishy Texture: Utilizing plush yarn not only gives your turtle a cuddly feel but also ensures a delightful appearance, perfect for snuggling.
Customizable: Play around with colors or sizes, transforming your turtle into a unique creation that showcases your personality! For extra tips on crafting vibrant designs, explore more information on amigurumi techniques.
Gauge & Sizing Notes
Don’t skip the gauge swatch! For the crochet turtle pattern, checking your tension is vital to ensure your Honey Hive Turtle turns out the perfect size and shape. Aim for a standard gauge of 4×4 inches (10×10 cm) square, which should be approximately 14 single crochets by 16 rows. If you find your swatch larger, consider going down a hook size, and if it’s smaller, try increasing your hook size. To adjust the final size of your turtle, simply increase your starting chain in multiples of 6 + 2. This way, you can create a whimsical turtle that fits your unique vision while maintaining that charming honey hive aesthetic!
Step‑by‑Step Pattern for Honey Hive Turtle
Row 1: Create the Head
Start with a magic circle and work 6 sc into the loop (6 sts). Pull the loop tight to close, then continue by working 2 sc in each stitch around to increase (12 sts). Your work should begin to round out.
Row 2: Shape the Head
In this row, work 1 sc, inc in each stitch around (18 sts) to create the rounded shape of the turtle’s head. Keep your tension even as the head takes form, allowing for a smooth finish.
Row 3: Add Details to the Head
Now, work 2 sc, inc around (24 sts) while maintaining the roundness. This increase gives your turtle head a plump, cute appearance. After this round, you’ll notice a significant puffiness in the shape.
Row 4: Begin the Body
Transition to the body by working in the next round without any increases: sc in each stitch around (24 sts). Your piece should start to feel more cylindrical as you form the turtle’s body.
Row 5: Expand the Body
Here, work 3 sc, inc around (30 sts). This round will give your turtle a broader base, adding to its adorable charm. Make sure to keep counting your stitches for an even shape.
Row 6: Continue Expanding
Work 4 sc, inc around (36 sts) to further widen the body. As you crochet this round, your work should keep growing rounder and more substantial, embodying the turtle’s delightful form.
Row 7: Create the Shell
To begin the shell, switch your yarn color and crochet 1 dc in each stitch around (36 sts). This crochet turtle pattern allows the shell to take shape with a bit of height. It should start to make a dome shape.
Row 8: Define the Shell’s Structure
In this row, crochet 1 dc in the first 5 sts, then inc in the next (repeat around), resulting in 43 sts. You’ll see the shell become more prominent and defined.
Row 9: Ending the Shell
Work even with 1 dc in each stitch around (43 sts) for two more rounds. Your work should now resemble a well-formed dome, maintaining its prominent, whimsical look.
Step 10: Assemble the Legs
For the legs, create 4 separate pieces by crocheting a chain of 5, then work 4 sc back in the chain (4 sts). Remember to leave enough yarn for sewing them onto the body later.
Step 11: Work the Arms
Repeat the same process for the arms but only work the chain to 4 and follow with 3 sc (3 sts). These should be slightly smaller than the legs, creating a cute proportion.
Step 12: Assemble
Sew the head onto the body with a slip stitch (sl st), followed by the legs, placed evenly at the bottom. Your Honey Hive Turtle is now taking shape, and it’s time for you to add those darling facial features!
Step 13: Final Touches
Embellish your turtle with adorable bees and flowers, securely attaching them with slip stitches. The final steps will help your crochet turtle pattern come to life, showcasing all your creative flair!
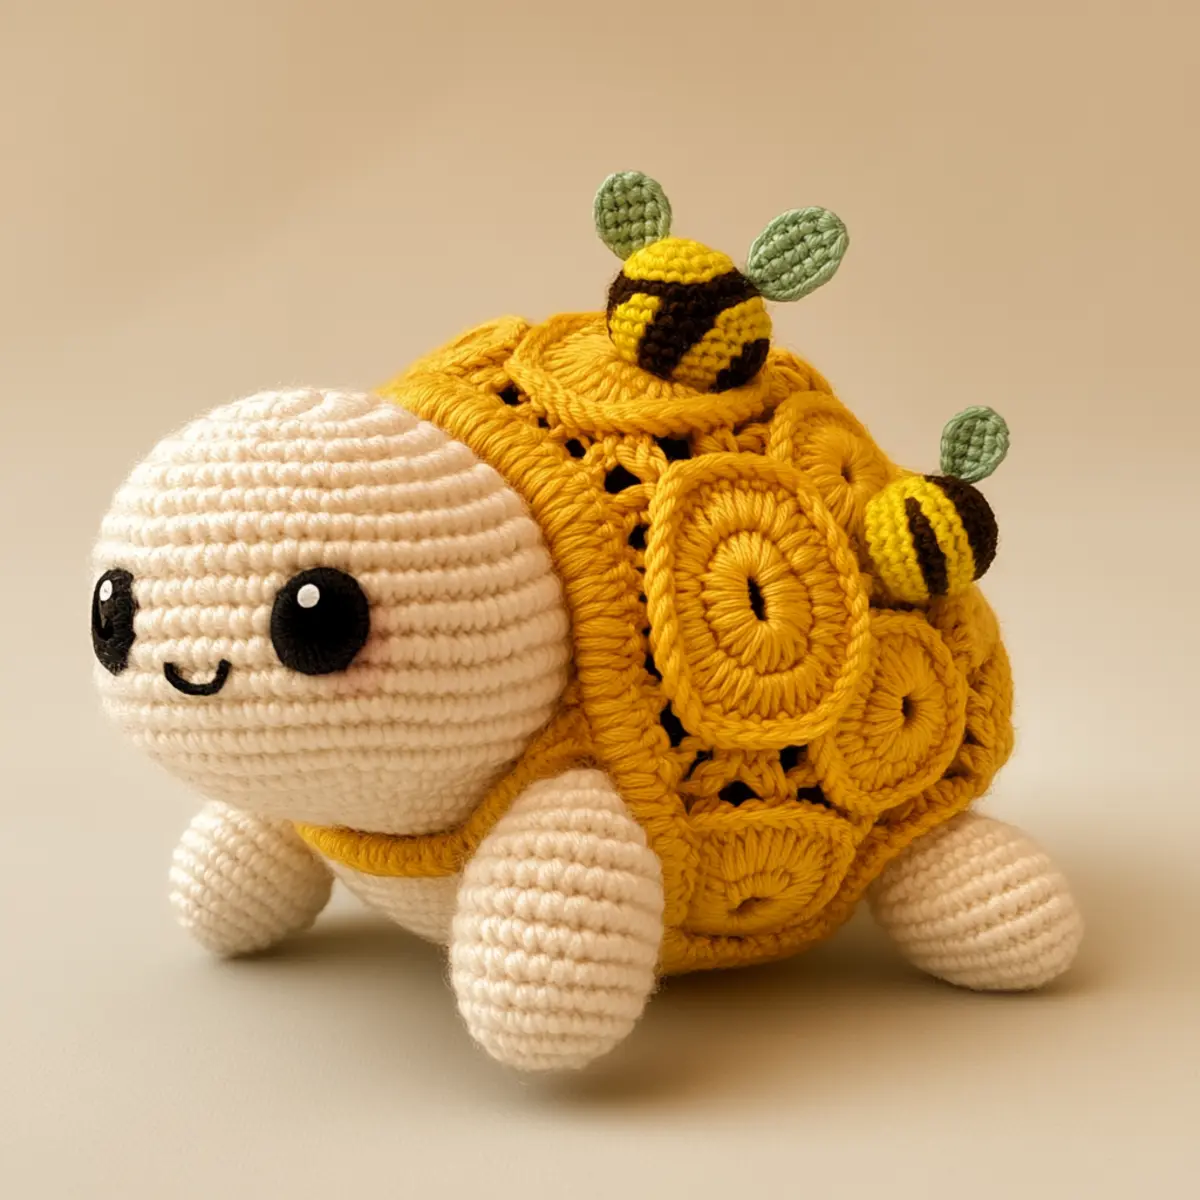
Crochet Turtle Pattern Variations
Embrace your creativity and personalize the crochet turtle pattern with these delightful twists!
- Yarn Swaps: Try cotton yarn for a lightweight, breathable design perfect for summer gifting.
- Bulky Yarn Upgrade: Use bulky yarn to create an oversized version—ideal for a cozy lap decoration or a playful children’s companion.
- Color-Blocking Fun: Experiment with color-blocking by creating a shell featuring multiple hues—let your imagination guide you!
- Fibers Contrast: Mix fiber types, like using wool for the turtle’s body and cotton for the shell, to introduce varied textures.
- Texture Twist: Add fluffy pom-poms to the turtle’s shell or legs for an extra layer of charm.
- Size Adjustments: Alter the number of stitches to create a mini version of your turtle, perfect for a keychain or party favors.
- Embellishment Ideas: Introduce fun elements like embroidered flowers or tiny bees, transforming your turtle into a vibrant garden dweller.
- Unique Tail: Craft a scaly tail using front-post stitches to add a whimsical touch—it’s sure to stand out!
Feel free to explore other exciting textures and techniques as you craft this one-of-a-kind piece! For further inspiration, consider checking out colorful yarn combinations or expanding your skills with advanced crochet techniques.
Expert Tips for the Crochet Turtle Pattern
Maintain Tension: Consistent tension is key to even stitches, especially in the rounded body, ensuring your crochet turtle looks polished.
Count Regularly: Avoid losing count during your project by checking your stitch numbers frequently. A simple stitch marker can help keep your place.
Secure Assembly: When attaching legs or embellishments, ensure they are stitched securely to prevent them from coming loose during play or display.
Block for Shape: After assembly, blocking will enhance the turtle’s shape and details, especially around the shell, preventing any curling or distortion.
Trim Neatly: Finish off with a slip stitch for a clean and polished look. This final touch can make all the difference in your finished crochet turtle pattern.
Experiment with Colors: Don’t hesitate to mix and match yarn colors! Customize your turtle with your favorite shades for a unique creation that truly reflects your style.
How to Wash and Care for Your Crochet Turtle
Machine Washing: Use a gentle cycle with cold water to clean your crochet turtle. Avoid agitation to prevent pilling or felting of the plush yarn.
Hand Washing: If you prefer a more delicate method, hand wash your turtle in lukewarm water using a mild detergent, then gently squeeze out excess water without wringing.
Drying/Blocking: Lay your crochet turtle flat on a clean towel to air dry. Avoid hanging, as this may distort its shape. Blocking after drying can help maintain the integrity of the honey hive details.
Storage: Keep your finished crochet turtle in a cool, dry place away from direct sunlight to preserve its vibrant colors and plush texture.
Honey Hive Turtle Amigurumi Pattern FAQs
Can I substitute yarn for the Honey Hive Turtle pattern?
Absolutely! This pattern works wonderfully with worsted weight (medium 4) yarn. You can use cotton for a more durable piece or go with an acrylic blend for a plush feel. Just remember, if you choose a different yarn weight, adjust your hook size accordingly!
How do I make the Honey Hive Turtle larger or smaller?
To increase or decrease the size of your turtle, consider changing your yarn weight. For a bigger turtle, use bulky yarn and a larger hook, like 5.0mm. For a smaller version, opt for sport weight yarn and a smaller hook. Additionally, you can adjust the stitch count on specific rows, ensuring you consistently increase or decrease based on your desired dimensions.
Why is my crochet turtle curling at the edges?
Don’t panic! Curling often happens when stitches are too tight or inconsistent. Make sure you’re maintaining even tension throughout your work. If your shell piece is curling like a bowl, blocking will help. After assembly, gently stretch and pin your turtle to the desired shape while it dries.
What hook size should I use for the Honey Hive Turtle?
I recommend using a 3.5mm to 4.0mm crochet hook (E to G in U.S. terms) to achieve the best results with worsted weight yarn. If you want a tighter stitch, you might try a smaller hook size, but remember that consistency is key!
How do I fix dropped stitches in my crochet work?
It’s an easy fix! If you notice a dropped stitch, use a crochet hook to pull it back up to the correct row. Gently tug on the working yarn to close up the gap. If you’ve accidentally lost it, you can always rework that section, ensuring your tension stays consistent.
Can I use this pattern for other themes or colors?
Absolutely! Feel free to swap yarn colors and experiment with themes. You could create a beachy vibe with blues, or even a vibrant gradient. Adding unique embellishments, like flowers or different bee designs, can transform the turtle into your own special creation!
Leave a Reply