
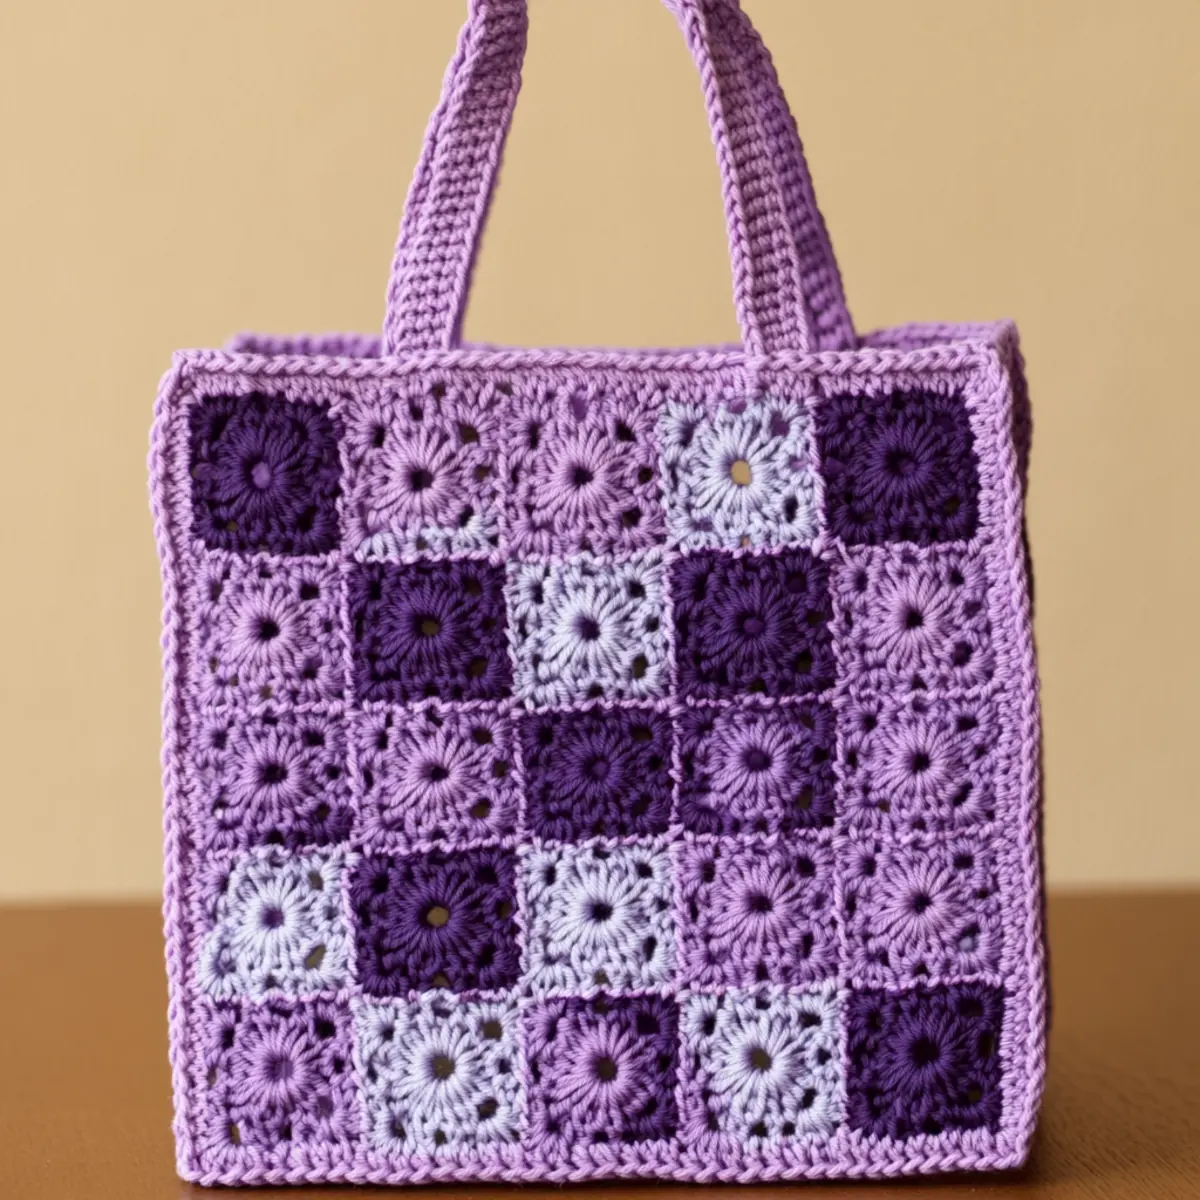
Creating the Cloud Granny Square Tote has been an exciting adventure in color and texture for me. As I sat down to design this chic granny square tote, I wanted to capture the timeless essence of granny squares while adding a modern flair. This lovely accessory not only serves as a fantastic stash-buster for those lingering yarn remnants, but it’s also a quick project that brings instant gratification. With beautiful shades of purple, the tote is perfect for running errands or hitting the beach, combining practicality with style. The process of crafting this tote is rewarding, especially as you see how each granny square connects, culminating in a stunning finish. I can’t help but wonder what colors and embellishments you might choose to make your version unique.
Granny Square Tote Materials & Tools
Yarn
- Worsted weight cotton yarn – Approximately 350-400 grams in various shades of purple will create a cozy but stylish look.
Tools & Notions
- Crochet hook (4-5 mm) – A size G/6 to H/8 hook is ideal for achieving good tension with the granny squares.
- Yarn needle – Essential for joining squares and weaving in ends effectively.
- Scissors – Necessary for cutting yarn after finishing off each square.
- Stitch markers – Helpful to keep track of rounds and maintain order during your crochet sessions.
Why You’ll Love This Pattern
Simplicity is at the heart of the Cloud Granny Square Tote. The straightforward assembly of granny squares means that even if you’re an intermediate crocheter, you’ll find this pattern enjoyable. Textured and visually appealing, the squares create a striking aesthetic that pairs beautifully with various outfits. It’s a great way to use up your yarn stash, making it a stash-friendly project. Plus, this tote is easily customizable: feel free to experiment with color combinations or even add charms for a unique touch! If you’re new to the art of square-making, the Crochet Square Pattern is the perfect resource to get you started. Each square brings forth a personal stamp, creating a bag as unique as its maker. And if you feel inspired, check out the delightful Magnolia Crochet Pattern for another project that plays with similar techniques.
Gauge & Sizing Notes for Granny Square Tote Checking your tension is vital in the creation of your granny square tote to ensure that all your squares are uniform. Aim for a 4×4 inch (10×10 cm) gauge swatch made up of 12 dc stitches and 7 rows to achieve a well-structured tote. If your swatch is significantly tighter or looser, adjust your hook size to modify your gauge accordingly. The finished tote dimensions should ideally measure about 13 inches by 13 inches. You can alter the number of squares or the starting chain for straps to customize the size; this versatility allows you to create a smaller clutch or a larger beach tote version. If your tension is off, make a new swatch and remember, consistent tension throughout the squares will help in achieving a neat and tidy join for your project. The granny square tote can be made unique by playing with colors and textures, providing a personalized touch only limited by your imagination.
Step-by-Step Pattern for Granny Square Tote
Row 1: Starting the First Square Start by making a magic ring and chaining 5. This will serve as your starting chain for the first granny square, creating the center ring where you will work your double crochet stitches (3 dc in ring).
Row 2: Building the First Round Continue with 2 dc in the ring, then ch 2, and repeat this pattern 2 more times for a total of 4 dc clusters, separated by chain spaces. Join your round with a sl st to the top of your starting chain (4 dc, 2 ch spaces).
Row 3: Expanding the Square In the next round, slip stitch into the first ch-2 space. Work 3 dc, ch 2, and 4 dc in the same space, repeating in each ch-2 space around. Finish the round by joining with a sl st (total of 4 corners with ch-2 spaces).
Row 4: Completing the Square Slip stitch into the first corner to start the next round. In each ch-2 space, work (3 dc, ch 2, 3 dc) to form the corners. Join to the first dc with a sl st. Repeat until the square reaches desired size (each side will have 3 dc).
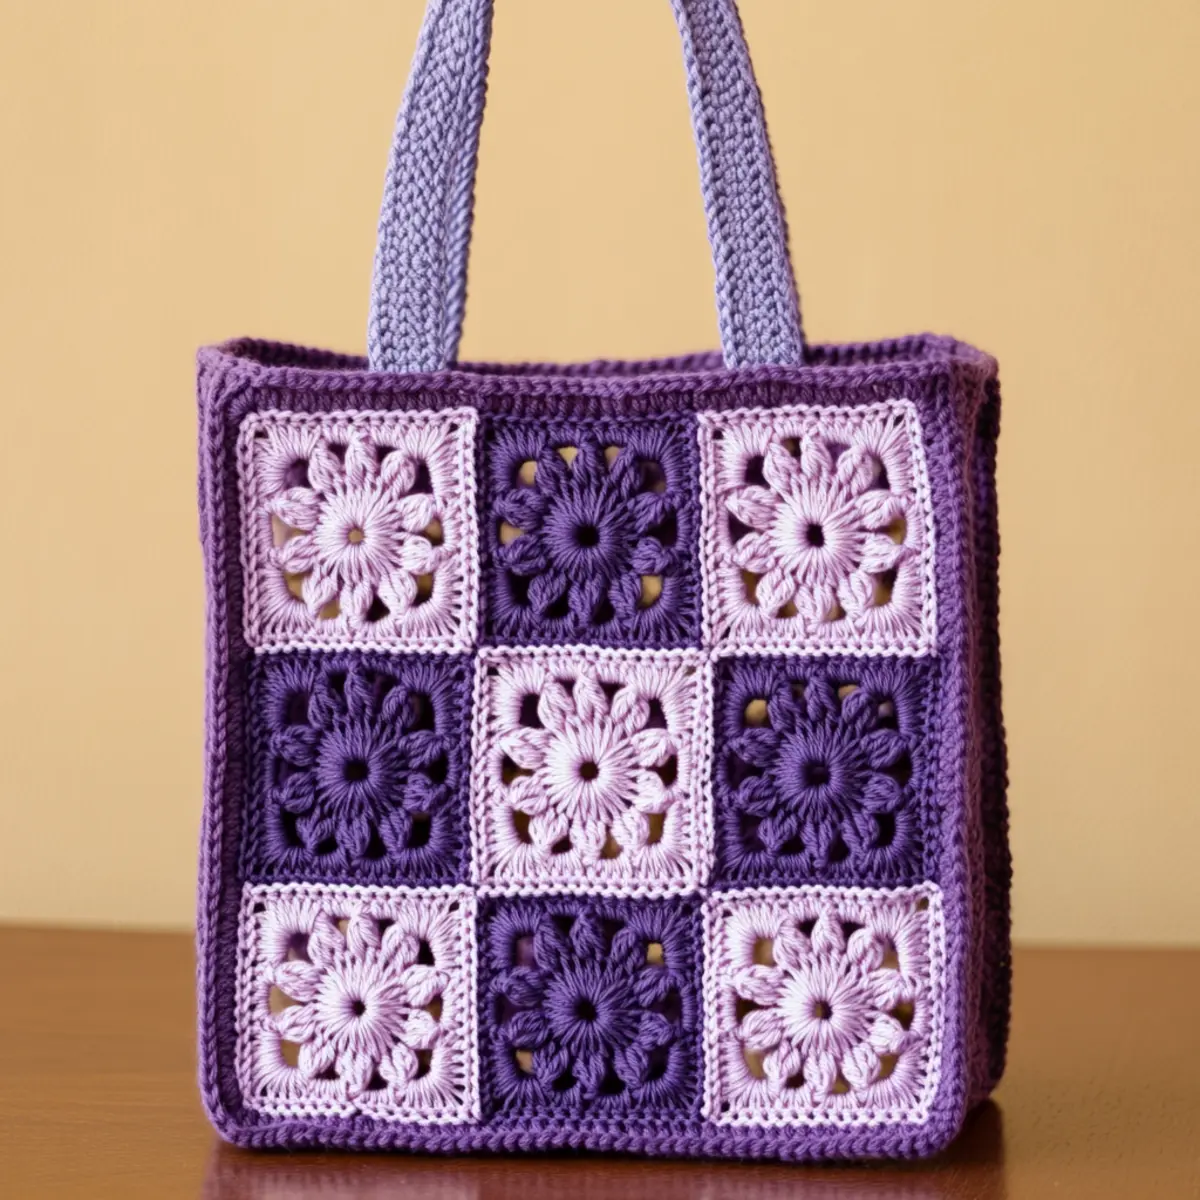
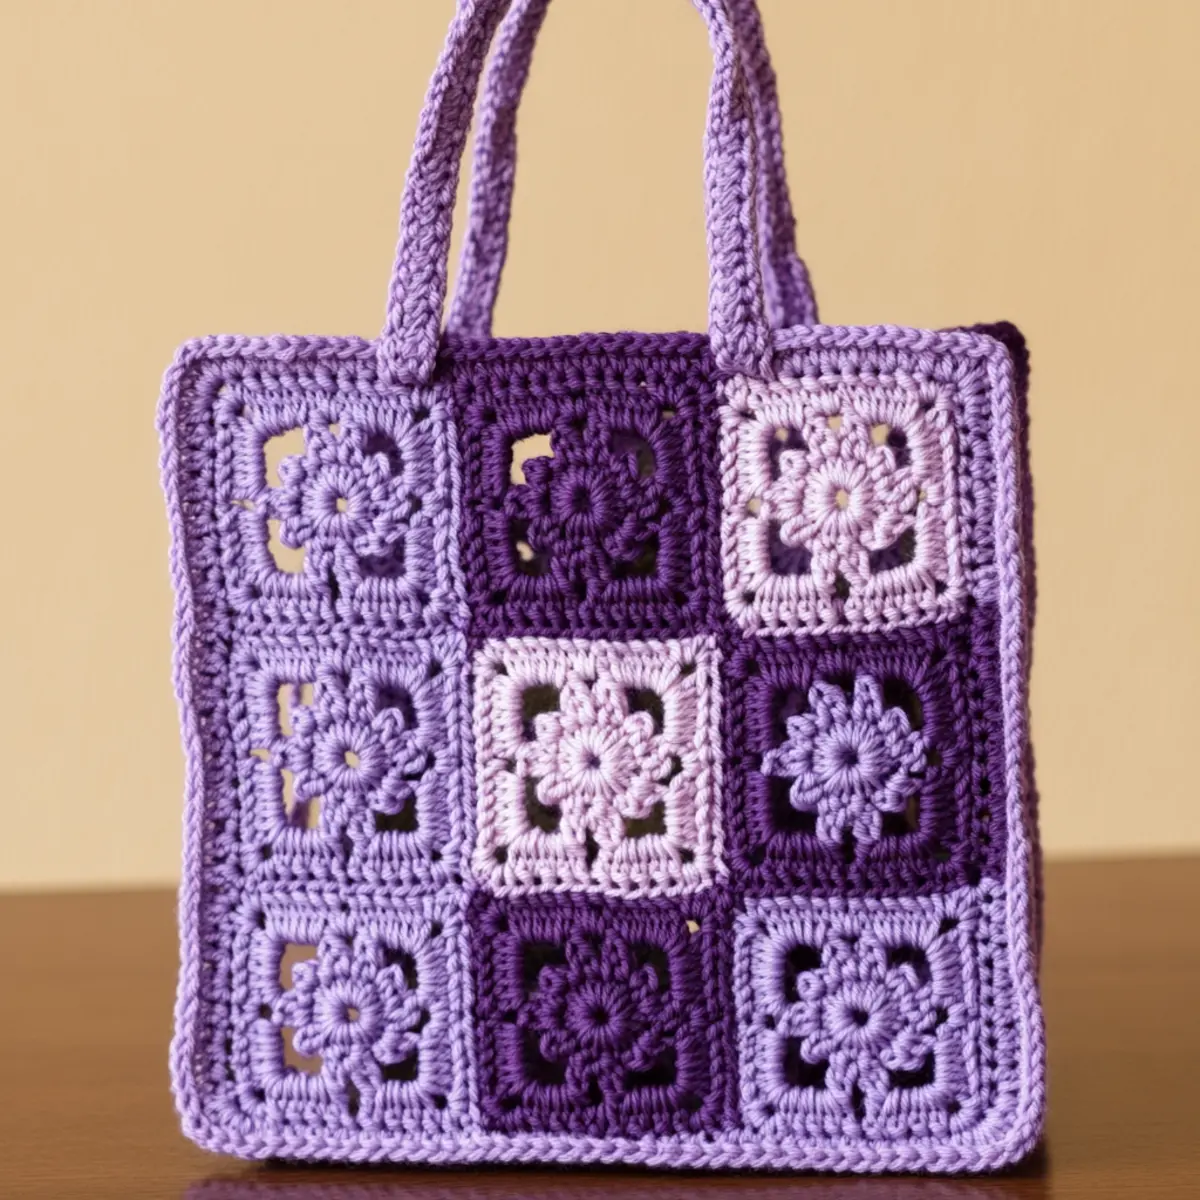
Row 5: Make Multiple Squares Repeat Rows 1 to 4 until you have made 9 squares in total, using varying shades of purple. Plan your color layout as you go to create a cohesive look for your granny square tote.
Row 6: Joining Squares Horizontally Position 3 squares side by side. Using a slip stitch or whip stitch, join edges of squares, inserting your hook through both squares to secure them together. This will form the base of your tote.
Row 7: Joining Squares Vertically Once all three squares are joined, attach another set of 3 squares using the same method. Continue adding squares vertically until all 9 squares are assembled 3×3 layout. Make sure seams are neat for the best appearance.
Row 8: Creating the Straps For the tote handles, chain 50 (or as long as you prefer based on length desired). Work 1 hdc in each chain until the end. This strap should feel sturdy enough to hold your tote.
Row 9: Attaching the Handles Position the finished strap securely at the top edges of the square layout. Using a yarn needle, sew the strap firmly into place. Repeat for the second strap across from the first.
Row 10: Finishing Touches Go through your joined squares and weave in any loose ends. Ensure the weaving is neat and secured at the back of the squares. This gives a polished finish to your granny square tote.
Row 11: Final Blocking After completing the assembly, lightly block your entire tote. This keeps all squares aligned, shapes defined, and adds a professional touch to your project.
Row 12: Show Off Your Creation! Lastly, take a moment to admire your work—the Cloud Granny Square Tote is now completed! Display its beautiful floral design and vibrant purple hues, showcasing the versatility of granny squares in crochet fashion.
How to Wash and Care for Your Granny Square Tote
Machine Washing: Use a gentle cycle with cold water, and place your tote in a mesh laundry bag to prevent agitation during washing.
Hand Washing: For delicate care, soak your granny square tote in lukewarm water with mild detergent. Gently press to remove dirt, then rinse thoroughly.
Drying: Always lay your tote flat to dry to retain shape and prevent any stretching. Avoid hanging it up, which can distort the fabric.
Storage: When not in use, store your tote in a cool, dry place. Avoid direct sunlight to prevent colors from fading over time.
granny square tote
Feel free to customize your crochet tote to make it truly your own!
- Color Mix: Experiment with vibrant reds or cheerful yellows for a seasonal flair that brightens your look.
- Size Adjustments: Scale your pattern down for a smaller clutch or up for a larger beach tote, allowing for versatility in usage.
- Yarn Alternative: Swap cotton for acrylic yarn for a budget-friendly option while still maintaining durability and structure.
- Creative Embellishments: Add pom poms or tassels at the end of your straps for a playful touch that showcases your personality.
- Texture Twist: Incorporate textured yarns for a unique look that contrasts beautifully with the classic granny square design. This tiny change can add both visual interest and tactile delight.
- Seasonal Styles: Make a tote for every season by rotating through different color themes, ensuring you can sport a perfect accessory year-round. With each seasonal tote, you can express your style and creativity.
- Functional Modifications: Consider adding pockets inside for extra utility, enhancing the practical use of your lovely granny square tote.
- Stitch Variation: Play with different stitches within your squares to create unique designs that reflect your crafting journey. A mix of stitches adds personal flair and takes your crochet skills to the next level.
Expert Tips for the Best Granny Square Tote
Stay Counted: Use stitch markers to keep track of your stitches and rounds, especially in larger granny squares. Don’t lose count!
Tension Matters: Keep your tension consistent to ensure uniformity in your squares. Too tight can complicate seaming, while too loose lacks structure.
Block Carefully: Blocking your completed squares will help define their shape, making your finished tote look more polished and professional.
Join Neatly: When joining squares, ensure tight and tidy seams. This will prevent gaps and maintain the integrity of your granny square tote.
Color Coordination: Plan your yarn colors in advance for a cohesive look. Mixing shades of purple can add depth while keeping with the theme.
Experiment: Don’t hesitate to experiment with size or materials! A smaller clutch or larger beach tote can use the same pattern, depending on your needs.
Granny Square Tote FAQs
Can I use different yarn for the granny square tote?
Absolutely! Look for a worsted weight yarn; cotton blends work great for durability. Acrylic can be budget-friendly while wool adds warmth.
How do I adjust the size of my tote?
You can easily customize the size by changing the number of squares or the chain length for the straps. For a larger version, add more squares or increase the chain count.
What if my squares curl up?
Don’t panic! Curling is common. Ensure you’re working the correct number of stitches per round. Blocking your squares can also help to flatten them out.
What hook size should I use?
A 4-5 mm hook, or sizes G/6 to H/8, is recommended for worsted weight yarn. Adjust the hook size to meet your tension gauge if needed.
How can I avoid dropped stitches while crocheting?
Using stitch markers can help indicate where you need to work. Also, be vigilant when pulling your yarn through to avoid accidentally losing count.
What can I do with leftover yarn?
The granny square tote is a perfect stash-buster, but consider creating smaller projects like coasters or a mini pouch. Leftover yarn can also be used for embellishments to personalize your tote!
Leave a Reply