
Crafting this Mushroom Bunny House is like stepping into a whimsical fairytale, where colors dance and bunnies play. As I twisted my hook and yarn together, each stitch felt like a playful adventure, revealing a world filled with warmth and joy. The beauty of this project lies not just in its endearing design, but also in the quick and engaging assembly that lets you personalize each bunny as you dream up their little stories. It’s a fantastic stash-buster, perfect for using up those leftover colorful yarns you just can’t let go of. Imagine seeing your family’s faces light up as they discover this charming decoration that doubles as a toy. As you embark on this creative journey, let your imagination soar—what unique bunnies will you create to fill your very own Mushroom Bunny House?
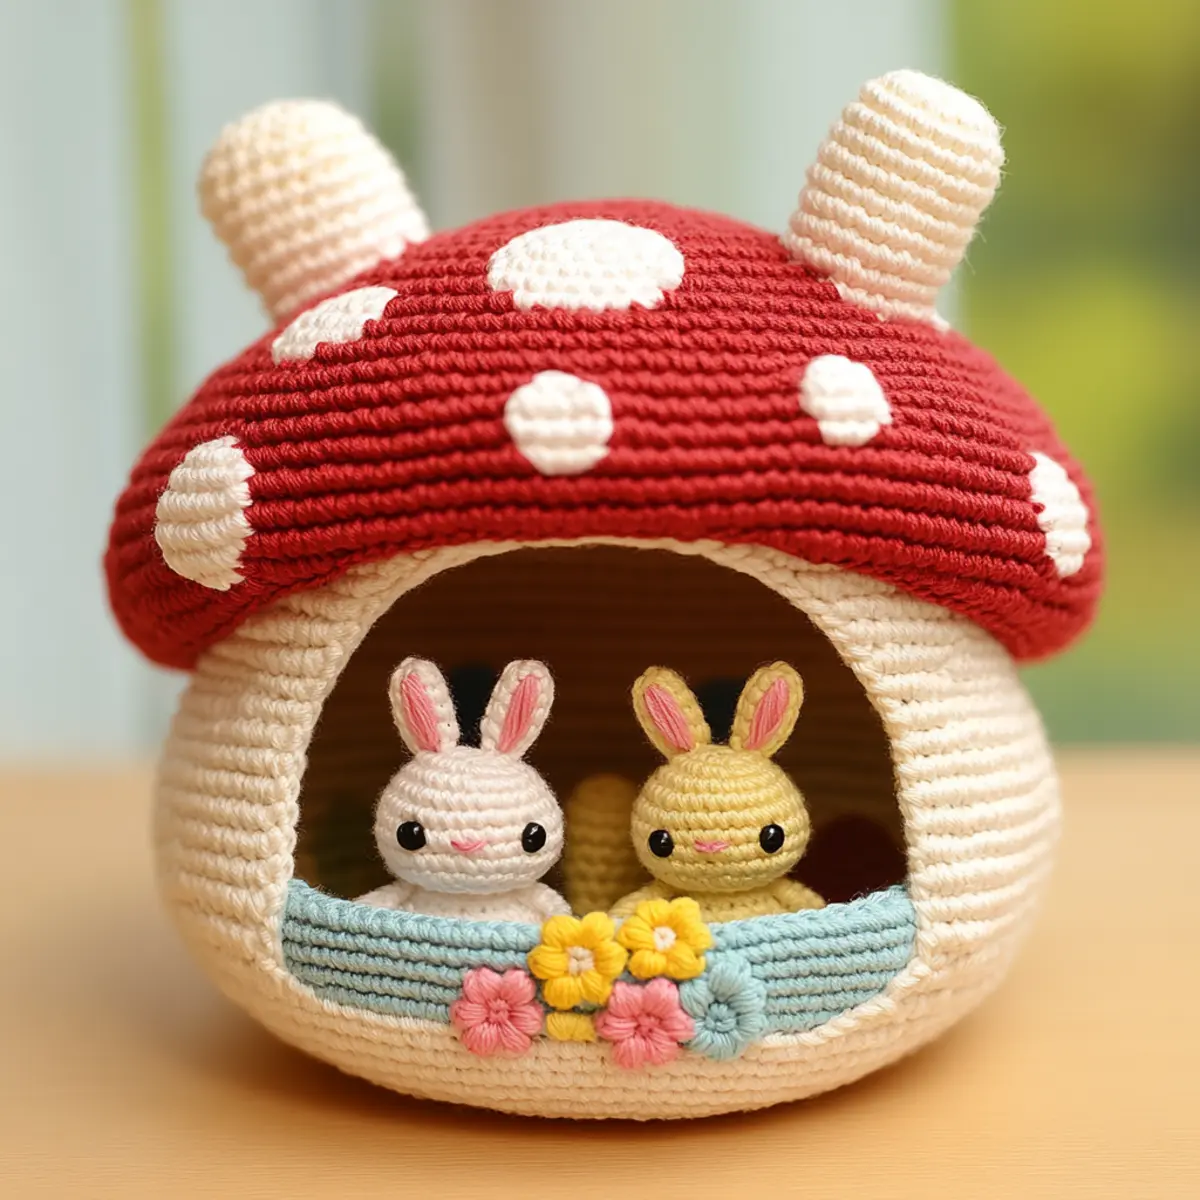
Mushroom Bunny House Materials & Tools
Yarn
- Light worsted or plush yarn – Choose soft yarn for a cozy finish suitable for adorable toys; approximately 200-300 yards needed, depending on variations and added decorations.
- Acrylic or polyester fibers – Opt for durability and ease of maintenance with these fiber blends.
Tools & Notions
- 4.0 mm crochet hook (G) – Ideal for working on the main body and fine details of your mushroom bunny house.
- Safety eyes – Use plastic safety eyes to bring your bunnies to life and ensure they are ready for playful adventures.
- Polyester stuffing – Crucial for giving the bunnies their charm and proper shape.
- Scissors – For snipping ends and ensuring neat project edges.
- Stitch markers – Helpful for keeping track of rounds and maintaining consistent tension throughout your crochet pattern.
Why You’ll Love This Pattern
Simplicity is at the heart of the Mushroom Bunny House pattern, making it an enjoyable project for those who are still mastering their crochet skills. Texture plays a key role too; the plush yarn creates a cozy finish that is delightful to touch and perfect for little hands. Not to mention, it’s a stash-friendly project; those odds and ends of yarn you’ve been holding onto finally have a purpose! You can easily add your own flair with customizable features, like different bunny colors and flower designs. This project isn’t just a treat for the eyes; it offers a time-saving assembly process that will help you whip up these enchanting houses in no time. Plus, the aesthetic appeal of the Mushroom Bunny House makes it a standout decor piece suitable for both playtime and display. If you want to explore more fun and creative patterns, check out this adorable Crochet Duck Pattern or get inspired with our Kids’ Toy Collection.
Gauge & Sizing Notes for Mushroom Bunny House
For the perfect Mushroom Bunny House project, checking your gauge is crucial. Aim for a gauge of 4×4 inches (10×10 cm) with 12 hdc and 14 rows to ensure your house has the right dimensions and support. If your tension is too loose or tight, adjust the starting chain or rows to resize the project according to your personal preference. If your swatch doesn’t match, you could either switch your yarn to a bulkier option or adjust to a larger hook size, ensuring the finished size aligns with the intended cozy space of 6 to 8 inches tall and 4 to 5 inches wide. This adjustment will not only help in achieving the desired dimensions but also enhance the overall look of your Mushroom Bunny House, making sure your imaginative bunnies fit snugly as well!
Step-by-Step Pattern for Mushroom Bunny House
Row 1: Start with a Magic Ring Begin with a magic ring (MR) and ch 2. Make 6 sc into the ring to form the base. Pull the tail to tighten the ring (6 sc).
Row 2: Increase the Base Start this row with 2 sc in each sc from the previous row. This will help shape the sturdy bottom of your Mushroom Bunny House (12 sc).
Row 3: Shape the Bottom In this row, you will alternate between 1 sc in the next stitch and 2 sc in the following stitch, repeating until the end. This gradual increase will help in developing the form (18 sc).
Row 4: Build Up the Side Crochet 1 sc in the first three stitches, then inc in the next stitch. Repeat this pattern around to keep widening your base (24 sc).
Row 5: Create the Height Continue working in sc around for approximately 10 rows to give the Mushroom Bunny House its height. This will give your project a stable structure and allows space for bunnies inside.
Row 6: Start the Cap Switch colors to begin the top mushroom cap. Start with 1 hdc in the first stitch, followed by 1 hdc in each stitch around for this round. This change sets the whimsical tone for the house (24 hdc).
Row 7: Add Dimension In this row, crochet inc in each fourth stitch, creating a rounded shape for the cap. Continue around, which will give a nice domed effect (30 hdc).
Row 8: Enhance the Cap To add more charm, continue with 1 hdc into three stitches, then inc in the next as you make your way around the rounds (36 hdc).
Row 9: Finish the Cap Shape Work all around in hdc for the next few rounds, about 3 to 4 rounds. This sets the mushroom top firmly (36 hdc).
Row 10: Create the Bunnies Switch to your bunny color and start with a MR again. Ch 2, and make 6 sc into the ring, similar to how you did for the base of the house. This will be the bunny’s body (6 sc).
Row 11: Shape Bunny Body Increase the stitches by working 2 sc in each stitch around. This will form a plump little bunny (12 sc).
Row 12: Form Bunny Shape For this step, create a Bunny head by alternating between 1 sc and inc. It will start to round nicely, perfect for placement inside your Mushroom Bunny House (18 sc).
Row 13: Adding Ears To make the bunny’s ears, chain 10, and then sc back into the previous sc for 8 rows. Attach these to the top of the bunny head to complete the figure (2 ears total). Each bunny can uniquely represent your style!
Row 14: Embellish the House Stitch on flowers and vines as you desire. Create simple flower shapes with a combination of ch, sc, and sl st to embellish the Mushroom Bunny House for added flair.
Assembly and Finishing Touches
Ensure all pieces are securely attached once you’ve finished crocheting. If preferred, lightly block for an enhanced finish. Make sure the bunnies fit snugly inside their cozy Mushroom Bunny House, adding to the whimsical charm of this delightful project.
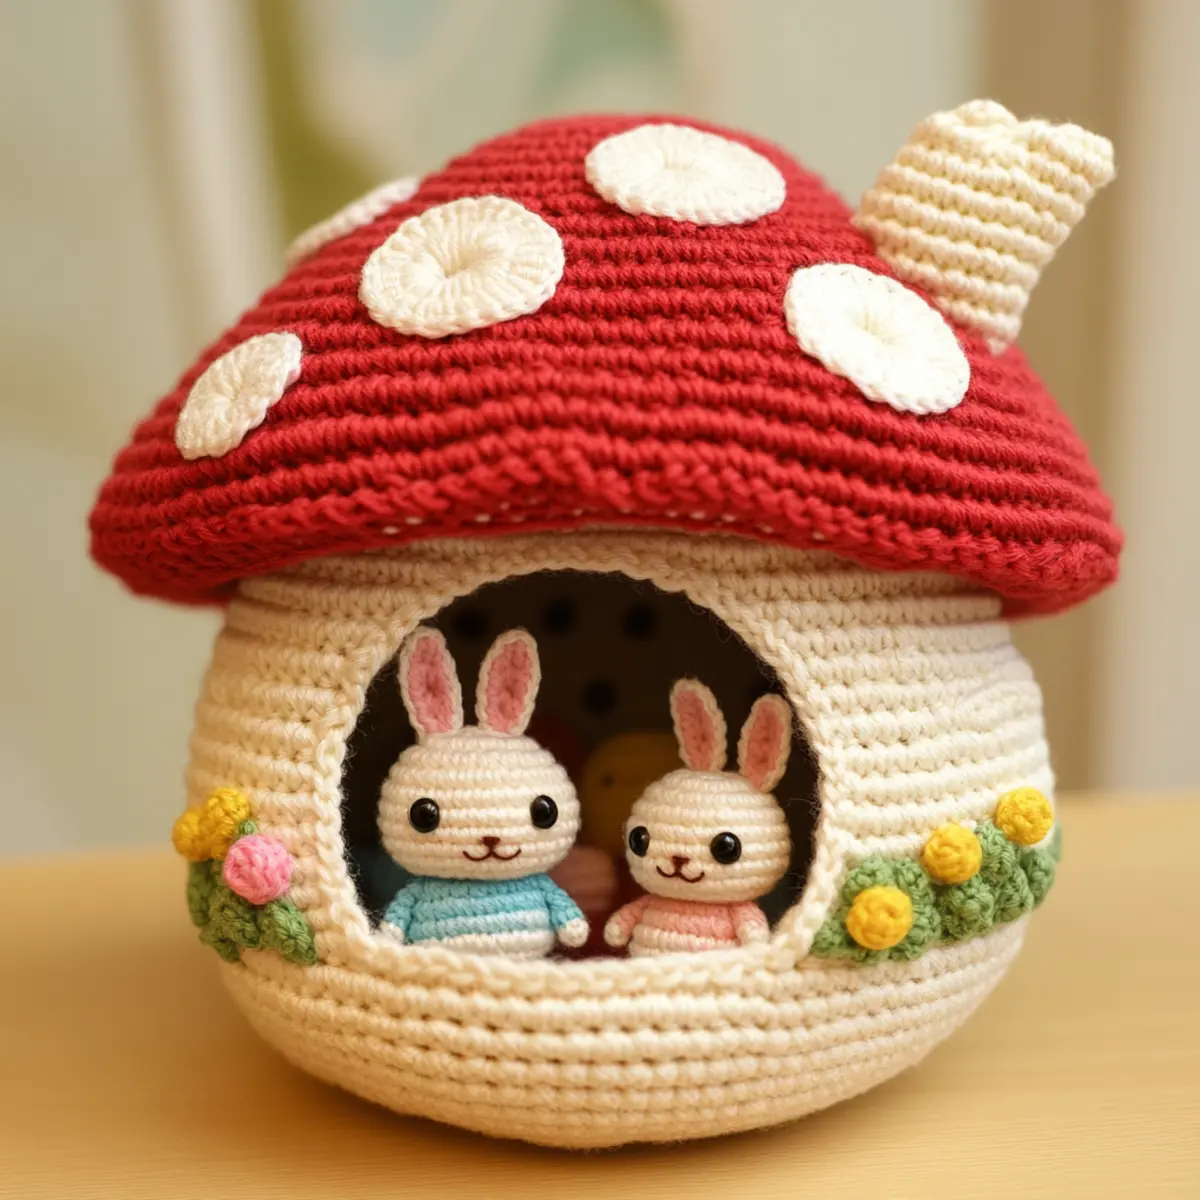
Expert Tips for the Best Mushroom Bunny House
Count Carefully: To avoid dropped stitches and misalignment, make sure to keep an accurate count of your stitches when assembling your mushroom bunny house.
Consistent Tension: Maintain an even tension while crocheting to ensure all parts of the mushroom bunny house are uniform in size and shape, especially around the bunny features.
Avoid Twisted Chains: Begin with a straight foundation chain to avoid twisting, which can lead to uneven shapes in your mushroom.
Block Lightly: If desired, lightly blocking your finished pieces can enhance the texture and shape of the mushroom bunny house, giving it a polished look.
Color Play: Don’t hesitate to experiment with colors for a unique look! Bright or contrasting colors can add more whimsy to your project.
Safety Eyes: Ensure that you securely attach safety eyes to the bunnies, as they finalize their charming appearance and are critical for playtime safety.
Mushroom Bunny House Variations
Feel free to let your creativity shine by customizing this project!
- Bold Colors: Use vibrant reds, greens, or blues for the mushroom cap to create an eye-catching statement piece.
- Larger Bunnies: Experiment with using bulkier yarn and a larger hook to create oversized bunnies that pop out of the house.
- Rustic Appeal: Swap the acrylic for a cotton blend for a more textured, rustic finish, enhancing the house’s charm.
- Unique Bunnies: Personalize each bunny by using different color palettes or embroidering names on their bodies, making each one unique.
- Flower Fun: Integrate additional flowers of varying sizes around the house using different stitch techniques to increase visual interest.
- Twisting Yarn: For a fusion of textures, consider mixing a soft worsted yarn with a thin strand of glitter yarn, giving your Mushroom Bunny House a magical sparkle.
- Felt Accents: Add felt decorations or details, like leaves or butterflies, sewn on to enhance the design with a cute, playful touch.
- Mini Projects: Make mini versions of the Mushroom Bunny House as themed party favors or playsets, perfect for children’s birthday celebrations.
With so many potential directions to take, the Mushroom Bunny House can reflect your personal style and preferences, creating a truly unique piece! Consider visiting our creative crochet tips and exploring fun yarn combinations for more inspiration.
How to Wash and Care for Your Mushroom Bunny House
Machine Washing: Use cold water on a gentle setting, and avoid excessive agitation to keep the mushroom bunny house plush and intact.
Hand Washing: If you prefer, hand wash with mild soap in cold water, then gently squeeze it dry without wringing to maintain its shape.
Drying: Lay flat to dry in a shady spot. Avoid direct sunlight to prevent colors from fading and ensure the bunny house retains its cozy appeal.
Storage: Keep your mushroom bunny house in a cool, dry place to prevent mold and preserve its delightful form. This helps maintain its whimsical charm for years to come.
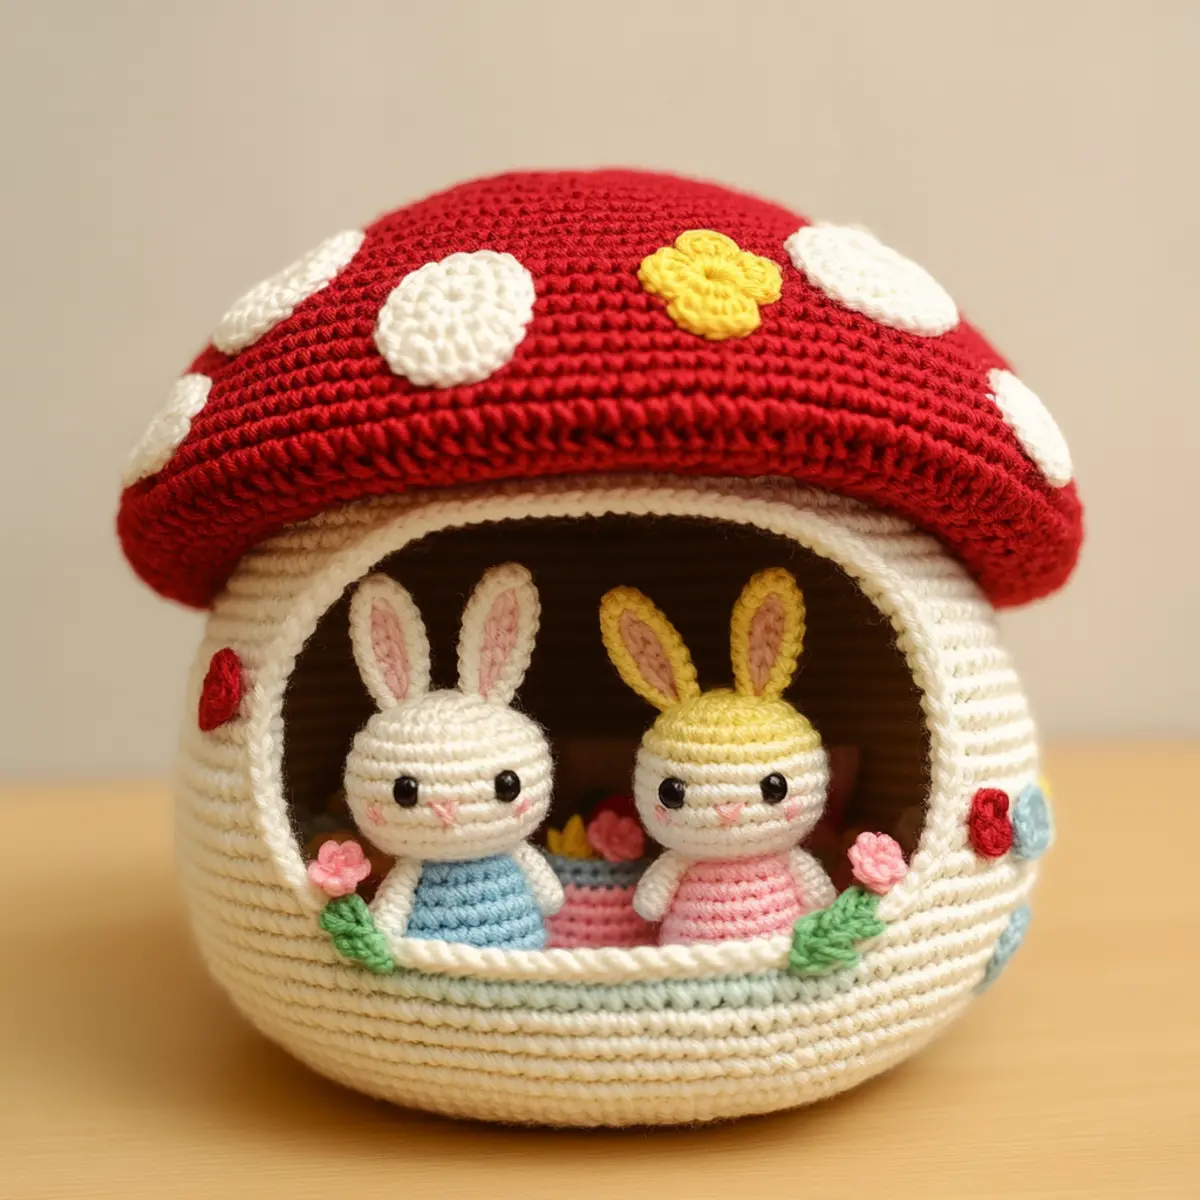
Mushroom Bunny House FAQs
Can I substitute yarn?
Absolutely! If you prefer a different texture, you can use cotton blends for a more rustic appearance or adapt the project with any worsted-weight yarn you have on hand.
What if my bunny’s size is off?
Don’t panic! If your bunnies are too big or small, simply adjust the hook size or yarn thickness. Many crafters scale their projects up by using bulkier yarns and larger hooks to create larger bunny figures.
Why is my project curling?
Curling can happen if your tension is too tight or if the stitches are uneven. Make sure to keep a relaxed grip and check your gauge while working through the pattern to ensure a smooth finish.
What hook size should I use?
For the mushroom bunny house, a 4.0 mm crochet hook (size G) is ideal. If you notice your stitches are too tight or loose, a hook adjustment can help you achieve the desired gauge.
How do I adjust the project size?
To modify the size of your mushroom bunny house, consider changing to a bulkier yarn and increasing the hook size. This will give you a larger finished piece without losing the whimsical design.
Can I add more flowers to the house?
Absolutely! The more flowers, the merrier! Feel free to embellish with more flowers or different designs to personalize your mushroom bunny house and make it uniquely yours.
Leave a Reply