
Have you ever found yourself in a flurry of last-minute gift-making, desperately searching for a simple yet stunning project? Enter the solid granny square, a must-have for any crochet enthusiast, especially those just starting their handmade journey! With this beginner-friendly pattern, you’ll discover the joy of crafting a lovely square in a calm, soothing lavender hue. Perfect for a variety of uses, from cozy blankets to stylish bags, one of the best parts about this project is how quickly it comes together—each square takes just 15 to 20 minutes to complete! Beyond its delightful speed, the solid granny square’s versatility allows for endless creativity, making it an ideal staple for your yarn stash. Let’s grab our hooks and dive into the enchanting world of granny squares together!
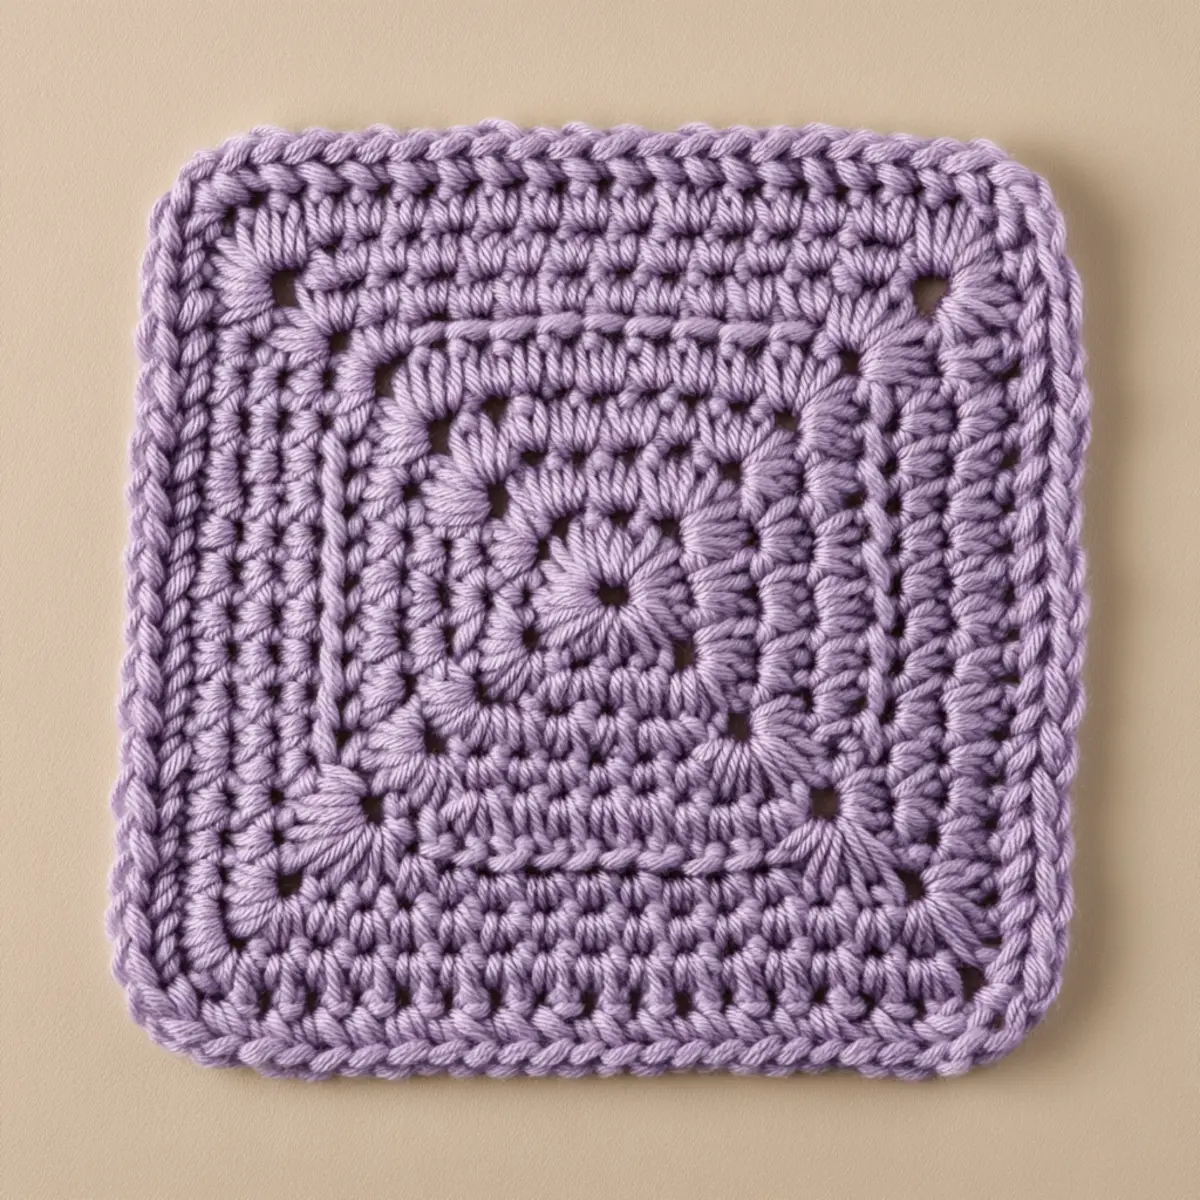
Solid Granny Square Materials & Tools
Ready to create your stunning solid granny square? Gather these materials and tools for a smooth crafting experience!
Yarn
• Cotton Yarn – Aim for about 50 yards of medium-weight (Worsted weight 4) to achieve that perfect drape.
• Acrylic Yarn – Consider using acrylic for a cozy feel and extra warmth if desired.
Tools & Notions
• 3-4 mm (E/3 to G/6) Hook – This size ensures comfortable handling while working your stitches.
• Yarn Needle – Use this for weaving in ends and finishing touches for a tidy look.
• Scissors – A sharp pair is essential for snipping your yarn cleanly.
• Measuring Tape (optional) – Handy if you want to customize the size of your granny square.
Let the adventure of your solid granny square crafting begin!
Why Choose the Solid Granny Square?
Simplicity Made Enjoyable: This solid granny square pattern is designed for** beginners**, making it an approachable project to kickstart your crochet journey.
Quick Completion: With just 15 to 20 minutes per square, it’s a time-saver—perfect for those last-minute gifts or cozy projects!
Versatile Design: Whether you use it for blankets, bags, or cushions, this style seamlessly fits into various designs, ensuring every piece feels unique.
Textured Appeal: The soft yet structured texture provides both beauty and durability, making it a favorite among crafters.
Personalization Potential: Embrace creativity by experimenting with color combinations or even embellishing with extra stitches!
If you’re eager to expand your crochet repertoire, check out our other beginner-friendly crochet projects for even more inspiration!
Gauge & Sizing Notes
Don’t skip the gauge swatch! Checking your tension is essential for the solid granny square project to ensure each square lays flat and has the desired dimensions. For this project, the standard gauge should measure 4×4 inches (10×10 cm), equating to 14 double crochets by 8 rows. If you want to adjust the size of your square, simply increase your starting chain in multiples of 3 for each additional round you plan to add. If your tension doesn’t match the gauge, and your swatch is smaller than desired, try going up a hook size for a looser stitch. Happy crocheting!
Step‑by‑Step Pattern for solid granny square
Row 1 (or Round 1): Create the Magic Ring
Start by creating a magic ring (also called a magic circle). Chain 3 (this counts as your first double crochet), then crochet 2 double crochets (dc) into the ring, followed by a chain 2 (ch 2). Repeat this process three more times, making four clusters total in the ring. Slip stitch to the top of the beginning chain to close the round, ensuring your work forms a small circle (12 sts).
Row 2: Build the Corners
Slip stitch to the next corner space (the chain 2 space). Chain 3, then crochet two double crochets (dc) into the same corner space, followed by a chain 2. Now, work another two double crochets (dc) into the same corner space. Move to the next corner by slip stitching to the next chain 2 space, repeating the cluster pattern in each corner until complete (your work should have 4 corners).
Row 3: Solidifying the Square
Slip stitch to the next corner space. Chain 3, and in the same corner, crochet two double crochets (dc), then chain 2, and again two double crochets (dc). Continue to the next corner space and repeat this process until you have clusters in each of the 4 corners. Finish with a slip stitch to the top of the beginning chain to close the round, resulting in a solid granny square structure (20 sts).
Row 4: Optional Expansion
If you want a larger solid granny square, slip stitch to the next corner space, chain 3, and work two double crochets (dc), chain 2, and two double crochets (dc) in each corner again. Move to the next corner by slip stitching, and repeat throughout this row. Finish with a slip stitch to the beginning chain of your final round, maintaining your square’s solid shape and adding even more depth (the stitch count will increase accordingly).
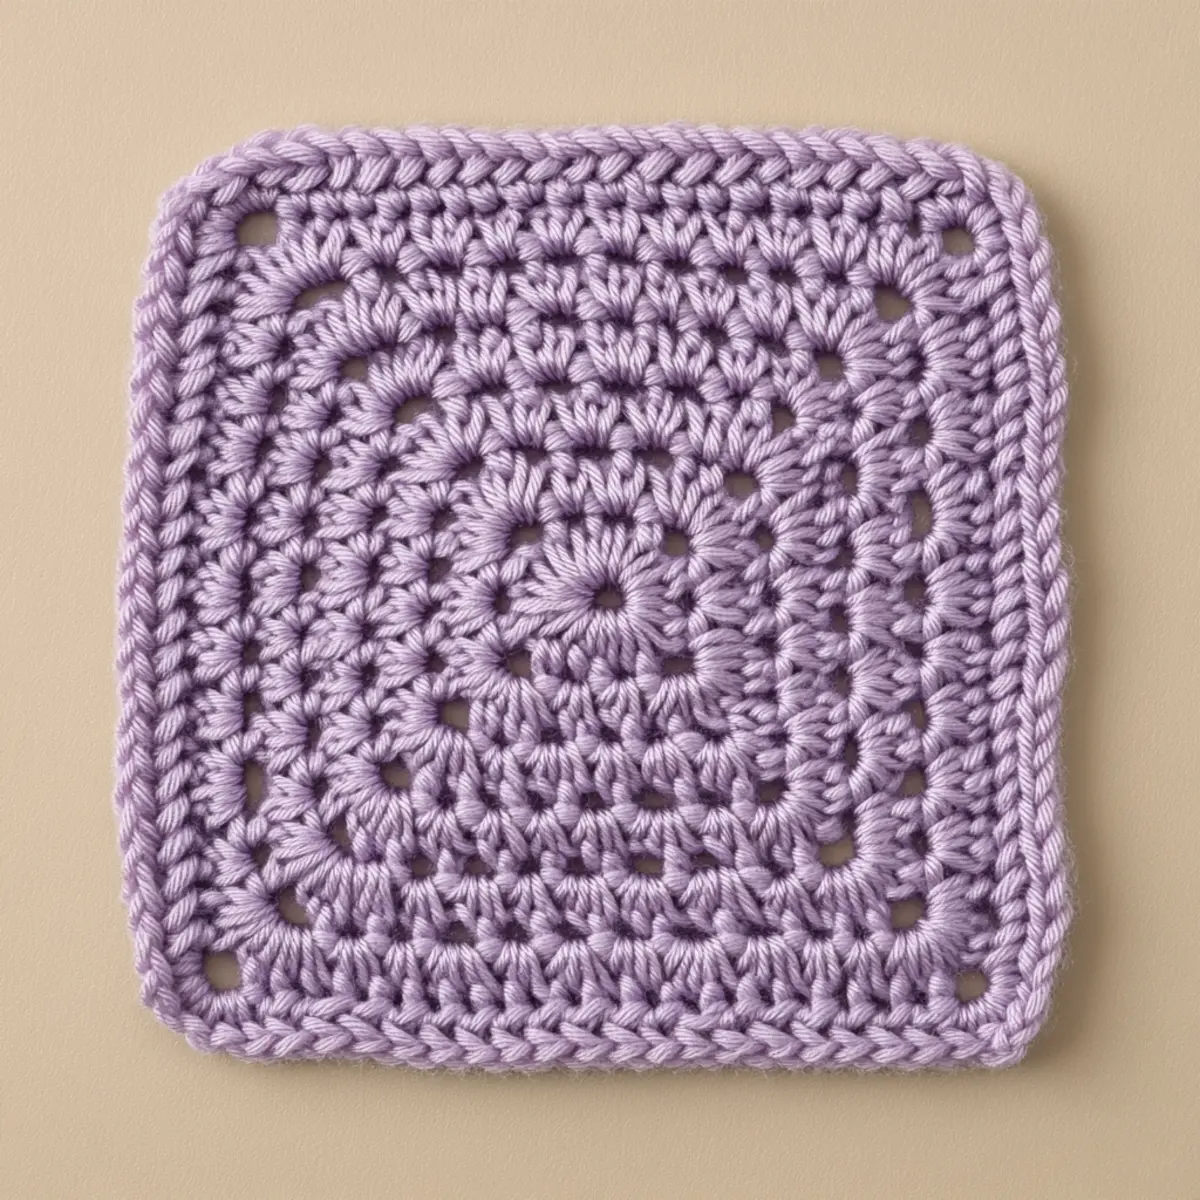
Expert Tips for Your Solid Granny Square
• Keep Tension Even: Maintain consistent tension throughout to avoid an uneven shape. Loose stitches can lead to a floppy square, while tight stitches can cause distortion.
• Count Your Stitches: Regularly check your stitch count—especially in corners—to ensure they’re correct. It’s a common mistake for beginners to lose count during rounds.
• Magic Ring Mastery: When starting with a magic ring, ensure it’s large enough to accommodate future stitches without becoming misshapen. Pull gently to secure it once your first round is complete.
• Blocking for Perfection: If you plan to make multiple squares, blocking them after completion can dramatically enhance their shape and appearance by keeping them evenly structured.
• Use the Right Hook: Choosing a suitable hook size (3-4 mm) can make a world of difference in your comfort while working. This small detail affects your tension, stitch uniformity, and overall outcome of the solid granny square.
How to Wash and Care for Your Solid Granny Square
Machine Washing: Use cold water on a gentle cycle to protect your solid granny square’s structure and prevent felting.
Hand Washing: For delicate care, gently hand wash your square in cold water with mild detergent, avoiding any harsh scrubbing.
Drying/Blocking: Lay your solid granny square flat to dry, reshaping it carefully to maintain its dimensions. Blocking can enhance its appearance and ensure even edges.
Storage: Store your finished projects in a cool, dry place, ideally folded or laid flat to prevent creasing or distortion.
Variations for Solid Granny Square
Make your solid granny square truly your own by adding unique twists and adjustments to the pattern.
-
Yarn Substitutions: Swap cotton yarn for wool or bamboo for warmth and different textures. Experimenting with fibers can create stunning results!
-
Color-Blocking: Use multiple colors within one square for a vibrant, patchwork effect. A rainbow of colors can transform your squares into cheerful pieces!
-
Size Adjustments: Change your hook size or add extra rounds for larger squares, perfect for throws or big bags. This small tweak can amplify the impact of your project.
-
Texture Modifications: Add pom-poms or fringe to your squares for a fun, playful touch. These embellishments can bring life to your finished piece!
-
Mixed Fiber Technique: Combine cotton with other fibers like acrylic for added durability and texture. This could open up a whole new world of possibilities for your project!
-
Gradient Squares: Create a stunning gradient look by transitioning colors from light to dark across each square. This beautiful effect can elevate any blanket or home decor.
-
Larger Projects: Use multiple solid granny squares to make a cozy blanket or chic tote bag. The more squares, the more creativity—imagine the endless combinations!
-
Embellishments: Try adding special stitches, like popcorn or cluster stitches, to give your squares a unique twist. Enhancing the design this way can add an extra layer of charm to each piece.
For more inspiration, don’t forget to explore our additional beginner-friendly crochet projects or consider a color palette guide to spark your creativity!
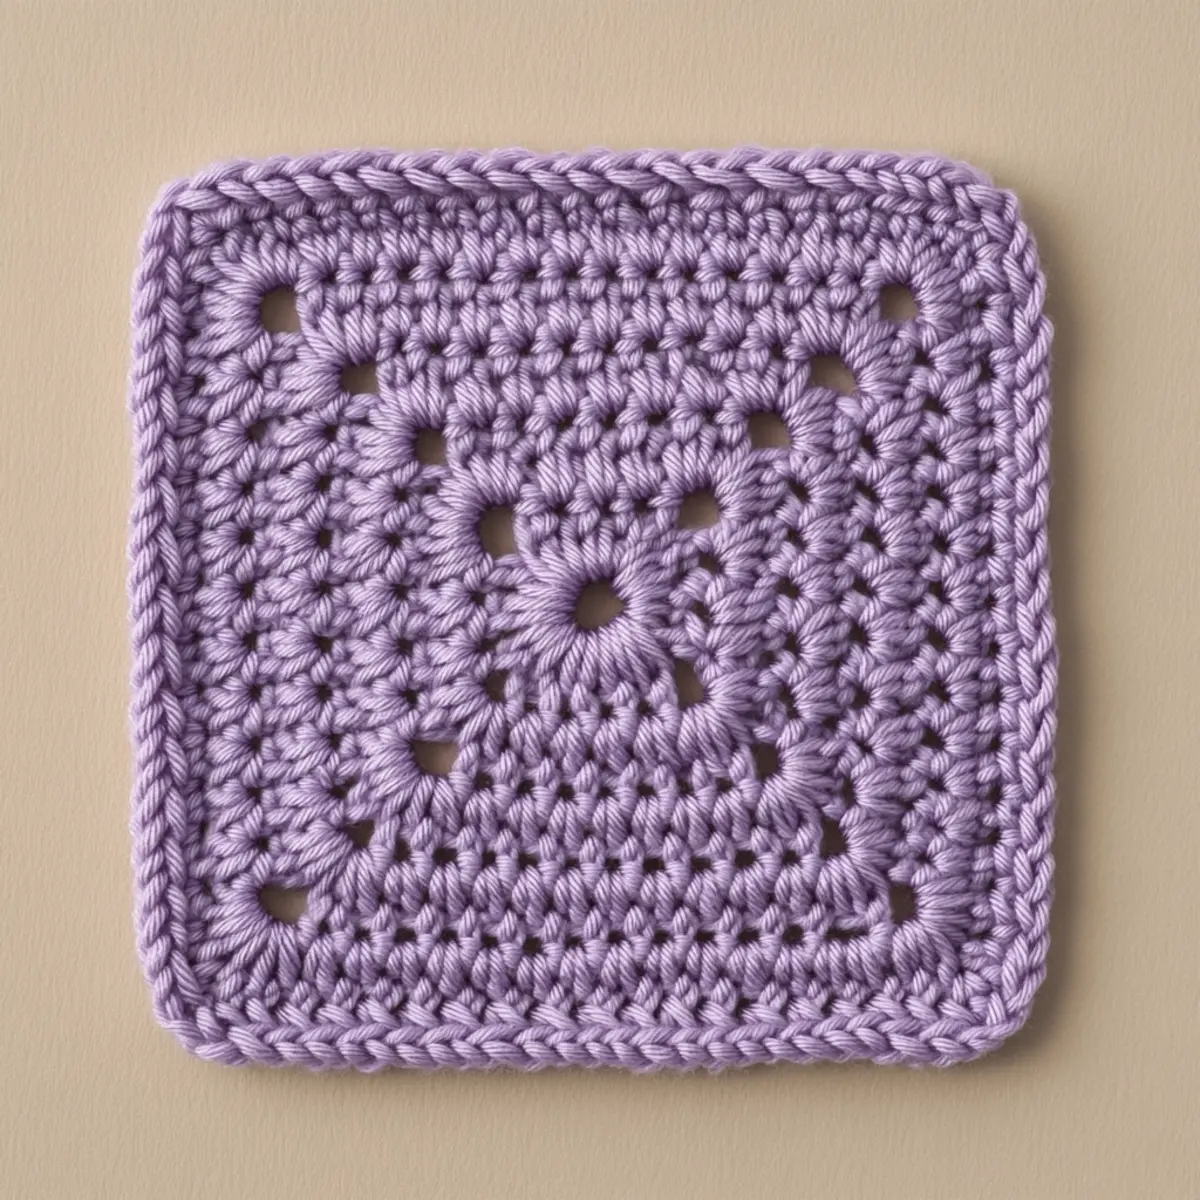
Beginner’s Solid Granny Square: Quick & Cozy Crochet Project FAQs
Can I substitute yarn for this solid granny square project?
Absolutely! While cotton yarn is recommended for its durability and drape, you can easily swap it for any medium-weight yarn, such as acrylic. Just keep in mind that the texture and finished look may vary slightly.
How do I make my solid granny square bigger or smaller?
Don’t panic! To adjust the size, you can either change the hook size to a larger one or add more rounds to your square. For instance, adding an extra round will give you more inches; just remember to maintain your stitch count in each corner!
Why is my solid granny square curling at the edges?
If your square is buckling like a bowl, it usually means your tension is too tight. Check your stitches, especially around the corners, and try loosening them a bit. Also, ensure you’re maintaining the correct stitch count to keep everything balanced.
What size crochet hook should I use for my solid granny square?
I recommend using a hook size between 3-4 mm (US sizes E/3 to G/6). This range provides a comfortable grip and promotes an even tension, making it easier to create a beautiful square!
How do I fix a dropped stitch in my solid granny square?
It’s an easy fix! Simply pick up the loop with your hook and crochet it back into place following your usual stitch pattern. If you’re unsure, you can always unravel a few stitches back to that point and rework from there.
What if my granny square doesn’t look perfectly square?
No worries! It’s common for beginners. Just focus on keeping your tension even and checking your stitch count. If it still looks off, blocking your finished square can help it regain a lovely shape.
Leave a Reply