
As I sat on my porch surrounded by blooming lavender, I couldn’t help but feel inspired to crochet a piece that mirrored that serene beauty. The result? The enchanting Lavender Granny Square. This floral masterpiece not only captures the picturesque essence of lavender fields but also serves as a fantastic stash-buster project perfect for both beginners and seasoned crocheters alike. With just a few rounds of stitches and a couple of color changes, you can create exquisite squares that don’t require any sewing – an absolute win for anyone who loves instant gratification in their fiber arts journey. The soft drape of this classic granny square adds a cozy touch to any home decor, making it perfect for blankets, bags, and more. And, if you’re looking for versatility, experimenting with color combinations will let your creativity flourish. Join me as we turn this lavender dream into reality. What delightful variations will you create in your own crafting space?
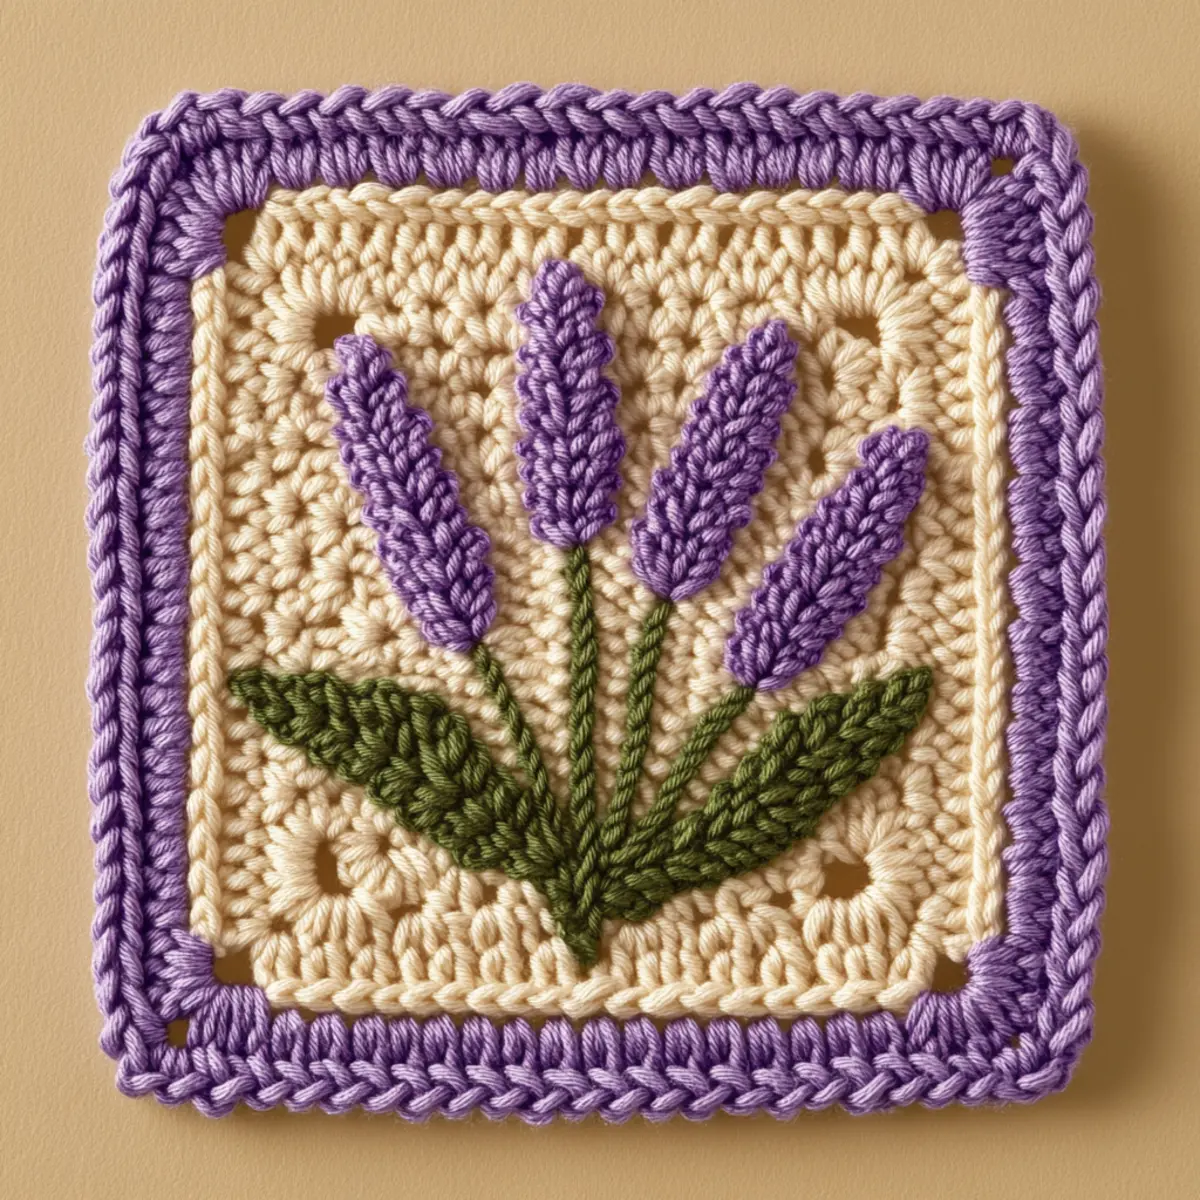
Lavender Granny Square Materials & Tools
Yarn
Medium (worsted weight) yarn – Use approximately 150-200 yards to create multiple lavender granny squares. Try a blend of acrylic or cotton for durability and softness.
Tools & Notions
4.0-5.0 mm crochet hook – A G or H size hook works best for achieving the perfect tension with the medium weight yarn.
Stitch markers – Helpful for keeping track of your rounds, especially when transitioning between flower and stem sections.
Yarn needle – For weaving in the ends and giving your square a polished finish. Block the square to enhance crisp edges and overall aesthetic.
Why You’ll Love This Pattern
Simplicity is at the heart of the Lavender Granny Square, making it an ideal choice for all skill levels! Unique texture created through puff stitches and floral elements adds a luxurious touch to your finished item. This pattern is also incredibly stash-friendly; you can use up leftover yarn from your projects, reducing waste while creating beauty. Additionally, the customizability allows you to play with colors, making it easy to shift from a lavender palette to any personalized hues. Most importantly, this piece is a time-saver; you can whip up a few squares in an afternoon, turning your crafting into a fulfilling and productive experience. Need more floral inspiration? Check out the Crochet Azalea Flower and Crochet Daisy Flower links for more projects that will elevate your crochet repertoire. Get ready to be swept away by its aesthetic appeal and practical charm!
Gauge & Sizing Notes for Lavender Granny Square
Checking your tension is crucial when working on the lavender granny square to ensure a properly shaped and beautiful finished piece. The standard gauge measurement is 4×4 inches (10×10 cm) with a G or H crochet hook using medium weight yarn. If your swatch does not match the gauge, adjust your hook size accordingly; a larger hook will loosen your stitches, while a smaller will tighten them. If you’re aiming for a larger or smaller square, simply modify the starting chain and subsequent rounds. Remember, 6-8 inches per side is the goal depending on tension and yarn choice. This adaptability makes the lavender granny square perfect for a variety of projects, from blankets to decorative décor. Adjust your rounds or experiment with different motifs to customize your design further!
Step-by-Step Pattern for Lavender Granny Square
Row 1: Create the Base Chain
Start with a slip knot and chain 4. Join with a slip stitch to form a ring (ch 4, sl st).
Row 2: Establish Base Round
Ch 3 (counts as 1st dc), crochet 11 dc into the ring. Join with a sl st to the top of ch 3 (total 12 dc).
Row 3: Begin Flower Motif
Ch 3, dc in the same stitch, then ch 2, (2 dc) in the next stitch. Repeat around for a total of 6 clusters. Join with sl st to the top of ch 3 (6 clusters).
Row 4: Adding Floral Edges
Ch 1, work a puff stitch in each cluster from the previous row. Pull through all loops to complete puff. Continue around (6 puff stitches).
Row 5: Forming Stems
Change to green yarn. Ch 3, dc in the base of puff st. Ch 2, sl st in next ch 2 space from the previous round (total 6 stems).
Row 6: Leaf Stitch
In the same ch 2 spaces, create leaf stitches: sl st, hdc, dc, hdc, sl st in each space for decorative leaves. (Total 6 leaves).
Row 7: Building the Second Round
Ch 3, dc in the next 2 stitches. 2 dc in the space behind each puff stitch and the stem. Repeat around (36 dc total).
Row 8: Continue with the Floral Motif
Ch 1, and repeat the puff stitch pattern again in the same 36 dc spaces. Ensure consistency in stitch size throughout.
Row 9: Final Round Setup
Switch back to lavender color. Make a border of sc around the motif, ensuring to maintain even tension (work evenly to match corners).
Row 10: Closing the Square
Ch 1, sl st in each stitch to finalize the edge. Weave in ends neatly to maintain the lavender granny square’s clean finish (measurements 6-8 inches).
Row 11: Blocking Your Square
Pin the square to a blocking mat and lightly mist with water. Allow it to dry to achieve even dimensions and a polished look (this enhances aesthetic appeal).
Row 12: Personalization
Experiment with color combinations, using shades of pink or blue, tailoring to your style. Explore the potential of a cotton blend yarn for warm weather cheeriness!
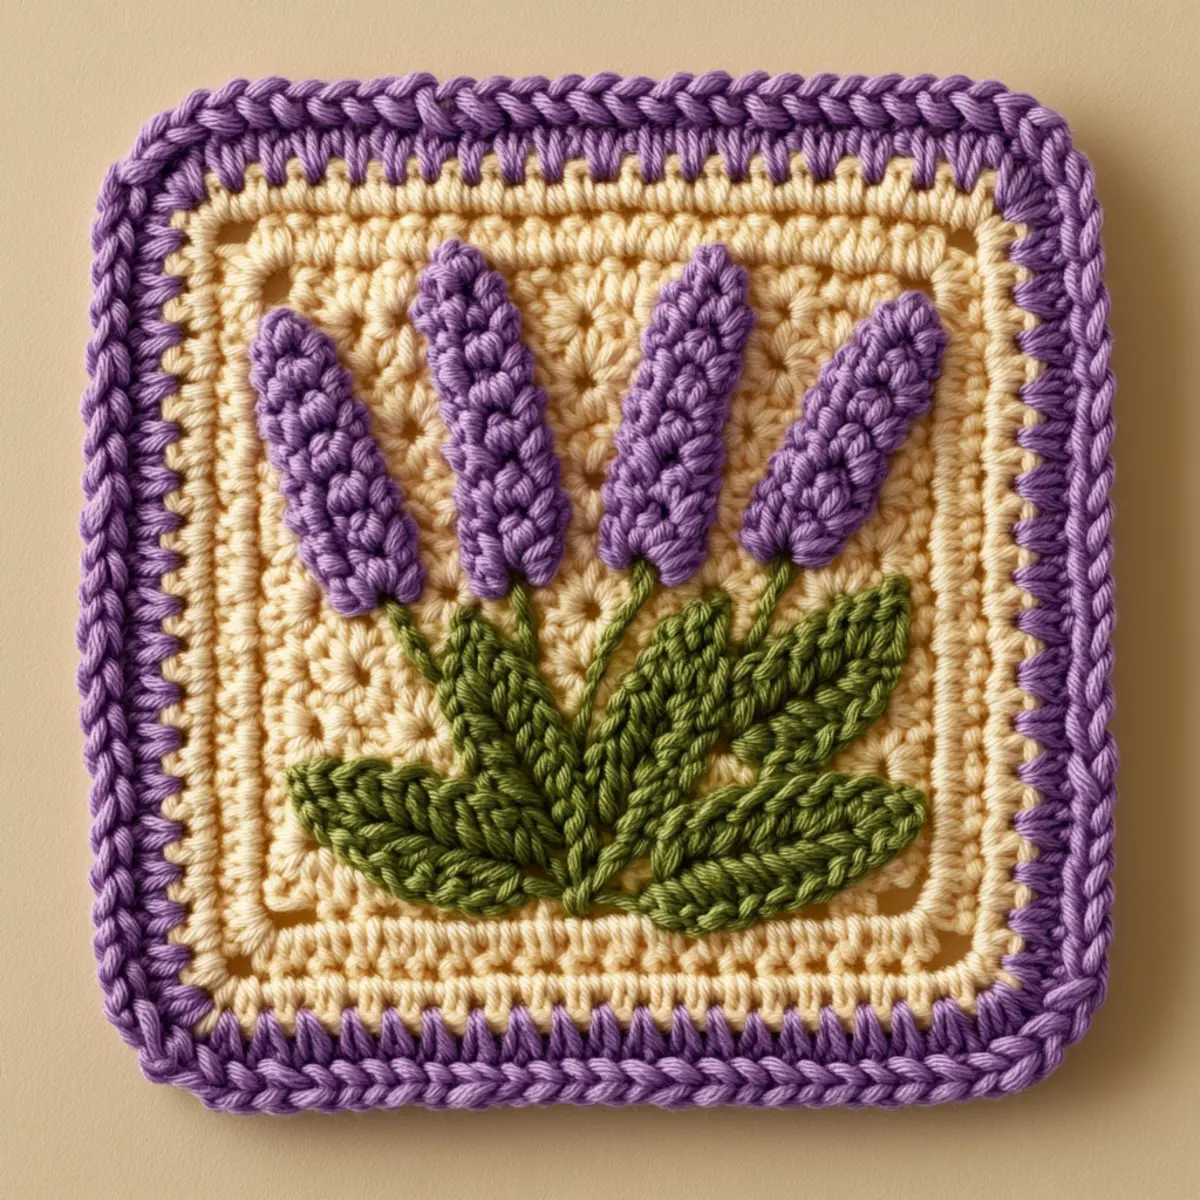
How to Wash and Care for Your Lavender Granny Square
Machine Washing: Use a gentle cycle with cold water. Avoid harsh detergents to maintain the integrity of the yarn, particularly if using a cotton blend.
Hand Washing: For best results, hand wash your finished square in lukewarm water with a mild detergent. Gently squeeze without wringing.
Drying: Lay flat to dry on a clean towel to prevent stretching. Avoid direct sunlight to maintain the vibrant lavender colors.
Blocking: After washing, pin your square to a blocking mat and lightly mist. This will help achieve crisp edges and a professional finish.
Expert Tips for the Best Lavender Granny Square
Count Carefully: Always keep track of your stitch count to avoid losing or gaining stitches. Use stitch markers to help you remember key points in your rounds.
Avoid Twisting: Ensure your foundation chain is not twisted before joining. A twisted chain can lead to uneven squares and frustration.
Check Tension: Consistent tension is crucial when crocheting flower clusters. Uneven tension can manifest in a wavy or misshapen square, particularly in the delicate puff stitches.
Use a Yarn Needle: Weaving in ends neatly with a yarn needle gives your lavender granny square a polished finish and keeps everything secure.
Experiment with Colors: Try different color combinations for your lavender motifs to personalize your square. Switch up the shades for a unique design that showcases your creativity!
Lavender Granny Square Variations
Feel free to explore different options to personalize your lavender granny square!
- Gradient Effect: Experiment with light, medium, and deep lavender yarn for an eye-catching ombre look.
- Color Swaps: Try shades like blue or pink to capture a dreamy aesthetic and switch up the theme.
- Yarn Alternatives: Use a cotton blend for a lighter and more breathable square, perfect for warmer seasons or accessories.
- Size Adjustments: Alter the foundation chain and stitch counts to create smaller or larger squares tailored to various projects.
- Texture Enhancements: Incorporate various stitch techniques such as bobbles or a shell stitch for added dimension and flair.
For a unique twist, envision the lavender granny square framed with alternative motifs or borders to uplift its charm. Perhaps pair it with a Crochet Azalea Flower to create a stunning table centerpiece. Meanwhile, the versatility of color combinations lends itself to endless creative projects—perfect for adventurous crocheters longing to experiment. Celebrate your imagination with every stitch!
- Mixed Media: Combine with embroidery or fabric for a one-of-a-kind, personalized work of art.
- Motif Variations: Add different flowers like the Crochet Osmanthus Flower to create vibrant motifs that tell a floral story.
- Fringe Details: Include fringe or tassels for a bohemian vibe to transform your square into a statement piece.
Each alteration can turn your square into a distinctive creation, reflecting your personal style while enhancing your crochet collection.
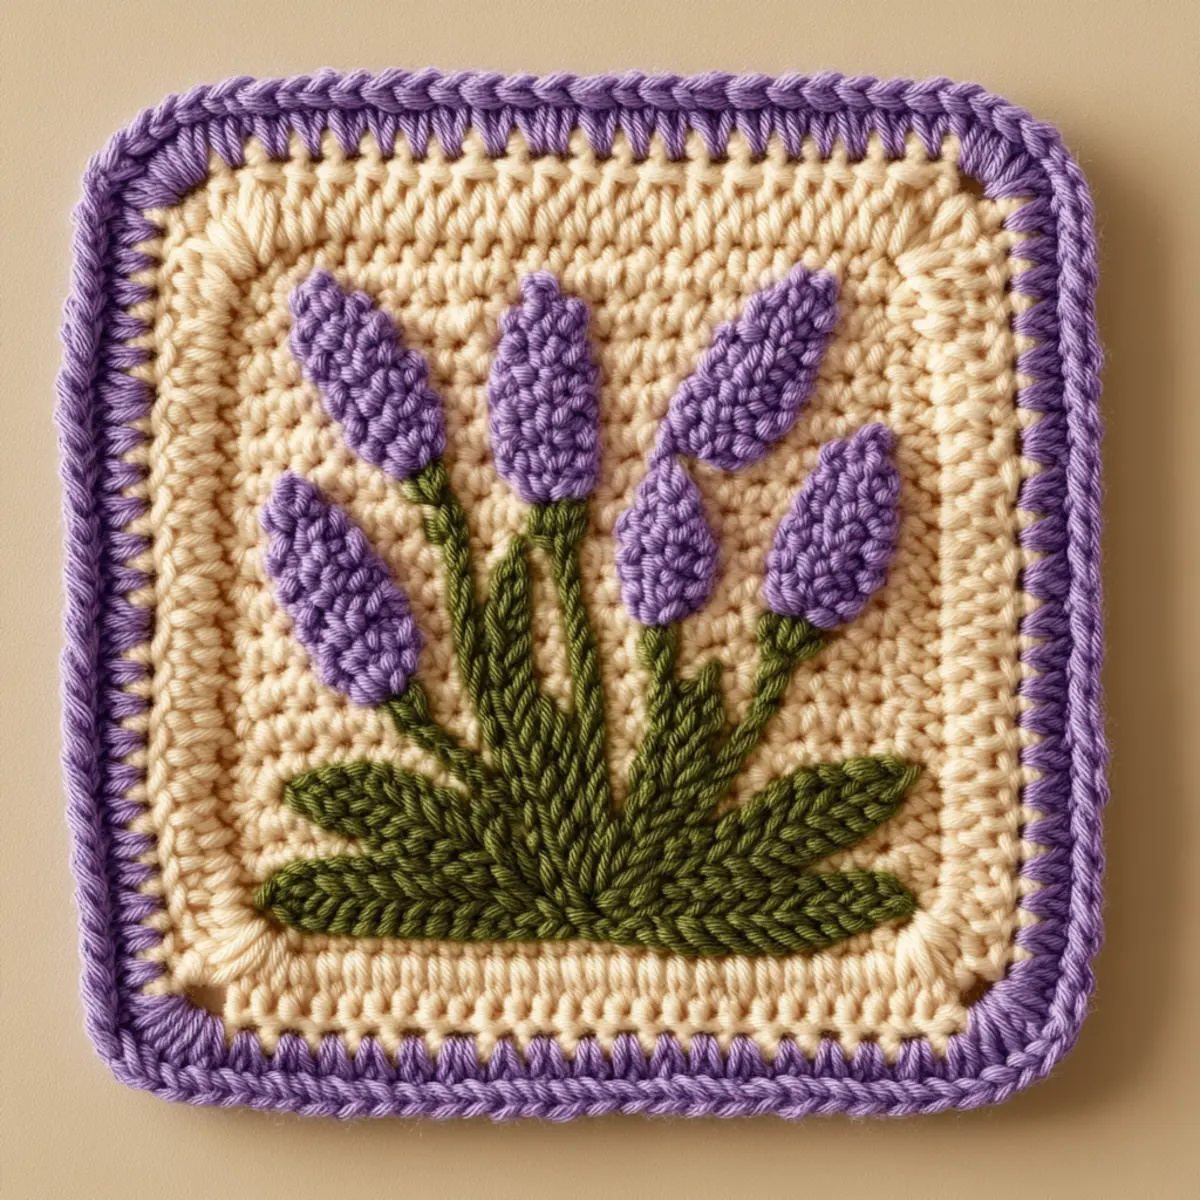
Lavender Granny Square FAQs
Can I use different yarn types for this project?
Absolutely! While medium weight acrylic or cotton blends are ideal, you can also experiment with other yarn types to create a unique texture and look.
How do I adjust the size of my lavender granny square?
To adjust the size, you can change the length of your foundation chain or the number of rounds you crochet. This allows you to make smaller or larger squares as needed for different projects.
What hook size works best for this pattern?
A 4.0-5.0 mm crochet hook, specifically a G or H size, is recommended. This size helps achieve the best tension for your lavender granny square.
What should I do if my square starts curling?
Don’t panic! Curling can often be fixed by ensuring your tension is consistent. If it persists, try blocking your square to lay it flat. This reinforces the shape.
How can I prevent dropped stitches while crocheting?
To avoid dropped stitches, always count your stitches periodically and consider using stitch markers to track rounds or difficult sections, especially when transitioning between the flower and stem parts.
Can I add more floral elements to the square?
Certainly! Feel free to add additional motifs or embellishments to enhance your lavender granny square’s design. This will increase its versatility and uniqueness!
Leave a Reply