
As I sat in my cozy nook, the gentle clink of my hook and the vibrant yarn colors around me brought an overwhelming sense of joy and creativity. That’s when the idea of crafting a crochet azalea flower struck—a project that beautifully melds artistic flair with practical skill. Not only are these intricate blooms visually stunning, but they also serve as a lasting alternative to fresh flowers, perfect for enlivening any space within your home or gifted to someone special. With the right light worsted yarn and just an intermediate level of experience, you can practice advanced stitches while expressing yourself through these delightful floral designs. Ready to fill your space with the essence of spring, one cozy stitch at a time? Let’s dive in and create something magical together!
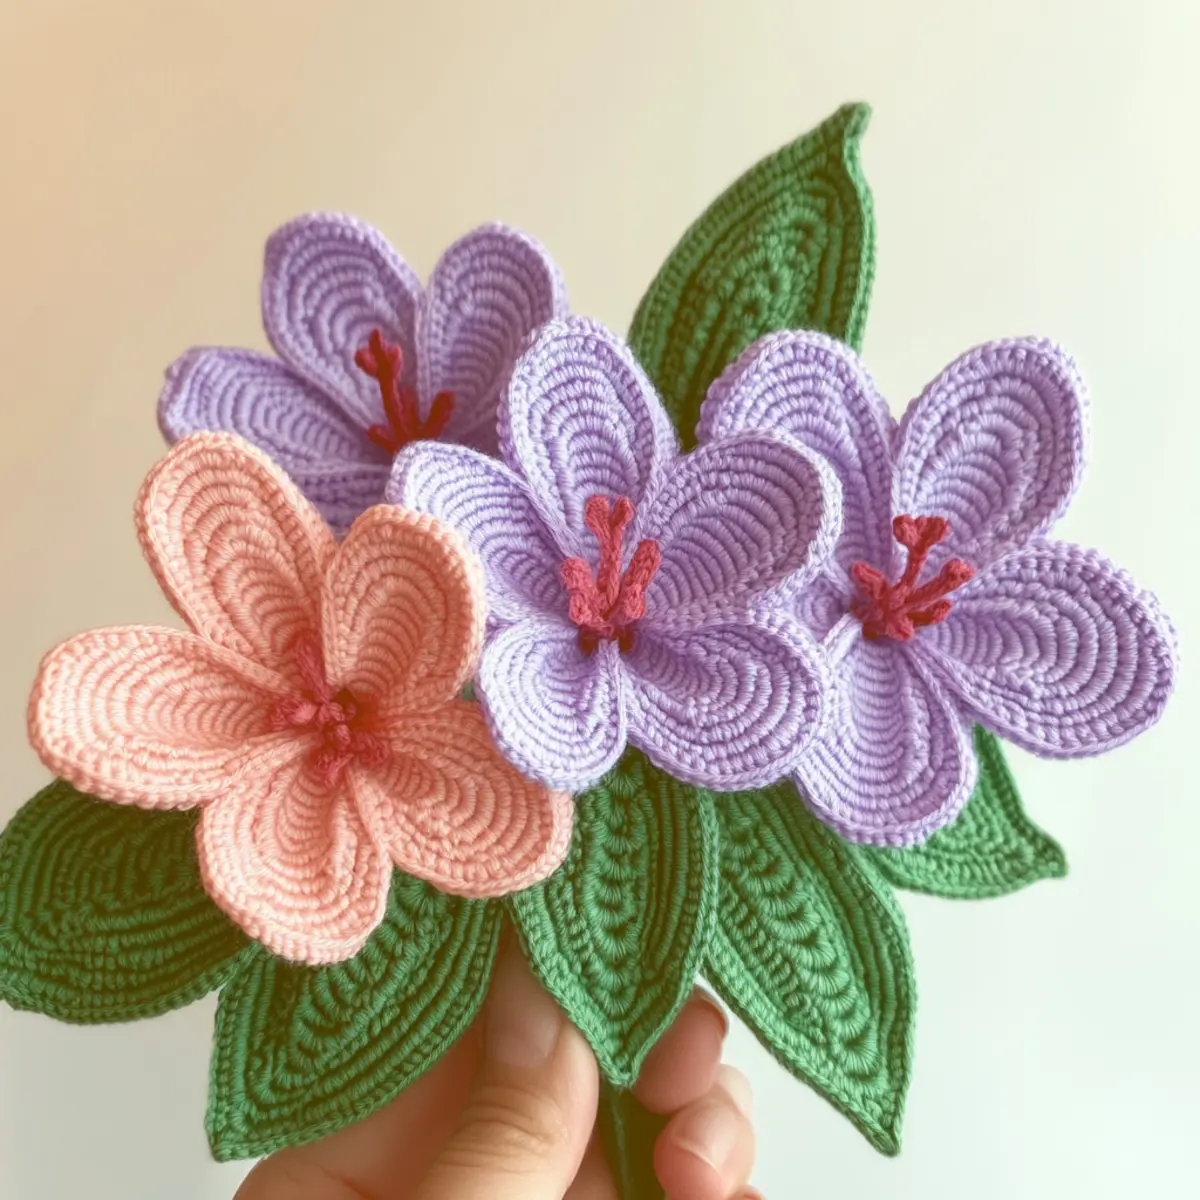
Crochet Azalea Flower Materials & Tools
Yarn
• Light Worsted Yarn (Category 3) – Opt for cotton or cotton blend yarn for durability and a beautiful finish.
• Yarn in Various Colors – Each flower may require around 50-75 yards; experiment with color gradients for stunning results!
Tools & Notions
• 3.5mm (E/4) Hook – This hook size is ideal for achieving the right tension and texture in your floral petals.
• Yarn Needle – Use this for sewing your flower pieces together seamlessly.
• Floral Wire – Essential for shaping the flower stems and securing your blooms in bouquets.
• Twist Ties – Great for keeping your stems organized and together.
• Small Beads – Add these for decorative flower centers, giving your crochet azalea flowers extra charm.
With these materials, you’re all set to embark on your delightful crochet azalea flower journey!
Why Craft a Crochet Azalea Flower?
Stunning Aesthetic: Each crochet azalea flower boasts vibrant colors and intricate details, perfect for adding charm to any space.
Versatile Designs: Use these floral beauties in bouquets, home décor, or as thoughtful gifts, making them suitable for every occasion.
Skill Enhancement: Challenge yourself with intermediate stitches like front post double crochet and elevate your crochet skills while crafting.
Long-Lasting Appeal: Unlike fresh flowers, these crocheted blooms won’t wilt! Enjoy their beauty year-round with minimal upkeep.
Expandable Creativity: Personalize your flowers with color gradients or embellishments, allowing your creativity to blossom. Check out ideas for Crochet Floral Squares to inspire your projects!
Gauge & Sizing Notes
Don’t skip the gauge swatch! Ensuring you have the correct tension is essential when creating your crochet azalea flower, as it affects the overall size and look of your blooms. Aim for a gauge of 4×4 inches (10×10 cm) measuring 14 double crochets by 8 rows. If you find your tension is off, it’s quite easy to adjust sizing; simply increase or decrease your starting chain in multiples of 6 + 2 for larger flowers, or you may need to choose a different hook size to achieve your desired gauge. If your swatch is smaller than expected, try a larger hook, and if it’s too big, consider going down a size. Happy crocheting!
Step‑by‑Step Pattern for crochet azalea flower
Row 1: Flower Center
Start by creating a magic ring. Work 12 single crochets (sc) into the ring, pulling it tight to close. Join with a slip stitch (sl st) to the first sc to form a center circle. Your work should feel snug, and you’ll have a small, central base where the azalea petals will bloom from.
Round 2: Petal Base
Ch 3 (counts as first double crochet, dc), then work 2 dc into the same stitch. Next, skip the next stitch, and in the following stitch, work 3 dc. Repeat from * to * around for a total of 6 petals. Join with a sl st to the top of the ch-3, and your work should resemble a flower’s foundation with distinct petal shapes forming.
Round 3: Shaping Petals
For each petal, ch 2, and work 1 hdc and 2 dc into the same stitch. This creates a rounded effect. Repeat for all 6 petals. Join with a sl st to the top of the first petal to finish this round. Your petals should now have a lovely curve, enhancing the flower’s dimensionality.
Round 4: Adding Texture
To add texture, work 1 fpdc around the first dc of each petal. After that, ch 2, then work 1 bpdc around the same stitch. Repeat this across each petal for a total of 6. Join with a sl st. At this stage, your flower should be beautifully textured, creating a realistic look with raised petals.
Round 5: Final Petal Detail
To further define the petals, chain 1, then work 1 sc into the top of each petal. This will give a clean, sharp finish to the edge. Join with a sl st, ensuring all 6 petals are clearly outlined. Your crochet azalea flower should now appear fuller and more prominent!
Step 6: Leaf Creation
For the leaves, ch 10, then in the third chain from the hook, work 1 dc, 2 hdc, and 4 sc. Turn your work and repeat the same way for the other side. Join the last stitch with a sl st to the starting chain. The leaf should have a tapered shape, adding visual interest to your finished bouquet.
Step 7: Assembly
Attach leaves to the base of each flower using sl st. Shape the floral wire into desired length and insert into the center of the flower. Use twist ties to secure the flowers together if making a bouquet. Your crochet azalea flower is now ready to bring a touch of nature into your home or to be gifted!
Step 8: Finishing Touch
Finally, consider steam blocking your crochet azalea flowers to enhance their shape and set the stitches. Aim for a soft drape with a firm structure; this will allow for easy positioning. Hold your finished flowers up to admire their beauty—each one measuring around 4-6 inches in diameter, ready to inspire joy in your space!
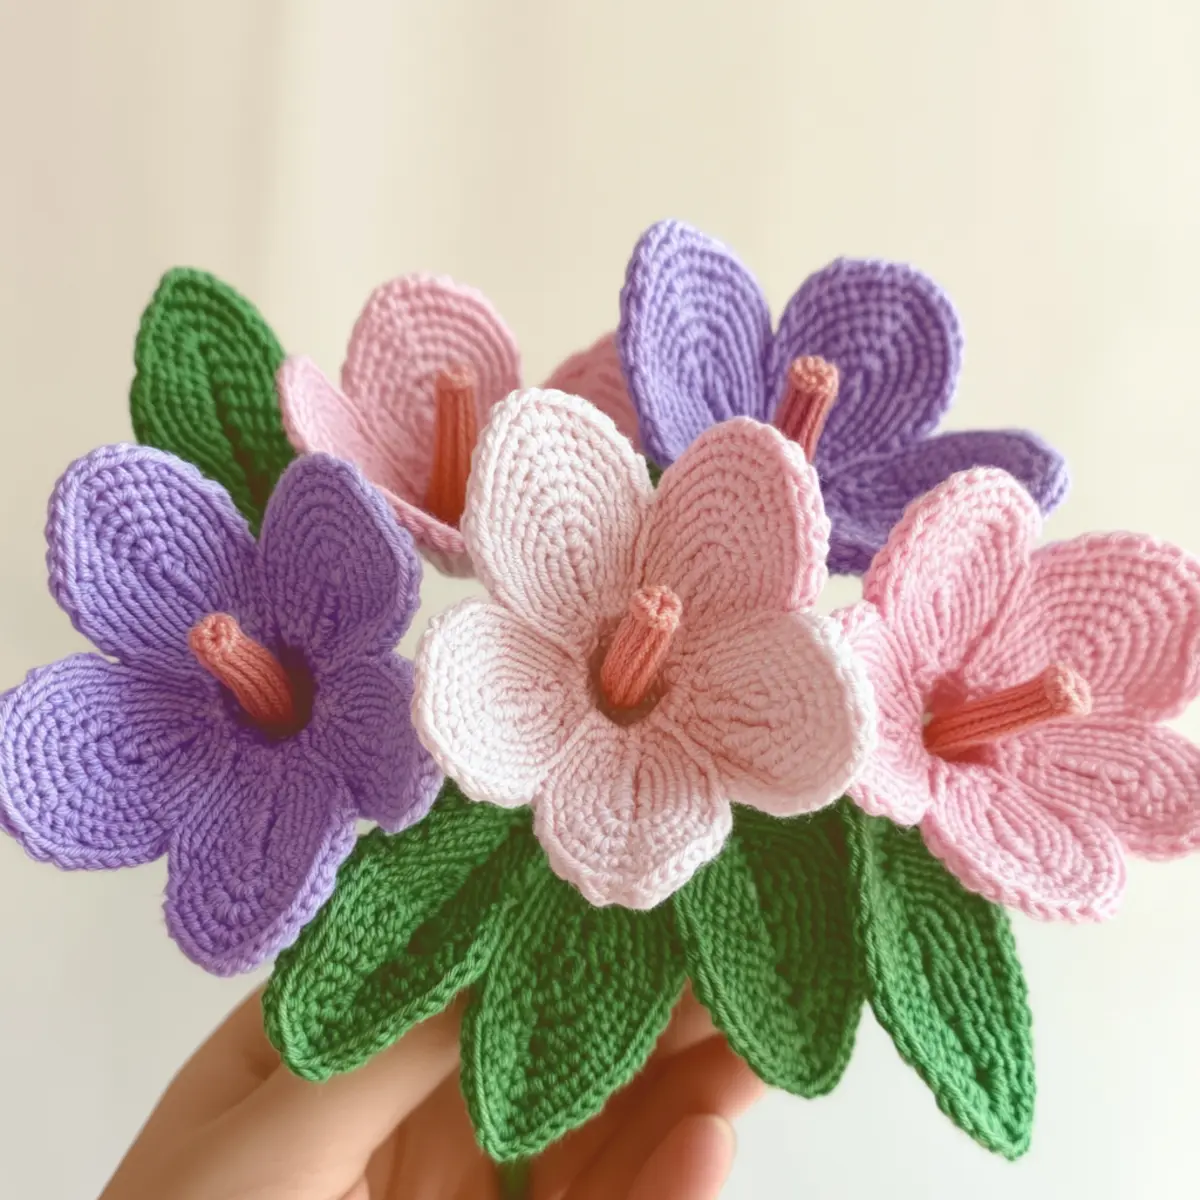
Crochet Azalea Flower Variations
Embrace your creativity and make these crochet azalea flowers truly your own with delightful variations!
-
Yarn Substitutions: Experiment with cotton blends for durability or switch to a soft acrylic for a cozy feel. This simple change can completely transform the vibe of your flowers.
-
Color Block Designs: Use multiple yarn colors to create striking flower arrangements. Pair shades like pinks and purples for a vibrant bouquet that pops!
-
Size Adjustments: Alter the size of your flowers by using a larger or smaller hook. Bigger blooms make bold statements, while smaller ones can add delicate charm.
-
Texture Modifications: Add texture by introducing fun elements like pom-poms, fringe, or a decorative border around each flower. These playful touches will enhance the visual interest.
-
Leaf Variations: Create leaves in various shapes or sizes. Mixing smaller or larger leaves will provide your bouquet with an exciting visual contrast.
-
Embellishments: Drape your petals with beads or tiny embroidered designs for an exquisite finish. Enhance the beauty of your crochet azalea flowers with simple yet impactful details.
-
Gradient Flowers: Use yarn that transitions between light and dark shades, resulting in stunning ombre blooms that elegantly capture the essence of nature’s beauty.
While you’re exploring these variations, don’t forget to check out other projects like the Solid Granny Square or Sunflower Granny Square for additional crafting inspiration!
Expert Tips for Crochet Azalea Flowers
Maintain Even Tension: Keep a consistent tension throughout your work to ensure that all petals are uniform in shape and size.
Count Stitches Carefully: Watch your stitch count, especially during the petal rounds, to avoid asymmetrical flowers that can detract from your design.
Blocking Techniques: Use steam blocking to help set stitches and enhance the overall appearance of your finished crochet azalea flower.
Layering Tips: When constructing each flower, build in layers starting with a strong center to ensure stability and shape for your petals.
Embellish Creatively: Consider adding beads or embroidery to the petals for a personalized touch, creating beautiful details that make your flowers stand out.
How to Wash and Care for Your Crochet Azalea Flower
Machine Washing: Use a delicate cycle with cold water to prevent any felting or pilling that can occur with more vigorous agitation.
Hand Washing: If you prefer a gentler approach, soak your crochet azalea flower in cool water with mild detergent. Gently squeeze out excess water without wringing.
Drying/Blocking: Lay your flowers flat on a clean towel and reshape them as needed. For better definition, steam block them to help set the stitches beautifully.
Storage: Keep your crochet azalea flowers in a cool, dry place away from direct sunlight to maintain their vibrant colors and structure.
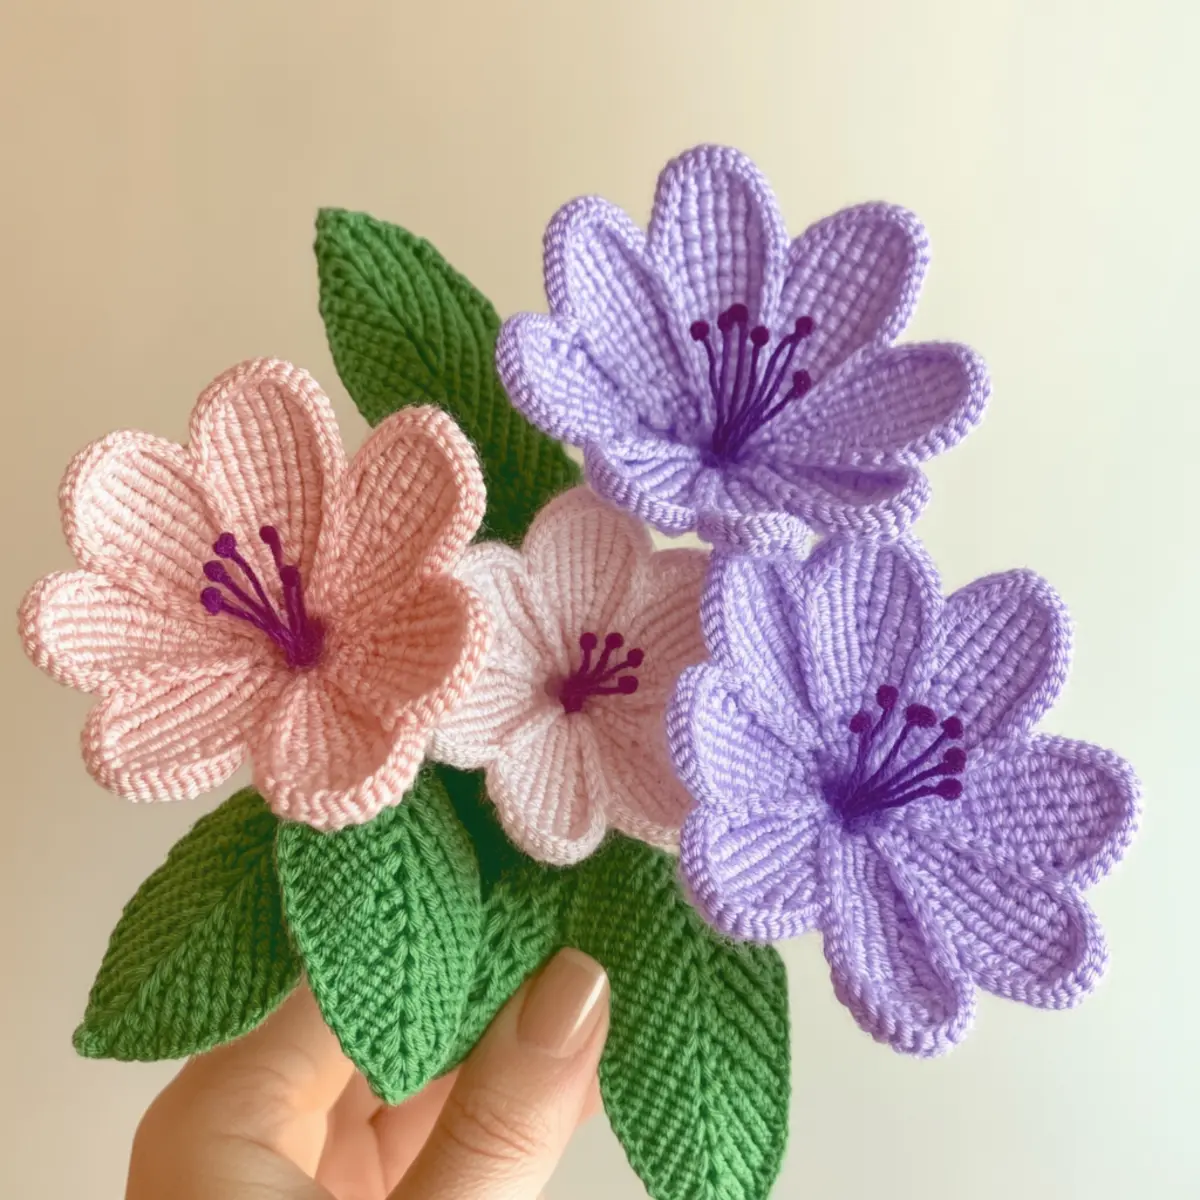
Crochet Azalea Flower Bouquet FAQs
Can I substitute yarn types for this project?
Absolutely! While using light worsted cotton or a cotton blend is recommended for durability and color retention, you can opt for plush acrylic yarn if you prefer a softer touch and different visual appeal. Just keep in mind that this may affect the finished flower’s shape and texture.
What if I want to make my crochet azalea flowers larger or smaller?
To adjust the size of your crochet azalea flowers, you can either use a larger hook size or opt for a heavier weight yarn. If you want to go smaller, simply switch to a smaller hook and lighter yarn. Remember, also adjusting your tension will help maintain the flower’s structure!
Why is my crochet azalea flower curling?
Don’t panic! If you notice your flower curling, it may be due to tight tension or an uneven stitch count. Try gently blocking the flower with steam to help flatten and shape it properly. If the issue persists, checking your tension while crocheting can avoid curls for the next blooms.
What should I do if I’ve dropped a stitch?
It’s an easy fix! Just locate the dropped stitch and use a yarn needle to pull the working yarn through the stitch once you’ve recovered it. For future projects, try to stay vigilant while counting your stitches, especially in complicated rounds.
What hook size should I use for the crochet azalea flower?
For this crochet azalea flower project, I recommend using a size E/4 (3.5 mm) hook. This size will help create the detailed, textured petals that give the flower its beautiful shape. Be sure to check your gauge, too, as it can influence the final flower size!
How do I get the flowers to hold their shape?
To ensure your finished flowers have a firm structure, use floral wire or a wooden dowel to stitch the flowers onto. This provides stability to your bouquet and makes it easy for you to arrange them just the way you want.
Leave a Reply