
As I sat in my cozy craft corner, the sunlight danced playfully across my yarn stash, where vibrant shades of yellow and white were just waiting to be transformed. This inspired me to dive into a delightful creation: the crochet daisy square. With its cheerful floral design, this lovely project brings a touch of nature right into your home. Not only is this pattern a speedy option for those looking to whip up last-minute gifts, but it’s also a fabulous way to use up those leftover scraps of yarn lurking in your stash. Perfect for everything from brightening up your space with decorative pillows to crafting unique coasters, you’ll love how versatile and fun this crochet daisy square is. Ready to bring some springtime cheer into your crochet collection? Let’s get started!
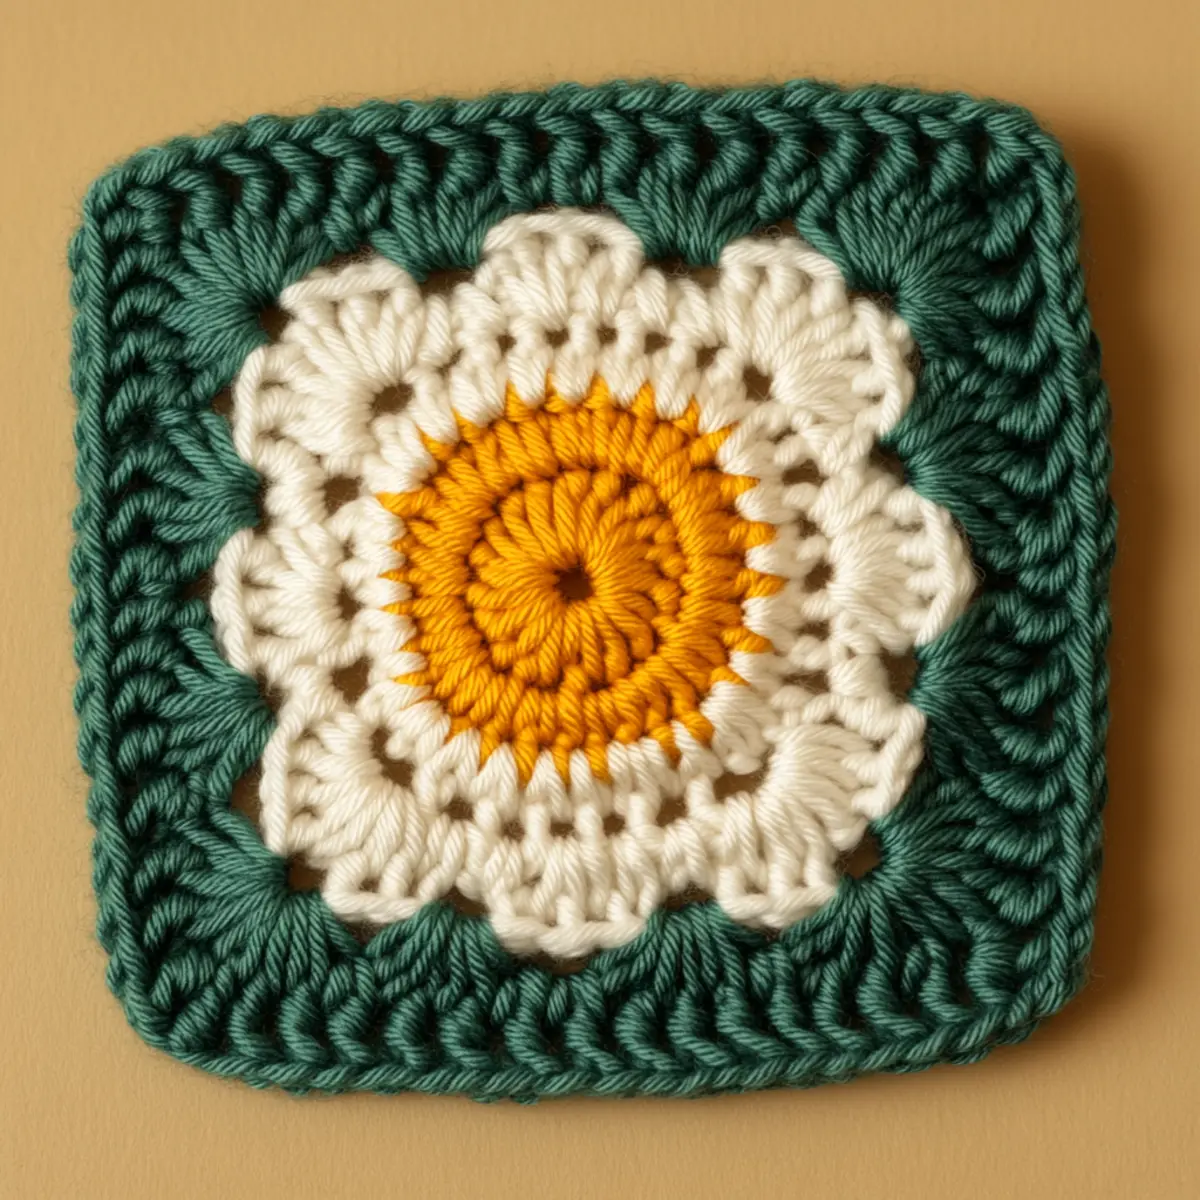
Crochet Daisy Square Materials & Tools
Note: Gather these supplies to bring your crochet daisy square to life!
Yarn
• Worsted Weight Yarn (Category 4) – Approximately 100-150 yards in deep green (border), white (petals), and bright yellow (center).
Tools & Notions
• 5.0mm (H-8) Hook – This size will help you achieve the perfect gauge for your crochet daisy square.
• Yarn Needle – Essential for weaving in your ends smoothly, making your project look polished and neat.
• Scissors – For trimming off any excess yarn and finishing your project with flare.
• Stitch Markers – Handy for keeping track of rounds and ensuring your petals come out beautifully uniform.
Why Is the Crochet Daisy Square a Must-Try?
Versatile Creation: This crochet daisy square can be adapted into delightful coasters, vibrant blankets, or charming bags, making it a go-to project for all occasions.
Quick to Make: With its straightforward construction, you’ll enjoy a rapid production time, making it perfect for those last-minute gift ideas or simply satisfying your crochet cravings.
Stash-Busting Potential: Utilize those leftover yarn scraps—this pattern is a fantastic way to turn odds and ends into something beautiful! Plus, if you’re looking for more options to clear your stash, check out the Crochet Tulip Pattern for additional floral fun.
Eye-Catching Design: Its cheerful daisy motif not only brightens up your home but infuses joy into your crafting sessions, allowing you to express your creativity fully.
Customizable Colors: Feel free to switch up your color palette for a more modern twist—imagine a bright blue border instead of green! Your creations can reflect your personal style beautifully.
Supportive Community: Join fellow crafters in exploring various interpretations of this pattern, fostering a sense of camaraderie and inspiration within the fiber arts community.
Gauge & Sizing Notes
Don’t skip the gauge swatch! Ensuring your tension is correct is vital for the beauty and fit of your crochet daisy square. The standard gauge for this project is 4×4 inches (10×10 cm) equals 14 double crochets by 8 rows. If you wish to adjust the size, for instance, to make the square larger, simply start with a chain in multiples of 6 + 2 to maintain the daisy motif’s integrity. If your swatch ends up too small, don’t worry! Just go up a hook size and give it another go. Happy crocheting, and enjoy creating your perfect crochet daisy square!
Step‑by‑Step Pattern for Crochet Daisy Square
Row 1: Start with the Magic Ring
Begin by creating a magic ring. Ch 3 (counts as the first dc), then work 11 dc into the magic ring for the daisy center. Pull the ring tight, ensuring the stitches form a circle. Join with a sl st to the top of the initial ch 3. Your work should have a cozy, round shape with a total of 12 dc (12 sts).
Row 2: Daisy Petals
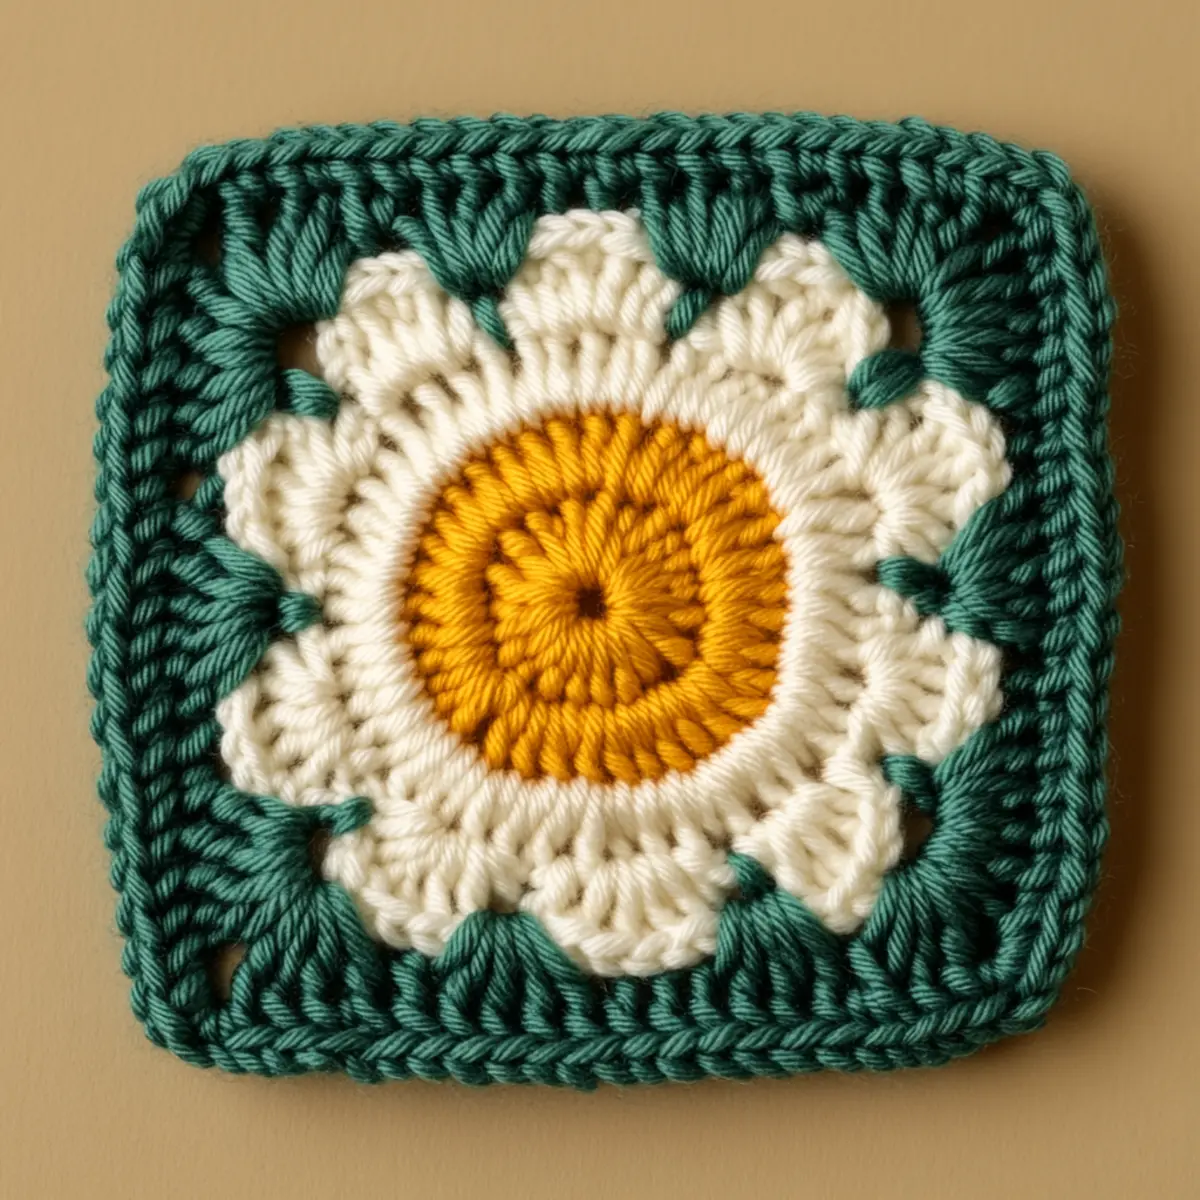
Ch 2 (counts as the first hdc), then hdc in the same stitch. Next, work 2 dc in each of the next 11 sts for the petals, totaling 24 sts. For each petal, chain 2, and then sl st back to the 2nd dc of the petal. After completing all petals, ensure they fan out around the center, creating a breezy look with a total of 12 petals.
Row 3: Petal Joining
This round focuses on creating petal peaks. Sl st into the first petal gap and ch 3 (counts as dc), followed by 2 dc in the same gap. In the next petal gap, work a sl st, then repeat the (3 dc, sl st) sequence around each of the 12 petal gaps. You should have a lovely floral effect, with a total of 36 dc in the round (36 sts).
Row 4: Begin the Border
To add the green border, join your green yarn in any petal gap. Ch 1, and then make 3 sc in the same gap to create a rounded corner. Work 1 sc in each dc space around, making 3 sc in each petal gap to maintain the curve. At the end, join with a sl st to the first sc. Your work should now take on a defined square shape (total 48 sc).
Row 5: Continue the Border
In this round, ch 1 and add 2 sc in each corner space for a cohesive edge. Continue working 1 sc in each sc from the previous round. This will provide a lovely texture. Repeat around the square, looking for that refreshing finish. Your border should firm up nicely, achieving a total of approximately 60 sc, bringing your crochet daisy square to life.
Row 6: Final Touches
For the last round, ch 1 and work 1 sc in each sc around your square for a clean edge. To finish, join with a sl st to the first sc. This step solidifies your crochet daisy square’s structure while giving it a polished look. You might want to visually check that all corners gracefully meet, completing your delightful project with around 60 sc in total.
Washing & Care for Your Crochet Daisy Square
Machine Washing: Use a gentle cycle with cold water to prevent any felting or pilling. This will help maintain the bright colors and structural integrity of your crochet daisy square.
Hand Washing: For optimal care, hand wash your square in cold water with a mild detergent. Avoid excessive agitation, as it can distort the lovely floral design.
Drying/Blocking: After washing, lay your crochet daisy square flat on a clean towel to dry and reshape. This helps preserve the shape without compromising the flower’s beauty.
Storage: Store your finished crochet square in a cool, dry place. Avoid direct sunlight to keep colors vibrant and prevent any fading or discoloration over time.
Expert Tips for Crochet Daisy Square
• Tension Matters: Keep an eye on your tension to avoid curling edges. A loose gauge can lead to an uneven square, so check your gauge with a small swatch before starting.
• Count Carefully: Counting each round is key! Use stitch markers to keep track of your progress, especially when working on the daisy petals. This will help prevent mistakes that can disrupt the flow of your crochet daisy square.
• Finish Neatly: When completing your square, ensure that the slip stitches are tidy for a polished look. This will help maintain the overall integrity and aesthetics of your finished project.
• Steam Block for Perfection: Lightly steam block your square to redefine its shape without altering texture. Using a blocking mat can also ensure that you achieve those clean, crisp edges.
• Mind Your Colors: If you’re experimenting with a color palette, be cautious with contrasting shades. A bright border can enhance your daisy petals, but make sure they harmonize to create a cohesive look.
Crochet Daisy Square Variations
Embrace the joy of creativity by transforming your crochet daisy square into something uniquely yours!
-
Yarn Substitutions: Switch to cotton yarn for a breezy summer feel! This will make your square light and perfect for warmer weather.
-
Color Blocking: Experiment with two pastel shades for a fresh, trendy vibe. For instance, try lavender petals with a mint green border for a soft, inviting look.
-
Larger Squares: Use a larger hook size and worsted weight yarn to create an oversized square. This can serve as a cozy mat or larger pillow cover, adding charm to your décor.
-
Textured Petals: Add a few bobbles or puff stitches to the daisy petals for a delightful texture! This will bring depth and interest to your design and is a fun way to show off your skills.
-
Play with Background: Instead of a solid color, use a gradient yarn for the border. Watch how it blooms alongside those cheerful daisies, making it feel like a piece of art!
-
Unique Gifts: Make your crochet daisy squares into coasters by decreasing the size. Simply adjust the yarn weight and hook for a practical yet charming gift that friends and family will cherish.
-
Seasonal Themes: Create variations for different seasons! A rich orange and deep red selection can evoke autumn, while shades of blue can reflect winter’s chill.
If you’re feeling adventurous, consider designing a matching item alongside your crochet daisy square, such as a lovely bag or a decorative cushion! For more inspiration, the Magnolia Crochet Pattern or the delightful Crochet Squirrel Charming could spark further ideas to enrich your crafting journey.
Crochet Daisy Square FAQs
Can I use a different yarn than the recommended worsted weight?
Absolutely! While the pattern suggests worsted weight yarn (Category 4), you can substitute it with other yarn types like cotton for a lighter feel or a thicker yarn for a chunkier look. Just be sure to check your gauge to maintain the dimensions.
How do I make the crochet daisy square larger or smaller?
To adjust the size, you can change both your yarn weight and hook size. For smaller squares, use a thinner yarn and smaller hook, while larger squares can be created with thicker yarn and a larger hook. Remember to keep proportions in mind and check your gauge for accuracy!
Why is my crochet daisy square curling at the edges?
Don’t panic! Curling edges are often due to tension issues. If your stitches are too loose, consider tightening them up as you work or try going down a hook size. Also, checking your gauge with a swatch is always a wise idea before starting.
How do I fix dropped stitches in my crochet project?
It’s an easy fix! If you notice a dropped stitch, carefully insert your hook back through the stitch from where it fell. Yarn over and pull through, reworking the stitch as needed. If it’s several rows down, just pull it back to the correct row and work your way back up.
What hook size should I use for this project?
The pattern recommends a 5.0 mm (H-8) crochet hook to achieve the desired gauge, but depending on your personal tension, you might want to adjust it slightly. Always check how your work feels and looks with your chosen hook!
How can I ensure my color changes are seamless?
For neat color changes, make sure to to finish the last stitch of the old color just before the end and join the new color seamlessly. You can maintain a tidy appearance by weaving in any ends at the end of your crochet daisy square!
Leave a Reply