
The moment I finished my first Crochet Puppy Pattern, it felt like the fluffy spirit of a playful pup jumped right into my hands. This delightful project is not only a realistic homage to our pet companions but also a perfect stash-buster for those leftover yarns hiding in the corner of the craft room. You’ll appreciate how quickly this project comes together, giving you instant satisfaction and a cuddly companion. Using soft, plush yarn, your finished product will be irresistibly cozy for everyone who encounters it, making it a fantastic gift or decoration. As I stitched together the components, I was pleasantly surprised by how easy it was to customize features like color and accessories, transforming each puppy into a unique character. This pattern is perfect for beginners who are ready to take their first steps into the world of amigurumi. Who knew that creating a lifelike crochet puppy could spark such joy and creativity?
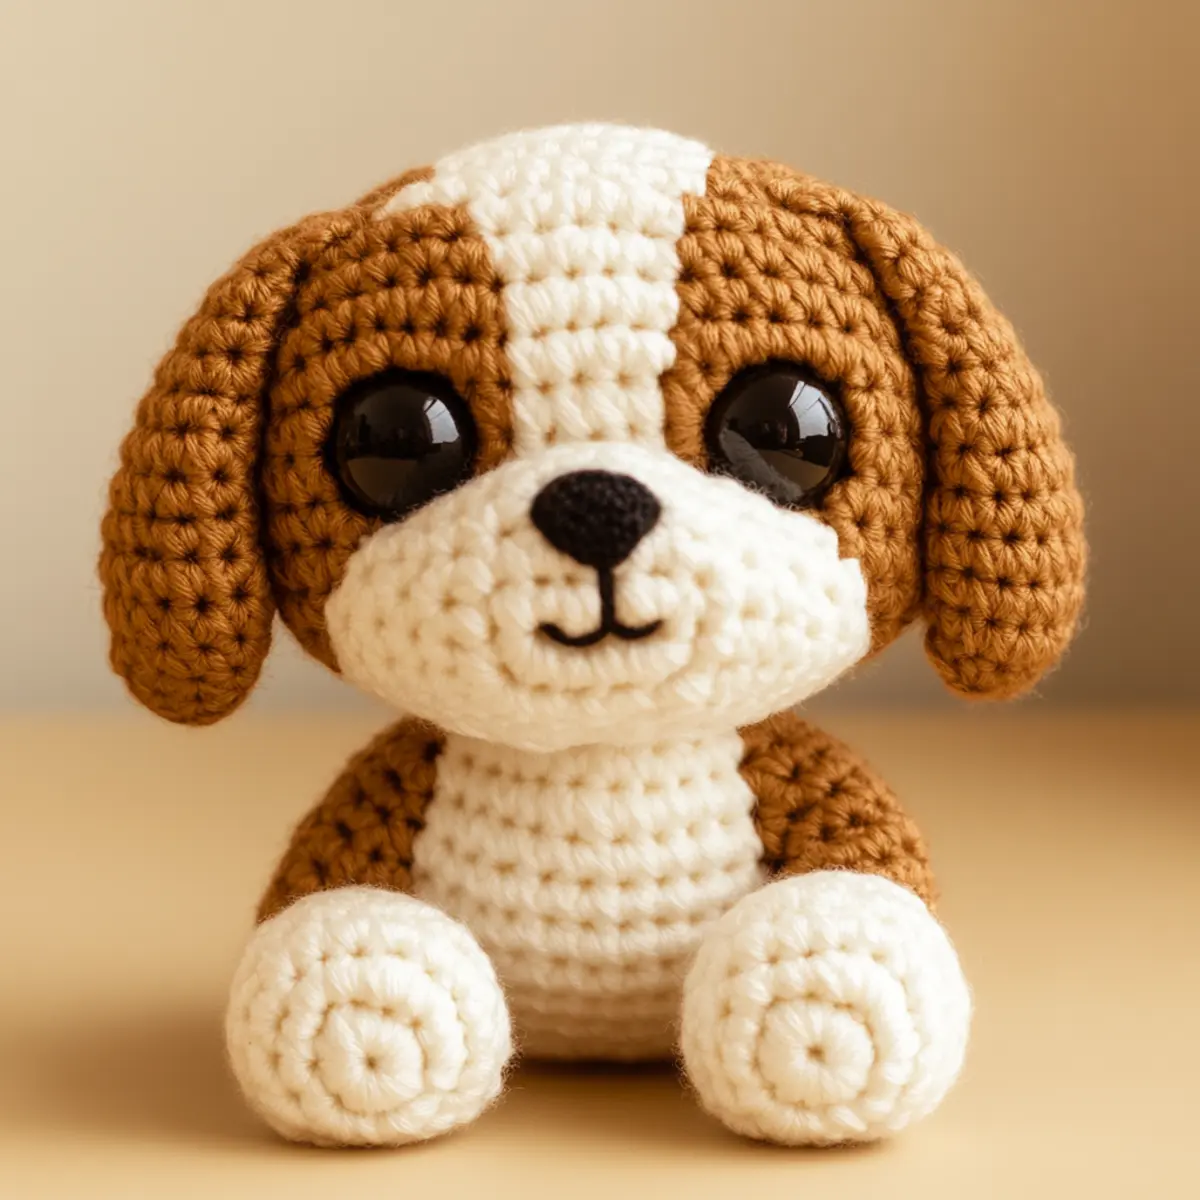
Crochet Puppy Pattern Materials & Tools
Yarn
Himalaya Dolphin Baby – Choose this soft and plush yarn for a light, huggable puppy; approximately 300-400 yards total in white, light brown, and dark brown will suffice.
Tools & Notions
3.5 mm (E/4) hook – Ideal size for crafting the yarn tightly, enhancing the puppy’s snug appearance.
12 mm safety eyes – Adding realism; ensure they are securely attached for safety.
16 mm safety nose – Provides a cute and lifelike feature that completes your puppy.
Fiberfill stuffing – Use this to give your puppy a plump and cuddly shape; the amount will depend on the fullness desired.
Yarn needle – Perfect for weaving in ends and stitching pieces together neatly.
Scissors – Keep handy for easy trimming of yarn ends.
Stitch marker – A must for tracking rounds, especially in sections like the body and limbs where count consistency is crucial.
Why You’ll Love This Pattern
Unleashing creativity is easy with this playful puppy design. Simplicity reigns, making it accessible even for newcomers to crochet; the straightforward construction lets you focus on your stitching rather than complex techniques. Texture plays a key role thanks to the soft yarn used, yielding a delightful, plush finish that invites cuddles. It’s truly a stash-friendly pattern, perfect for utilizing those partial skeins you’ve been hoarding. Additionally, this pattern allows for customizability – want a polka-dot puppy? Go for it! Each project becomes a unique expression of your style. Also, the time-saving aspects cannot be overstated; this quick project is ideal for a weekend crafting spree or a last-minute gift. For those inspired by other simple designs, check out Crochet Daisy Square and Crochet Granny Square for even more crafting fun. Experience the joy of creation with a project that brings warmth and charm into your home.
Gauge & Sizing Notes for Crochet Puppy Pattern
Checking your tension is vital for the crochet puppy pattern, ensuring your finished piece holds its shape and dimensions as intended. Aim for a standard gauge of 4×4 inches (10×10 cm), striving for 12 sc and 14 rows. Adjust your starting chain or rounds as needed for size modifications; if your swatch doesn’t match, consider using a larger or smaller hook to achieve your desired outcome. Remember to reference the project size: a finished crochet puppy typically comes out to about 28-30 cm (11-12 inches). Enjoy the freedom to personalize your crochet puppy pattern to fit your aesthetic, transforming this squishy companion into a rainbow of unique styles!
Step-by-Step Pattern for Crochet Puppy Pattern
Row 1: Magic Ring Start
Begin by creating a magic ring (MR), which will act as the center of your puppy’s head. Chain 1 and work 6 single crochet (sc) into the ring, pulling the tail to close it tightly. This establishes the foundation of your plush crochet puppy. (6 sc)
Row 2: Increase the Circle
In the next row, you will work increases to shape the head. 2 sc in each sc from the previous row (inc throughout), creating a nice round form. Don’t forget to keep your tension consistent as you want the head to be snuggly yet firm. (12 sc)
Row 3: Continue Shaping
In this row, sc in the next stitch, then inc in the following stitch. Repeat around to expand the head without creating a larger opening. This will help maintain the rounded shape of your crochet puppy’s head. (18 sc)
Row 4: Keeping it Round
Repeat the pattern as follows: sc in the next 2 stitches, inc in the next stitch. This variation will further increase your stitch count while keeping your puppy’s head proportionate and cute. (24 sc)
Row 5: Adding Depth
At this point, you’ll create a structured shape. sc in the next 3 stitches, inc in the next. This continues to add size while allowing you to control the depth of your puppy’s muzzle area. (30 sc)
Row 6: Attach Safety Features
Before proceeding, now is the time to attach the 12 mm safety eyes, positioning them well on the head, and then stitch the 16 mm safety nose below. This gives character and lifelike appeal to your crochet puppy pattern. (30 sc)
Row 7: Close the Head Shape
Continue with your head by sc in the next 4 stitches, inc in the next stitch. This row maintains the sweet fullness of the head while beginning to shape the top of the puppy’s head. (36 sc)
Row 8: Time for the Body
Change yarn to light brown and start shaping the body. Begin with another magic ring; in this row, work 6 sc into that magic ring. This creates a seamless transition and starts the barrel-shaped torso. (6 sc)
Row 9: Expanding the Form
For the body, work increases similar to the head. 2 sc in each stitch around. This rapid expansion gives the body the desired chubby look, perfect for a cuddly puppy. (12 sc)
Row 10: Building Up Those Rounds
This is where you add more dimension: sc in the next stitch and inc in the next. Alternate to provide the puppy shape that narrows down into the legs! (18 sc)
Row 11: Finalize the Body
At this point, work rows of straight sc, maintaining the 24-30 stitch count to elongate the body, keeping in mind the plush feel of the yarn. (24 sc)
Row 12: Attach the Limbs
Crochet the legs and attach them at the base of the body. You can use a vital stitch marker here to ensure consistent placement in your crochet puppy pattern. Confirm the legs remain sturdy enough to support your creation’s weight. Stitch securely once you are satisfied with the positions.
Row 13: Complete the Tail
Finish your puppy with a tail made of a single sc chain with your chosen yarn color and attach it securely to the back. Ensure it’s fluffy enough to be playful. This makes your crochet puppy fully complete! (1 tail, 12 sc)
Row 14: Final Assembly
Use the yarn needle to weave in the ends and secure all positions. Finalize any plush areas that may need adjusting. Take pride in your work as you look over your adorable crochet puppy. (Final touches made)
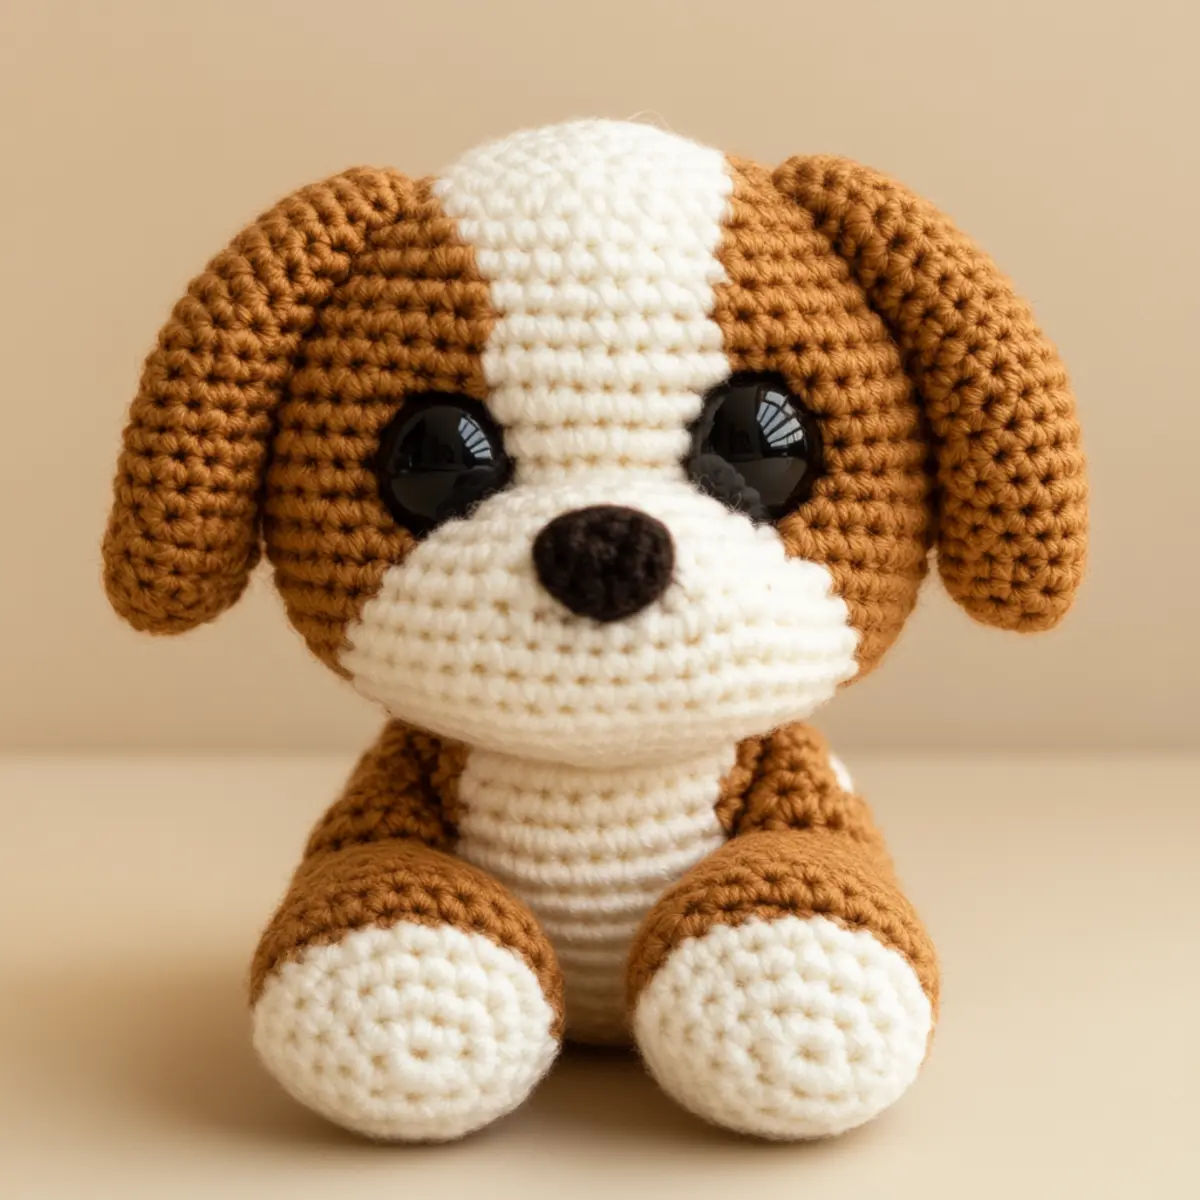
crochet puppy pattern variations
Feel free to explore and customize your crochet puppy pattern!
- Color Combinations: Use pastel shades or bold colors to create varying personalities for your puppy.
- Yarn Alternatives: Swap Himalaya Dolphin Baby for another plush yarn like Bernat Pipsqueak for a different texture.
- Size Modifications: Use a different hook size or yarn weight to make a smaller or larger version of your puppy. A heavier yarn can create a giant plush companion while a lighter yarn yields a tiny, cute version.
- Accessory Ideas: Consider adding a little sweater or scarf to your puppy. This can really enhance its character; perhaps match it to the outfit of the gift recipient!
- Eye Variation: Experiment with larger or uniquely shaped safety eyes for distinct looks that stand out.
- Adding a Collar: Stitch an adorable collar or a name tag to personalize your creation. This adds a realistic touch and makes your puppy feel special.
Take the liberty to mix and match any of these variations. Every choice allows your creativity to shine! Whether you want a classic look or something vibrant, making adjustments is part of the joy of crocheting. You can also follow along with our Crochet Daisy Square for some colorful ideas or our Crochet Granny Square for inspiration on neat patterns to accompany your puppy.
Tips for the Best Crochet Puppy Pattern
Count Carefully: Losing track of stitch counts can be frustrating. Use a stitch marker at the beginning of each round to help you keep your place.
Secure Features: When attaching safety eyes and noses, ensure they are tight and secure to prevent accidental detachment, especially if the puppy will be for a young child.
Gauge Matters: Pay attention to gauge! If your yarn is too loose, your puppy may not hold shape well. Use a smaller hook size to maintain a snug fit.
Avoid Twists: Twisted foundation chains can ruin your project. Make a conscious effort to keep your chain flat as you work in the round.
Assembly Order: Assemble limbs and features in the order specified by the pattern. This ensures everything aligns correctly and looks adorable.
Experiment Freely: Don’t hesitate to play with colors and accessories! This crochet puppy pattern is perfect for showcasing your creativity and personal style.
How to Wash and Care for Your Crochet Puppy
Machine Washing: Use a gentle cycle with cold water to take care of your crochet puppy. Always put it inside a laundry bag to avoid damage.
Hand Washing: For delicate care, hand wash your puppy in lukewarm water with mild detergent. Rinse thoroughly and avoid wringing.
Drying: Always lay your crochet puppy flat to dry, avoiding hanging it up. This helps maintain its shape and plush texture over time.
Storage: Keep your crochet puppy in a dry, well-ventilated space. Avoid extreme temperatures to preserve the softness and color.
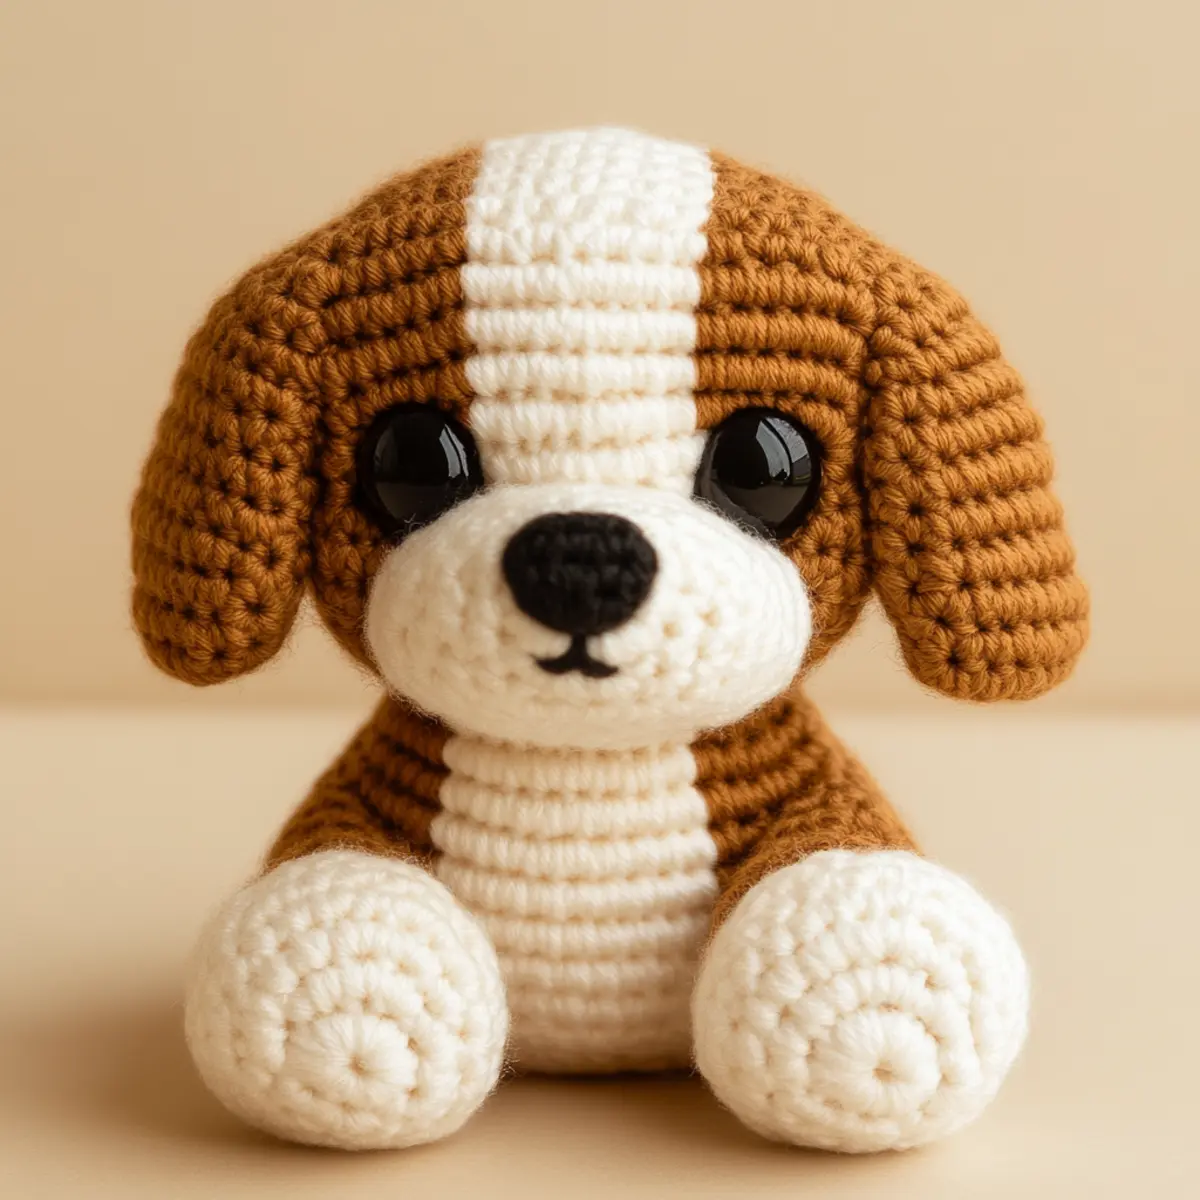
Crochet Puppy Pattern FAQs
Can I use different yarn types?
Absolutely! While the Himalaya Dolphin Baby is recommended for softness, you can substitute with any soft, plush yarn to create your crochet puppy.
How do I adjust the size of the puppy?
To modify the size, consider using different yarn weights or adjusting your hook size. This will help achieve a larger or smaller finished piece as desired.
What if I drop a stitch while crocheting?
Don’t panic! If you drop a stitch, simply pull back to the last row where you were sure of your count and re-establish your stitches from there.
What hook size should I use?
A 3.5 mm (E/4) hook is ideal for this crochet puppy pattern, but feel free to adjust if your gauge is not matching the pattern specification.
Can I customize the puppy’s colors?
Definitely! The crochet puppy pattern encourages exploration. Use whatever colors you like to make a puppy that reflects your style and preference.
What if my puppy is curling up at the edges?
Curling often indicates that your tension is too tight. Check your gauge and consider going up a hook size or loosening your tension for better results.
Leave a Reply