
Amidst the gentle buzz of crafting, I found myself yearning for something vibrant to brighten my home. Enter the miniature flower bouquet—a cheerful crochet project that not only elevates your decor but also makes a delightful gift for someone special. With this pattern, you’ll enjoy the freedom to play with color and texture, while honing your skills with diverse techniques like the spiral of a rose or the delicate petals of a daisy. The best part? Each unique bloom you crochet allows your personality to shine, ensuring that no two bouquets are ever alike. So, if you’re ready to weave a touch of whimsy into your world, let’s gather our supplies and get started on this enchanting adventure!
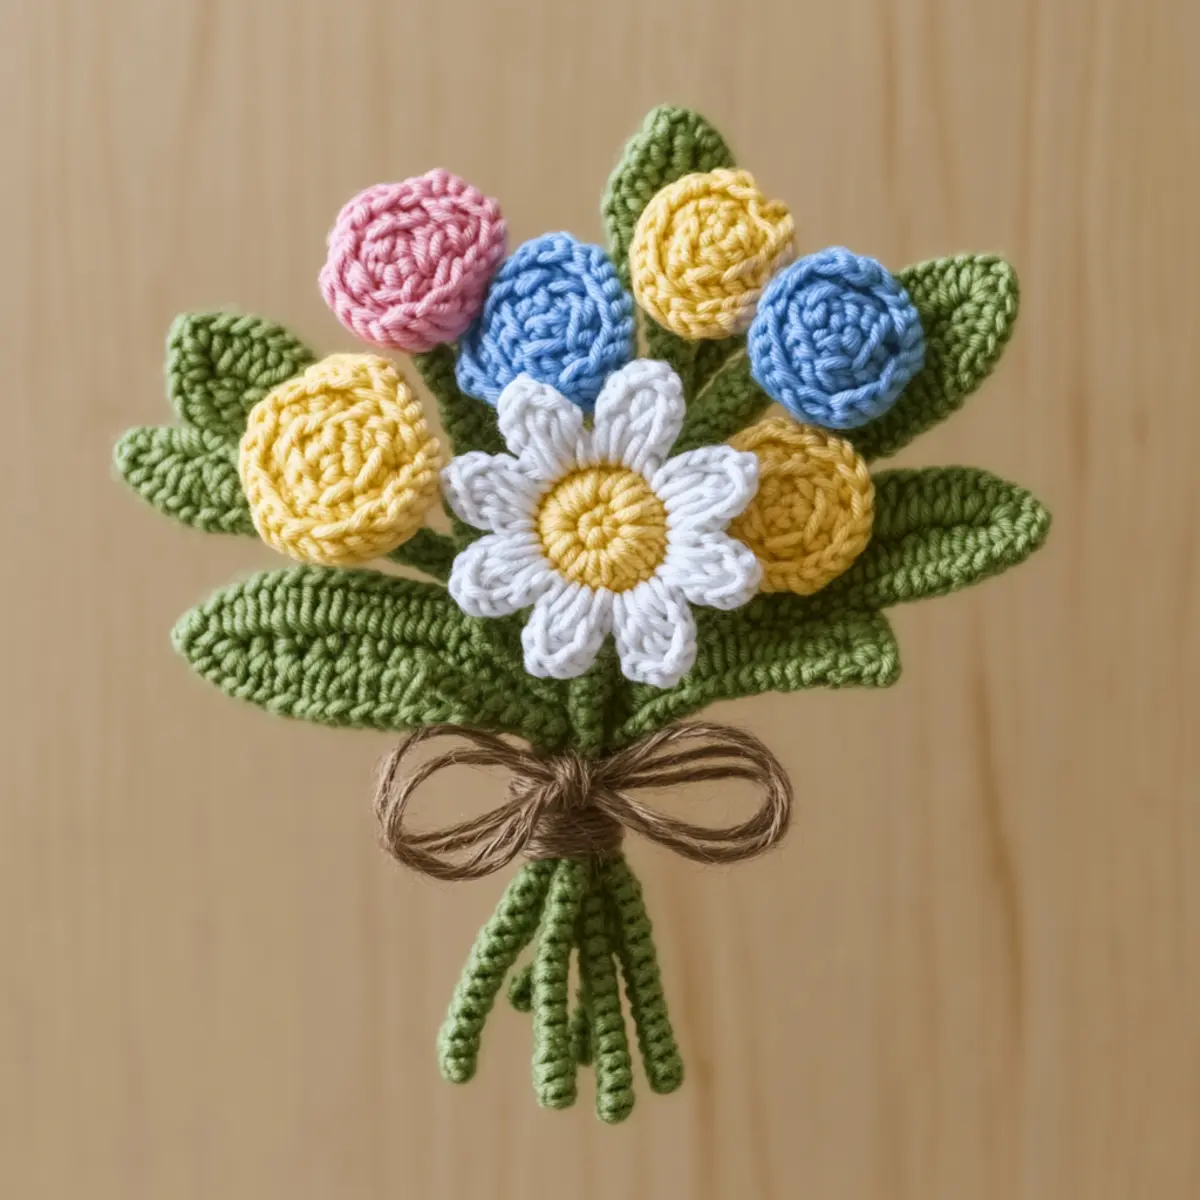
Miniature Flower Bouquet Materials & Tools
• Light Worsted Weight Yarn – Choose cotton or acrylic blend yarn in pastel pink, blue, bright yellow, and rich green for leaves, about 100-150 yards total.
• 3.5mm (E-4) Crochet Hook – A perfect size for delicate flowers to maintain a light, airy drape.
• Yarn Needle – Essential for weaving in ends and ensuring a neat finish.
• Rustic Twine – Ideal for tying the bouquet stems together, adding a charming natural touch.
• Stitch Markers – Helpful for keeping track of rounds, especially when making multiple flowers.
• Blocking Tools – Lightly block your flowers to enhance their shapes before assembly, ensuring uniformity and definition.
Gather these materials and tools to embark on your crafting journey with this delightful miniature flower bouquet!
Why Will You Love This Bouquet?
Whimsical Charm: This miniature flower bouquet brings an enchanting touch to any space, filling your home with cheerful vibes and effortless charm.
Skill Development: It’s not just about beauty; dive into diverse crochet techniques, from crafting intricate roses to delicate daisies, elevating your skills along the way.
Endless Personalization: Customize the colors and textures to reflect your style! Experiment with autumn hues or different yarn types to add a unique flair.
Quick and Easy: This project is perfect for a cozy afternoon. The estimated time allows for a satisfying result without overwhelming commitment.
Perfect Gift Idea: Want a thoughtful present? This bouquet makes a heartfelt gift for loved ones, showcasing your creativity and effort.
For some extra inspiration, check out our Granny Bandana Stylish or explore the vibrant patterns in Sunflower Granny Square for delightful projects to accompany your bouquet!
Gauge & Sizing Notes
Don’t skip the gauge swatch! Checking your gauge is essential for creating a stunning miniature flower bouquet that holds its shape and showcases your beautiful work. Aim for a standard gauge measurement of 4×4 inches (10×10 cm) which should yield about 14 double crochets by 8 rows. If you wish to make this bouquet larger or smaller, simply adjust your starting chain in multiples of 4 to fit your desired size. If your tension swatch turns out too small, don’t worry—try going up a hook size to achieve a better fit. Remember, making these adjustments ensures that your flowers will bloom just right in any arrangement!
Step‑by‑Step Pattern for Charming Miniature Flower Bouquet
Row 1: Daisy Petals
Start by creating a magic ring. Ch 3 (counts as 1 dc), then work 11 dc into the ring, pulling tight to close (12 dc). This forms the daisy’s center. Your work should start to flatten out, resembling a small circle.
Row 2: Daisy Petal Rounds
Ch 2 (counts as 1 hdc), then work 2 hdc in the same stitch, followed by 1 hdc in each of the next 2 sts—repeat around (18 sts). This will give your daisy a lovely rounded edge. You should see the petals beginning to take shape as they flare out.
Row 3: Petal Formation
For the daisy petals, ch 1, then *sc in the next st, ch 3, sl st in the same st; repeat from * around (12 petals total). Each petal should stand out, adding to the whimsy of your miniature flower bouquet. The petals will create a charming, ruffled effect.
Round 1: Pink Rose Center
Begin with a magic ring, ch 1, and work 6 sc into the ring (6 sc). Pull the ring tight, ensuring a firm base. Your flower center should look like a small, secured circle, perfect for building upon in the next rounds.
Round 2: Rose Spiral
Ch 1, then *inc (2 sc in the same st) in the next st, sc in the next st; repeat from * around (12 sc). By this point, you’ll see your rose beginning to spiral. Keep your tension consistent to maintain a smooth shape.
Round 3: Rose Petal Layer
For additional petals, ch 1, then *sc in the next st, inc in the next st; repeat from * around (18 sc). The rose petals will start to curl, enhancing the flower’s dimensional look, perfect for your bouquet.
Step 1: Small Blue Flowers
Ch 4 to create a foundation. In the 4th ch from the hook, sc, then ch 1, sl st into the same stitch. This forms a small flower structure. Your project will take on a delicate touch, perfect for complementing your vibrant bouquet.
Step 2: Blue Flower Assembly
Ch 4 to create another chain, then repeat the previous steps. For each flower, your stitches should align neatly, and you will see the charming characteristics of these small blue flowers beginning to flourish.
Step 1: Leaf Creation
Ch 10, then hdc in the 2nd ch from the hook. Work 1 hdc in the next 7 ch, and in the last ch, hdc twice (this creates the tip of the leaf). Your leaf should curve slightly, giving it a natural look, ready to pair with the flower heads.
Step 2: Leaf Finishing Touch
Ch 1 and turn, working a hdc down the other side of the leaf. Finish with a sl st to secure. This leaf design adds a subtle texture, complementing the overall look of your miniature flower bouquet beautifully.
Step 3: Assembly of the Bouquet
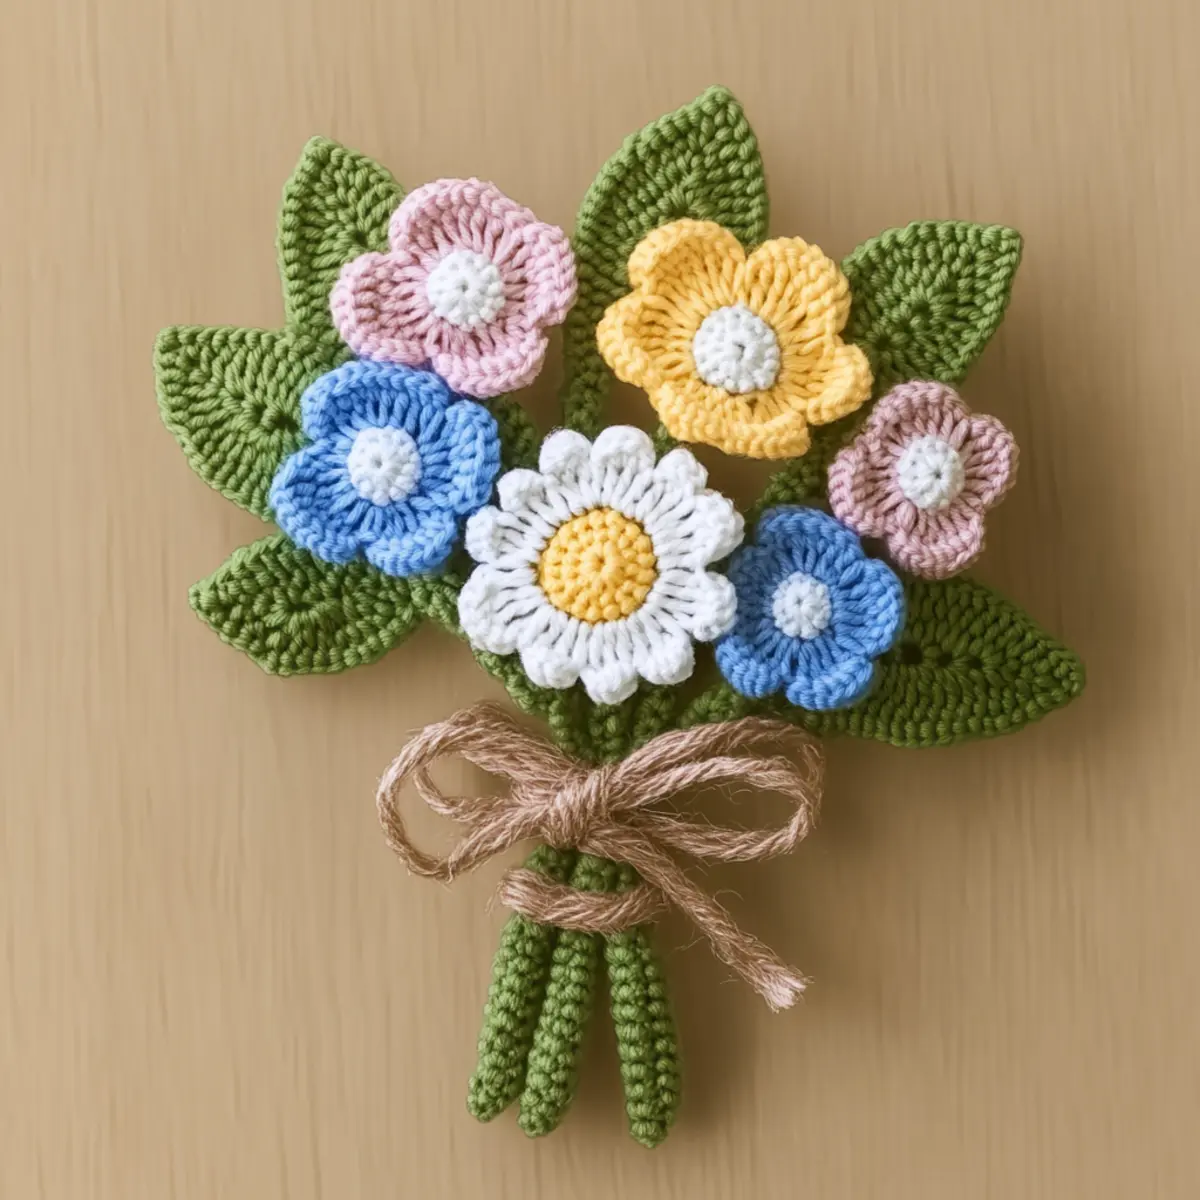
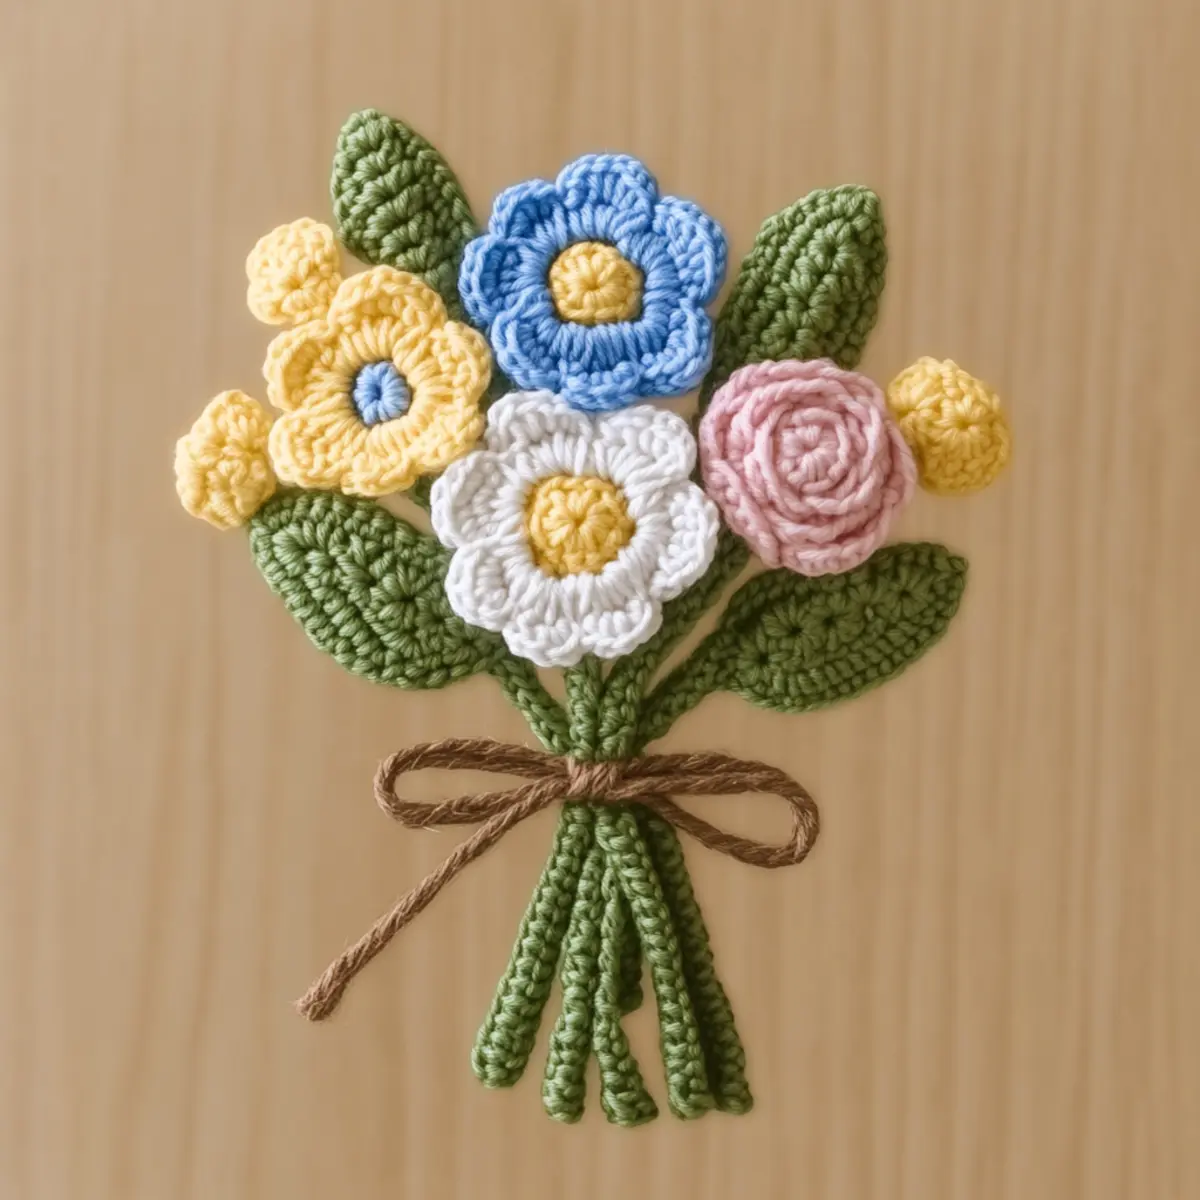
Gather all the flowers and leaves. Arrange them in a pleasing bunch, securing with twine for a rustic touch. Adjust positioning to ensure a balanced look, with your vibrant flowers radiating charm in your bouquet.
Step 4: Final Adjustments
Trim the stems to the desired height, ensuring the flowers are displayed prominently. Your miniature flower bouquet is now ready to brighten your space or serve as a thoughtful gift for someone special. Take a moment to admire your charming creation!
Expert Tips for Your Miniature Flower Bouquet
-
Consistent Tension: Maintain even tension throughout your stitches, especially on smaller petals, to ensure a uniform and polished look.
-
Stitch Markers: Use stitch markers in the early rounds to keep track of your progress and avoid losing count, particularly with multiple flowers.
-
Blocking Matters: Lightly block your flowers before assembly to enhance their shapes. This simple step ensures your bouquet has a well-defined and beautiful appearance.
-
Anchoring Flowers: Secure each flower firmly to prevent shifting after the bouquet is assembled. This keeps your design neat and allows for easy adjustments.
-
Join Wisely: When attaching leaves, make sure to join them without creating bumps—this enhances the fluidity and natural look of your miniature flower bouquet.
Miniature Flower Bouquet Variations
Feel free to get creative with this crochet pattern for your bouquet and make it uniquely yours!
-
Yarn Weight Swaps: Try medium-weight yarn for a plumper effect, adding richness to each flower’s appearance.
-
Color Blocking: Experiment with vibrant stripes or blocks of color for a bold, modern twist that makes your bouquet truly stand out.
-
Fiber Alternatives: Opt for natural fibers like bamboo for a soft sheen. This change can give your bouquet an elegant touch.
-
Larger Bouquets: Increase flower numbers or proportions for a statement piece; perfect for a centerpiece in your favorite room.
-
Textured Stitches: Add popcorn or bobble stitches for a whimsical flair. This dimension can make the petals bloom with life!
-
Size Adjustments: Change hook size or yarn weight to create smaller bouquets ideal for gifts or table decor to match your seasonal themes.
-
Seasonal Colors: Use rich autumn colors like deep reds or oranges to create a cozy, seasonal display that warms your space.
-
Elegant Finishing Touches: Incorporate fringes or a delicate border around the bouquet to frame your floral arrangement beautifully.
For a fresh burst of creativity, delve into charming patterns like the Granny Bandana Stylish or the vibrant Sunflower Granny Square that can wonderfully accompany your lovely bouquet!
How to Wash and Care for Your Miniature Flower Bouquet
-
Hand Washing: Gently hand wash your finished miniature flower bouquet in cold water with a mild detergent to maintain its vibrant colors and delicate shapes.
-
Avoid Agitation: To prevent any felting or pilling, avoid agitating the bouquet during washing. Instead, let it soak and gently swish it.
-
Drying: Lay your bouquet flat on a clean towel to dry naturally; this preserves its structure and prevents stretching or distortion.
-
Storage: Keep your bouquet in a cool, dry place out of direct sunlight when not on display. This helps retain its charm and prevents fading over time.
Charming Miniature Flower Bouquet FAQs
Can I substitute yarn for this miniature flower bouquet project?
Absolutely! While a light worsted weight (DK or category 3) is recommended, you can swap out acrylic yarn for cotton, or vice versa. Just keep in mind that different fiber types may affect the drape and final look of your bouquet.
How can I adjust the size of my bouquet?
To create a larger bouquet, simply increase the number of flowers you make! You can also adjust the size of individual flowers by using a larger hook, for example, moving from a 3.5 mm (E-4) to a 4 mm (G-6). Just remember to keep the flower count balanced with your yarn yardage.
Why is my work curling when making the petals?
Don’t panic! Curling can occur if your tension is too tight, especially with smaller petals. Try loosening your stitches a bit. Additionally, blocking your flowers lightly helps them lay flat and bloom beautifully in your bouquet.
What size hook should I use for the flowers in this bouquet?
For this project, a 3.5 mm (E-4) crochet hook is typically suitable. If you find your stitches are too tight or too loose, you may want to experiment with a hook one size larger or smaller to better achieve the desired look and feel.
How do I fix dropped stitches in my bouquet?
It’s an easy fix! If you notice a dropped stitch, simply pick it up with your crochet hook and work it back into place. If the stitch is too loose after correction, consider redoing that section to maintain uniformity.
Can I add more texture to my flowers?
Absolutely! To give your flowers more dimension, incorporate textured stitches like popcorn or bobble stitches into your design. This will add a delightful visual element and unique flair to each bloom in your charming miniature flower bouquet!
Leave a Reply