
As I sat on my favorite cozy chair, surrounded by a rainbow of yarn, I felt that familiar itch to create something beautiful yet functional. That’s when I decided to dive into the world of the no-gap crochet square, a delightful project that promises both style and practicality. This perfect no-gap crochet square not only works up quickly—it’s a fantastic stash-buster too! Whether you’re aiming to craft a warm blanket to snuggle under or simple coasters to brighten up your table, this pattern is straightforward enough for beginners while offering enough substance for intermediate crafters. With its dense, plush texture and clean lines, you’ll find endless ways to incorporate this versatile square into your crochet repertoire. Ready to grab your hook and start stitching? Let’s explore the joy of making this charming square together!
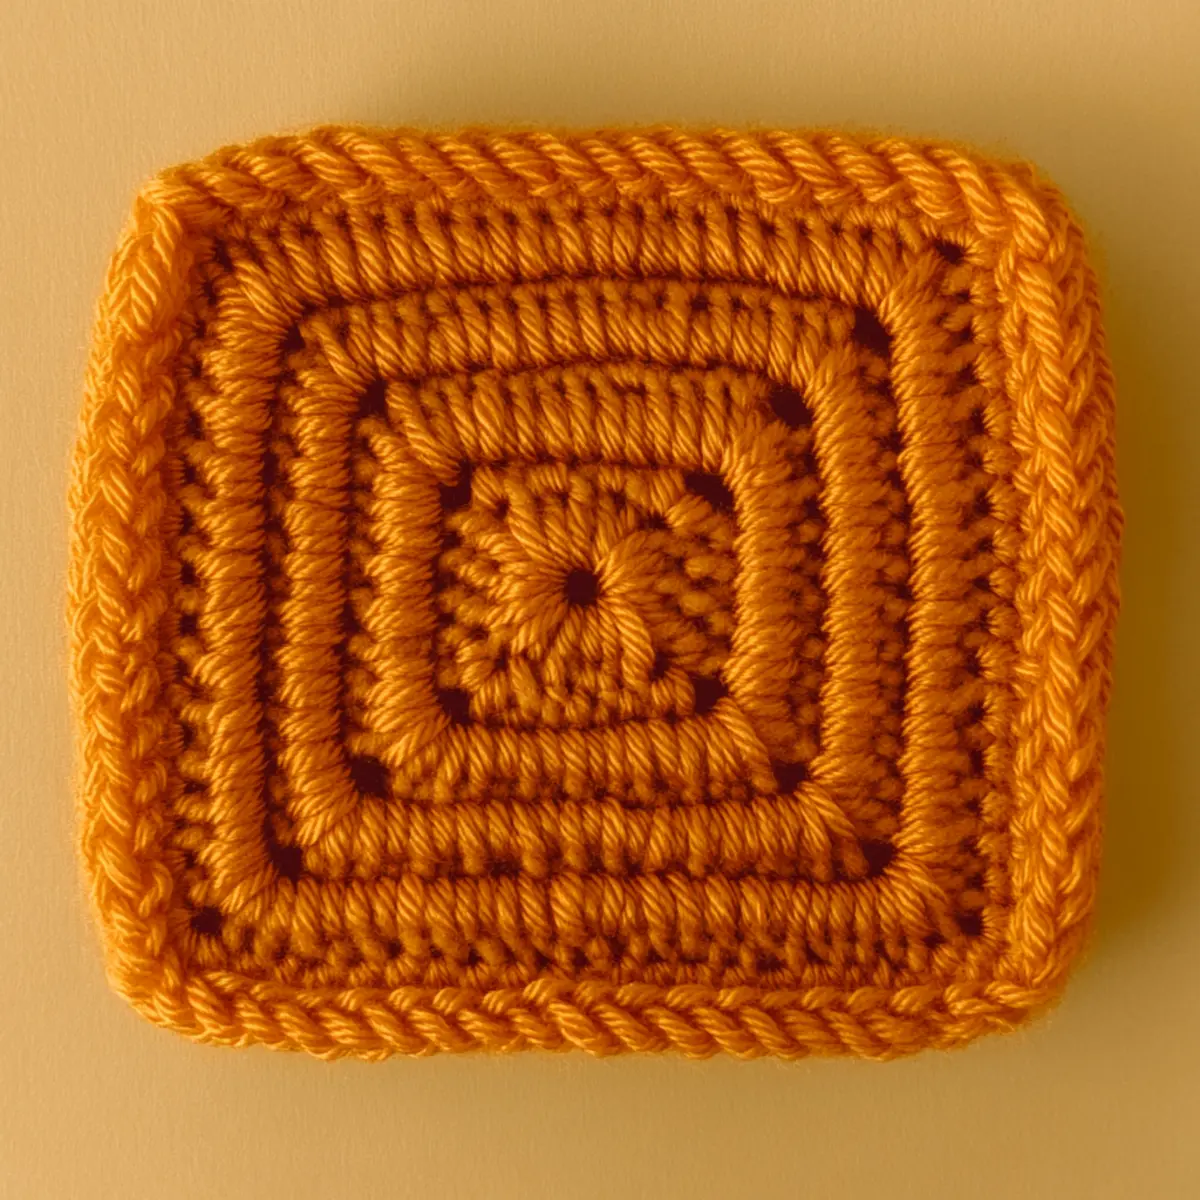
No Gap Crochet Square Materials & Tools
Yarn
• Medium Weight Yarn – Look for a worsted weight yarn (category 4) in a cozy fiber blend like acrylic and wool for the best durability and warmth.
• Yardage – Gather approximately 100-200 yards for your no-gap crochet square, depending on your desired size.
Tools & Notions
• 5.0mm (H-8) Crochet Hook – This size helps achieve the optimal tension and stitch definition needed for your square.
• Stitch Markers – While optional, these can be handy for tracking your rounds and keeping your project organized.
Feel free to gather your supplies and get ready to create your beautiful no-gap crochet square!
Why Choose the No Gap Crochet Square?
Versatile Applications: This no-gap crochet square is incredibly adaptable! Use it for making delightful blankets, cozy coasters, or unique patchwork items.
Quick to Create: With its straightforward design, you can stitch this square up in no time, making it perfect for those last-minute gifts or crafty evenings.
Durable Design: The no-gap construction means no more fraying and enhanced longevity, so you can enjoy your creations for years to come.
Warm, Textured Finish: Crafted from medium-weight yarn, the finished square offers a plush, inviting texture that’s a joy to touch and showcase.
Creative Opportunities: Feel free to play with color combos or even try out chunky yarn for a bold, oversized square! If you’re interested in more crochet patterns, check out the Crochet Daisy Flower for some beautiful floral inspiration!
Gauge & Sizing Notes
Don’t skip the gauge swatch! Checking your gauge is crucial for achieving the perfect no-gap crochet square that fits your desired dimensions and maintains the lovely texture you want. For this project, a standard gauge measurement is 4×4 inches (10×10 cm), which should consist of 14 double crochets by 8 rows. If you want to make your square larger, adjust your starting chain in multiples of 3. Conversely, if your swatch is too small, simply try going up a hook size to loosen your tension. Always remember, taking the time to check your gauge ensures that your no-gap crochet square turns out just right!
Step‑by‑Step Pattern for No Gap Crochet Square
Round 1: Starting the Foundation
Begin by creating a magic ring. Inside the ring, work 12 single crochets (sc) to form the center of your no-gap crochet square. Pull the tail of the magic ring to tighten it. Your work should begin forming a small circle. Remember, you can also use a chain loop if preferred.
Round 2: Increasing the Stitches
Chain 1 to start Round 2. In each stitch around, make 2 single crochets (sc) in each previous round’s stitch. This will increase your total stitch count to 24 sc (24 sts). Your work should begin to widen significantly, creating a flatter, circular base.
Round 3: Building Height with Alternating Increases
Chain 1 to begin Round 3. Work 1 sc in the first stitch, then increase with 2 sc in the next stitch. Repeat this pattern of 1 sc, 2 sc around the round. At the end of this round, you should have 36 stitches (36 sts). Your circle will be thicker and more raised now.
Round 4: Forming the Square Corners
Chain 3 to start Round 4 (counts as first double crochet, dc). In the same stitch, make another dc (increase). In every 8th stitch, create a corner by working [2 dc, ch 1, 2 dc]. Continue this around; you’ll have a total of 4 corners with nice defined edges. You should have 48 sts (48 sts).
Round 5: Reinforcing the Edges
Chain 1 to begin Round 5. Work 1 sc in each dc, and make an additional sc in each corner ch-1 space. This will help stabilize the no-gap crochet square’s corners, maintaining that clean look. After completing this round, your stitch count should remain at 48 sts, ensuring a firm shape.
Round 6: Finalizing the Square Shape
Chain 3 to begin Round 6. Now, repeat the previous pattern: work 1 dc in each sc and maintain the 2 dc, ch 1, 2 dc pattern in each corner. This will enhance the square’s form. Upon finishing this round, you should have 60 stitches (60 sts). Your work will begin to look more like a square!
Round 7: Smooth Finishing Touches
Chain 1 to start Round 7. Continue working evenly across each side with 1 sc, placing an additional sc in each corner to round it out a bit. This will help keep the edges tidy and enhance the density of your no-gap crochet square. The final stitch count should hold steady at 60 sts, giving you a nice solid finish.
Step 8: Completing and Blocking
To finish, cut your yarn, leaving a tail for weaving in. Pull the tail through the last stitch and tighten. Gently block your no-gap crochet square if needed to set its shape perfectly. You should have a beautifully dense and plush square ready for your next project!
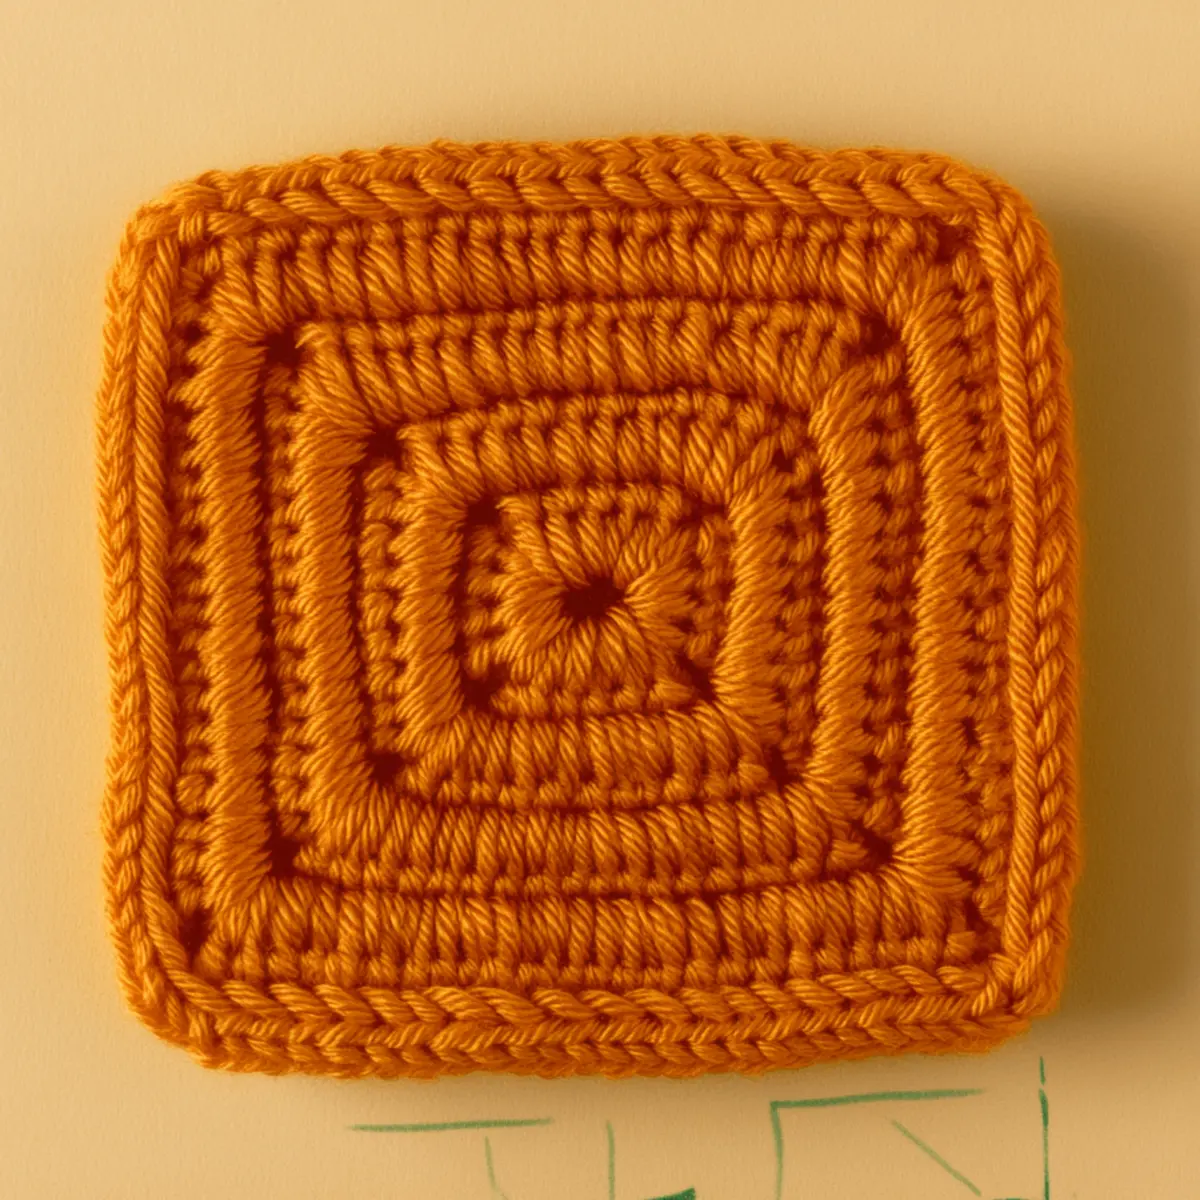
How to Wash and Care for Your No Gap Crochet Square
Machine Washing: Use cold water and a gentle cycle to maintain the integrity of your no gap crochet square. Avoid agitation to prevent pilling and tangling.
Hand Washing: For extra care, wash your square by hand in lukewarm water with mild detergent. Gently squeeze to remove excess water without wringing.
Drying/Blocking: Lay the square flat on a clean, dry towel to reshape and dry. Avoid hanging to prevent stretching. Pin in place if blocking for a perfect finish!
Storage: Store your no gap crochet square in a cool, dry place. If stacking, place a soft cloth between squares to avoid creases and maintain their shape.
No Gap Crochet Square Variations
Unleash your creativity by customizing this delightful crochet square pattern with inspiring variations!
- Yarn Substitutions: Dive into cotton yarn for a breathable square that’s ideal for warm-weather projects. Cotton adds a lovely texture too!
- Color Blocking: Mix and match colors to create a stunning patchwork effect. This visual twist not only enhances aesthetics but also showcases your design flair.
- Size Adjustments: Alter the hook size or stitch count to cater to your needs. Create tiny coasters for your coffee table or larger squares for a snuggly blanket!
- Fiber Alternatives: Experiment with chunky yarn for a plush, oversized square. The added bulk creates a cozy vibe, perfect for chilly evenings.
- Textured Edges: Transform your square’s edges by adding fringes or a contrasting border for a touch of playfulness and personality. It can be a conversation starter!
- Mixed Patterns: Combine this square with other motifs like the Crochet Squirrel Charming or the Magnolia Crochet Pattern for a harmoniously eclectic project.
- Ombre Effects: Use ombre yarn to produce a beautiful gradient effect that captivates the eyes. It adds depth and a unique flair to your no-gap crochet square!
- Seasonal Themes: Create themed squares by using colors or patterns that resonate with different seasons or holidays, making your projects fun and festive.
Expert Tips for the No Gap Crochet Square
Maintain Tension: Keeping consistent tension is key. If your stitches are too loose, try a smaller hook to achieve a tighter finish on your no gap crochet square.
Count Carefully: Avoid losing count of your stitches by using a stitch marker at the beginning of each round. It helps you track your progress without confusion!
Block for Shape: After finishing your square, block it to enhance its shape and ensure it lays flat. This will give your finished piece that polished look.
Watch for Gaps: Pay attention to your stitch count as you work. If unsure, double-check after each round to stop gaps from forming in your square.
Adjust Dimensions: Want a smaller or larger square? Change your hook size or modify your stitch count easily to create the perfect fit for your project!
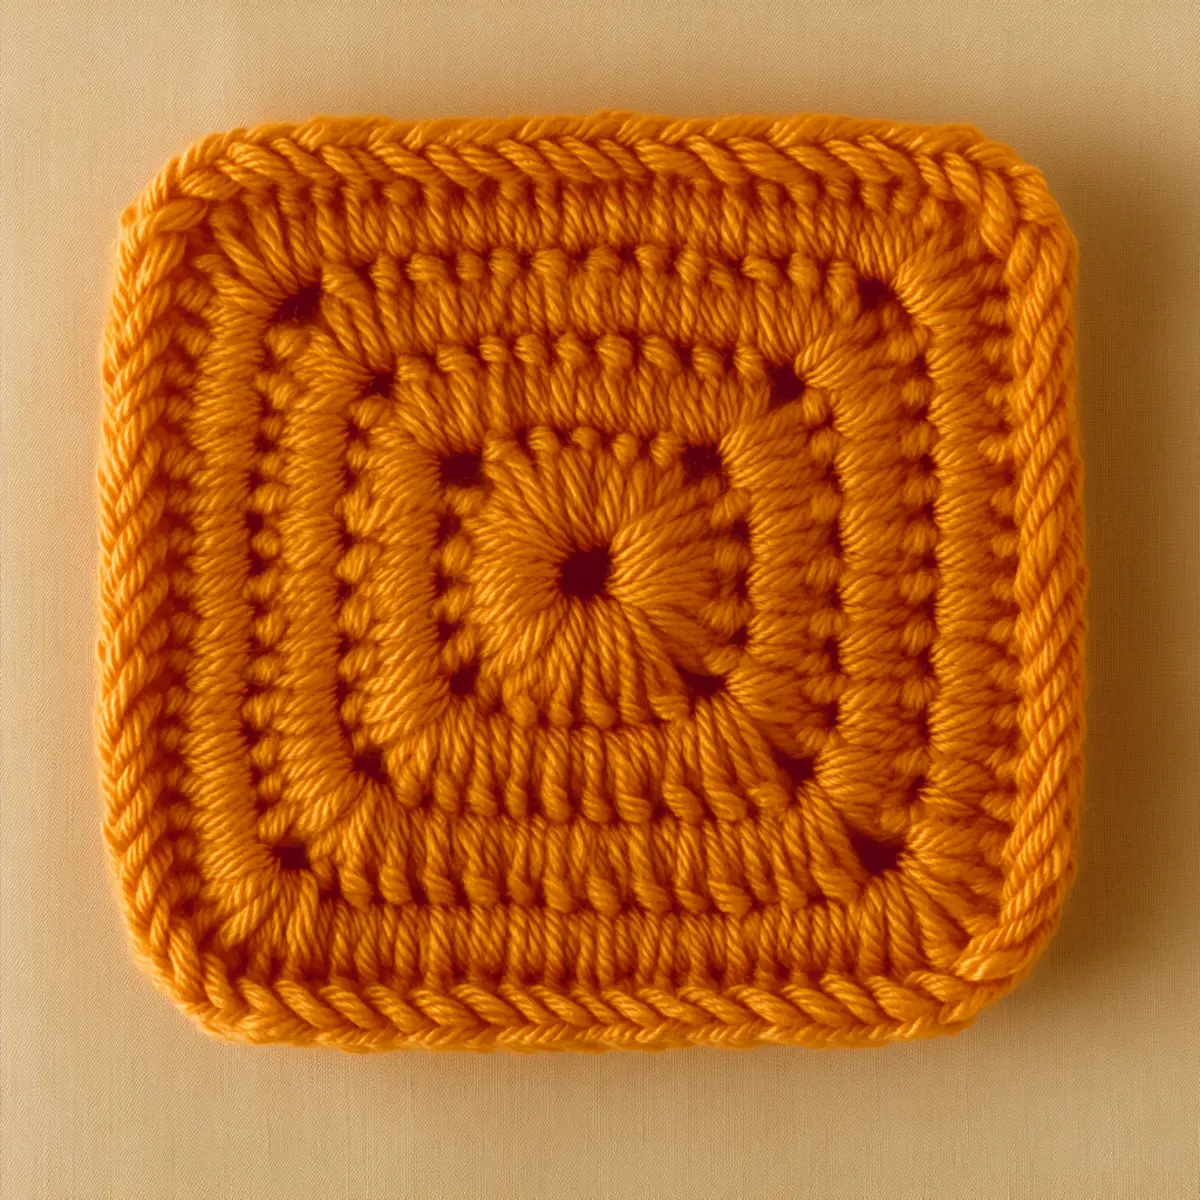
No Gap Crochet Square FAQs
Can I use a different type of yarn for the no gap crochet square?
Absolutely! While a medium-weight yarn (like worsted) is ideal, you can swap it for cotton yarn for a more breathable project. Just keep in mind that different fibers might change the square’s texture and drape.
How do I make my no gap crochet square larger or smaller?
No problem! To adjust the size, simply change your hook size to a larger one for a bigger square or a smaller one for a tighter, smaller finish. You can also modify the stitch count; just remember to maintain your increases in a balanced way, such as working in multiples of 3.
Why is my no gap crochet square curling?
Don’t panic! If your square is curling up like a bowl, it might be due to tight tension or not enough increases in your rounds. Ensure you’re following the stitch counts correctly and keep an eye on your tension. You might need to loosen your grip a bit!
What size hook should I use for the no gap crochet square?
A 5 mm (H-8 US) crochet hook is recommended to achieve the best tension and stitch definition. However, if you find your stitches too tight or loose, feel free to experiment with a hook size that suits your comfort level.
How do I fix dropped stitches in my square?
It’s an easy fix! Simply pull the dropped stitch through to the last completed row and secure it with a slip stitch to prevent further unraveling. You can also weave the ends in carefully using a tapestry needle to restore your square’s shape.
Can I add embellishments to my no gap crochet square?
Definitely! Adding texture like fringes or a contrasting border can give your square a unique twist. Just be sure that your embellishments don’t affect the overall structure and durability of your no gap crochet square.
Leave a Reply