
I recently embarked on a delightful project that has quickly become one of my favorites – the adorable tiny crochet bat. This charming little creature is perfect for those of us who want to add a whimsical touch to our fall decor or create a one-of-a-kind gift. The best part? It’s beginner-friendly, making it accessible for crafters of all skill levels looking for a fun stash-buster to use up leftover yarn. With its playful design and simple stitches, the tiny crochet bat is a joy to make, and the satisfaction of creating a unique piece is unmatched. Plus, it doubles as a cozy stuffed toy or an eye-catching ornament that brightens up any space. As I worked through this pattern, I found myself lost in the creative process, and I can’t help but wonder how each of you will personalize your own tiny bats with your unique flair.
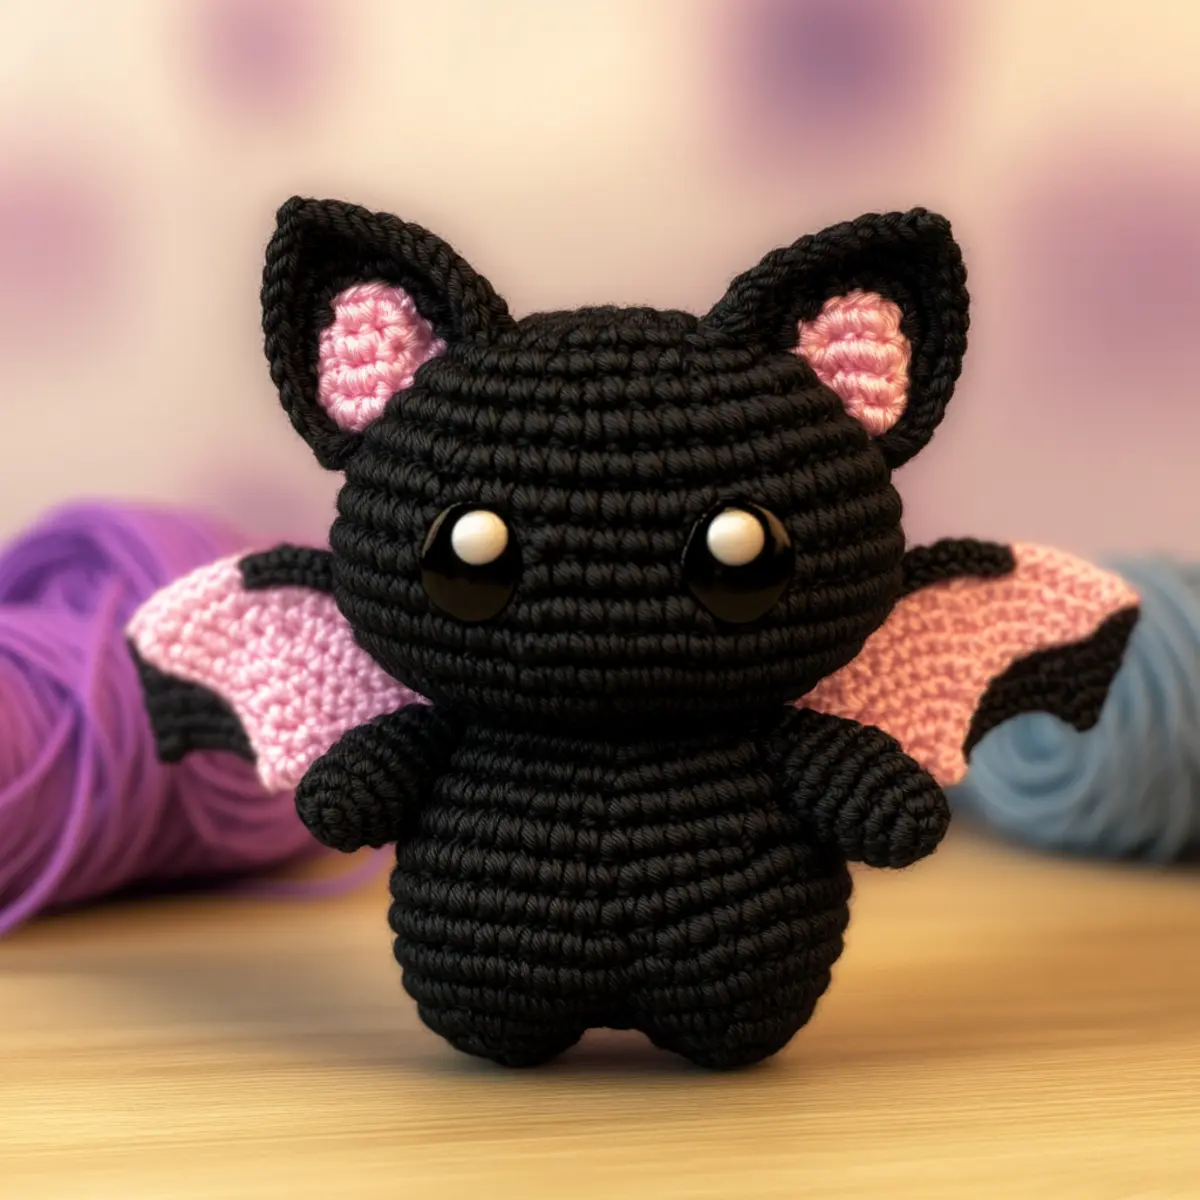
Tiny Crochet Bat Materials & Tools
Yarn
- DK or Sport Weight Yarn (Black) – About 50-100 yards will suffice for making one tiny crochet bat with a smooth finish.
- Pink Yarn (for detailing) – A small amount for features to add cuteness to your bat’s ears.
Tools & Notions
- Crochet Hook (Size C or D, 2.5 to 3.0 mm) – Ideal for working with DK or sport weight yarn when creating the tiny crochet bat.
- Yarn Needle – Perfect for assembly and weaving in any loose ends once your bat is completed.
- Stitch Marker – Essential for tracking rounds, ensuring your project maintains its intended size and shape.
- Safety Eyes (6mm optional) – Adding a bit of character; ensure they are securely placed between specific rows for a charming look.
- Fiberfill Stuffing – Helps achieve that plush texture and shape for the bat. Blocking is also recommended to enhance its adorable features.
What Makes This Tiny Bat Special?
Simplicity is at the heart of this pattern, making it perfect for beginners and experienced crocheters alike. Quick to make, you’ll have your bat crafted in no time, leaving you more opportunity to experiment with multiple colors and styles. Each bat showcases adorable aesthetics that can hang delightfully during Halloween or surprise a friend as a gift. Plus, it’s a fantastic stash-buster; you can use various DK or sport weight yarns to design your unique creature while utilizing leftover yarn. Never made amigurumi before? No worries! The pattern features cordless techniques that will bolster your confidence and crochet skills along the way. If you enjoy exploring other beginner-friendly projects, be sure to check out our Crochet Penguin Pattern and Magnolia Crochet Pattern for just as much creative fun!
Gauge & Sizing Notes for Tiny Crochet Bat
Checking tension is crucial when making your tiny crochet bat to ensure it turns out the right size and shape. A standard gauge measurement for this project is 4×4 inches (10×10 cm) with 18 stitches in single crochet. Beginners should be mindful that differing yarn types and hook sizes can affect the final dimensions. If your swatch doesn’t match, you may need to adjust your starting chain or rounds by either using a thicker yarn and corresponding larger hook for a bigger bat or opting for a lighter weight yarn for a smaller version. Keeping the focus on maintaining consistent stitch tension during your project will yield a plush, even texture. Remember, this tiny crochet bat is about 4-5 inches in height and 6-7 inches across its wingspan, allowing it to be just the right size for snuggling or festive adornments. Your creativity can truly shine through by varying colors and personalized details while following an adaptable framework for sizing!
Step-by-Step Pattern for Tiny Crochet Bat
Row 1: Start the Body Begin by making a magic ring (MR) and crochet 6 single crochets (sc) in the MR. Pull the tail to tighten the ring. (6)
Row 2: Increase Round Work 2 sc in each stitch around for a total of 12 stitches. This forms the base of the bat’s body, gradually increasing its circumference. (12)
Row 3: Continue Increasing In this round, work 1 sc in the first stitch, then inc in the next. Repeat around to have a total of 18 stitches. This helps create the bat’s rounded shape. (18)
Row 4: More Increases Work 1 sc in the first 2 stitches, then inc in the next stitch. Continue to repeat for a total of 24 stitches. This shaping is crucial for the overall form. (24)
Row 5-7: Establish Body Height Work 1 sc in each stitch around for 3 rounds, maintaining the stitch count of 24. This section will start building the bat’s height, making it sturdy. (24)
Row 8: Dec Round Begin to decrease, working 1 sc in the first 2 stitches, then a dec in the next. Repeat for 18 stitches. Keep an eye on your stitch count to ensure symmetry. (18)
Row 9: Shaping the Head Repeat 1 sc in the first stitch, then a dec in the next stitch for 12 total stitches. This rounds off the head portion nicely. (12)
Row 10: Final Dec Round Work 1 sc, join, and then dec until you have 6 stitches remaining. This tightens the head area, leading to a full bat shape. (6)
Stuffing the Bat Before finishing, stuff the body and head with fiberfill to give the bat its plush character. Be sure not to overstuff; a soft fill creates a cuddly feel.
Row 11: Complete the Head After stuffing, work a final dec round to close the opening. Seam the last stitch securely to prevent any stuffing from escaping.
Creating the Wings Now, switch to making the wings. Begin with a slip knot and chain 15 to make a wing base. Work back by making 1 hdc in the second chain from the hook and level up with additional stitches to create texture.
Row 1 of Wings: Shaping Turn your work and continue with an hdc in each chain across. At the end of the row, create a few additional stitches to form a curve, which gives the wings their bat-like appearance.
Row 2: Forming the Wing Tip Chain 1, turn, work a dec followed by 6 hdc to form the tip of the wing. This detail accentuates the bat’s slender wing structure, making it visually appealing.
Row 3: Wing Assembly Finish off the wing, leaving a long tail for sewing. Create a second wing to match and prepare to attach them to the bat’s body.
Attaching Parts Position the wings on either side of the main body, ensuring they are comfortably spaced and secure. Use the yarn needle to sew them in place with sturdy stitches.
Adding Eyes and Ears Securely attach safety eyes between rows 7 and 8 of the head using a yarn needle. Create little triangular ears using a simple sc construction, making them accentuated by pink yarn for detail.
Final Touches Once assembled, consider blocking the bat to enhance its shape. Flaunt your new adorable tiny crochet bat as a fabulous decoration or gift, and enjoy the process of creation. Your handmade touches will shine through each step of the crafting journey!
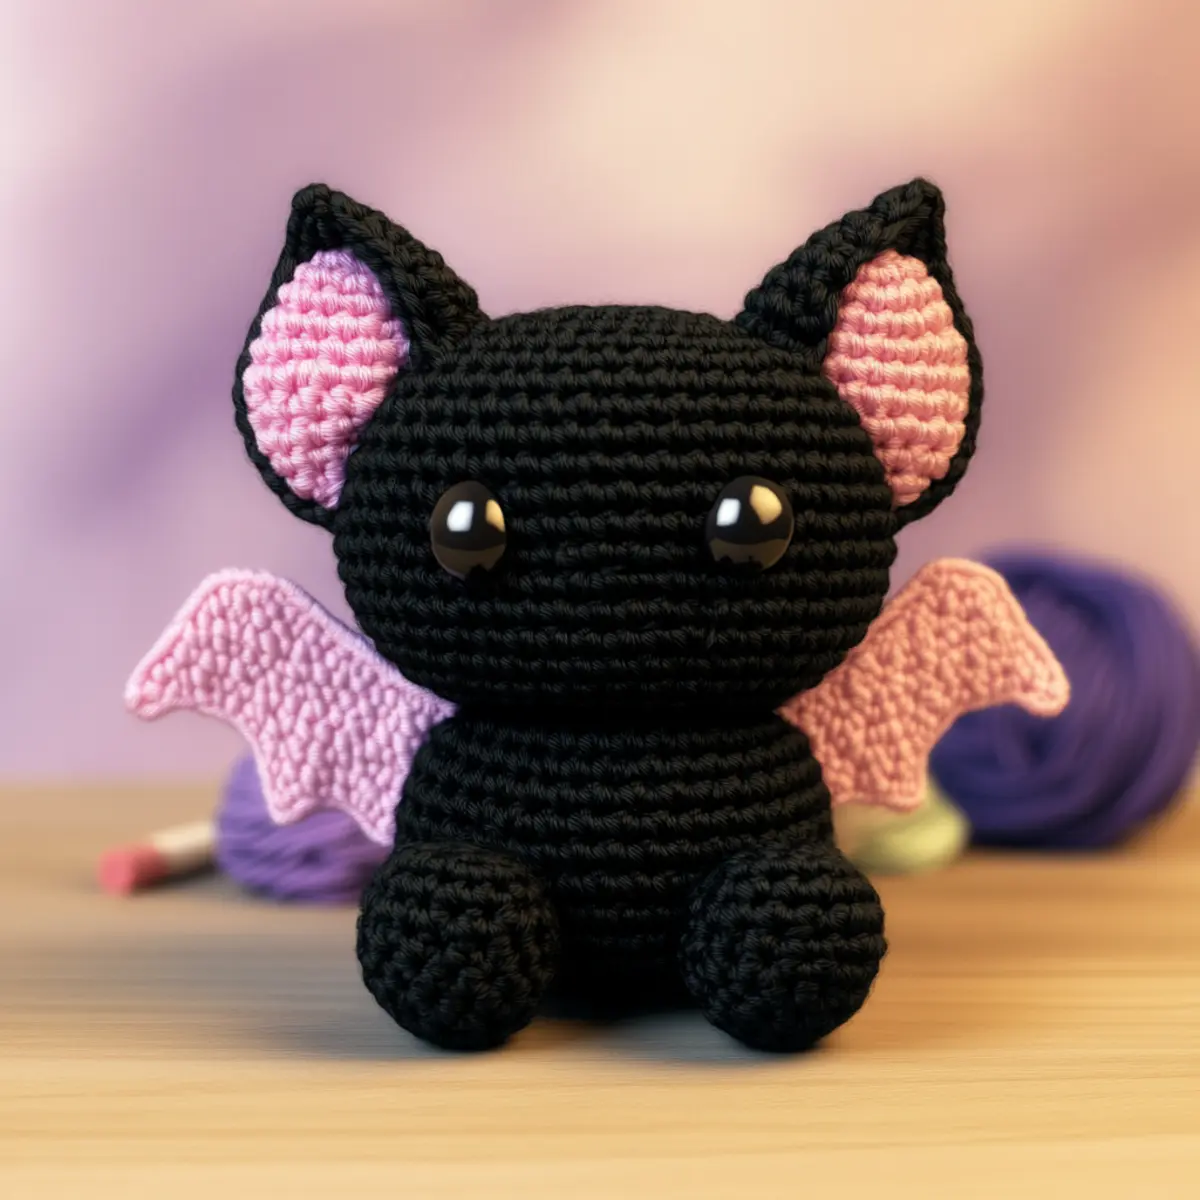
Expert Tips for the Best Tiny Crochet Bat
Stay Counted: Track your stitch count closely when working on the tiny crochet bat to avoid losing count during increases or decreases.
Use Stitch Markers: Pro tip! Use stitch markers to help differentiate rounds, especially when you’re new to counting stitches.
Avoid Twisted Chains: Prevent a twisted foundation chain by ensuring your initial slip knot lays flat before chaining the required stitches.
Block Your Bat: Don’t skip blocking! It enhances the shape, especially for the ears and wings, giving your bat a polished look.
Even Tension: Keep an even tension throughout your work to ensure your tiny crochet bat maintains its adorable form without any uneven bulges or gaps.
Experiment with Colors: Have fun! Try out different yarn colors or textures for your bats. You can create a rainbow of tiny crochet bats for Friends or seasonal themes.
How to Wash and Care for Your Tiny Crochet Bat
Machine Washing: Wash on a gentle cycle in cold water if needed. Place it inside a mesh laundry bag to protect its shape.
Hand Washing: For best results, hand wash in lukewarm water using mild detergent. Avoid wringing out, as it might distort its plush shape.
Drying: Lay the tiny crochet bat flat to dry on a clean, dry towel. Avoid hanging, which can stretch it out of shape.
Blocking: Post-wash, consider blocking again to restore its shape and accentuate details like the wings and ears. This ensures your bat looks its best.
Tiny Crochet Bat Variations
Feel inspired to customize your tiny crochet bat in fun and creative ways!
- Color Swaps: Use orange yarn for a classic Halloween look or pastel for a spring-themed bat.
- Textured Yarn: Try using velvet or chenille yarn for a soft, plush texture that adds charm.
- Size Adjustments: Change yarn weight; use worsted for larger bats or cotton for miniature versions.
- Facial Features: Get artistic with different safety eyes or create embroidered features for a unique personality.
- Embellishments: Adding tiny bows, glitter, or fabric can transform your bat into a themed decoration or gift.
For those who wish to add another element, create a miniature pumpkin alongside your bat to complement your Fall decor! Working with different textures not only elevates your bat, it also opens up a plethora of festive options. Explore Crochet Pumpkin Patterns for further motivation.
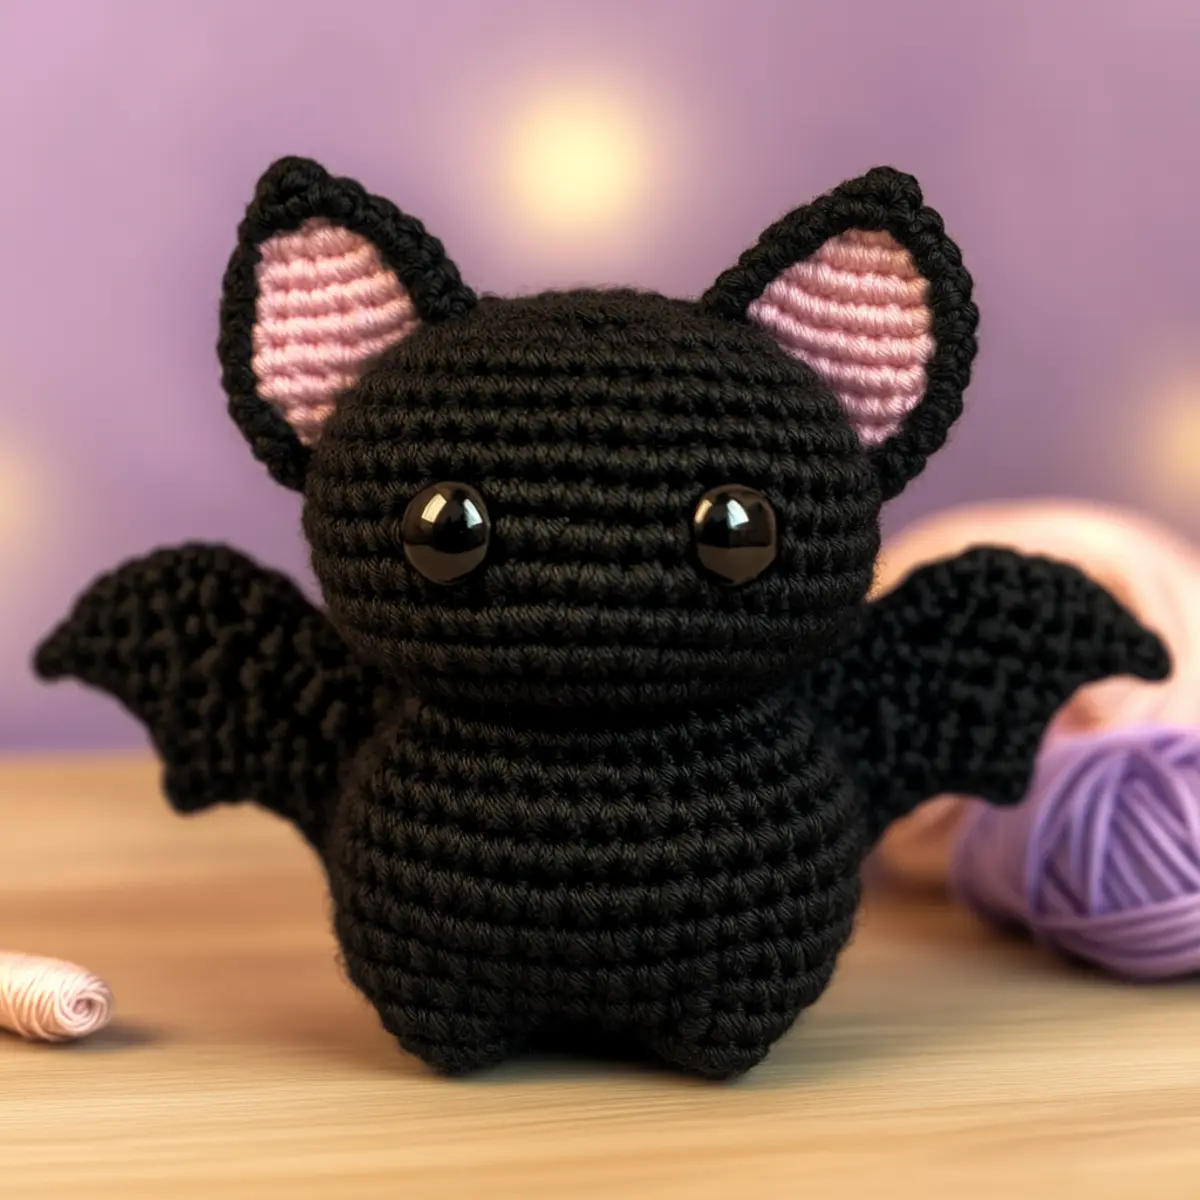
Tiny Crochet Bat FAQs
Can I substitute yarn for this project?
Absolutely! While DK or sport weight yarn is recommended, you can experiment with other yarn types. Just make sure to adjust your hook size accordingly.
What size crochet hook should I use?
For the tiny crochet bat, a hook size between 2.5 to 3.0 mm (US size C or D) is ideal. This helps create a sturdy yet plush finish.
How can I prevent my bat from curling?
If your tiny crochet bat starts curling, it could be due to tight stitches or wrong tension. Make sure to keep an even tension throughout your work, and try blocking it after finishing.
Can I make adjustments to the sizing of my bat?
Yes! If you want a bigger bat, consider using thicker yarn and a corresponding larger hook. For a smaller version, use lighter weight yarn and a smaller hook while following the same pattern.
How do I fix dropped stitches?
Don’t panic! You can easily fix dropped stitches by carefully picking them up with your hook and working them back into the fabric. If you’re unsure, it’s okay to frog a few stitches and redo that section.
What are some decorative ideas for my tiny bats?
Get creative! You can add bows, different facial features, or use various colors to customize each bat. Personal touches make them ideal gifts for any occasion.
Leave a Reply