
As spring unfurls its floral tapestry and warm breezes beckon, there’s nothing quite like bringing freshness into our wardrobes. This season, I’m thrilled to present the Daisy Delight Granny Square Cardigan – my newest crochet cardigan pattern that marries function with whimsy. This project not only offers a cozy aesthetic but is also a fantastic stash-buster, perfect for using up those hanks of yarn that have been sitting in the corner. The cheerful daisy motifs make it an ideal choice for a lightweight layer that both warms and brightens any outfit during casual gatherings or festive occasions. Plus, its versatility means you can style it in countless ways, showcasing your unique personal flair. As you embark on this delightful journey of crochet, I’m sure you’ll discover new techniques that excite your creative spirit. So, let’s dive into this pattern that not only allows you to enjoy the crafting process but will also elevate your spring wardrobe. Are you ready to stitch up some joy?
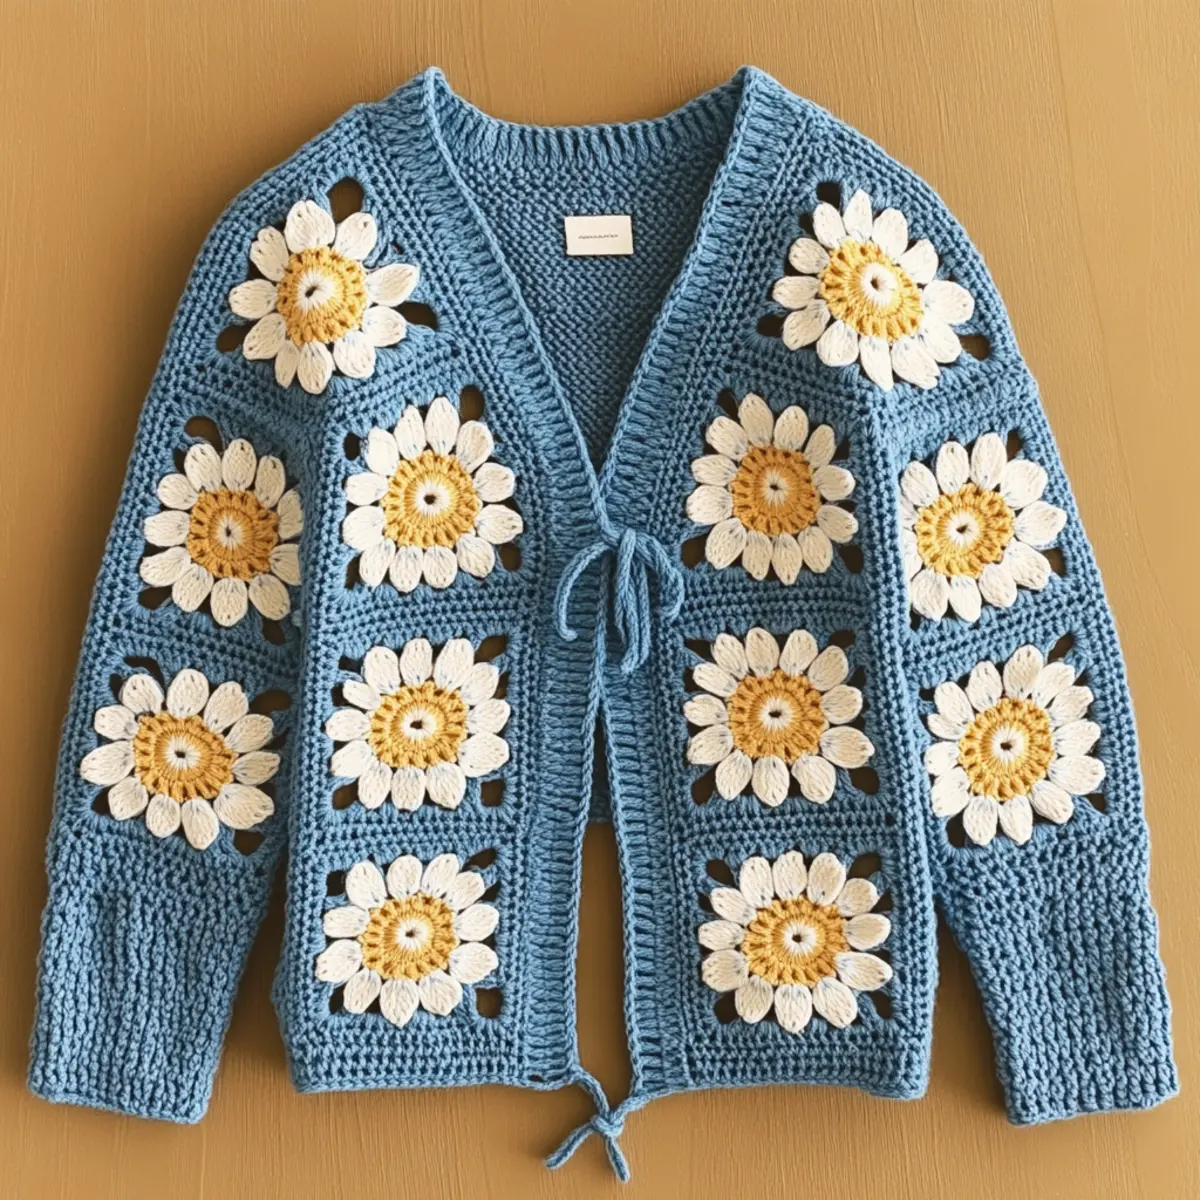
Crochet Cardigan Pattern Materials & Tools
Yarn
DK (Double Knitting) or Light Worsted Yarn – Use approximately 800-1200 yards; cotton or cotton blends are preferred for a soft feel.
Colorful Yarn Choices – Consider various shades for the flowers and borders to personalize your crochet cardigan pattern.
Tools & Notions
Crochet Hook (4.0-5.0 mm) – This size will help achieve a balanced drape in your granny squares.
Yarn Needle – Essential for weaving in ends after completing your crochet projects.
Stitch Markers – Handy for keeping track of your squares and helping with assembly.
Scissors – To snip your yarn with precision while finishing off ends.
Why You’ll Love This Pattern
Versatility is at the heart of this cardigan, allowing you to create a piece that embodies your personal style while remaining adaptable for different occasions. The simple design of granny squares makes it beginner-friendly, ensuring that you can comfortably tackle this project even if you’re just starting your crochet journey. Each square bursts with texture due to its unique stitch pattern, making every glimpse of your cardigan a delight. You can add your flair by choosing different colors—perhaps a splash of pastel pink or vibrant blue—bringing a personalized touch that makes it truly yours. Plus, its stash-friendly nature encourages creativity as you experiment with leftover yarn, and let’s not forget the joy of assembly—it’s a wonderful way to immerse yourself into mindful crafting. Along the way, check out this Crochet Daisy Square for more flower motifs or explore the beauty of a Crochet Daisy Flower to amplify your floral designs!
Gauge & Sizing Notes for Crochet Cardigan Pattern
Checking your tension is crucial for the Daisy Delight Granny Square Cardigan to ensure that your pieces fit together harmoniously and the finished project reflects a polished look. The standard gauge for this project is 4×4 inches (10×10 cm) using a 4.0-5.0 mm hook, resulting in approximately 16 dc and 8 rows. If your swatch doesn’t match this gauge, consider adjusting your hook size; a larger hook if your work is too tight, or a smaller hook if it’s too loose. Remember, this cardigan should measure roughly 20 inches in length and between 18-20 inches in width for a comfortable fit. If you wish to resize, increase or decrease the starting chain count of your granny squares accordingly. This flexibility within the crochet cardigan pattern allows your creativity to shine, making it a joy to wear in various sizes as you bring it to life!
Step-by-Step Pattern for Crochet Cardigan Pattern
Row 1: Create the First Granny Square
Begin with a magic ring and chain 3 (counts as first dc). Crochet 2 dc, ch 2, and repeat 3 times (4 groups of 3 dc, ch 2). Join with a sl st. You should have a small square with a daisy center. (Total: 12 dc)
Row 2: Add the Daisy Petals
Ch 1, sc in same space as join. In the next gap, work 3 dc, ch 1, sl st back in the same gap. Repeat until each corner has 3 dc clusters. This gives your square a lovely raised daisy appearance. (Total: 4 petals)
Row 3: Expand the Square
Ch 3, dc in next petal, ch 2, and repeat for each petal. This will create a larger square shape. Remember to keep your tension loose while working with your yarn for the best results. (Total: 8 spaces)
Row 4: Add the Blue Border
After you complete Round 3, slip stitch to any corner. Work 1 sc, 2 hdc in each corner gap, and 1 sc between petals. This blue border will contrast beautifully with the yellow and white. (Total: 24 sc and hdc)
Row 5: Make Additional Squares
Repeat Rows 1-4 until you have a total of 42 granny squares. Mix and match colors to add more personality to your crochet cardigan pattern. Each square will add dimension and visual interest to your project.
Row 6: Assemble the Body Panels
Lay your squares out as they will appear in the cardigan. Start connecting them with sl st through outer loops. Group the squares into 2 front panels, 1 back panel, and 2 sleeves. Keep your assembly tidy by verifying square counts as you go.
Row 7: Yarn Ties for Closure
With right sides facing out, decide where you want your yarn ties. Using the same yarn, ch 30 for each tie and attach securely to the cardigan’s edges. This simple addition will enhance functionality. Your crochet cardigan pattern gets a stylish finish!
Row 8: Finishing the Edges
Go around the edges of the cardigan with 1 round of sc to provide a clean finish and additional durability. This way, your hard work stays intact and looks polished. It’s also helpful for a neater appearance when wearing it.
Row 9: Add Sleeves
For each sleeve: Take 5 squares, join them in a row like before, and assemble on either side of the body. Connect with sl st. This step requires patience, ensuring the sleeve aligns nicely with the armholes for comfort and style.
Row 10: Weave In Ends
Following assembly, grab a yarn needle and weave in all loose ends. This is a crucial finishing step to avoid any slipping yarn as you wear your crochet cardigan.
Row 11: Block the Cardigan
After everything is assembled, block your cardigan to straighten edges and create an even finish. This method helps with the final drape and gives the daisy squares their best shape and definition.
Row 12: Final Touches
Lastly, step back and admire your work! Try on your crochet cardigan and adjust fit if necessary by adding or relocating ties. Each square brings you one step closer to showcasing your craftsmanship and creativity this season.
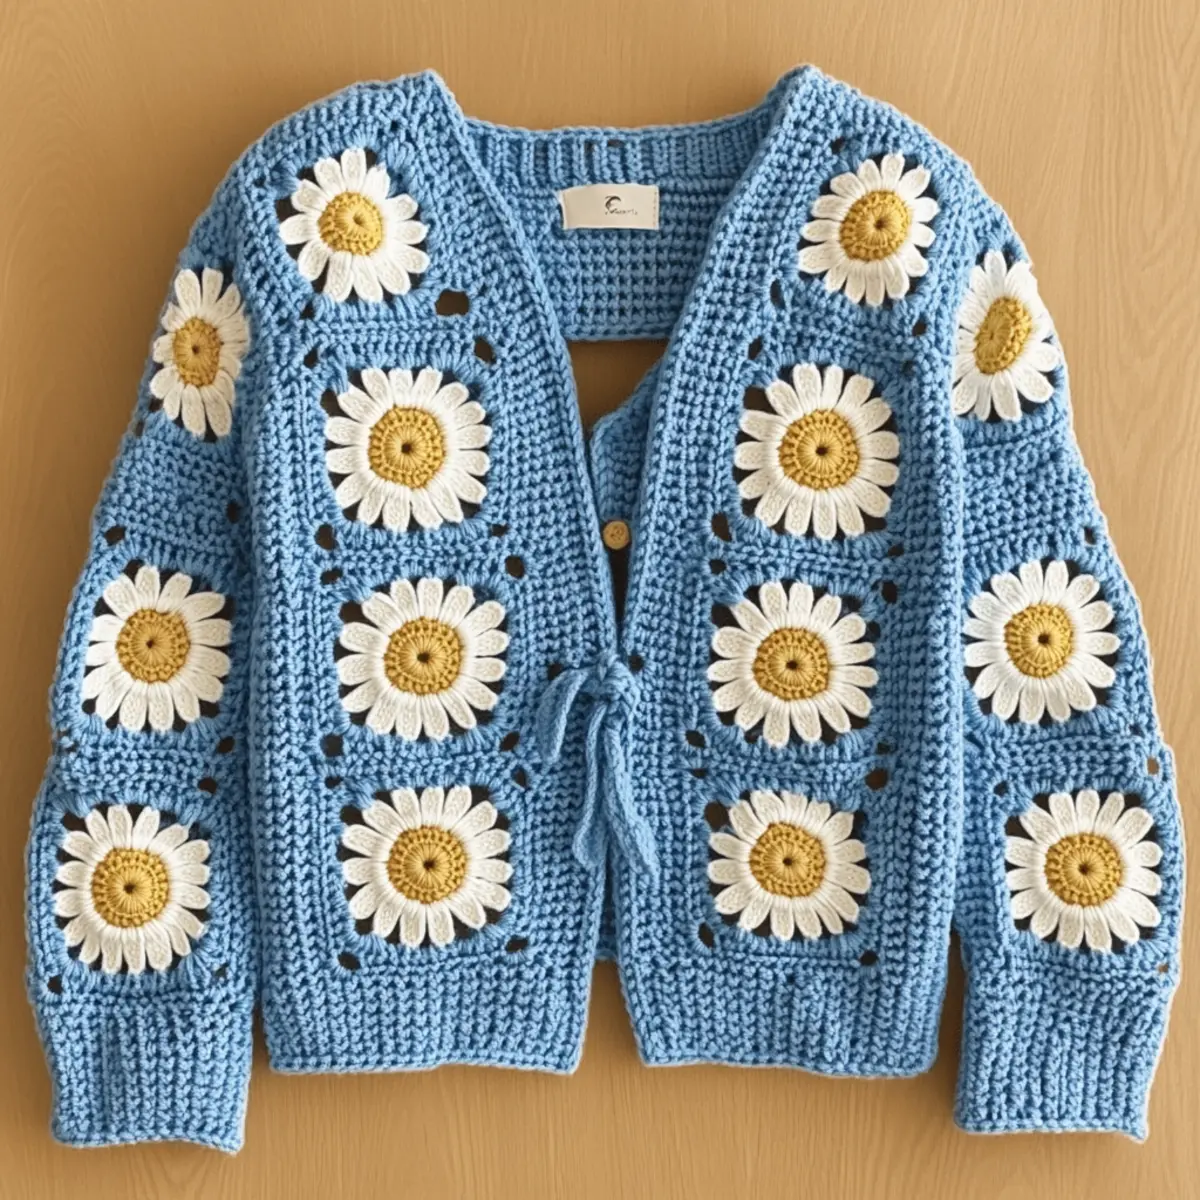
How to Wash and Care for Your Daisy Delight Cardigan
Machine Washing: If using a washing machine, opt for a gentle cycle in cold water. Avoid agitation to maintain the integrity of your crochet cardigan pattern.
Hand Washing: For best results, hand wash your cardigan in cool water with mild detergent. Gently squeeze and avoid wringing to ensure the texture remains intact.
Drying: Lay the cardigan flat to dry on a clean surface, reshaping it as needed to prevent distortion of your beautiful granny squares. Avoid hanging it to prevent stretching.
Storage: Store your cardigan folded in a cool, dry place. Avoid hanging it for prolonged periods to maintain its shape and structure, thus prolonging the joy of your crochet cardigan pattern.
crochet cardigan pattern variations
Feel free to get creative and put your own spin on this crochet cardigan!
- Pastel Colors: Swap the blue with pastel pink or lavender for a soft, dreamy appearance.
- Unique Floral Motifs: Instead of daisies, try using poppies or tulips to create a different vibe for your cardigan.
- Pockets Addition: Adding practical pockets gives this cardigan an extra touch of functionality and style.
- Larger Squares: Opt for larger granny squares to speed up the process while keeping the design intact.
- Mix Textures: Combine cotton with a wool blend for added warmth and an interesting texture to your cardigan.
Consider a more substantial border using a braided technique that not only lends visual interest but also enhances durability. Personalizing your cardigan by incorporating unexpected elements, like using unexpected yarn types, will transform this project into a unique piece worthy of attention. For more information on different motifs, check out our Crochet Daisy Flower and Crochet Flower Pattern guides for a wealth of inspiration.
Expert Tips for Daisy Delight Granny Square Cardigan
Tension Control: Maintain consistent stitch tension while crocheting to ensure your squares are uniform and fit together seamlessly. This is essential for a polished crochet cardigan pattern.
Count Your Squares: Frequently check the number of squares you’ve completed during assembly to avoid mismatched components. This helps prevent frustration down the line.
Blocking Matters: Don’t skip the blocking step; it can significantly enhance the final look of your cardigan by straightening edges and creating an even stitch definition, making your work stand out beautifully.
Join Neatly: When connecting the squares, use slip stitches to keep the seams discreet and clean. This is crucial for achieving a professional finish in your crochet cardigan pattern.
Mix It Up: Feel free to swap the blue border for pastel hues or experiment with different flower motifs to showcase personal creativity and make your cardigan truly unique.
Yarn Choices: Remember to choose smoother yarns like cotton blends for this project, as they will provide a more comfortable feel and better drape in your finished cardigan.
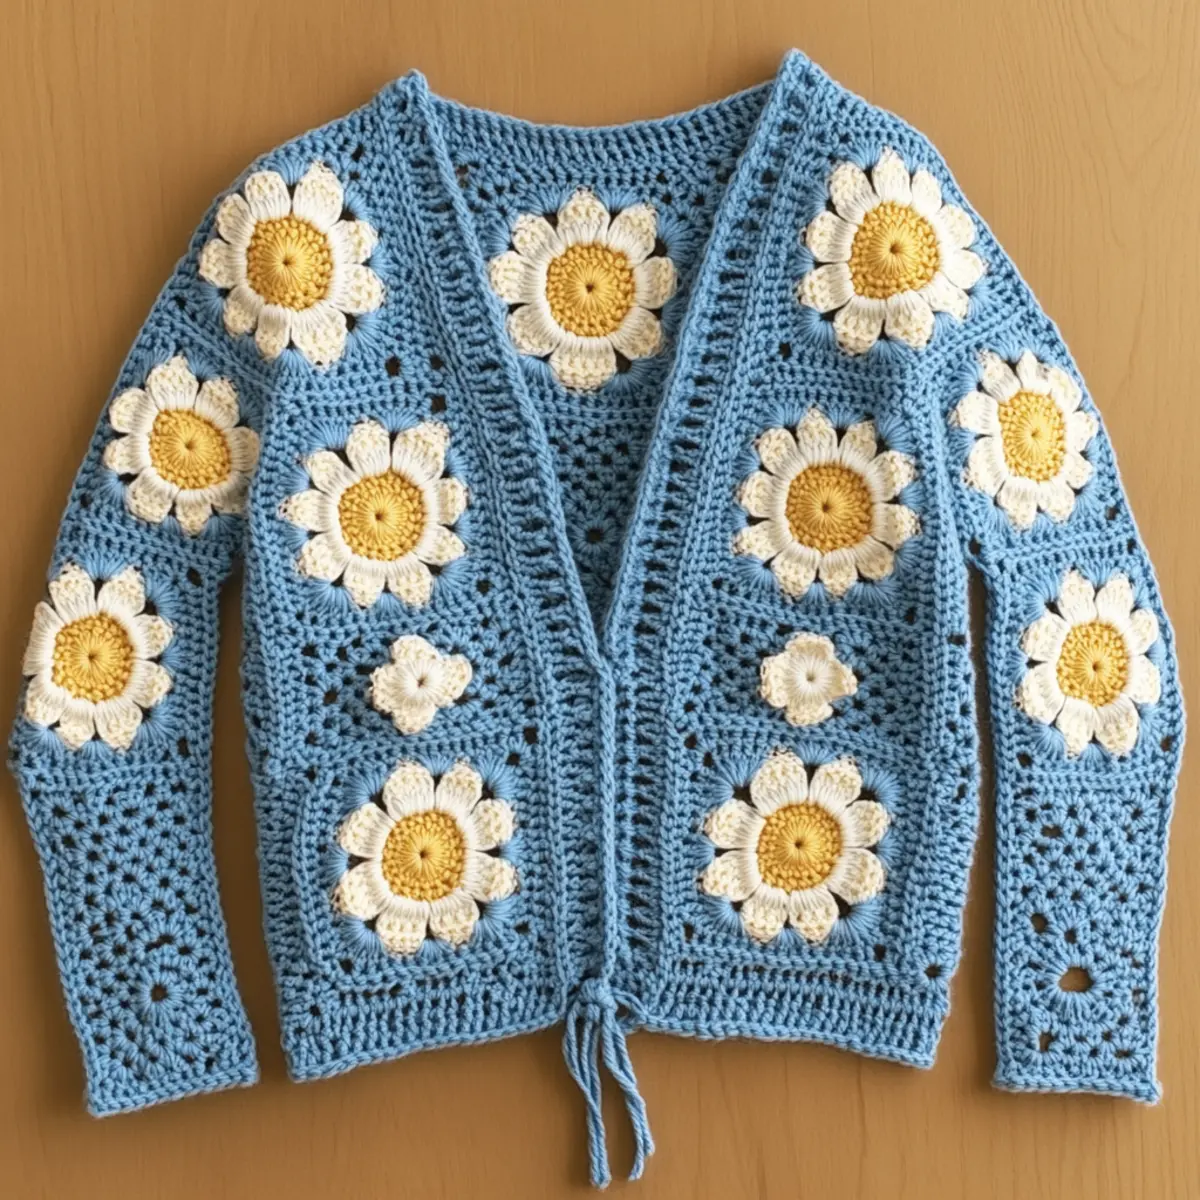
Daisy Delight Granny Square Cardigan FAQs
Can I use different yarn types for this cardigan?
Absolutely! While DK or light worsted yarns are recommended, you can experiment with other similar weight yarns that maintain comfort and drape.
What if my cardigan is curling at the edges?
Don’t panic! Curling can often occur if your tension is too tight or your stitches aren’t blocked properly. Ensure proper blocking after completing the garment.
How do I adjust the sizing of my cardigan?
Adjust sizing by changing the starting chain count for your granny squares. More squares will change the fit dramatically, and you can customize to your preferred dimensions easily!
What hook size should I use?
For this crochet cardigan pattern, a 4.0-5.0 mm hook (G-H in US sizes) is ideal to achieve the balanced drape you want. Adjust the size if your gauge doesn’t match the recommended tension.
Help! I dropped a stitch! What should I do?
Next time, take it slow! If it happens, look for the dropped stitch and use a yarn needle to weave it back up through the stitches to secure it. Practice makes perfect!
Can I add my own embellishments?
Definitely! Add beads, additional flower motifs, or even pockets for flair and functionality. This project encourages creativity, so feel free to personalize to your heart’s content!
Leave a Reply